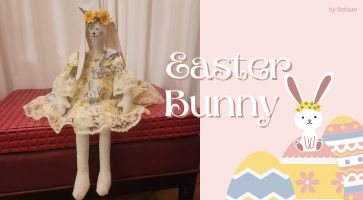
Bunnies are a charming and versatile project, perfect for celebrating the changing seasons and upcoming Easter. This guide will walk you through the process of crafting your own bunny, allowing you to add personal touches that make it uniquely yours.
Before you begin, gather the following supplies:
*For this project, I used the Stardust printed velvet (Z014), but feel free to experiment with different textures to give your bunny a distinct look.

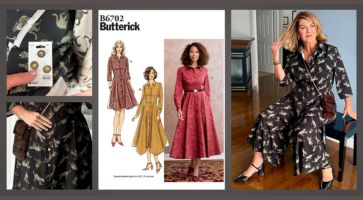
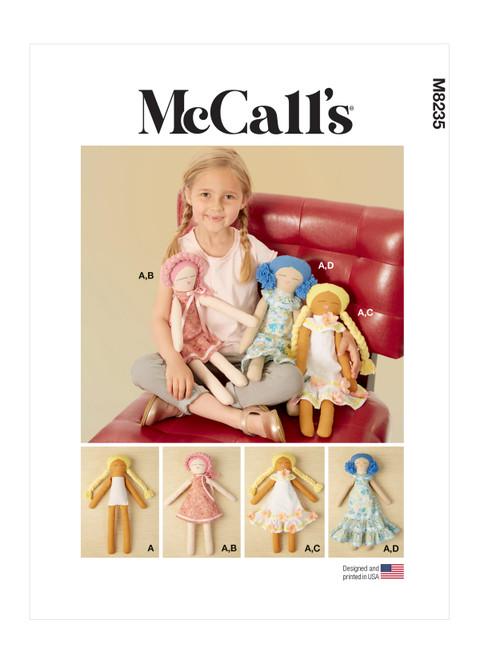
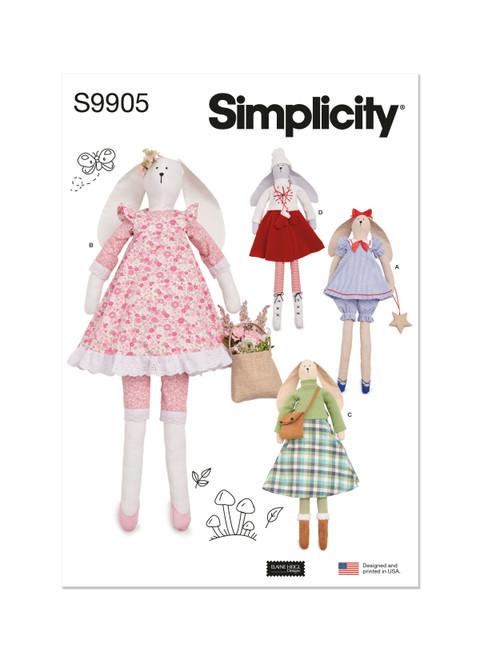
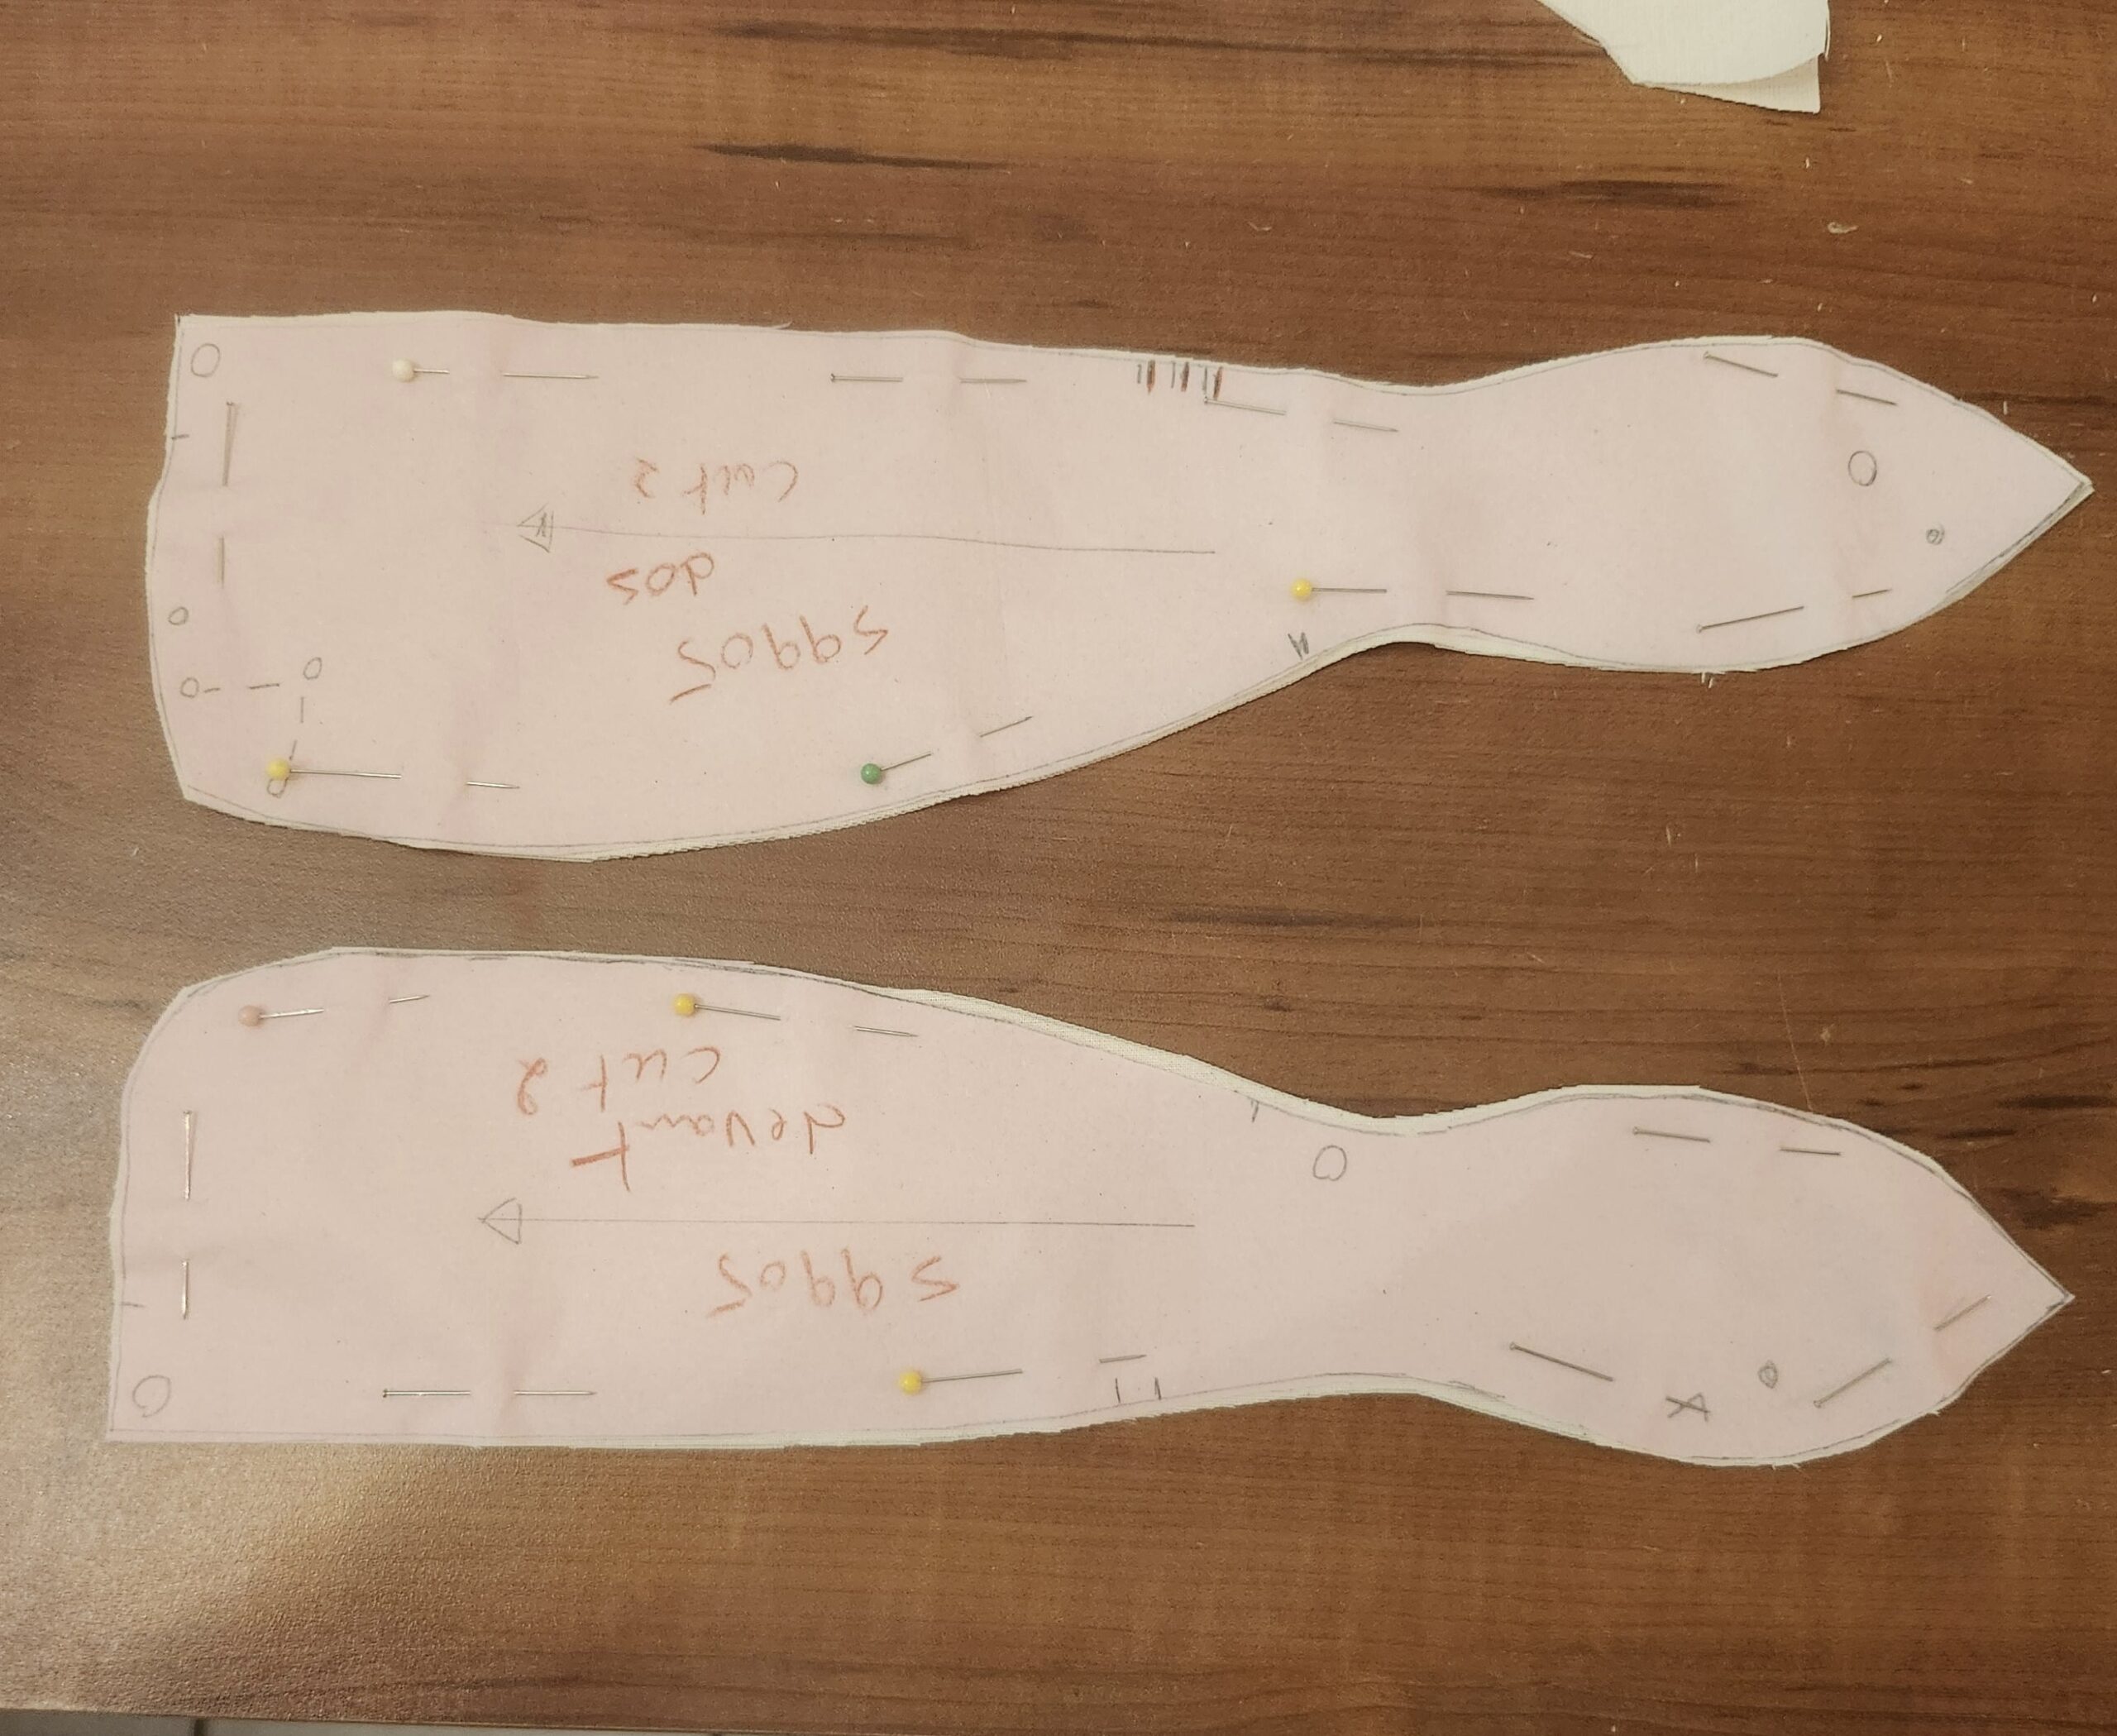
If using a commercial pattern, I recommend tracing it onto cardboard for durability. This will help preserve the pattern for future use. Pay close attention to grainlines and notches, as these markings ensure proper alignment during assembly.
Lay out your fabric and place the pattern pieces on top. Using a fabric marker or chalk, trace each piece carefully. Remember that symmetrical parts like ears and legs usually need to be cut in pairs, so double-check that you’ve traced enough of each before cutting.
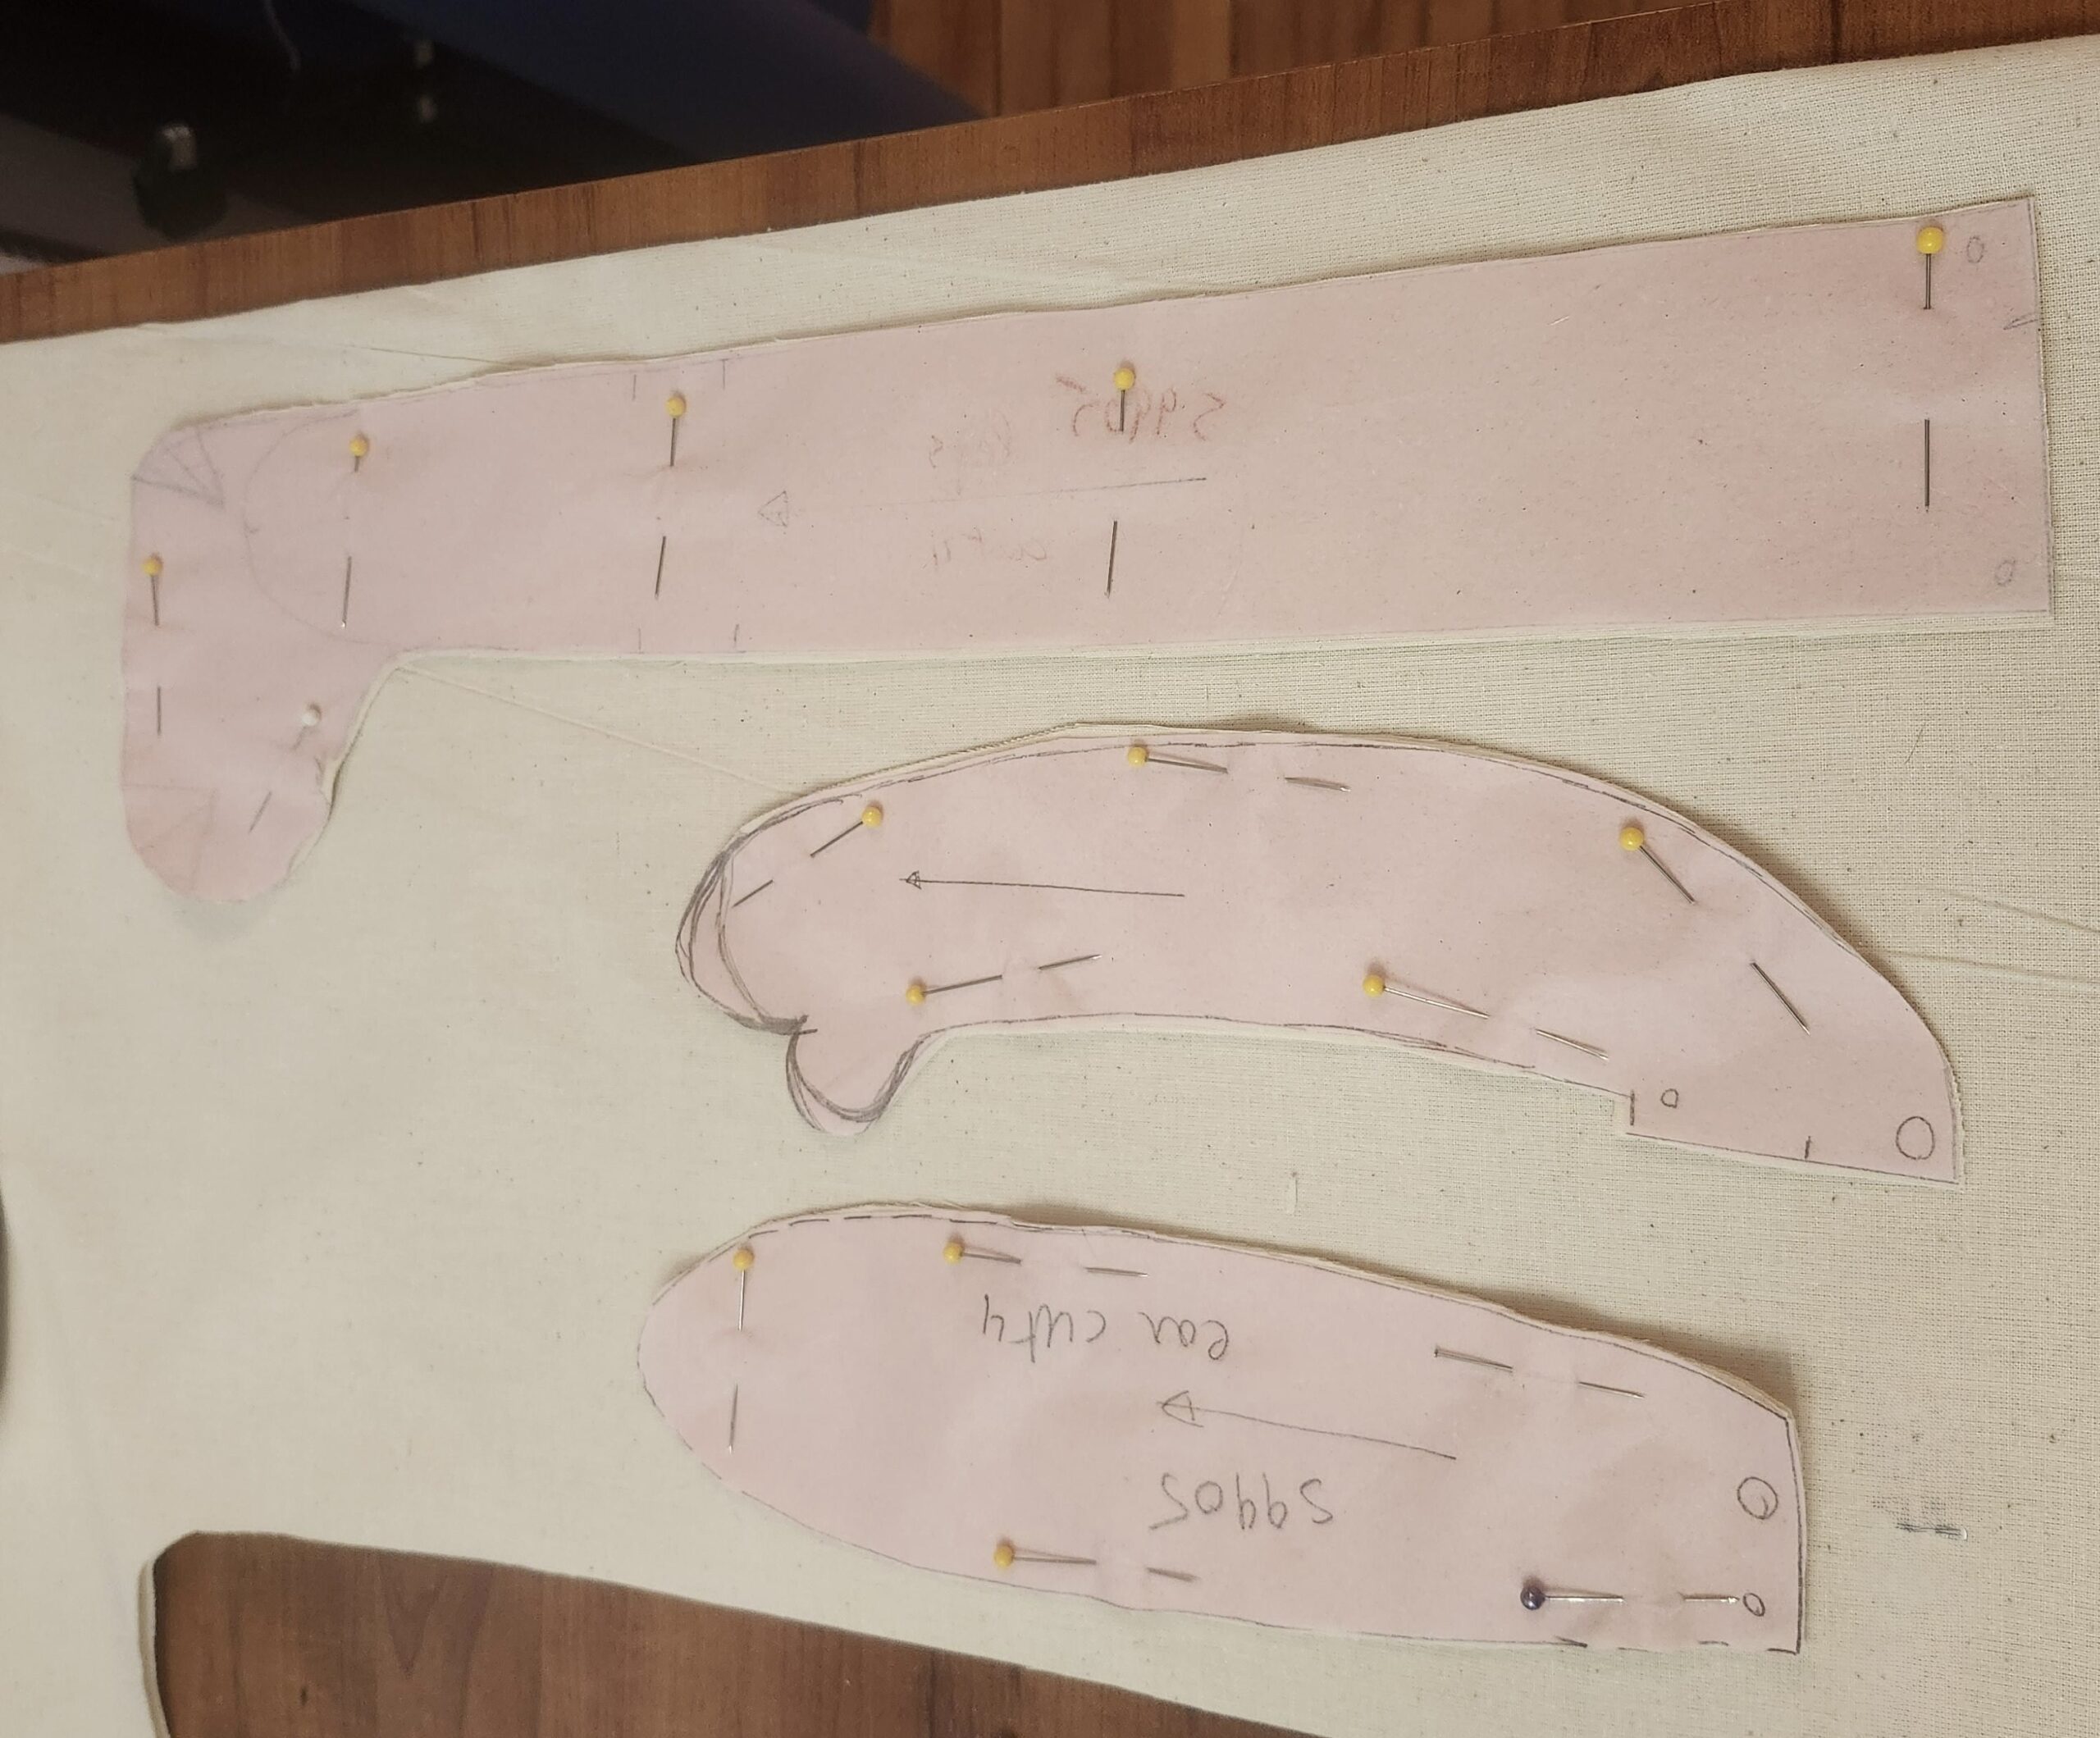
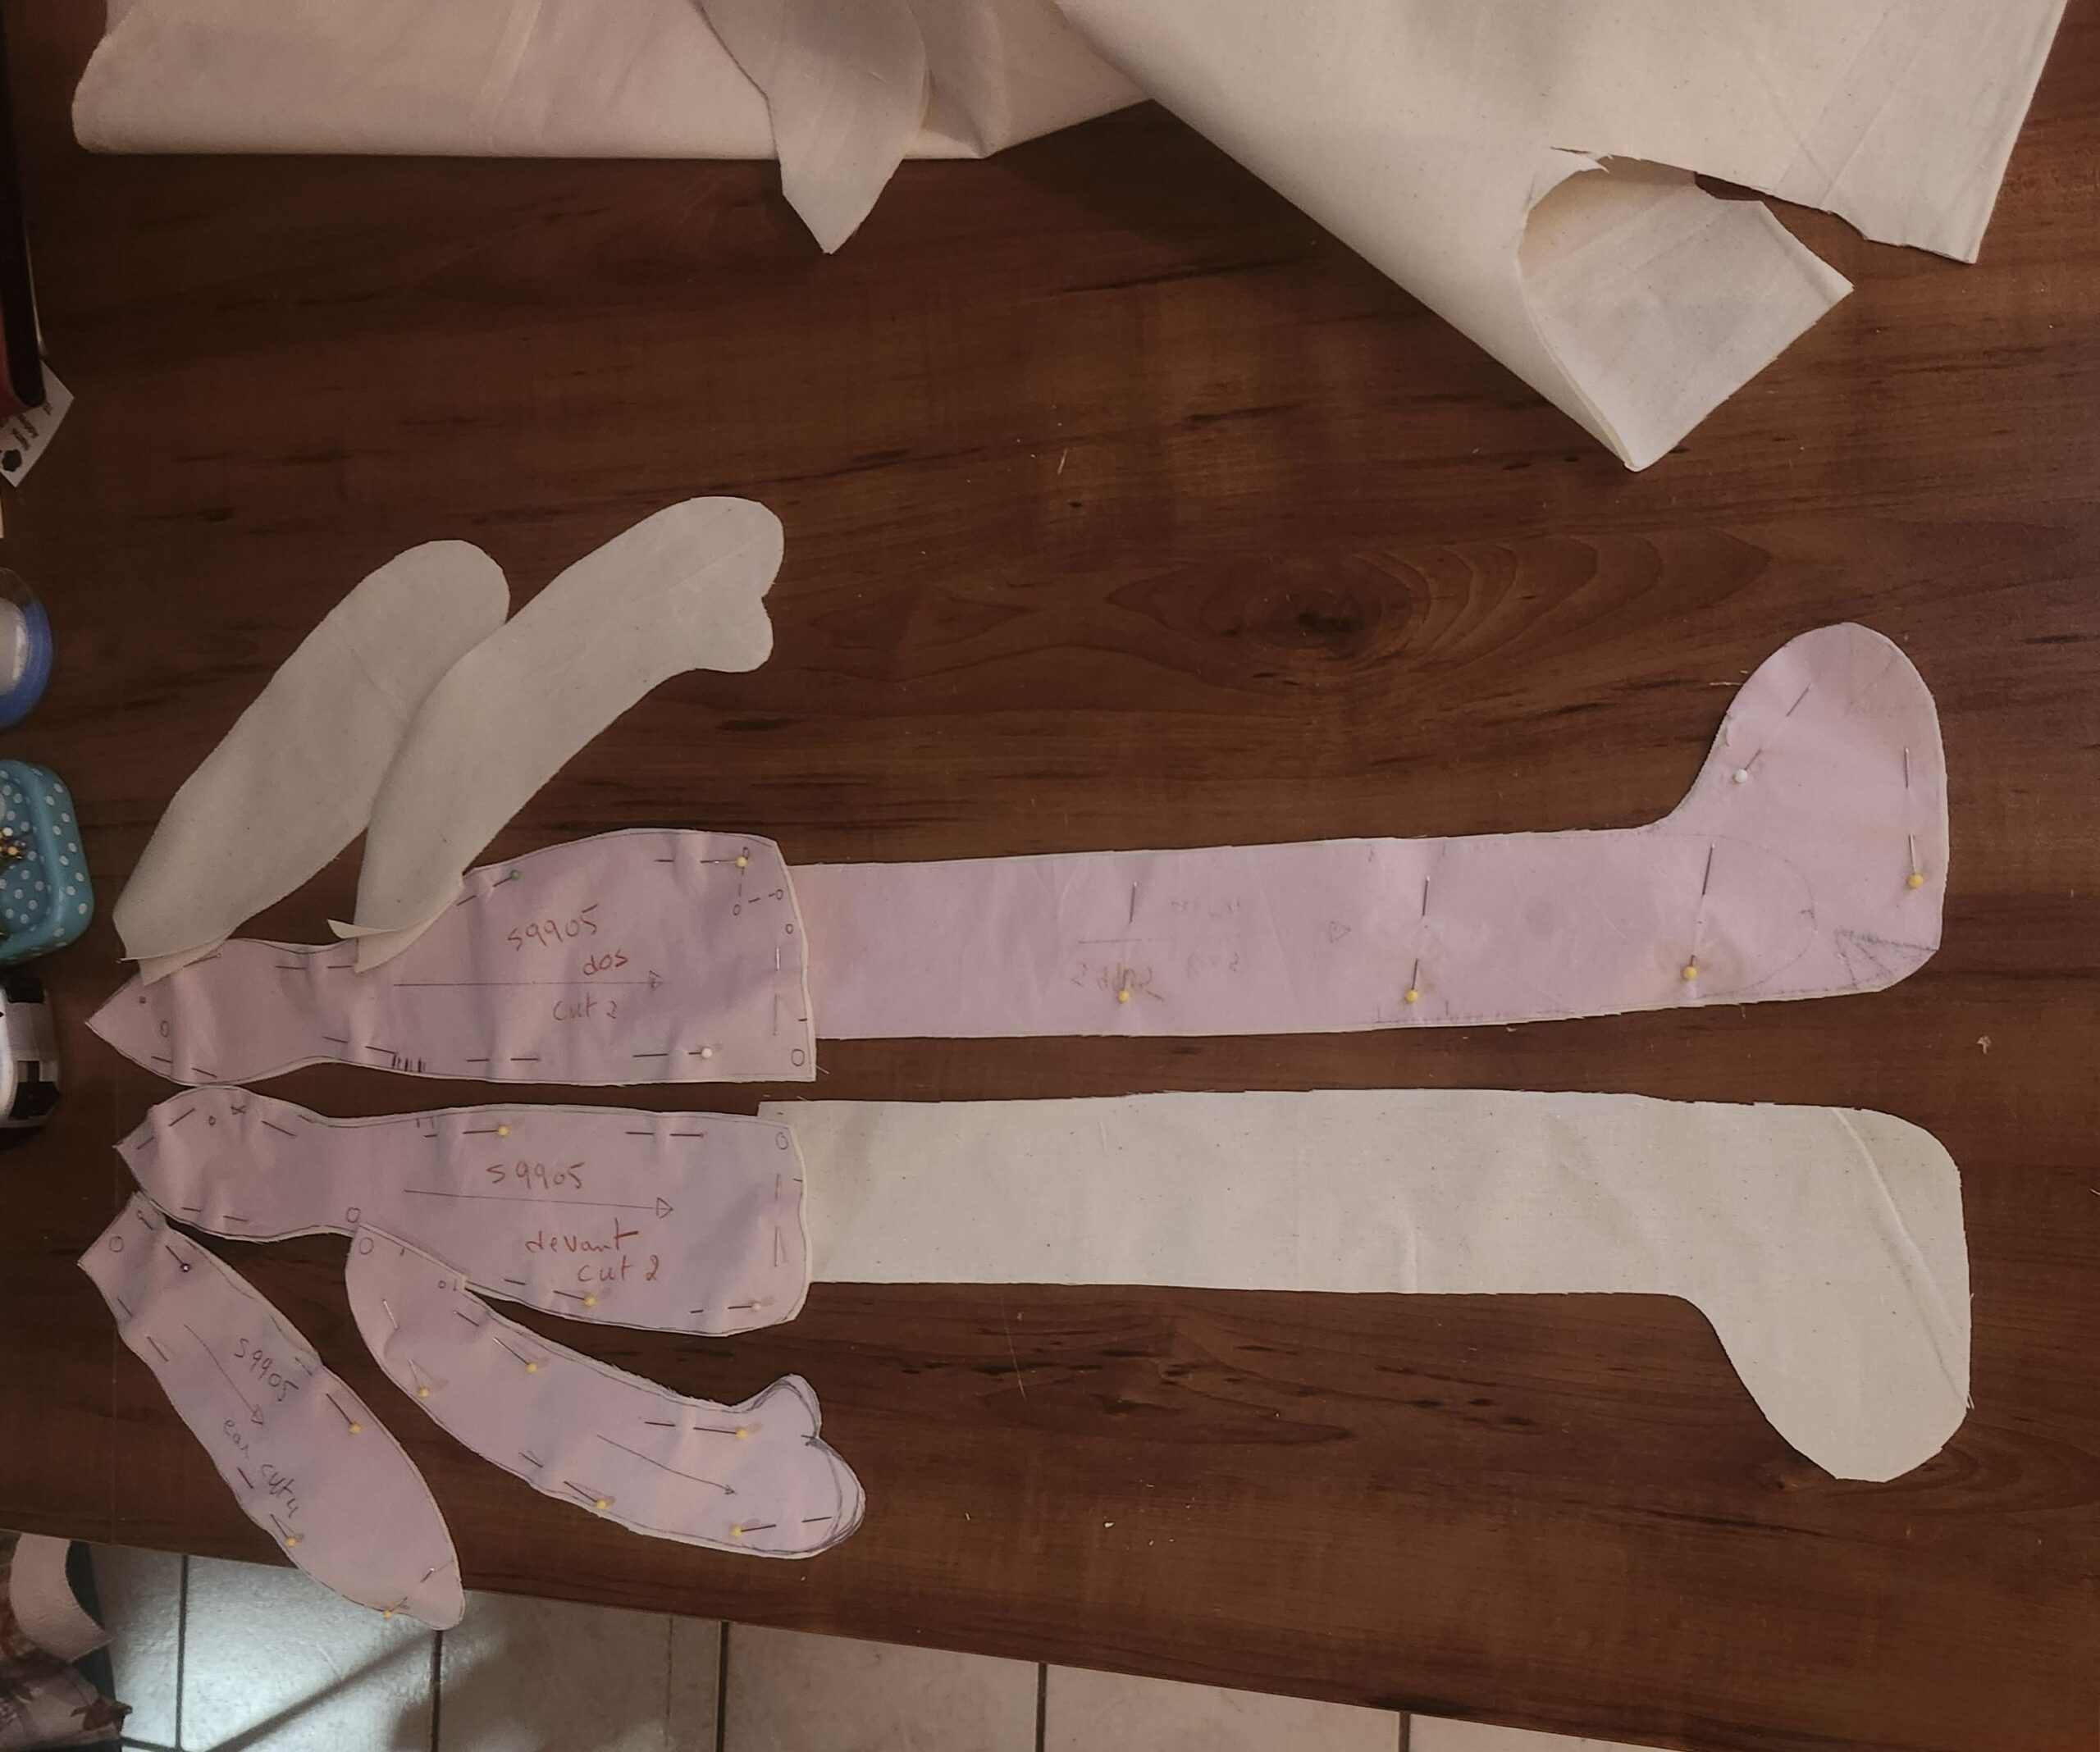
With your fabric pieces ready, carefully cut them out, ensuring smooth edges. Follow the pattern’s instructions for assembling the bunny. I find it helpful to use pins or clips to hold fabric in place while sewing, and using the width of the presser foot as a seam allowance often provides a good balance between strength and flexibility.

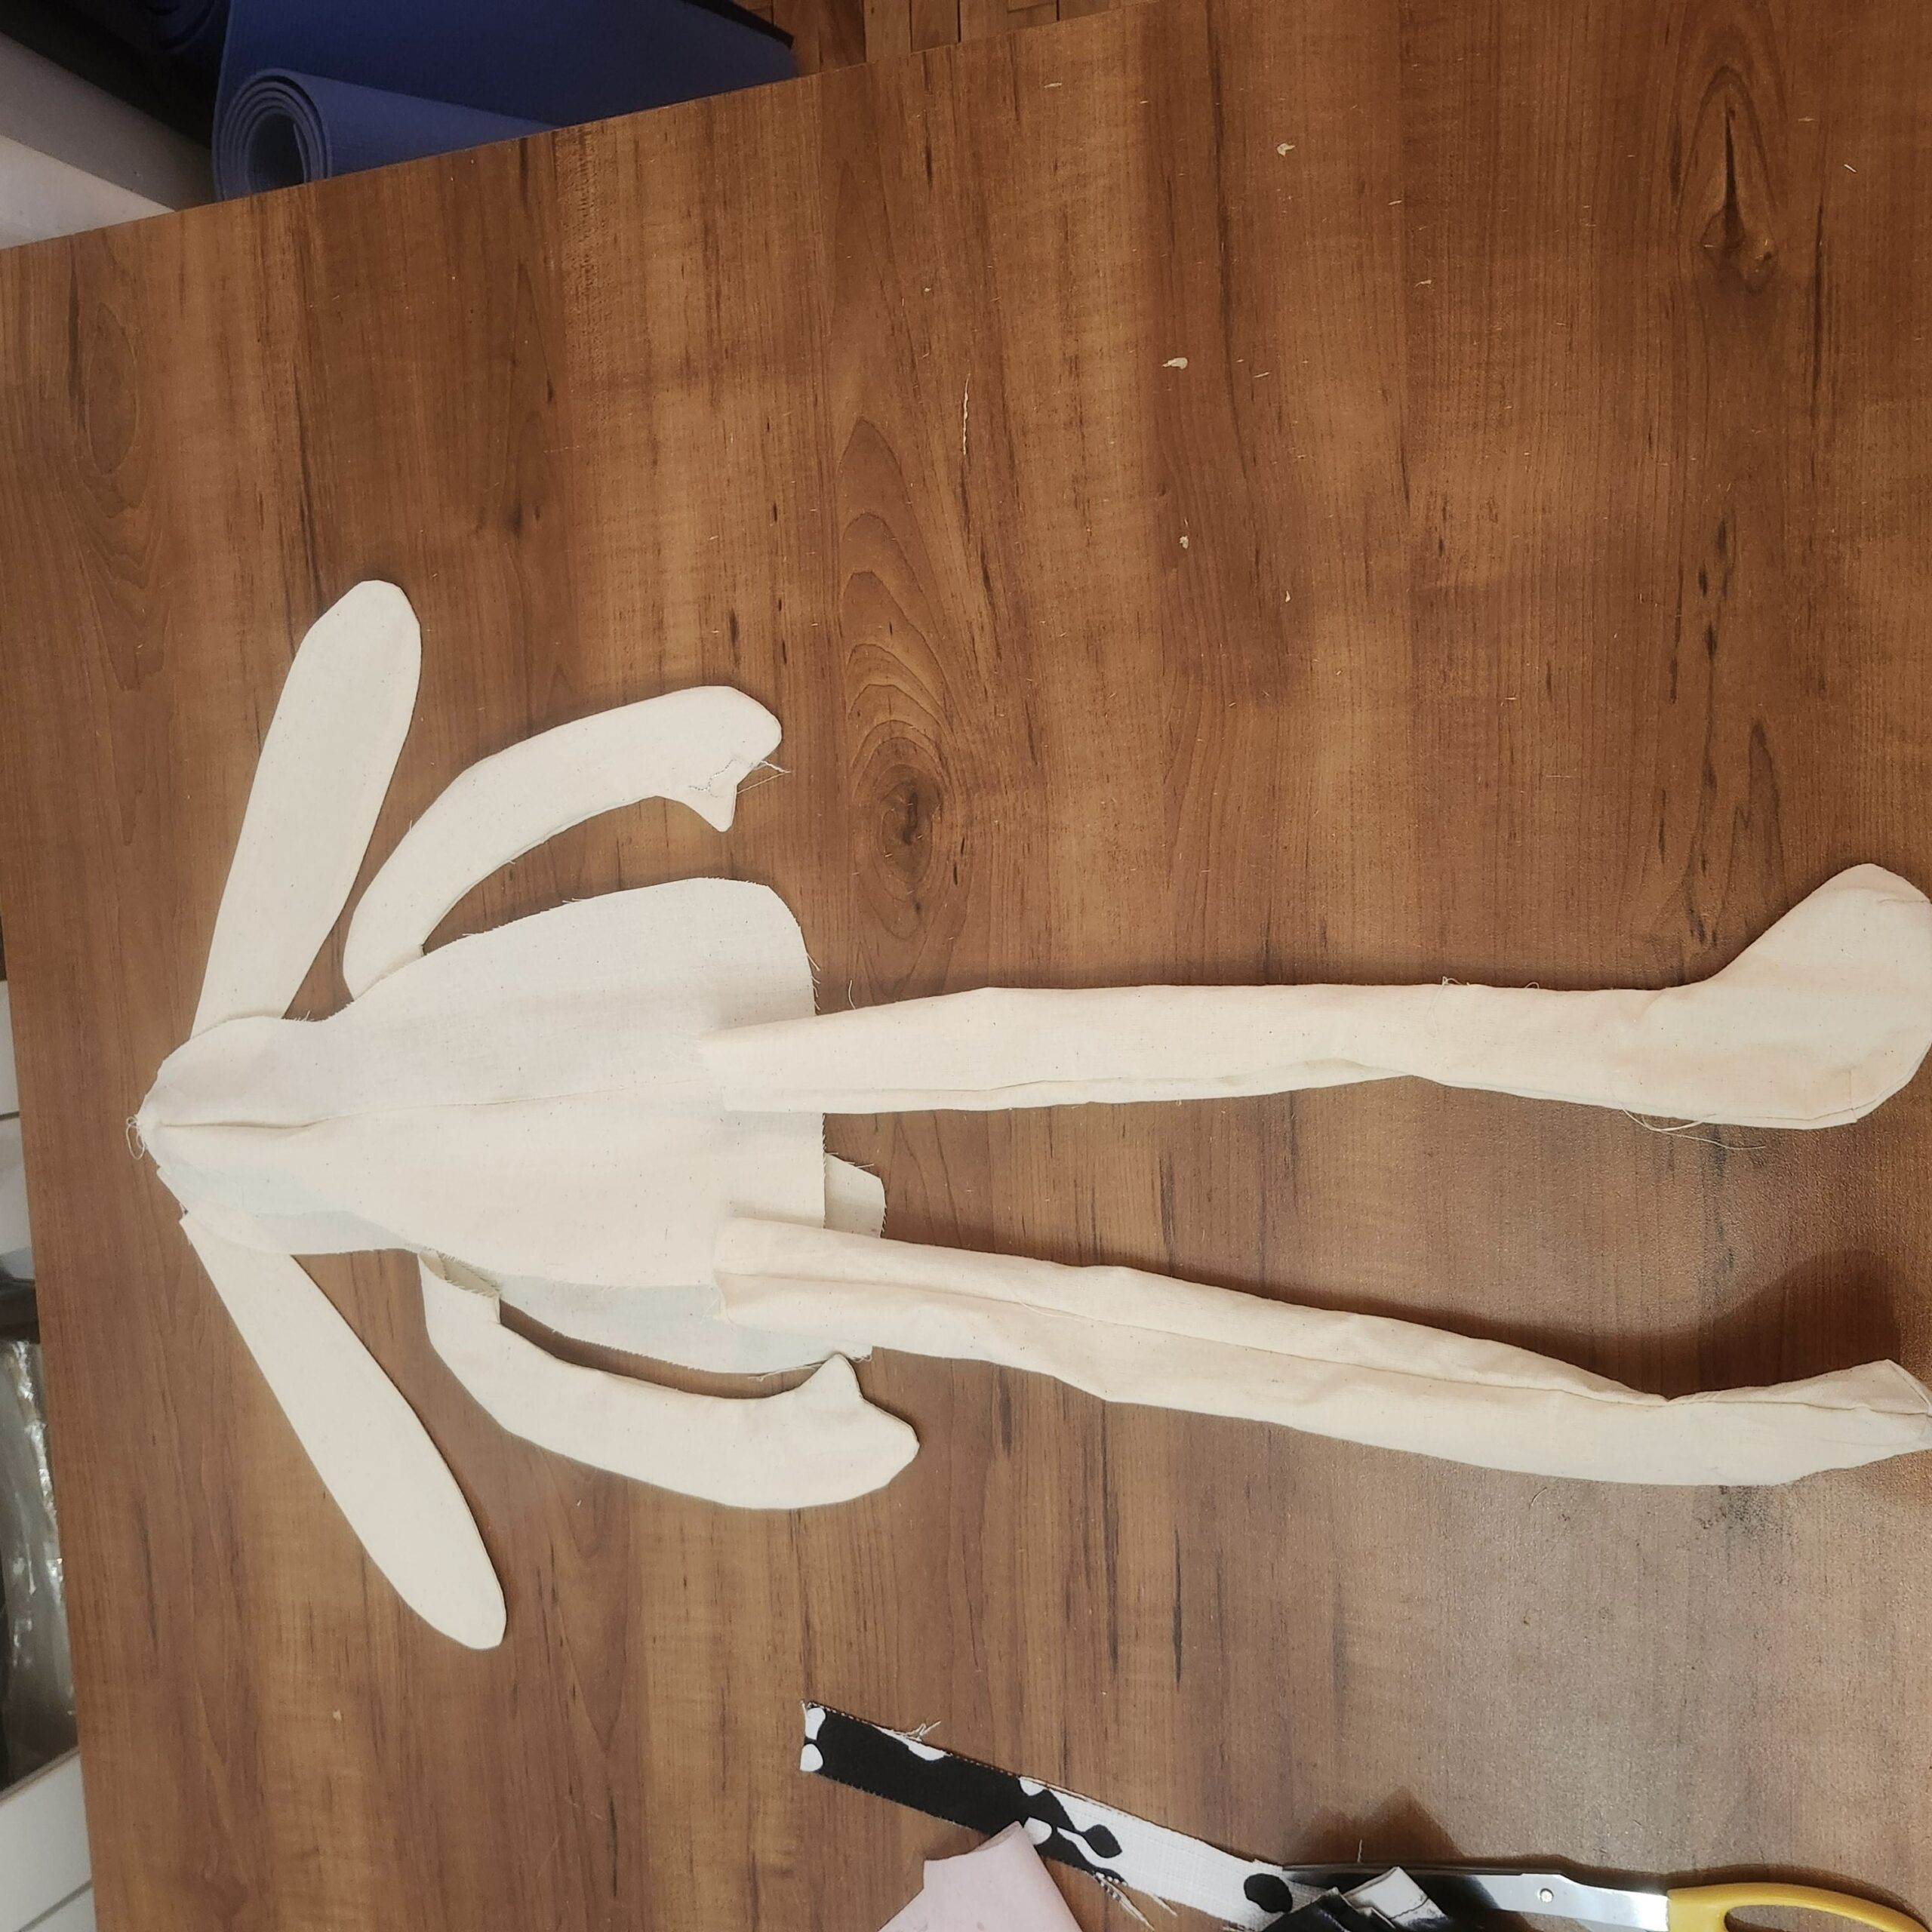
Curves can be tricky, but a little preparation goes a long way. Before turning your fabric right-side out, make small snips along curved seams to allow for a smoother shape. This simple step ensures that the bunny retains its form beautifully.

Start with the smaller components, such as ears, arms, and legs. Sewing and stuffing these first makes attaching them to the body much easier later on. If your bunny has a tail, consider using a small pom-pom or fabric ball for a cute finishing touch.
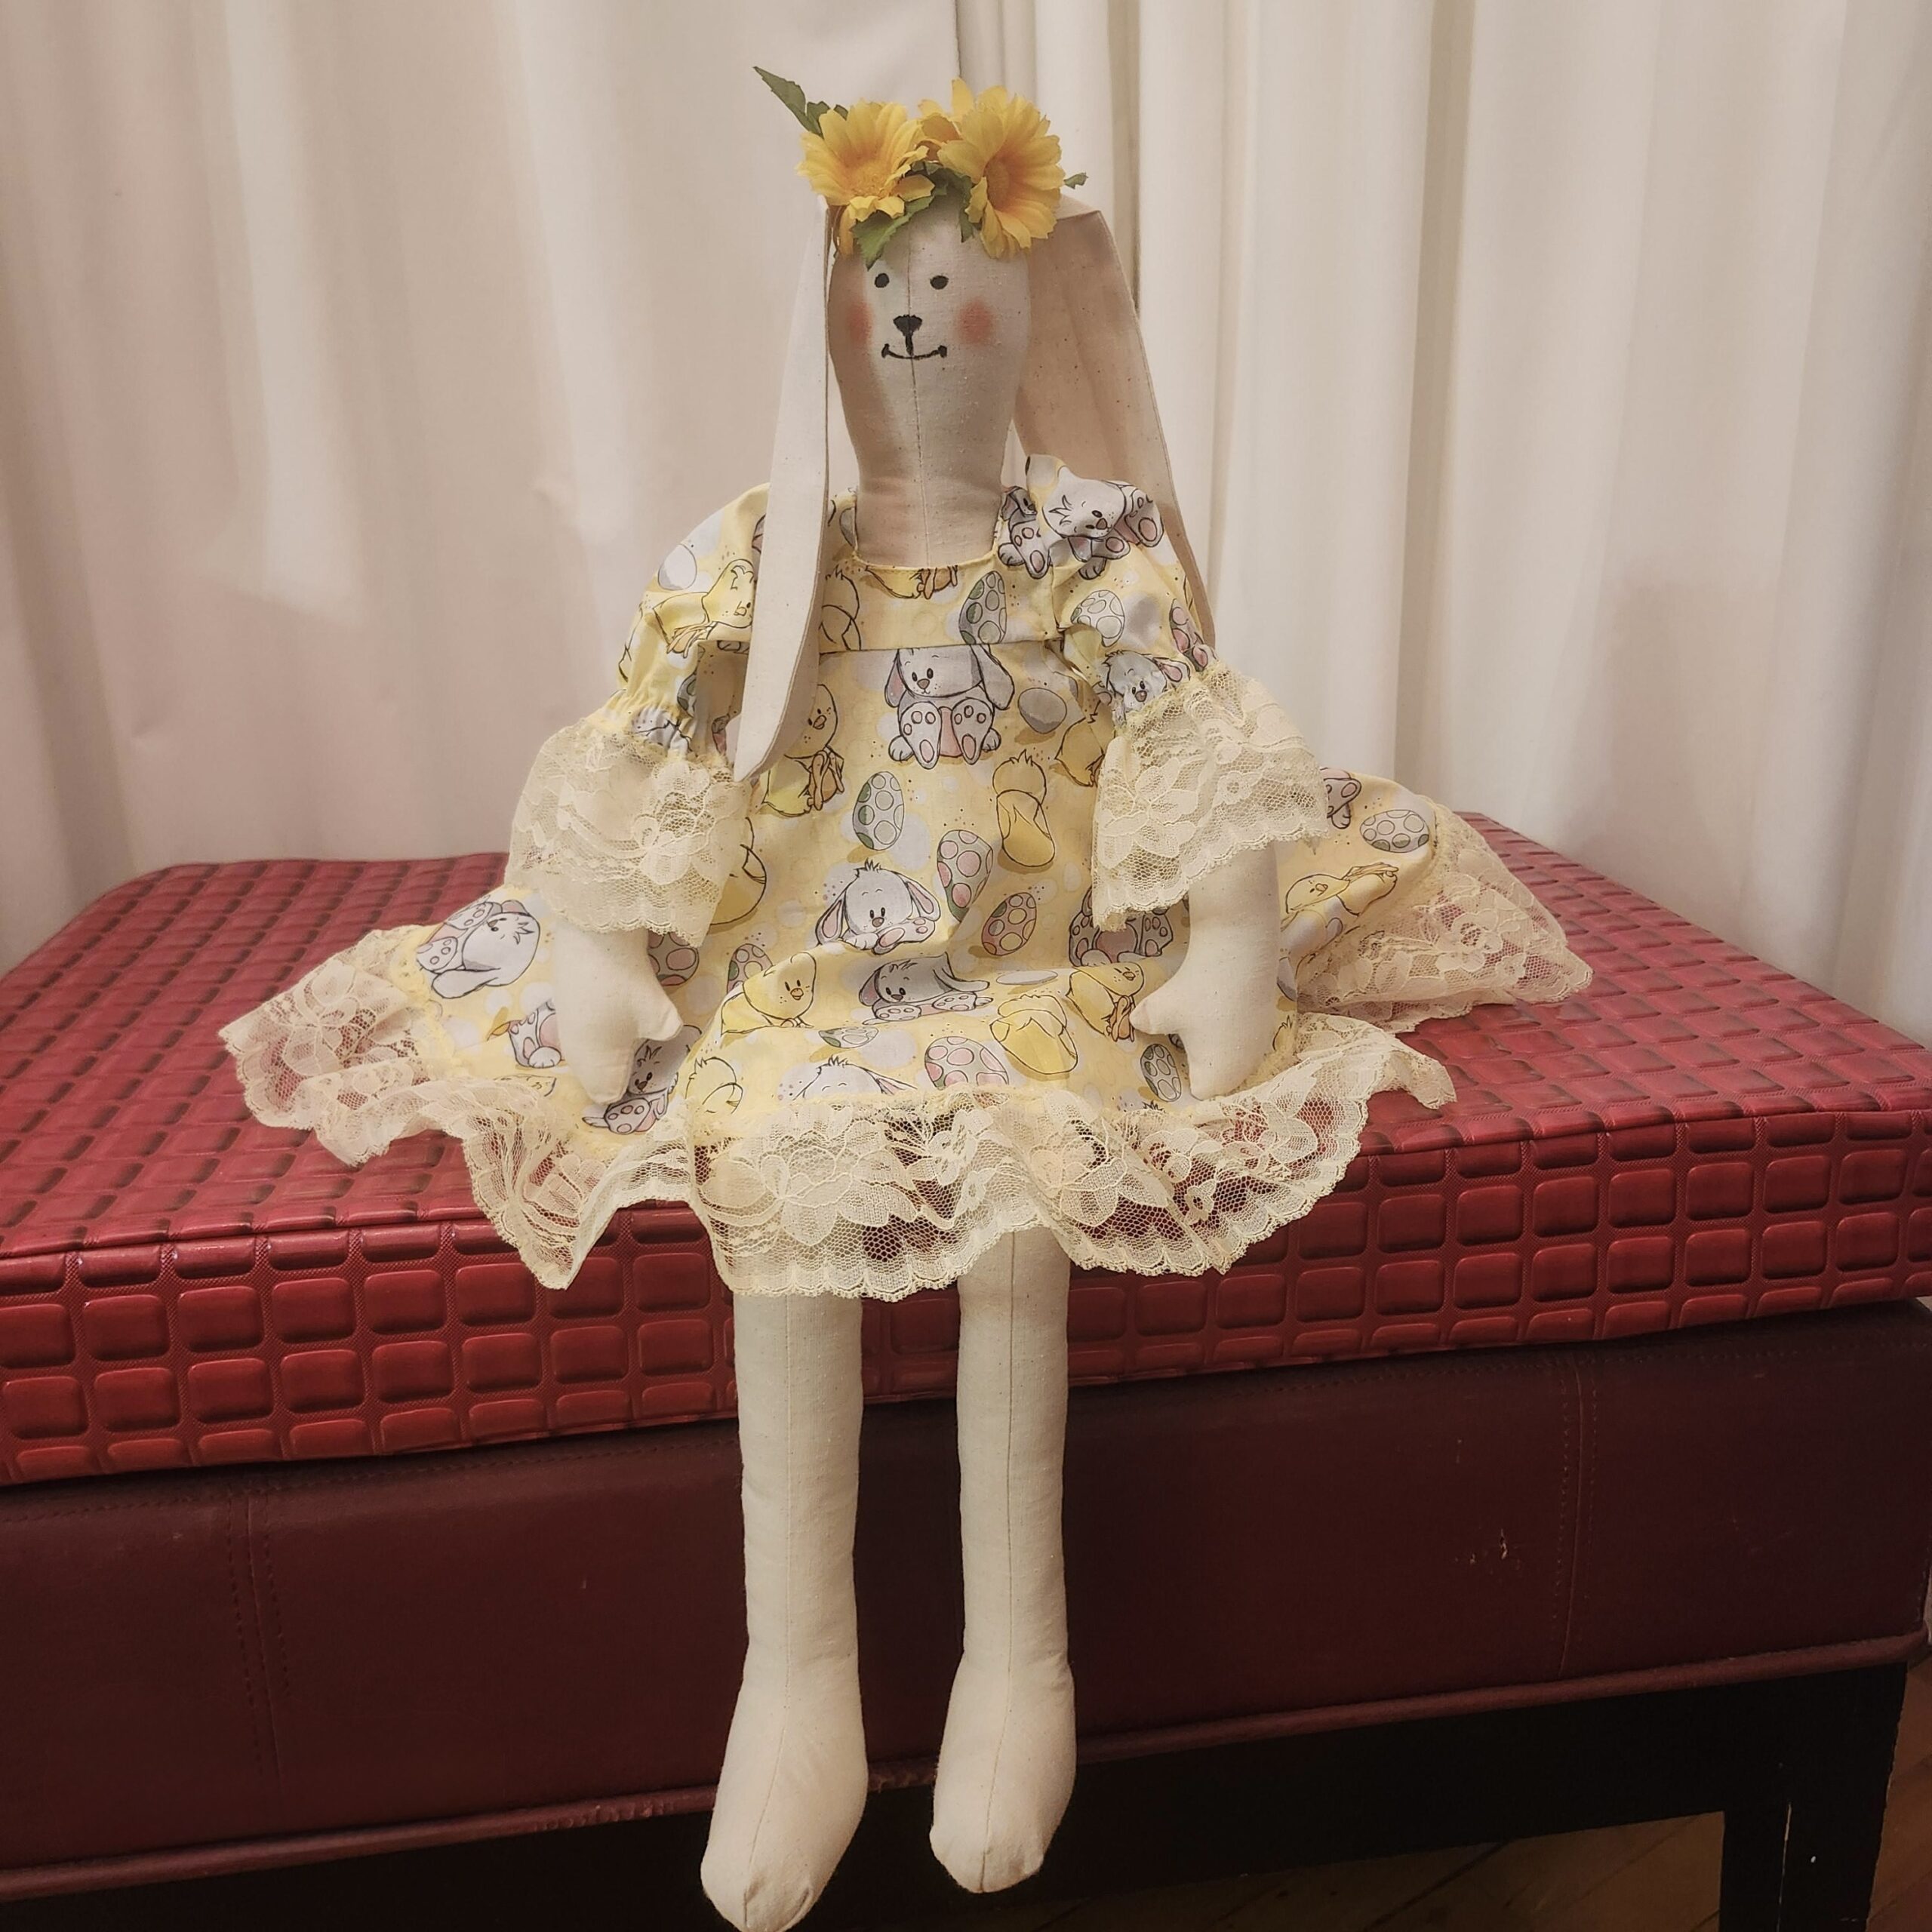
Once your bunny is fully assembled, it’s time for the fun part—customizing it! Add embroidered features for a classic look, or use fabric paint for a modern touch. If you want to dress your bunny, consider making a tiny dress, scarf, or bowtie for added charm.
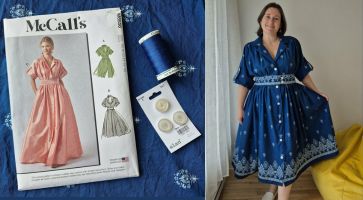
For this bunny, I created a simple dress and bloomers using leftover Easter fabric. If you’d like similar materials, check out the Easter fabrics here.


Crafting a seasonal bunny is more than just a sewing project—it’s an opportunity to create something special, whether for yourself or as a gift. Take your time, enjoy the process, and have fun bringing your unique vision to life. Each handmade bunny carries its own charm, making it a cherished keepsake for years to come.
Happy sewing! 💕