This project is an investment: in style, in comfort and in your self-esteem. It is a very time-consuming, but deeply satisfying traditional tailoring process.

Jacket in black faint plaid renders a laid back ensemble
I started with a request: craft a warm tailored jacket in a classic silhouette. A jacket to throw on at office or at leisure. A jacket that will work with many existing pieces in a wardrobe in colour story and in style. Fabricville’s catalogue of patterns is a treasure trove. And Vogue’s V8333 caught my eye, because it fulfilled the brief. Moreover, it is a Claire Schaeffer’s creation (I am a big fan!), and I was intrigued by the traditional tailoring method included with all 37 (or so) pattern pieces.
I picked up LINDSAY jacketing wool blend, which is on a heavy side, but suited the project perfectly. I opted for a bright red luxurious Bemberg lining and red undercollar felt, to jazz the jacket up a bit. A bag full of materials came home with me. There was tailor’s canvas, organza (for interlining), cotton wadding (for should pads), silk and topstitching thread, buttons… I could not believe all this will end up in one jacket. Alas…
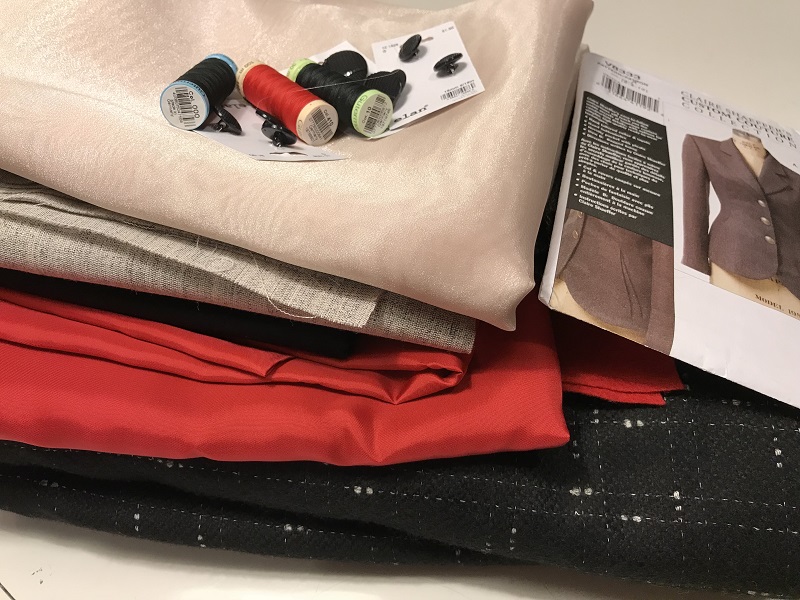
All the materials for the jacket
I followed Claire’s instructions almost religiously. However, in the very beginning, judging the weight of the fashion fabric, I decided to reinforce the chest area with an additional piece of canvas cut on bias. I added a key-shaped dart to the shoulder, as instructed in Yukio Kakita’s L’art du tailleur. Another change I made is actually an omission: I decided not to use organza to interface all the pattern pieces, because the fashion fabric is quite sturdy and does not require additional support.
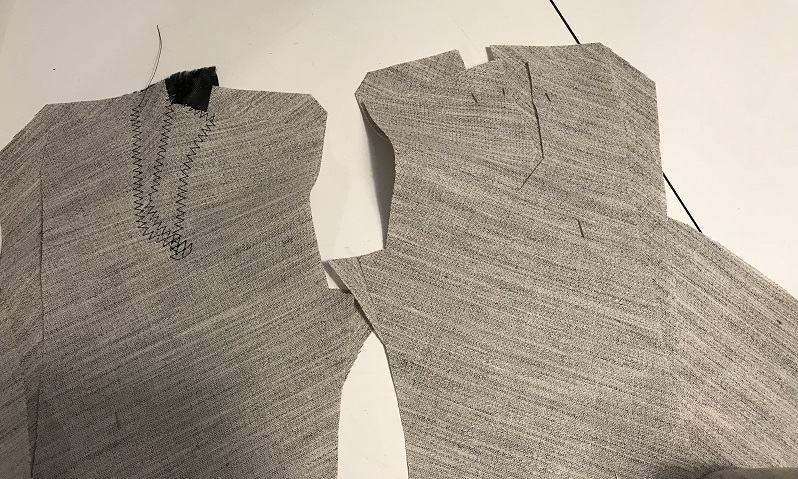
Front canvas with chest piece cut on bias and key-shaped shoulder slash
I found it ingenious the way Claire treats the bust dart under the lapel. I am definitely stealing the technique!

Bust dart under the lapel with canvas cut out and anchored to the dart.
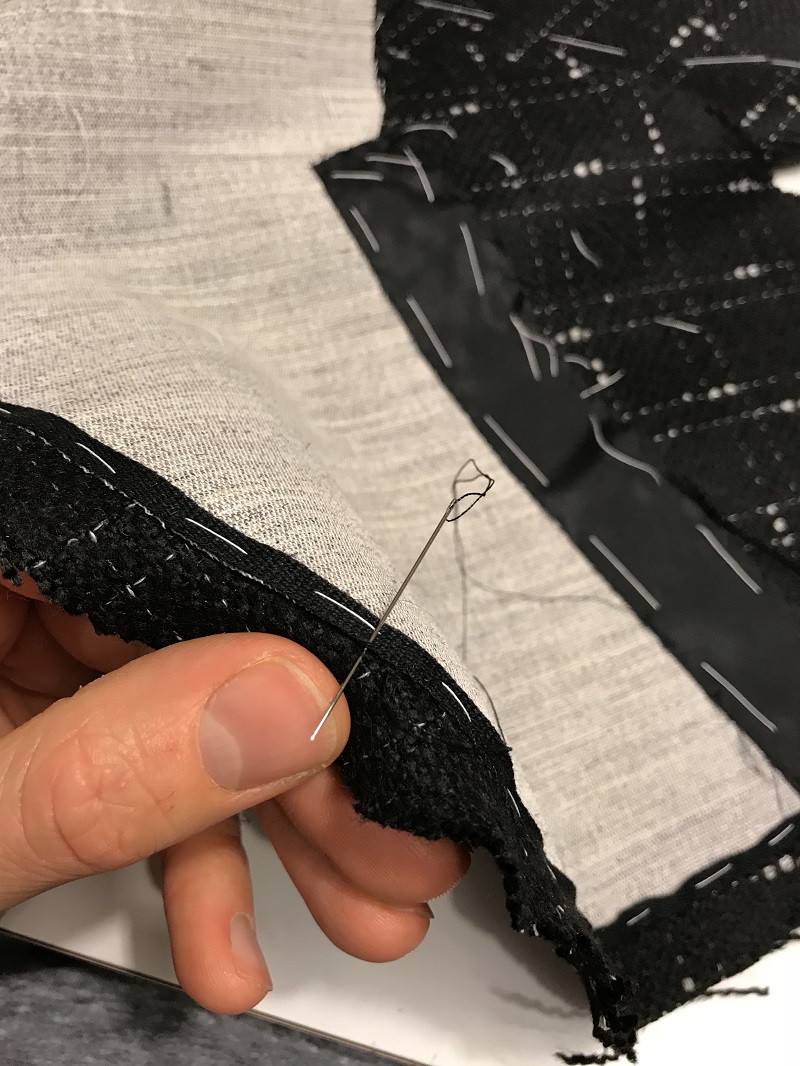
There is a lot of hand basting and hand sewing in this jacket. Speaking of which, I need to find better threads to transfer pattern markings. This time I used by basting cotton, which is amazing for basting because it is smooth and breaks without much effort. However, the same properties are counterproductive for markings, because the threads fall out by themselves, even when I use double threads. Any inexpensive ideas?

Transferred pattern markings in basting thread
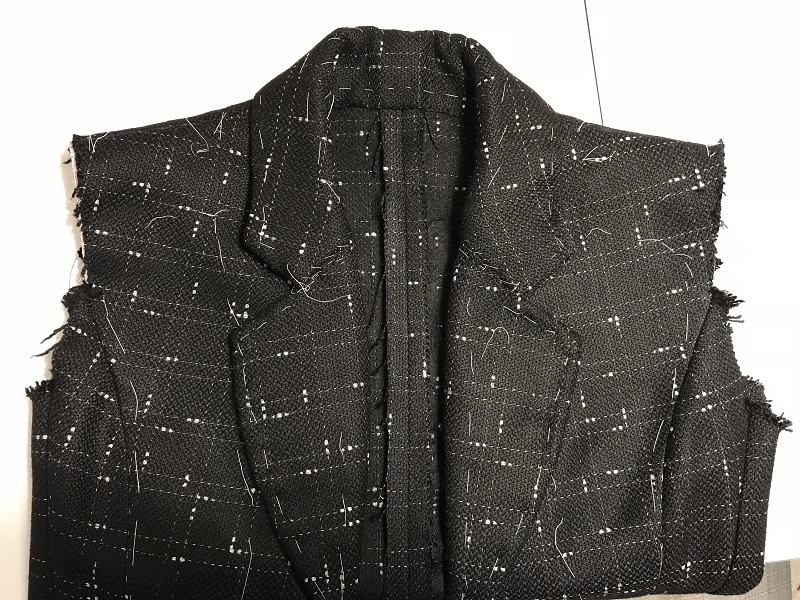
One of the things I would suggest to look for when anybody tries this pattern: the instructions don’t call to trim the canvas out of the seam when the front is attached to the side front. I would urge you to trim it away and catchstitch the seam allowance to the canvas (which I did not do, but found about later): it will produce a cleaner and less bulkier seam.

You can see the seam allowance in the canvas was not trimmed out of the seam. It produces a thick seam. In lighter weight fabric it would be better to trim this canvas seam allowance completely.
Speaking of bulk: the way the pattern is designed produces a lot of layers of fabric in the hem in the pocket area. I could not find a way to slim it down. May be somebody can revisit that?

Pattern matches across the chest
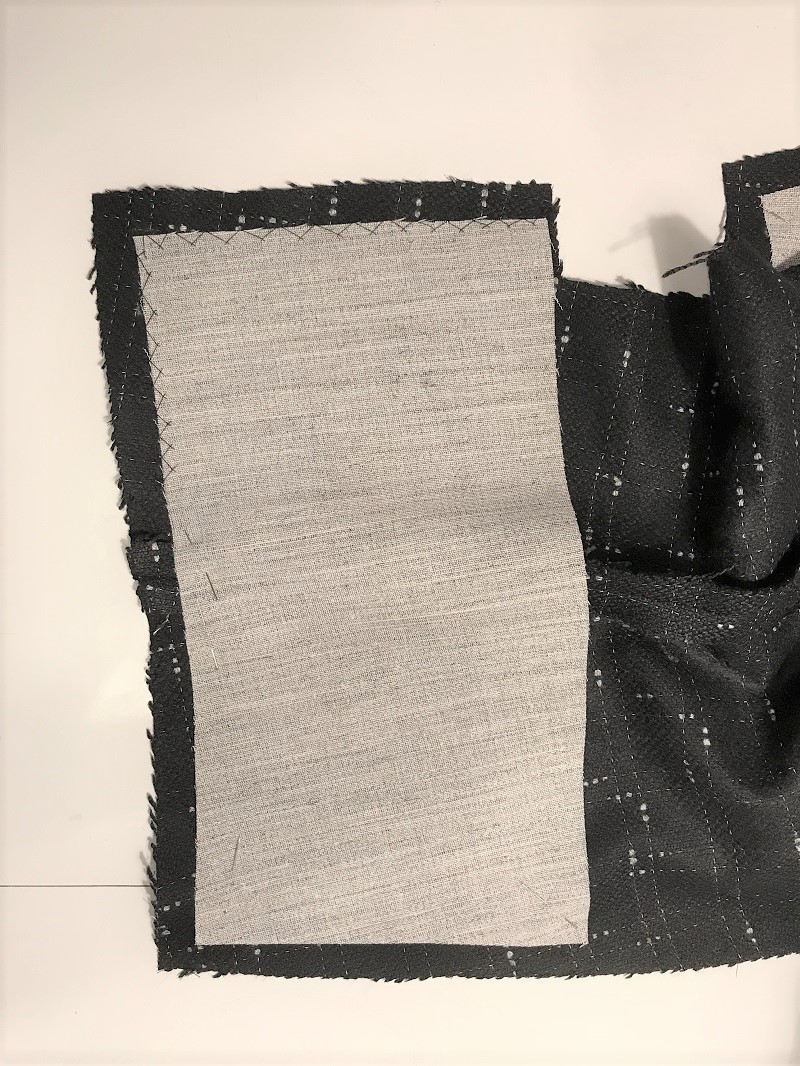
Edge tape on the front pieces
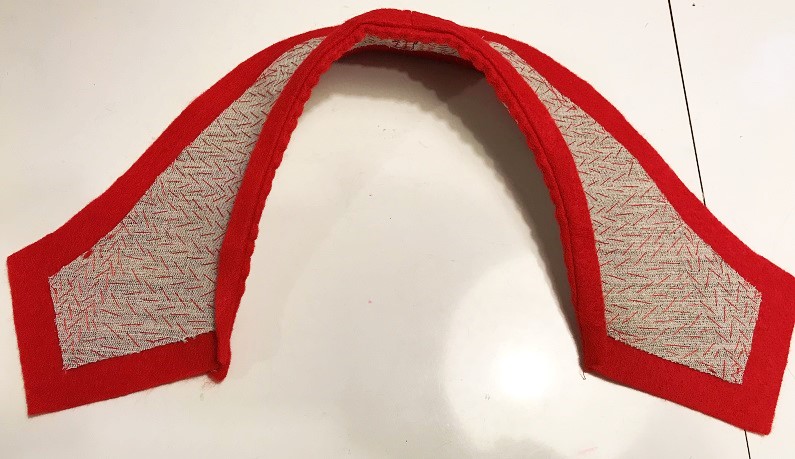
Undercollar in red felt and canvas

Interfaced sleeve facing!

Lofty sleeveheads?
Handmade buttonholes with gimp and top stitching Gutterman thread. Doing it afraid.
At the end of the end, I am almost happy with the result. The jacket fits well into the wardrobe. It is versatile and transitions well from office to leisure. The pattern has its quirks (like quite low notch lapels and broad shoulders – maybe I could have made those narrower as well?). But I would recommend a similar project for those looking to delve into the traditional tailoring world. I enjoyed the process a lot.