I found this awesome Peppermint Swirl dress pattern by Candy Castle Patterns.
I have already used one of their patterns before and loved it! They are really and truly foolproof. You might laugh at this, but trust me, if anyone is going to screw something up it will be me! In reading the pattern, I realize that all the sleeve options from the previous pattern I purchased will fit this one too, Bonus!

Because I have no imagination at times, I wanted the same colours and pattern as the original picture I found of course. So when I didn’t find it at the store, well, I had to do some searching and come up with an original idea..humph.
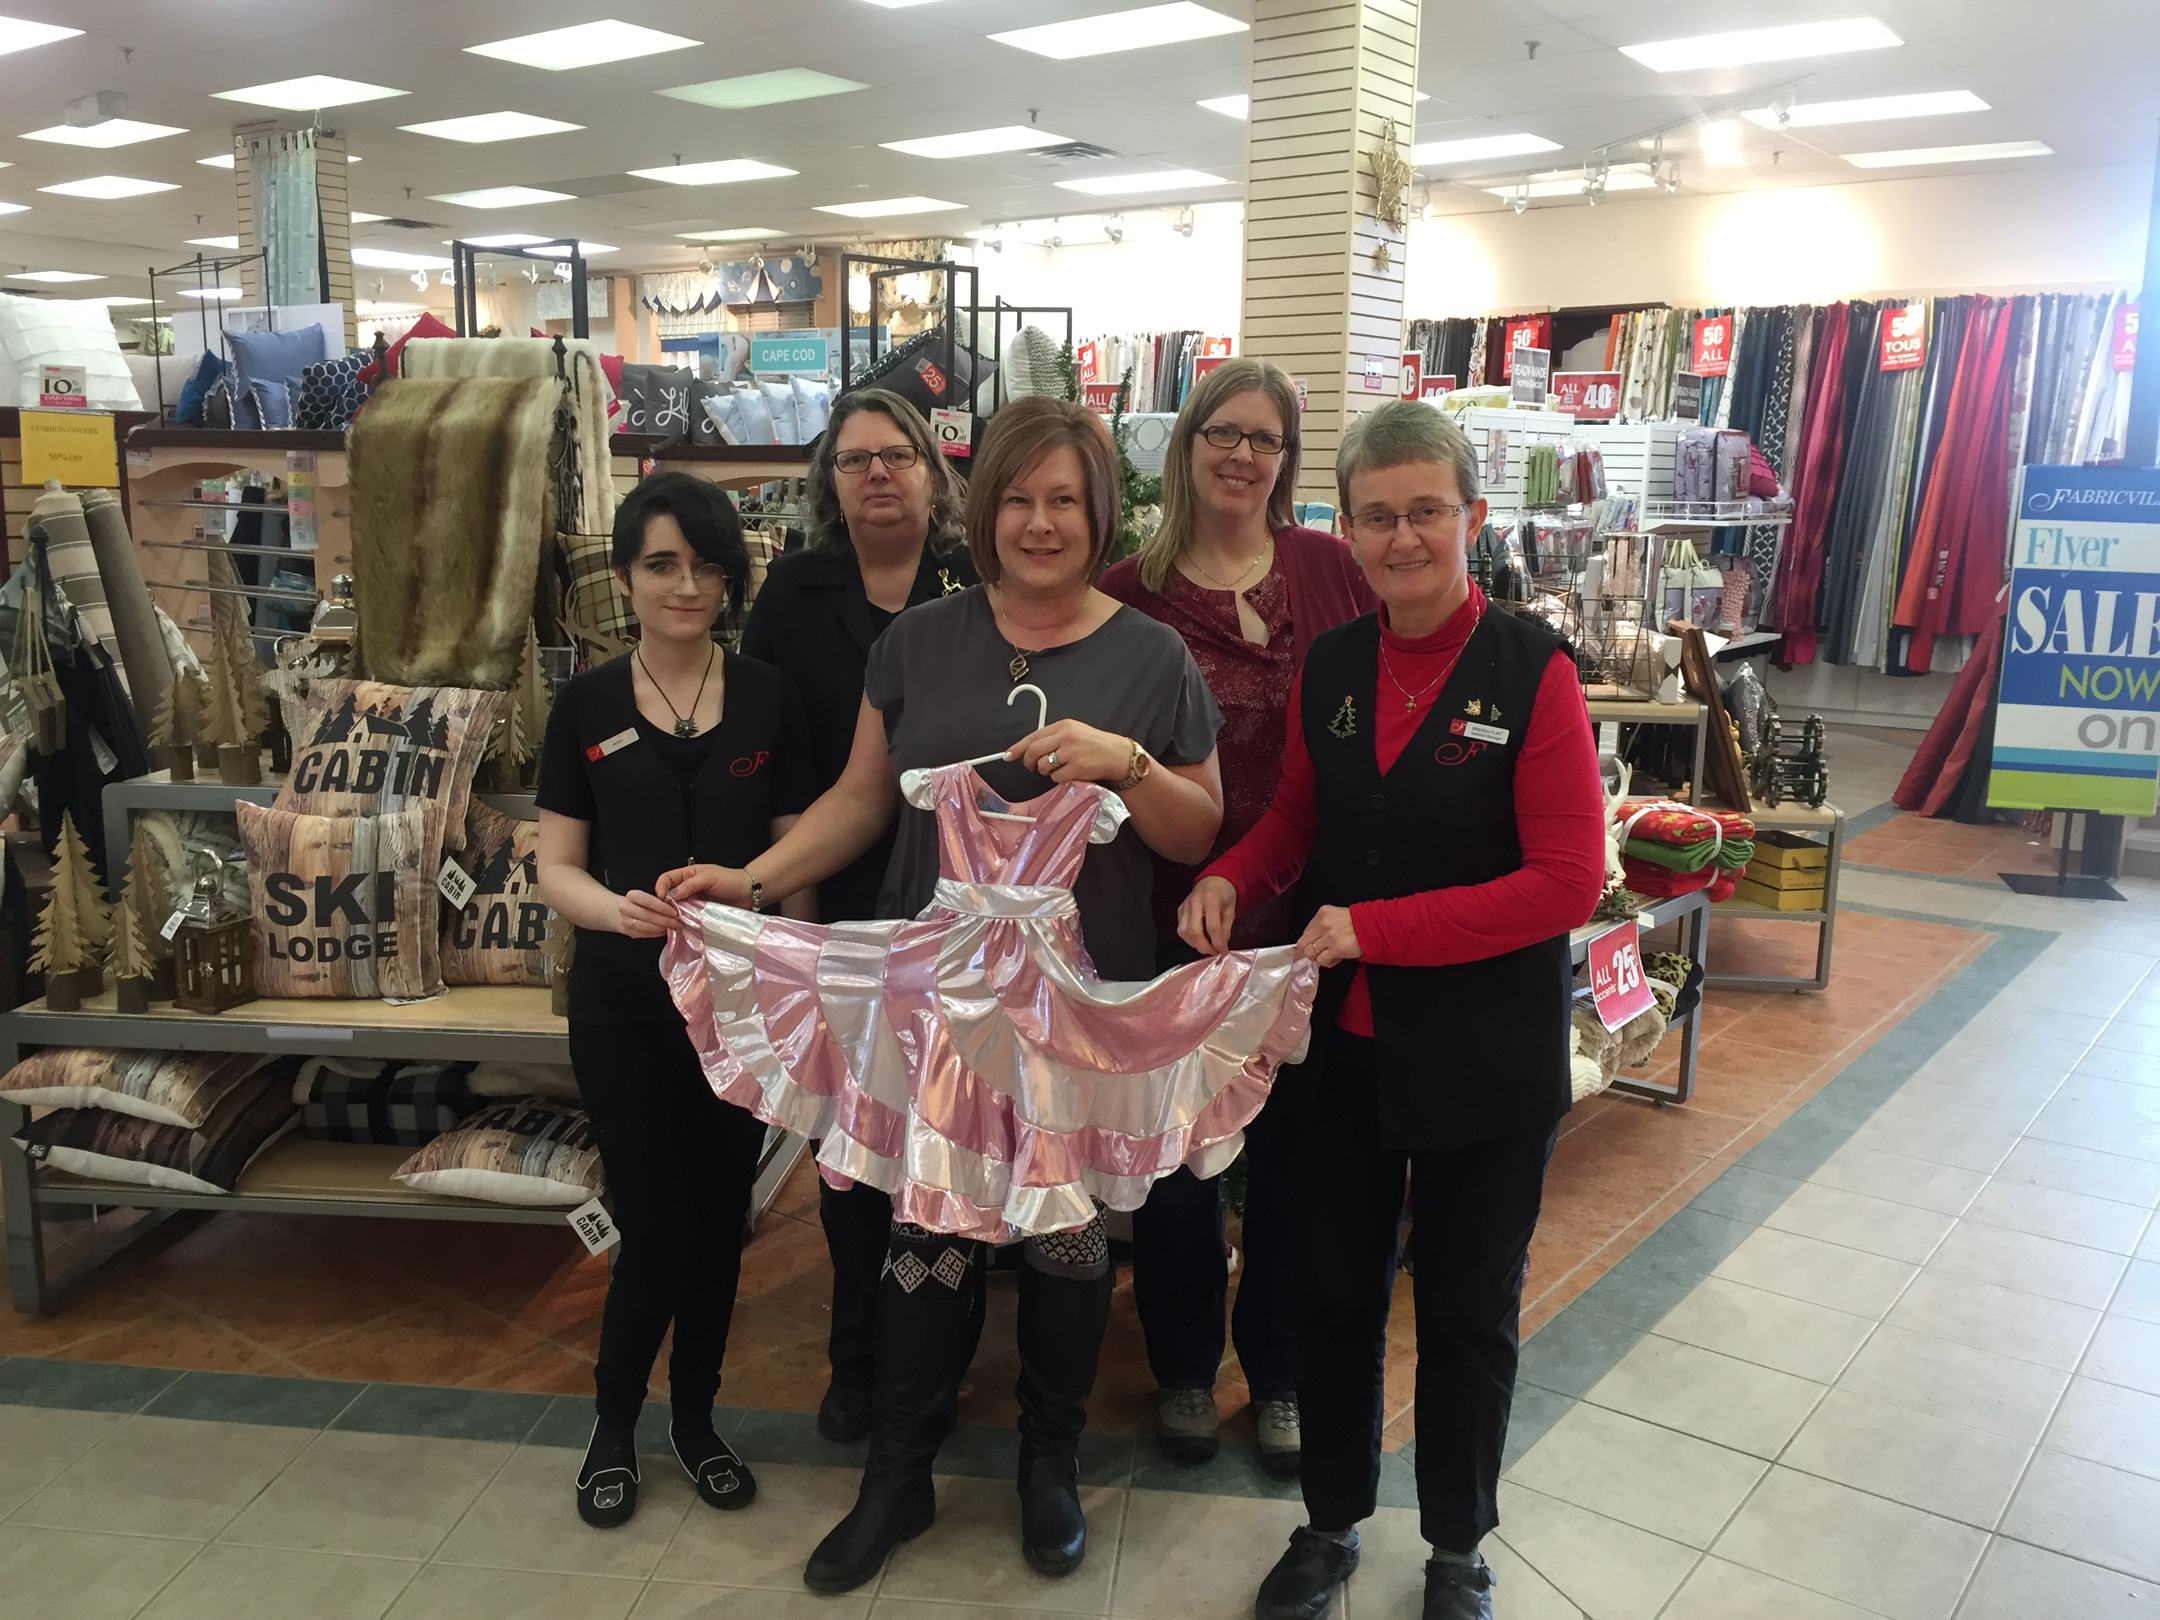
With the help of Brenda, the store manager at my local Fabricville, I finally found this awesome shiny material. They call it liquid metal and it is sturdy, shiny satin looking material with a bit of stretch to it, if that makes any sense. It is available at Fabricville online as well. I picked pink and white and it is sooooo pretty.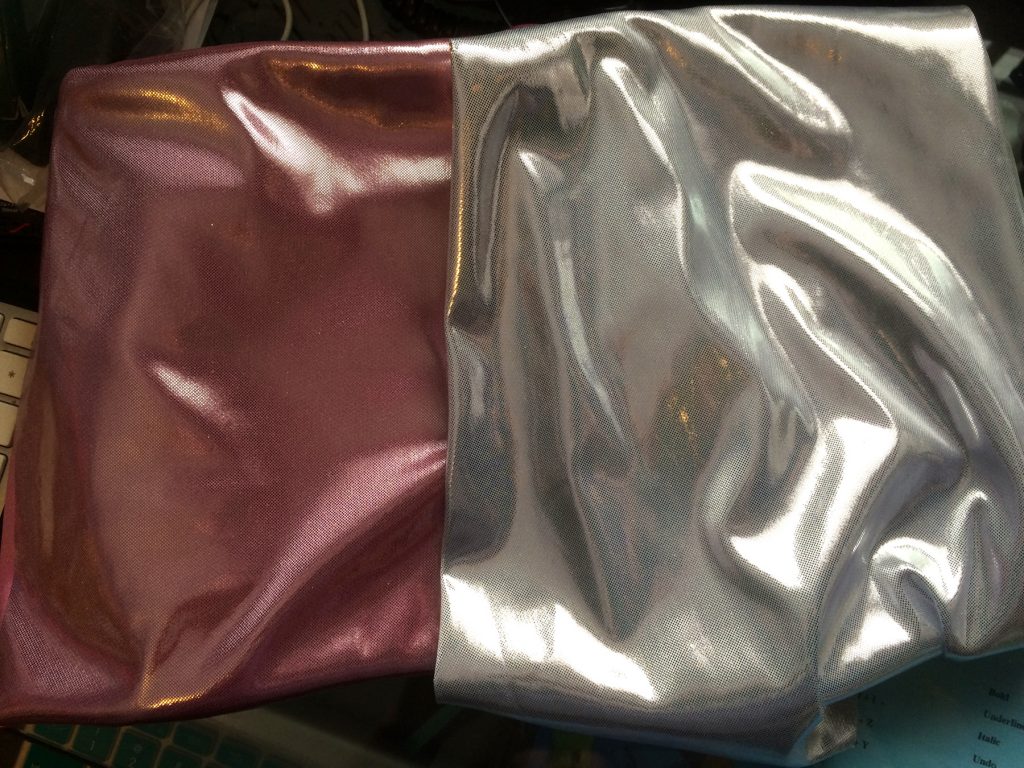
I decided if Miss Maddie likes this dress as well as the last one, then she might want to wear it all the time. It was going to have to stand the test of a toddler. Satin was not going to work for this, I wasn’t sure cotton would lay right for the swirls and a lot of other shiny fancy fabrics were going to pull and/or snag. It is suggested in the pattern to use any light to medium weight woven fabric you like.
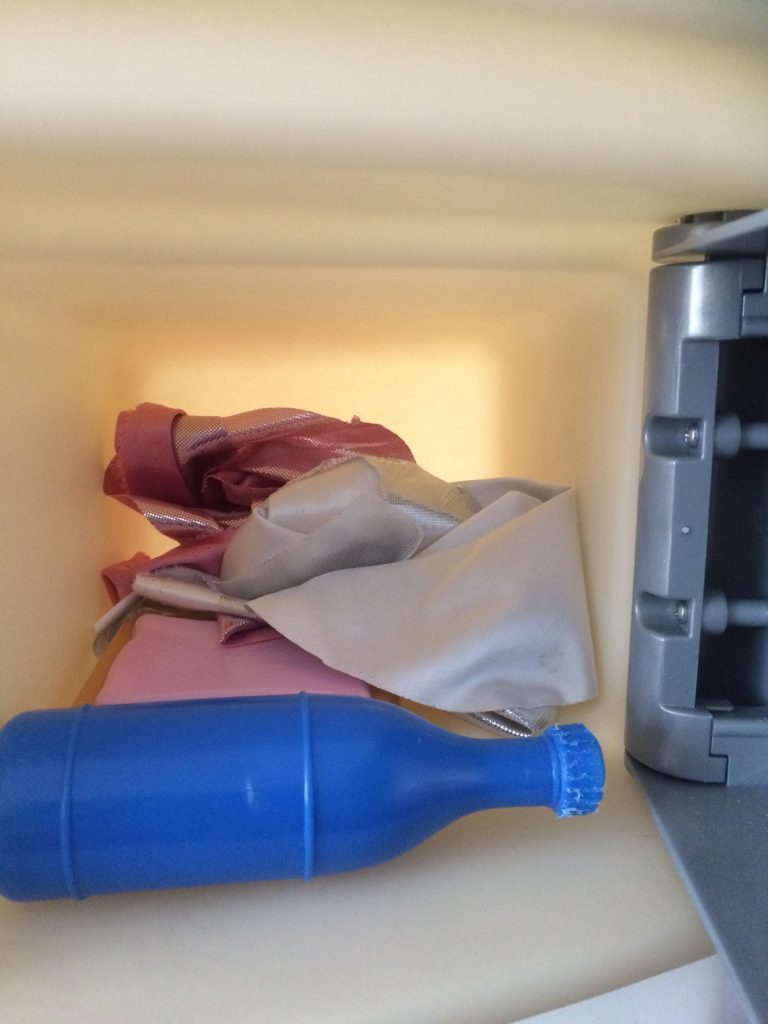
She sure has put it to the test already. While I was cutting it out, she wanted the scrap pieces. She has carried them everywhere. She uses her pretend iron on them. Mixes them in her kitchen mixer, and stuffs them in, well, anything. No snags, rips or picks yet. It doesn’t even seem to wrinkle.
I cut out all the pieces and it took a few days to get around to starting to put it together and then I realized tonight that some pieces have gone missing. Sure enough, little miss had them shoved in her mixer lol. Found the! No harm done.

A note on cutting out the pattern. I found it much easier to use my rotary cutter. When I first started with the scissors, I was cutting all jagged around all those curves. Once I switched, it was much faster and neater. I was then able to cut a couple of layers at a time which helped greatly as you need 14 swirl pieces but there is really 28 as there are 2 parts to the swirls.
In the first couple of steps of the pattern (if you are using the flutter sleeves). A handy trick I got off Pinterest is to gather the fabric with your sewing machine instead of having the 2 lines of stitches and then pulling them. Simply set your stitch length to the highest length and then set your tension on your machine to the tightest. I practiced on a scrap piece first. Leave your long ends though. This fabric has a little bit of slip to it and you may have to gather some again with these ends.
Of course, after the fact, I came across this tutorial from Made everyday on how to gather the right way. Her method actually makes sense and may have worked better with this fabric.
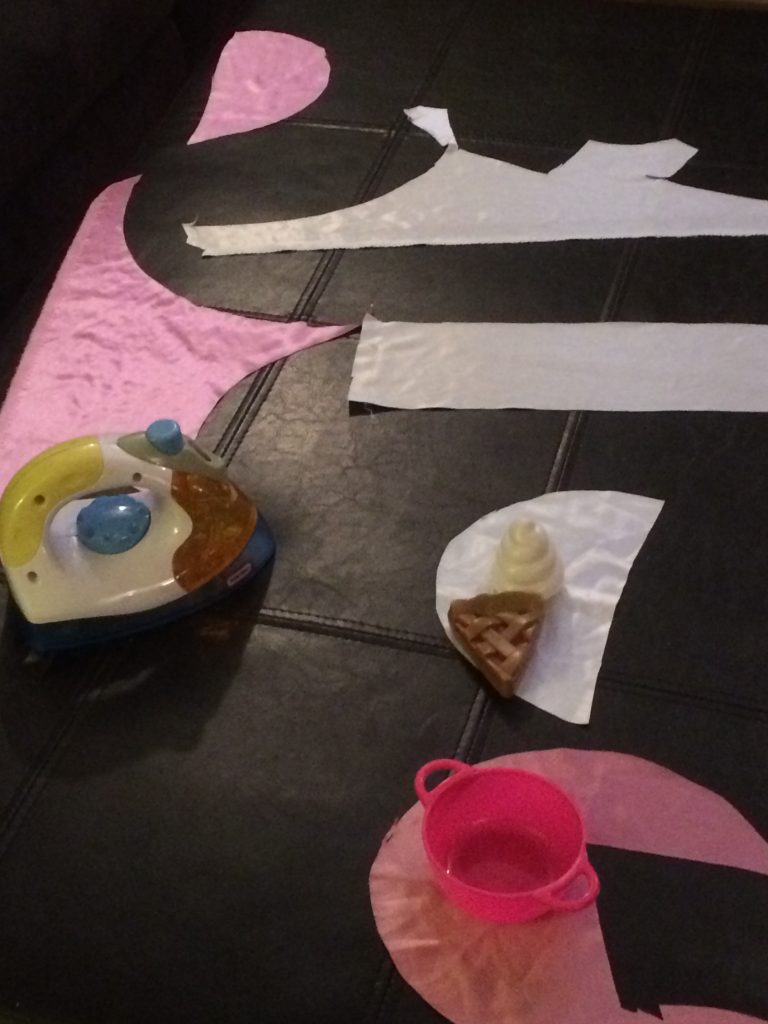
Also, don’t iron this fabric by itself. I had a smart moment and realized I should try this on a scrap piece; thank god! I then used a piece of scrap t-shirt material over it when ironing. Once Miss Maddie saw this, she needed another piece of fabric to go with her ironing too of course.
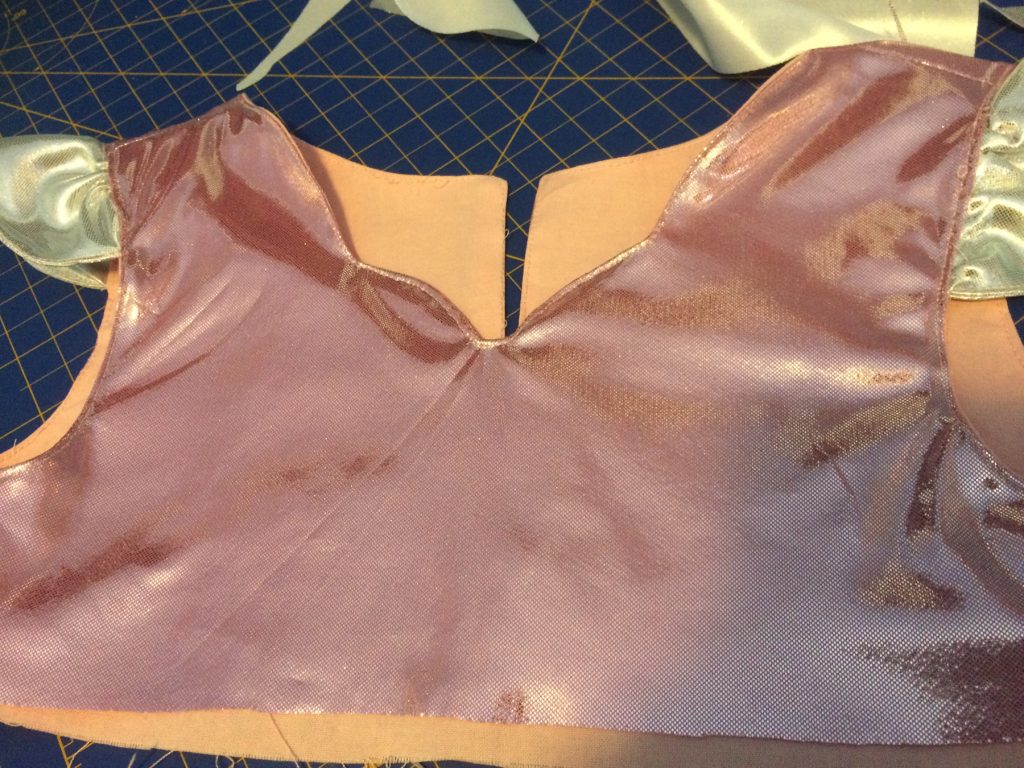
Here is the top part done. I did make a mistake. I am not going to tell you, but if you notice, good for you. I am hoping it won’t be all that obvious when she has it on. Toddlers are always moving right? The rest of it looks perfect so I am nottouching it!
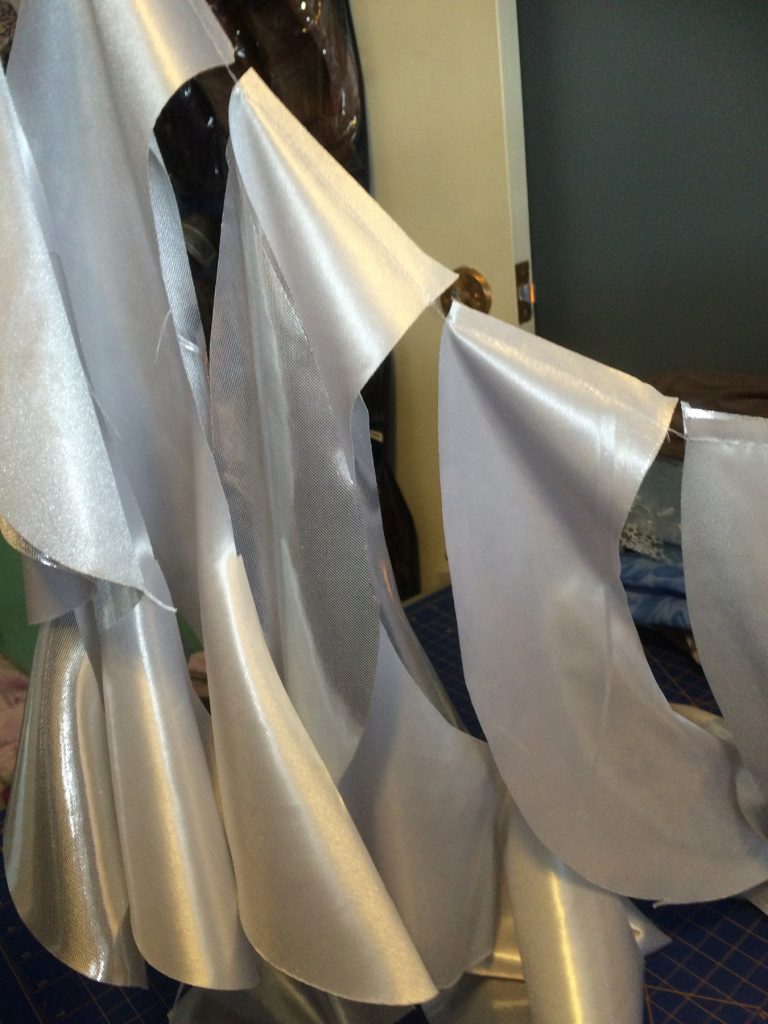
I started the swirls….dun ta da… I have to say, I really do love this fabric. It is actually really nice to work with.
Note: If you are sewing along, doing your swirls (flounces), and they seem to be lining up really easy….STOP!! IT’s BACKWARDS!!! Just saying, I might have done that. Check that you have your right sides together. You should be realigning it every inch or so.
If you are really careful in sewing your flounces together when you get to the skinny end pieces (adjust your seam allowance), you may not need to hem this at all, especially with this material if you do this neat enough. Hind sight is always best but hey, this is my first time with this pattern.
Make sure you back stitch your ends. This is slightly slippery material and the stitches tend to move a little with any manipulation of the fabric. Even pulling it away to trim the ends at the end of the swirl can get messy. Don’t adjust your tension for this either. Tried that; just don’t! I only mention this as I am awful for remembering this step with everything I sew. I am so anxious to start I just take off without a care in the world.
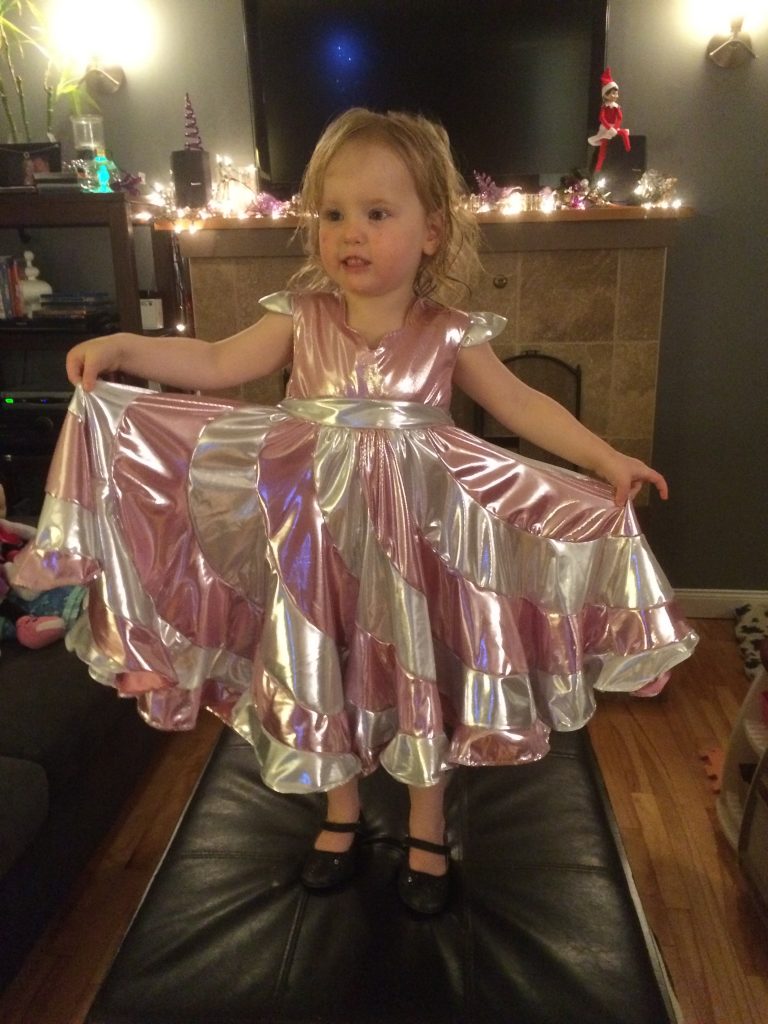
EEEKKK. I LOVE IT!! This is going to be sooooo pretty. So far so good. Now I put my top and bottom together and….LOVE IT even more!!
I let Miss Maddie try it on and of course there was a tantrum when she had to take it off for supper.
Now came the time to hem it. I would like to say this was easy but…HECK NO!!
It suggested in the pattern to use bias tape to finish the flounces or allow them to lie flat. I knew I was not going to find shiny bias tape so I decided to make my own out of the white material. OH how I can screw things up! I can’t use regular bias tape well, but hey, why not try this when so far you are doing perfect eh?
Don’t do it! I should have left it as is, and not hemmed it at all and just tried to fix the edges of the skinny pieces. This material does snag with the seam ripper! I am sure no one will be surprised by this.
I ended up putting on the so called bias tape I made, taking it off and then trying to hem it with a double needle to hide my mistakes. It looks fine now but HOLY! A lot of extra work and headache.
Am I the only one who makes these somewhat disastrous mistakes? Every blog or pattern I read, I only ever read how perfect everything went. Is this because they are just better at this? Or they hide the truth and frustration and only mention the good parts?
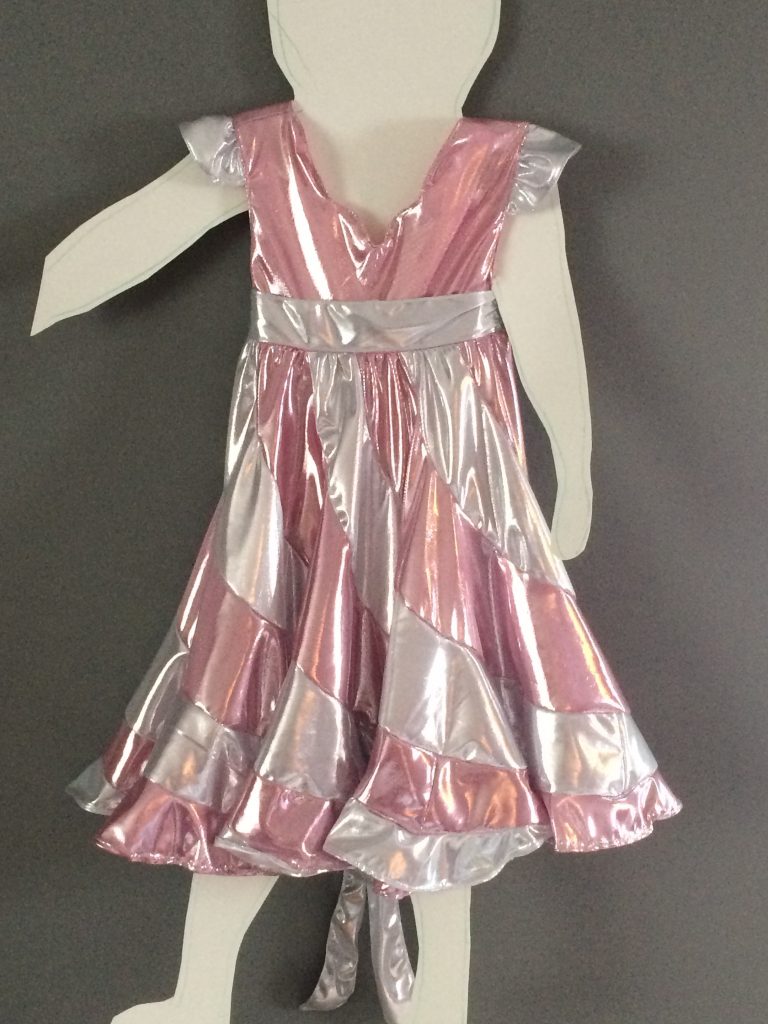
What do you do when your toddler is at daycare? Sew of course. But then you don’t have a little model. I made a cardboard cut out of her a few months ago so I could try some things on it, like this, when she is at school. Pretty creative if I do say so myself.
Isn’t it gorgeous? Despite my complaints of my own mistakes (that no one else ever mentions), it is an easy pattern really and great fabric to work with. You don’t have to finish your seams, you don’t need a serger and it hangs and swings so nicely.
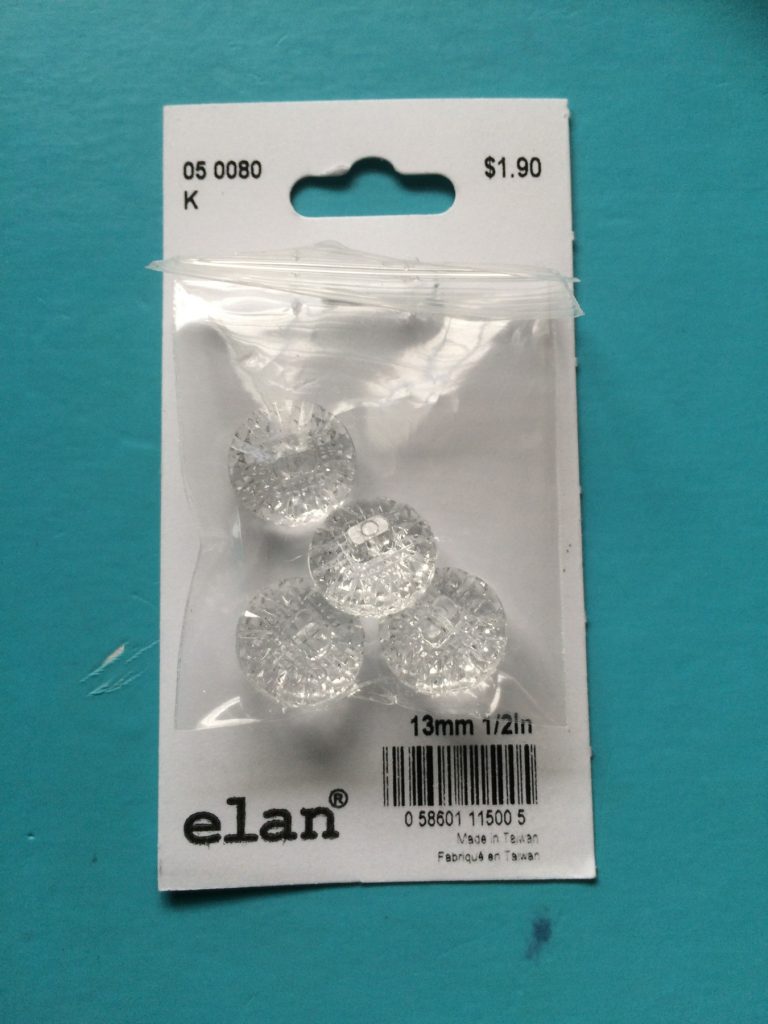
I made this 1 size up just like the last dress so it would do her awhile. I can easily move the buttons outwards later to fit her for the next size. I chose the buttons pictured above (from fabricville also), as they look kind of like glass.
With the sash at the waist, it can look just her size (for awhile), even when its not. And again, toddlers are always moving right? So no one will ever really know.
A big thanks and Happy Holidays to Jana and Brenda and all the staff at my local Fabricville. They are always so kind and helpful. I know, that is their job but they do go the extra mile quite often. They all knew my mother (Donna Dunphy) so well, that when she passed, there was a gorgeous flower arrangement sent to us from the Fabricville staff. I feel like I grew up in that store at times, its a wonder I never started sewing sooner. I will always be inspired by mom xoxo.