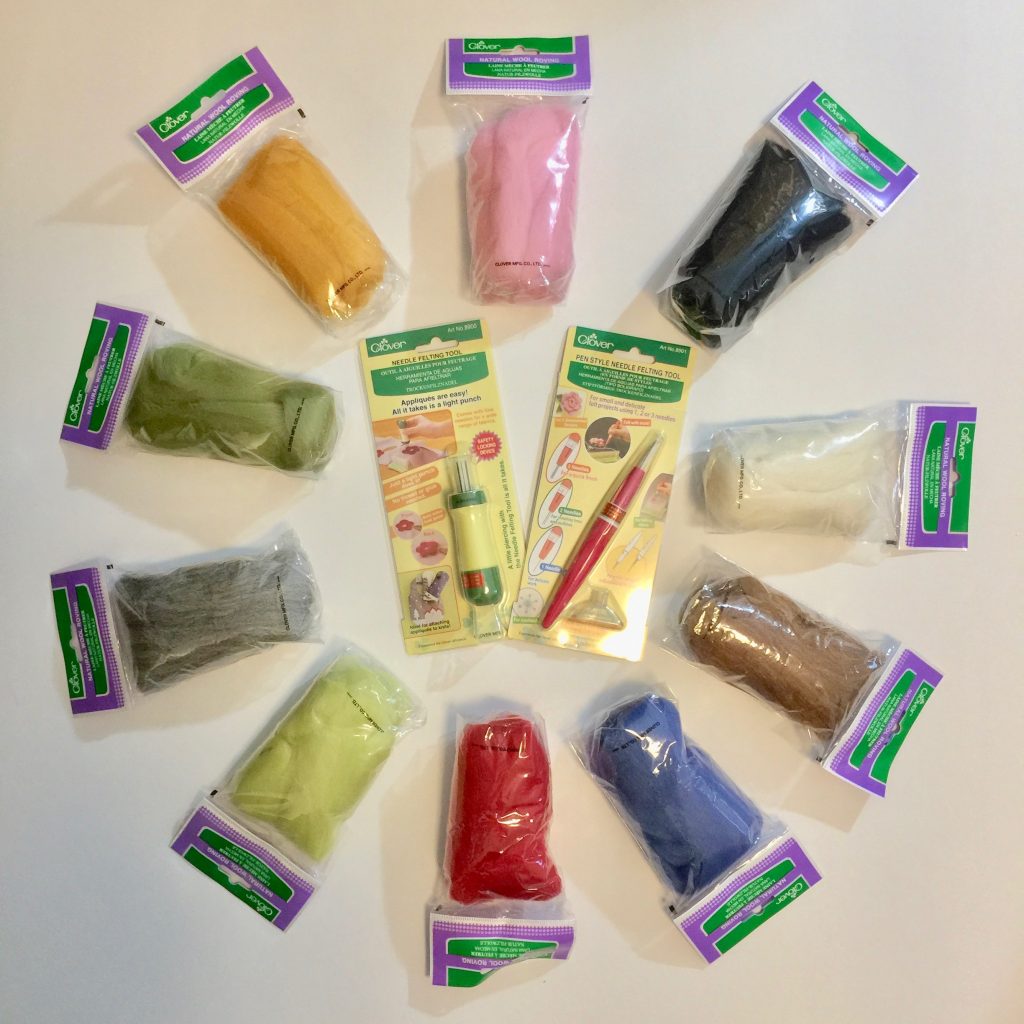
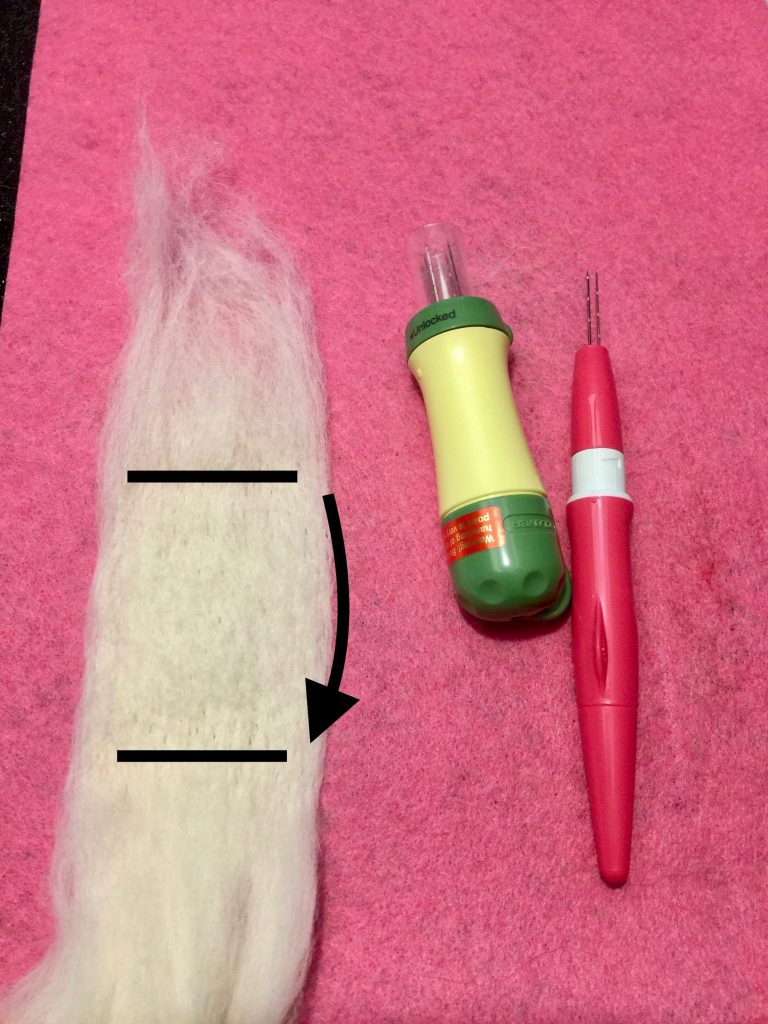
I recently took a course on needle felting; something I’ve always wanted to learn! When I discovered that Fabricville carries wool roving, I was excited to practice the techniques I had learned and design my own project. Fabricville has an awesome selection of colours of wool roving and tools by Clover. The needle felting tool on the left is like a punch tool; it has 5 barbed needles that makes felting larger pieces go very fast. I love that the protective cover also protects my fingers from accidentally getting stabbed. The pen style tool (on the right) can hold anywhere from one to three barbed needles and is very versatile.
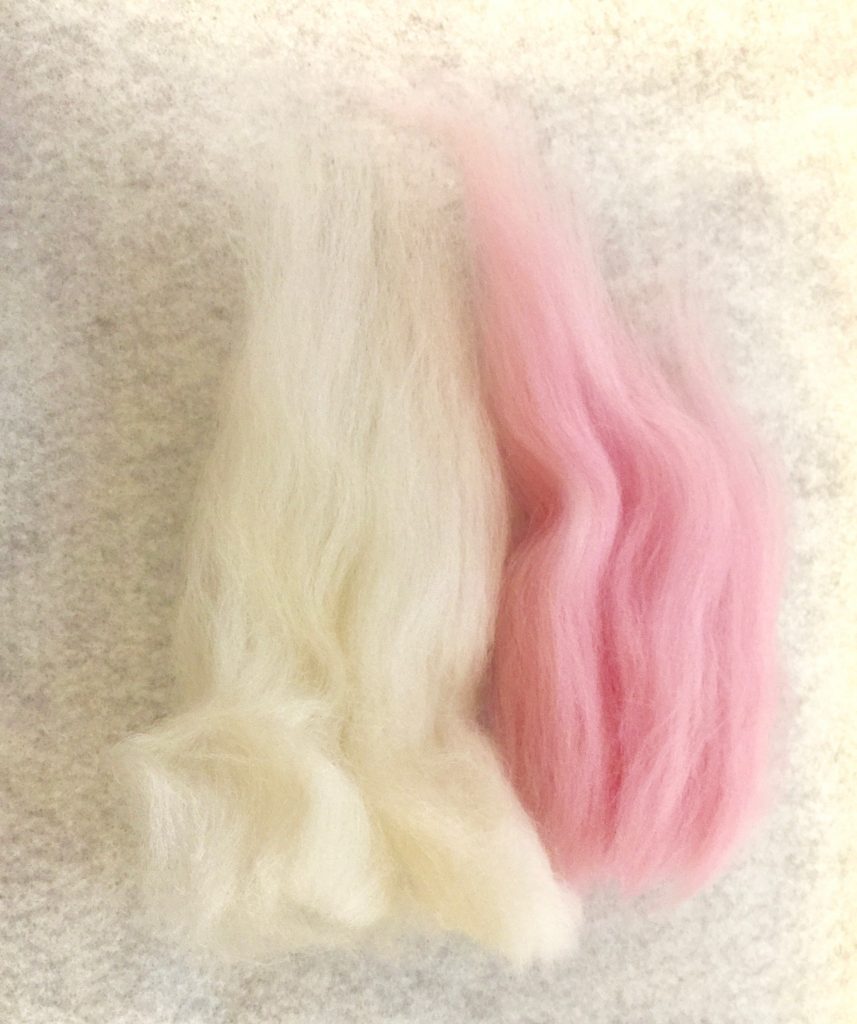
The only colour that Clover does not make is a skin colour, but that’s not a problem! I took equal pieces of white and pink, then tufted them together.
Keep pulling and mixing until you get a cohesive looking flesh-tone. This is about half way done:
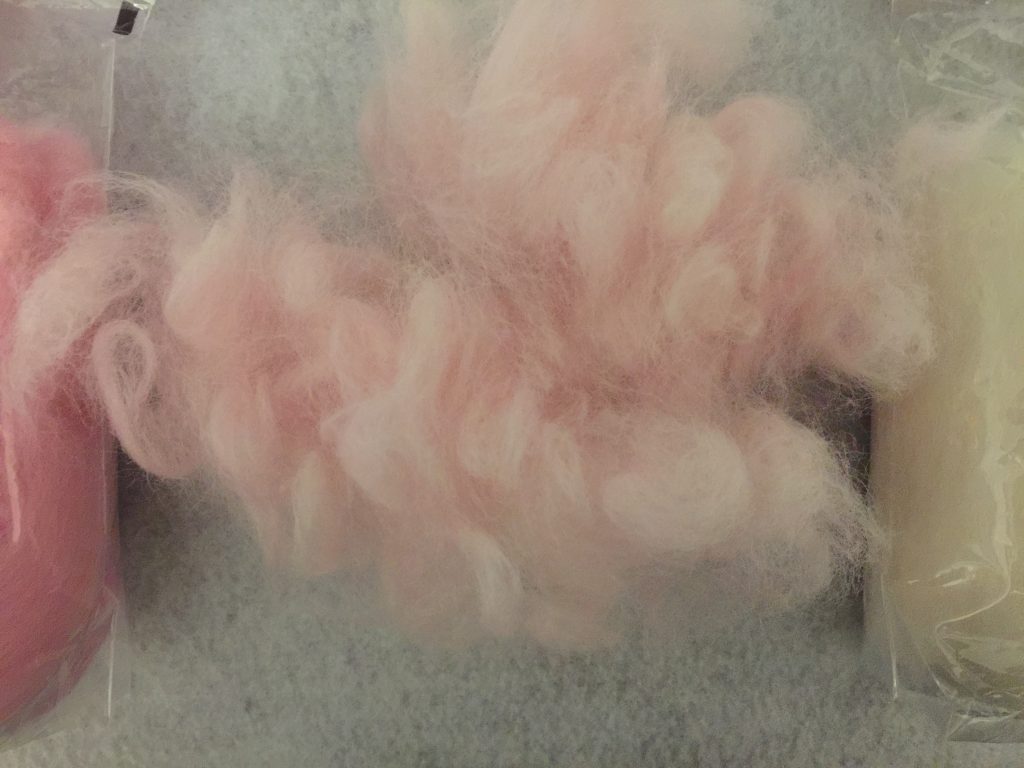
Once mixed, I bagged it to keep it all together. You can see the difference between the lighter skin colour on the far left and the pink right next to it.
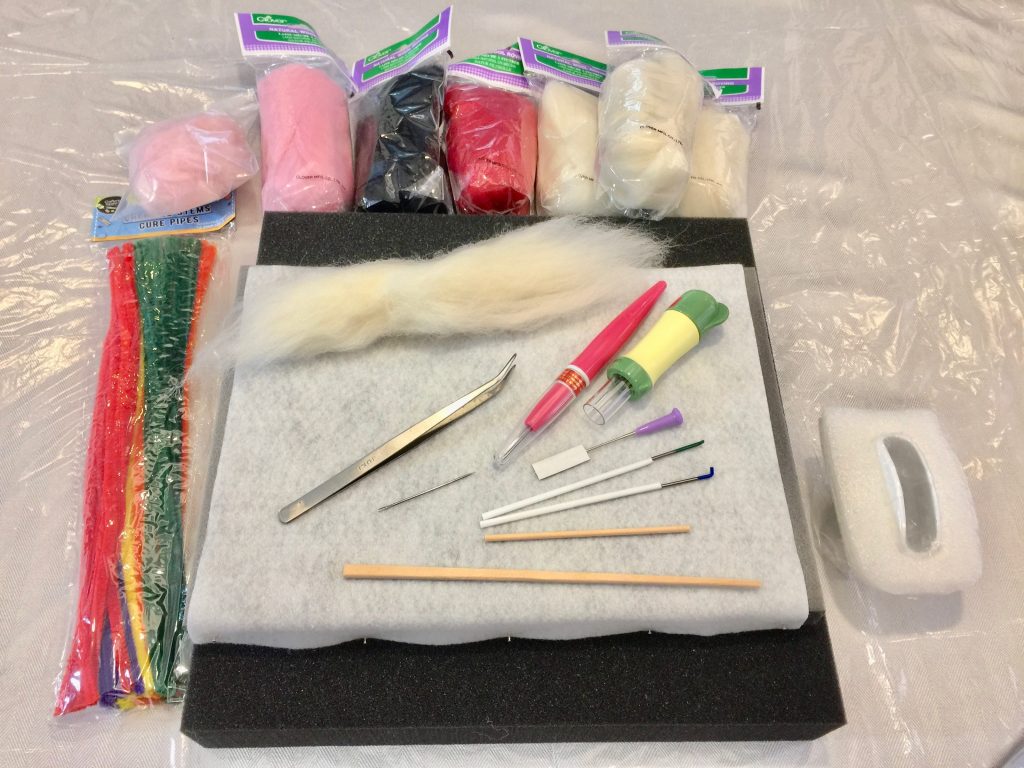
Gather up your roving, tools, a felting pad (I use high density foam to felt on), pipe cleaners (for structure), a variety of felting needles, a darning needle, tweezers, a chop stick, mini dowel and toothpick. You’ll also need wire cutters to cut your pipe cleaner.
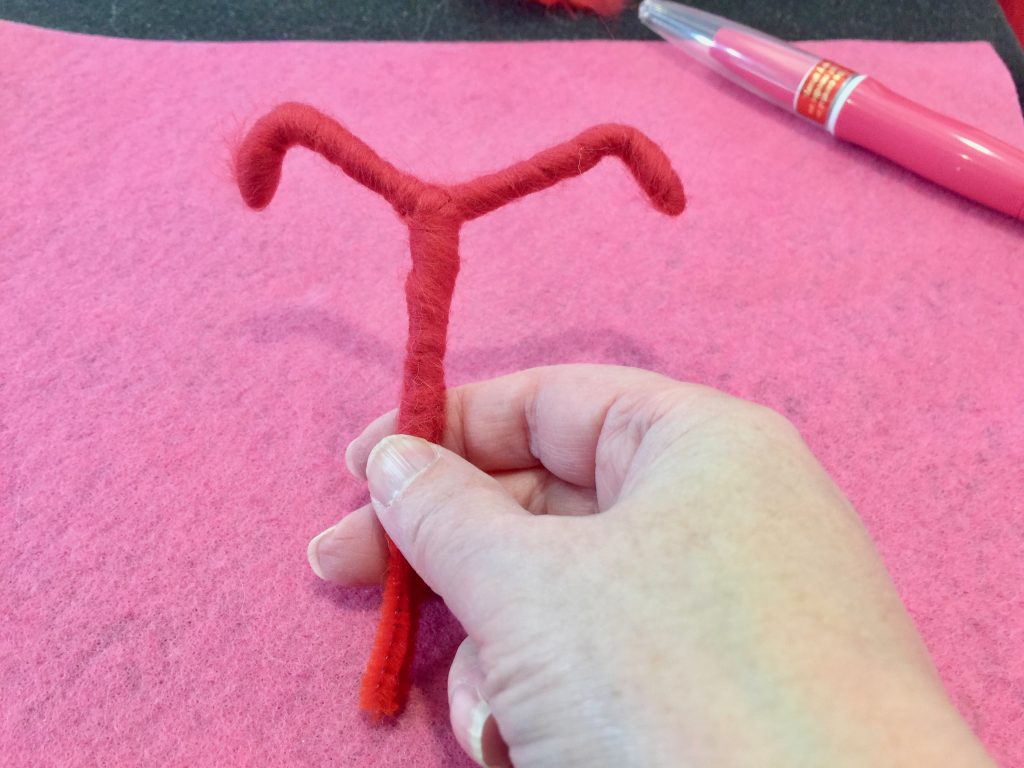
Fold a piece of pipe cleaner in half. Twist it until there is two an a half inches remaining at the bottom on each side. Fold back the tip 1/4″ on each side then spread it out (like a ‘T’). Take some red roving and twist it onto each side (this makes the legs).
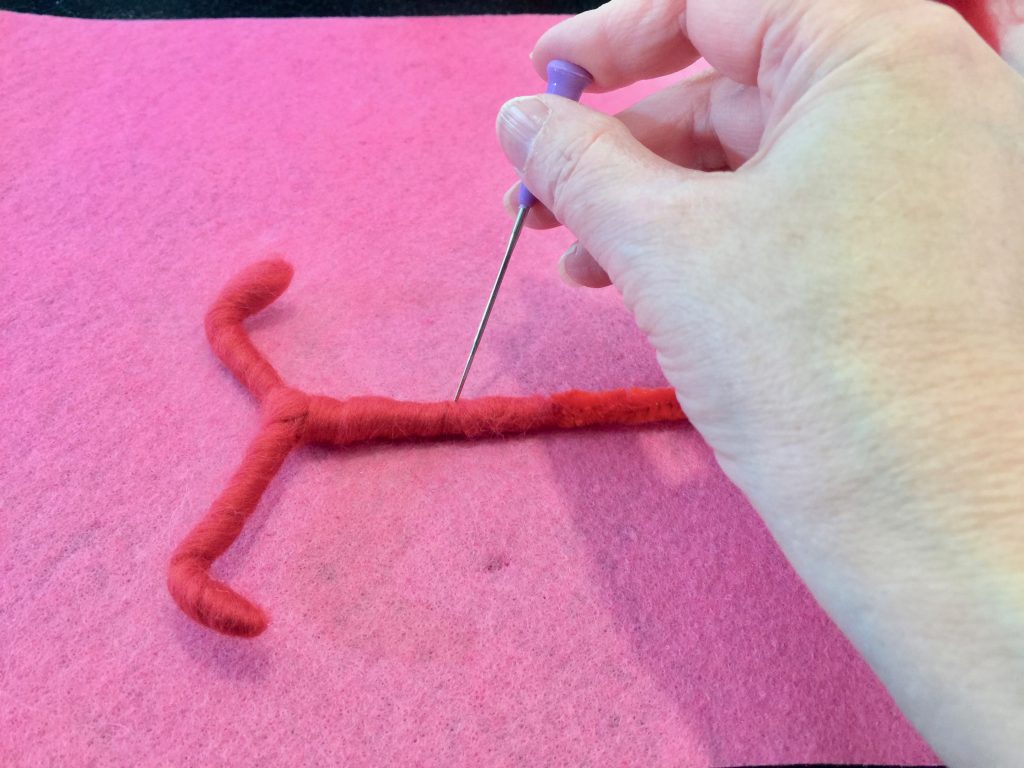
At this point it will look like a moustache.
Tear off a piece of white roving and roll it around the center making a point at the very top. Use your felting needle to felt in the ends.
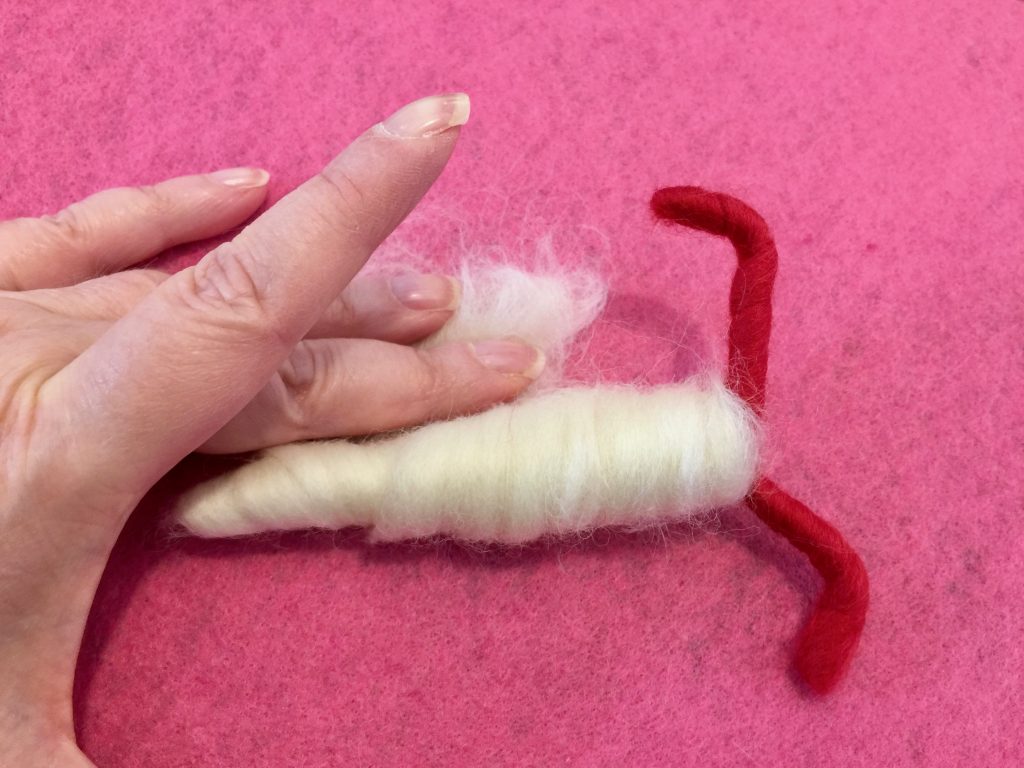
Take another piece and do the same…
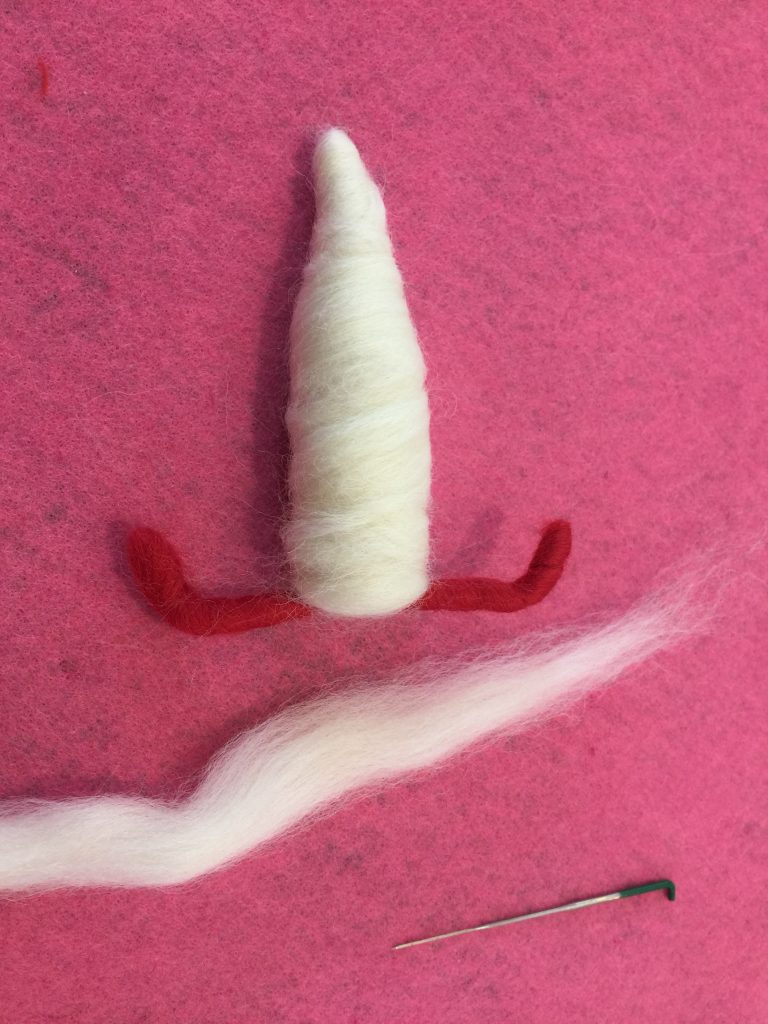
But concentrate on making only the bottom bigger.
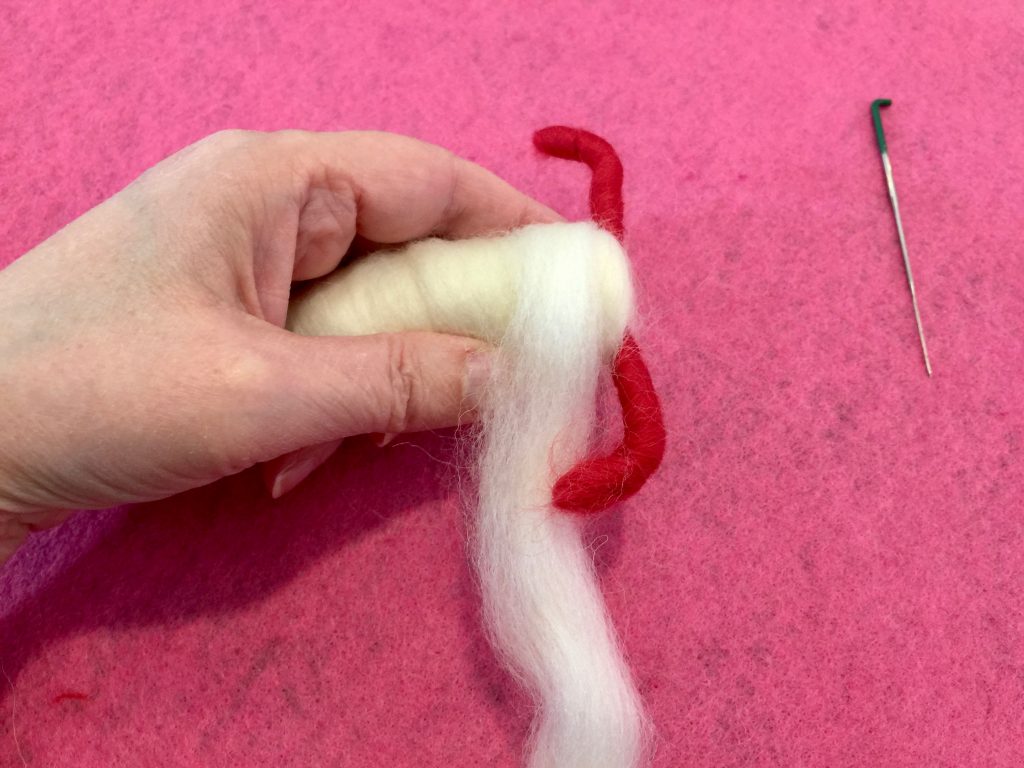
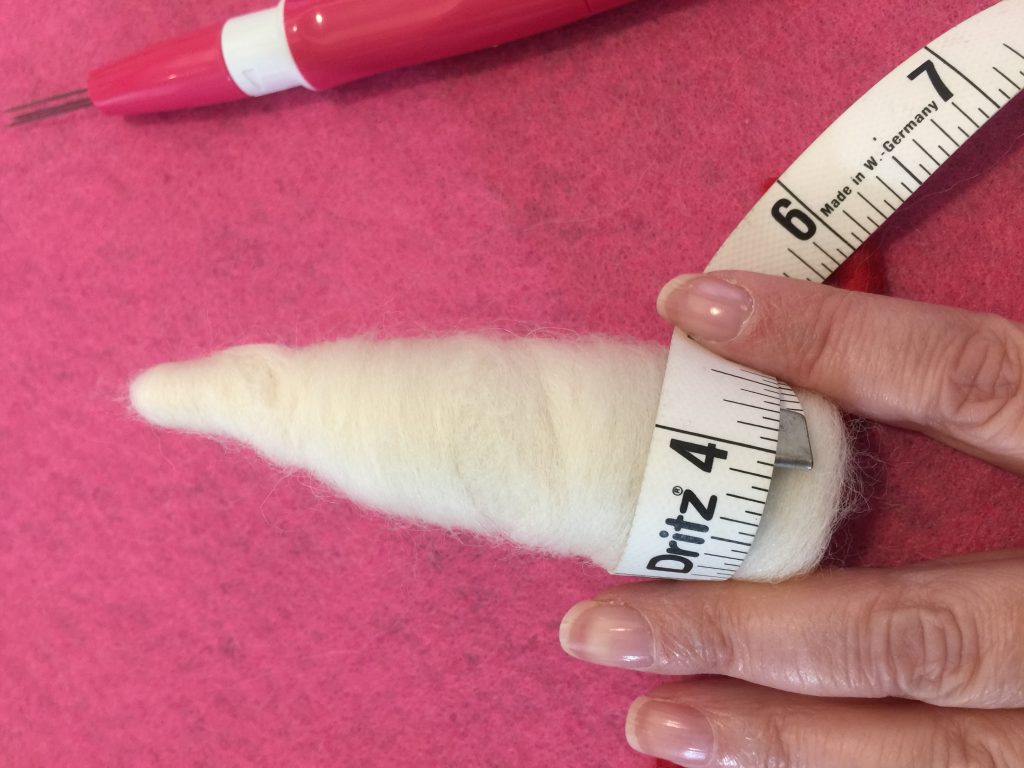
The circumference at the bottom should measure 4″. The body should be pointy at the top and fat around the bottom.
Tear off pieces of the custom skin colour made earlier for the face (shown on the elf), and the cheeks, nose and ears respectively. You’ll also need two pieces of black roving for the eyes. Wrap the piece for the face around the figure 1″ up from the botton and felt the seam.
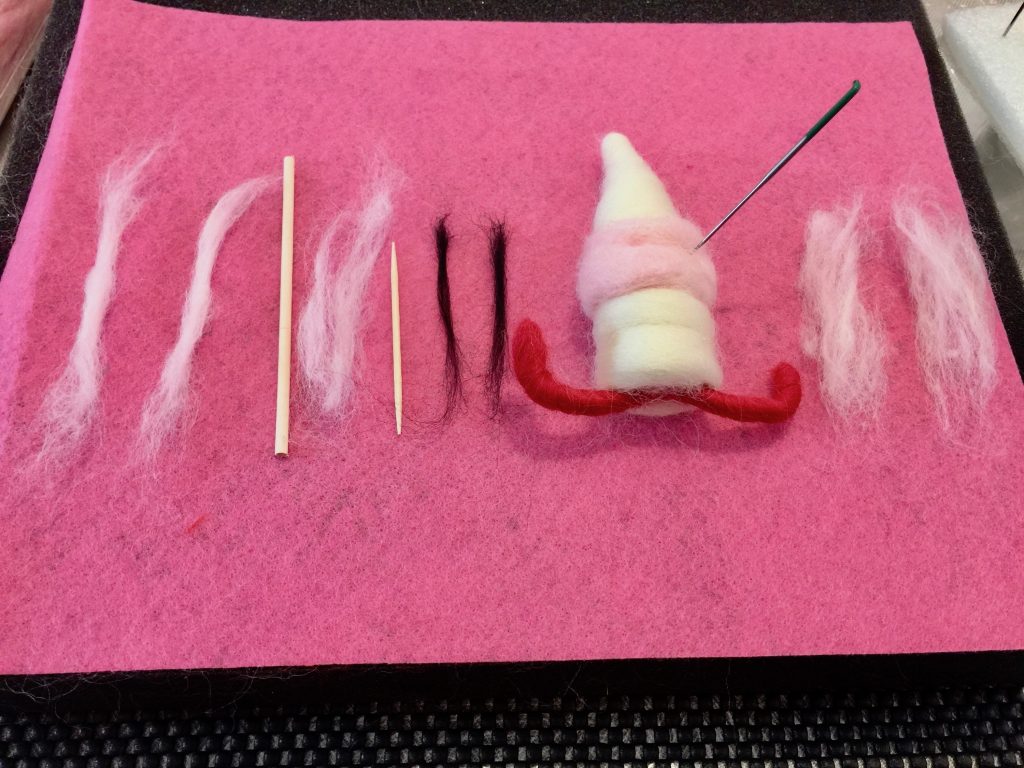
Use the dowel to roll the pieces for the cheeks, the toothpick for the nose and the chopstick for the ears. Gently remove from their respective forms. Roll the black into tiny balls between your fingers. Attach all to face as shown.
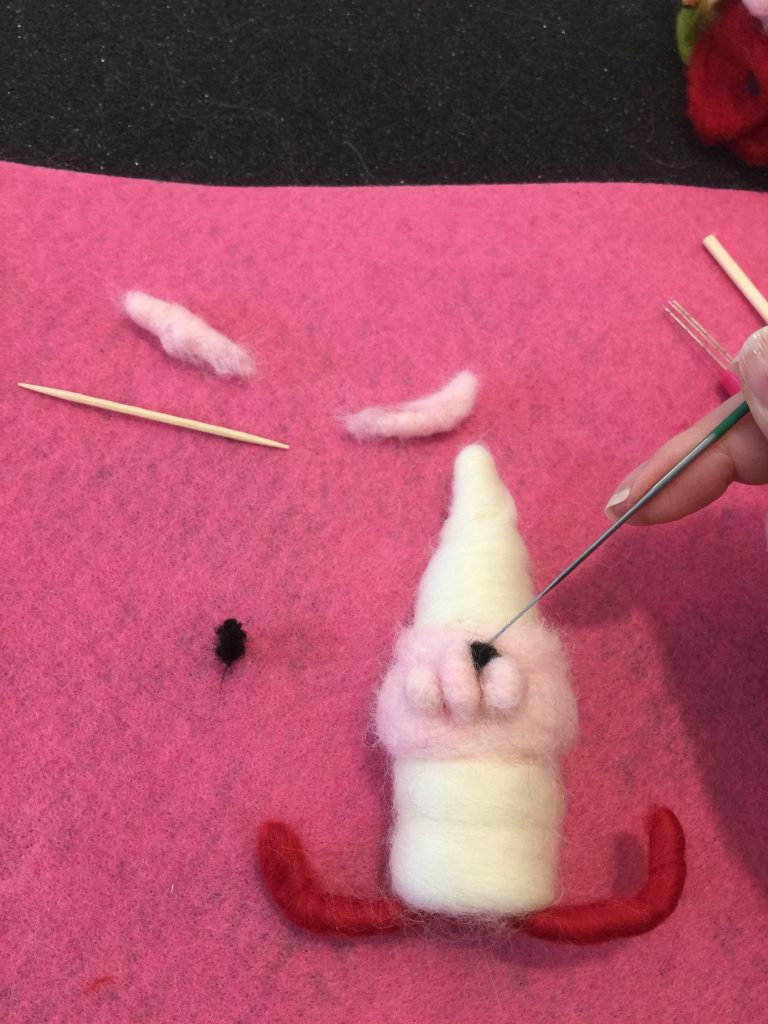
You can add the slightest amount of pink or red for rosy cheeks.
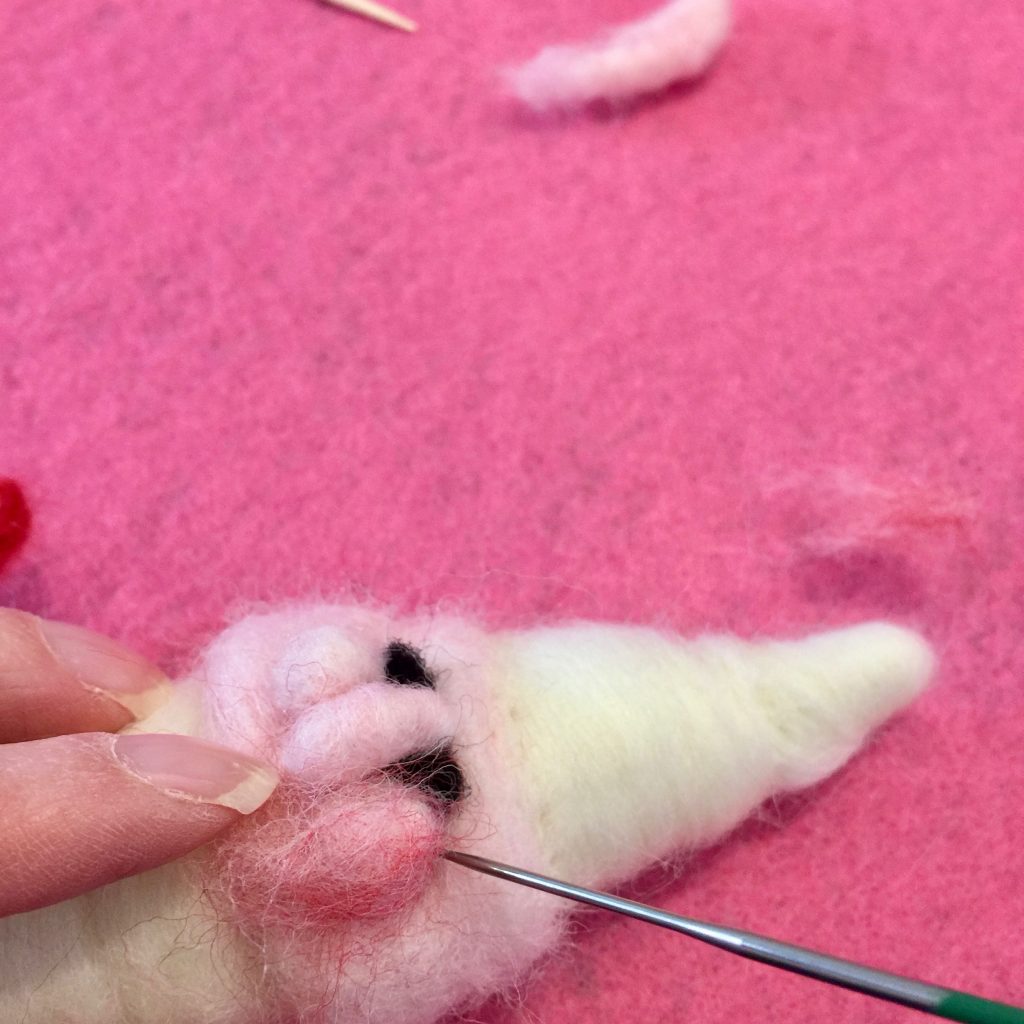
Felt on a circular piece of caramel roving below the nose where the mouth will be. It will look strange until the mouth goes on.
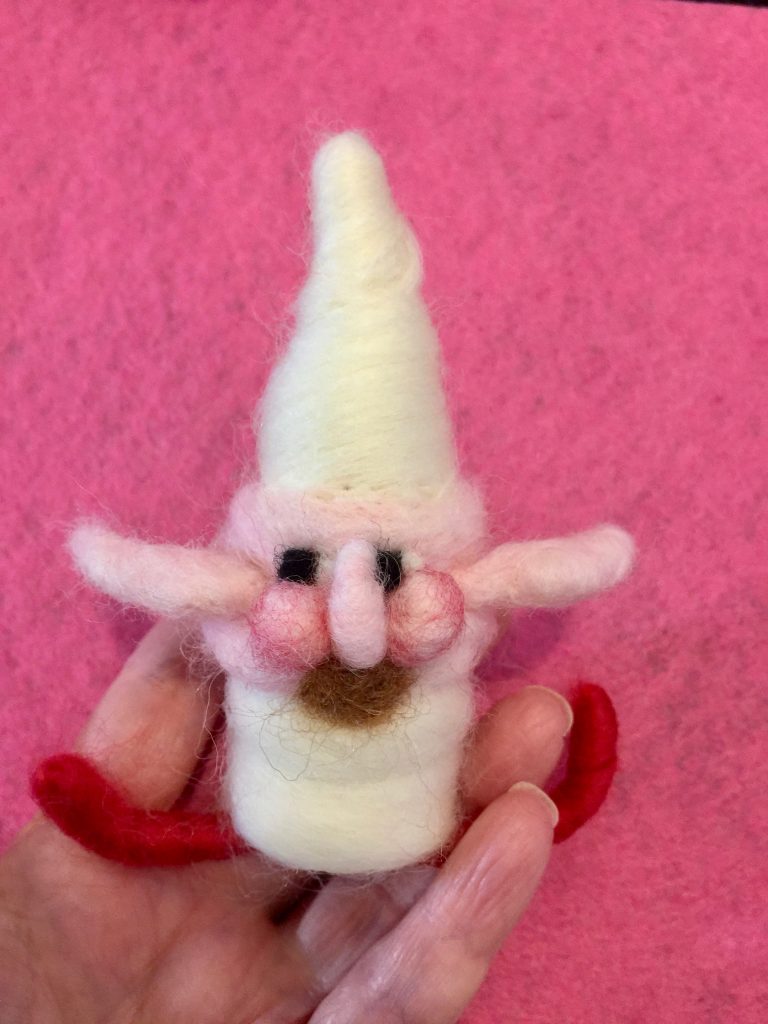
Use the skin colour to make an upper and lower lip. Use the dowel and wrap a piece of pink around. Take off the dowel and felt the resulting tube all around to hold together. Place onto the lower lip and connect.
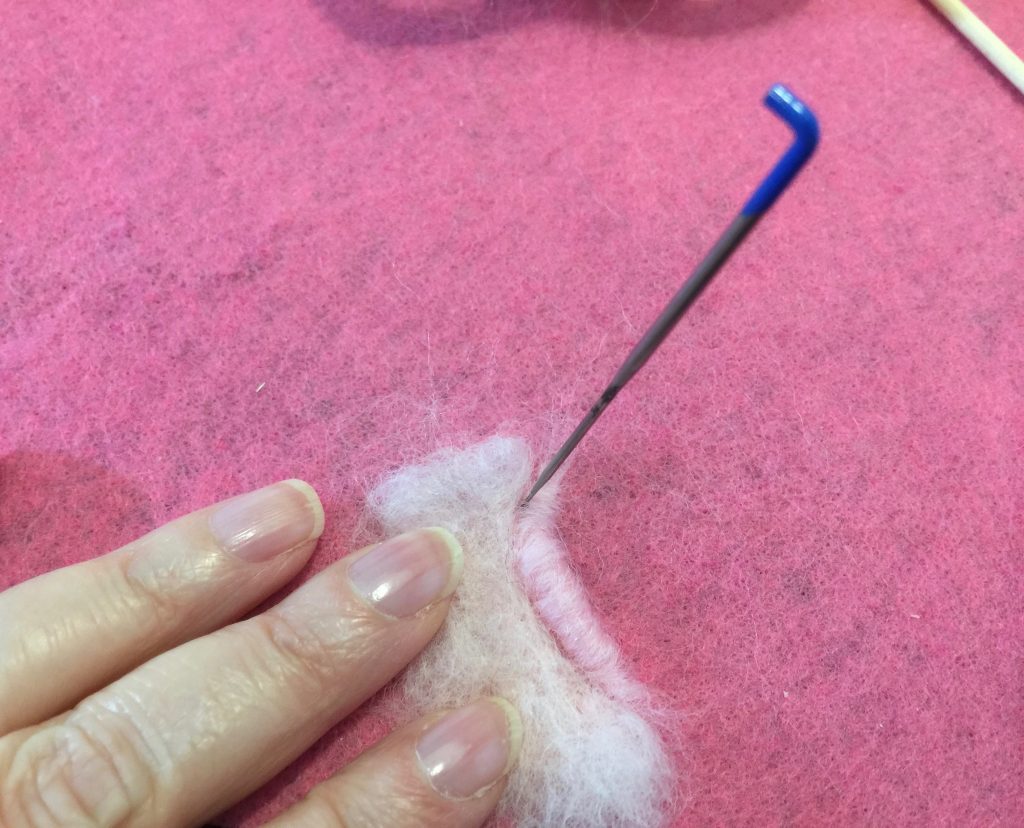
Apply the ears to the sides of the head. Then attach the upper lip just under the nose.
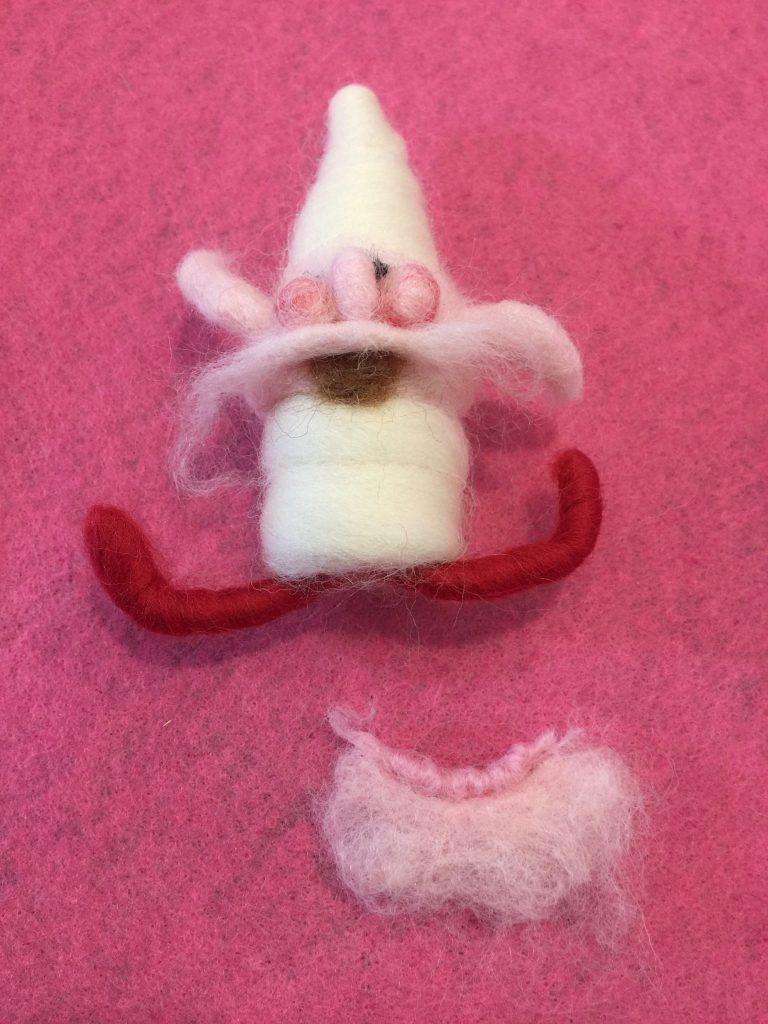
Overlap the corners of the upper and lower lips. Use the darning needle to hold the corners as you felt the lips onto the face.
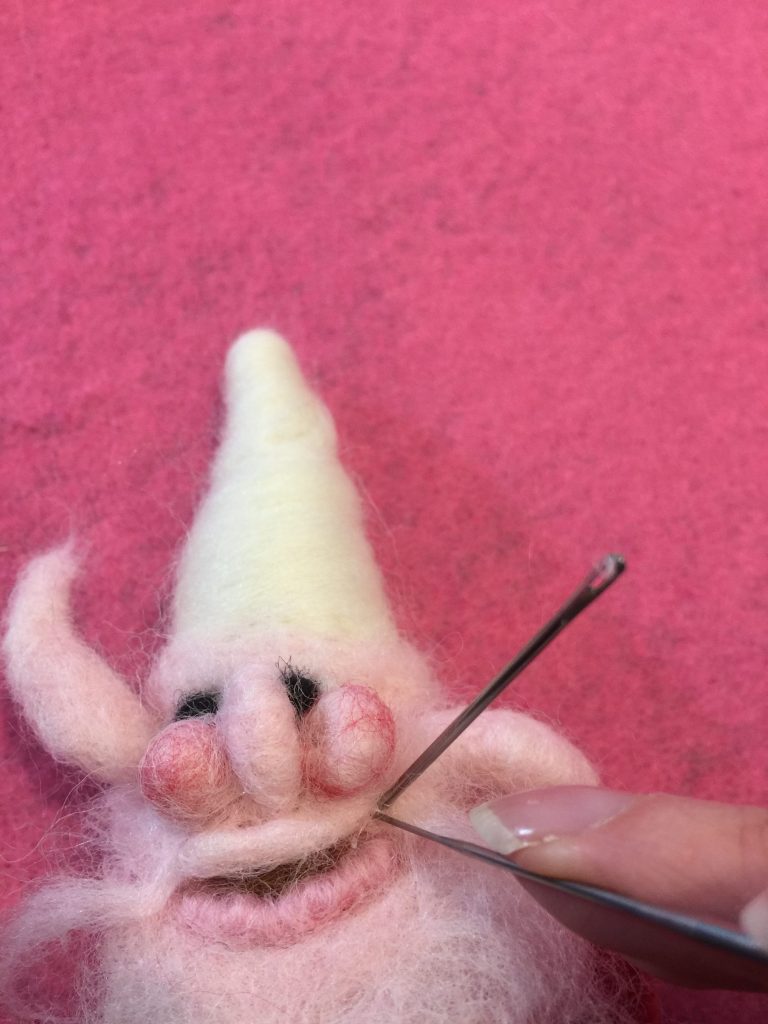
Place a piece of roving under the felt from lower lip. Stab around the desired shape to form a chin.

Now for the hat. Use the needle to stab the shape of a triangle into the red roving. Shown below is the bottom of the hat.
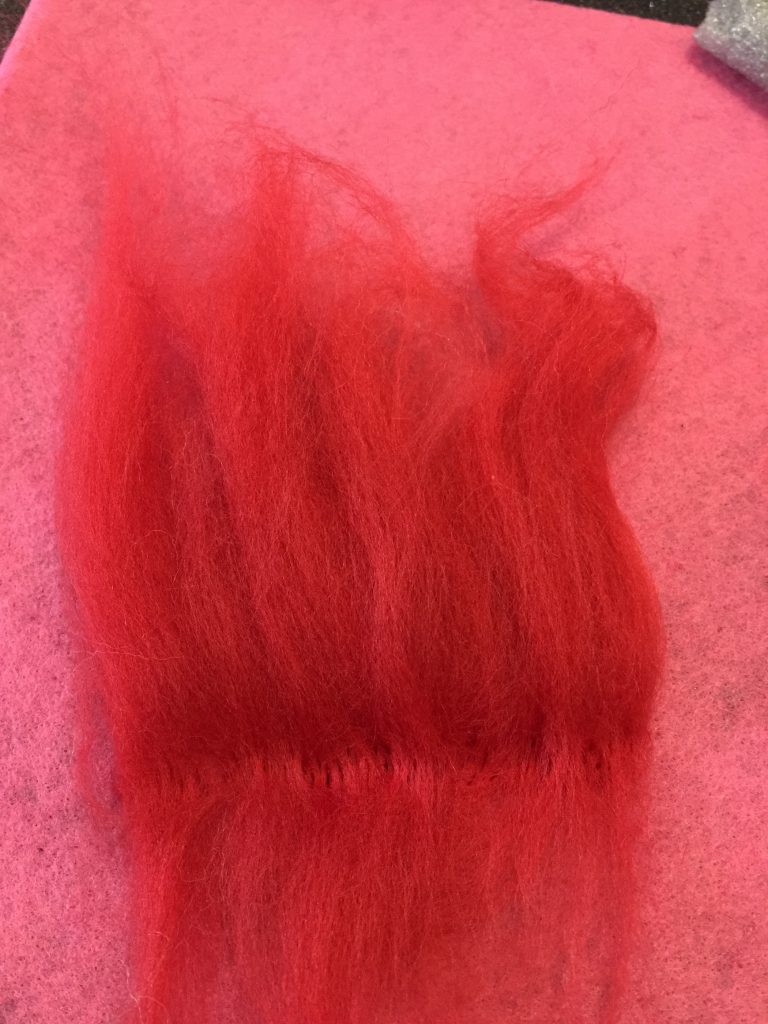
Fold into the centre the three sides – one by one – and use your needle felting tools to solidify a triangular shape. Overlap the seam and carefully felt together to form the hat. I use a piece of foam backer rod right under the seam to make this step easier.
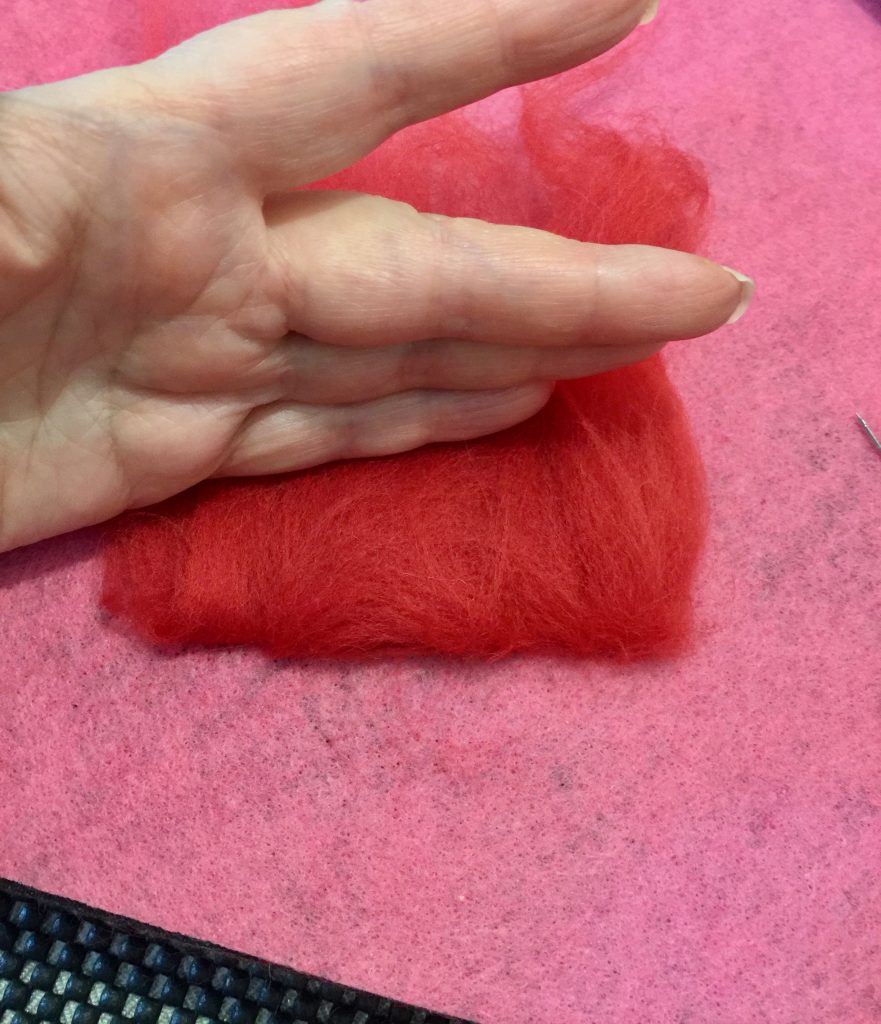
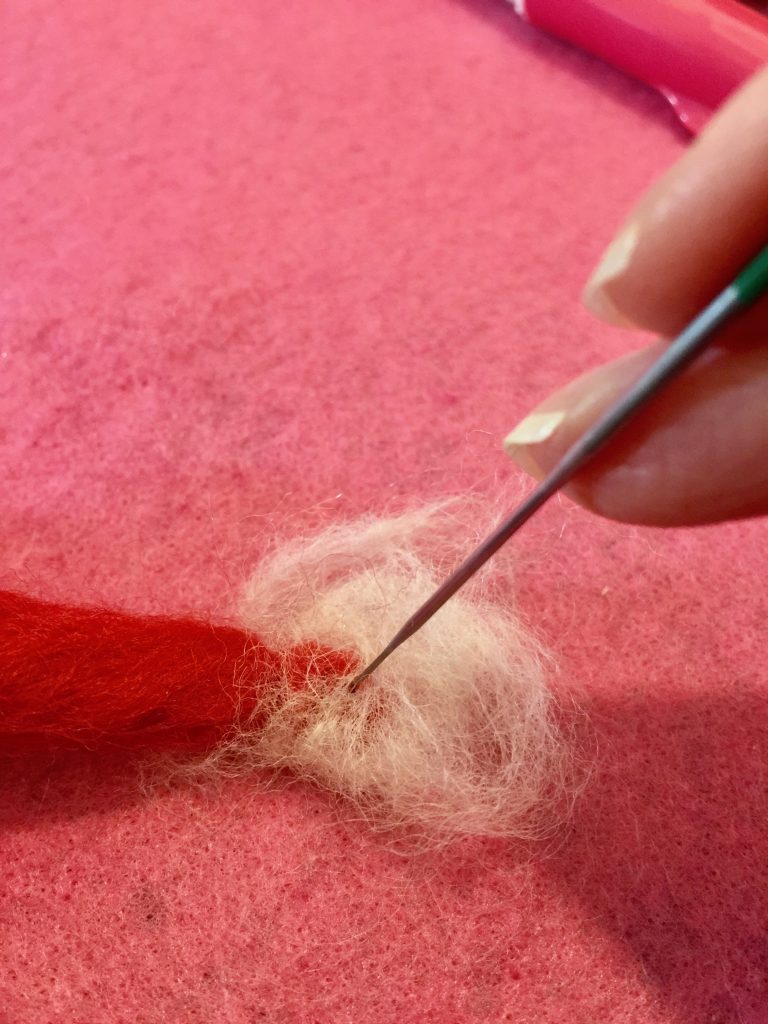
At the pointy tip of the hat, add a piece of white roving. Felt all around into a pom pom shape.
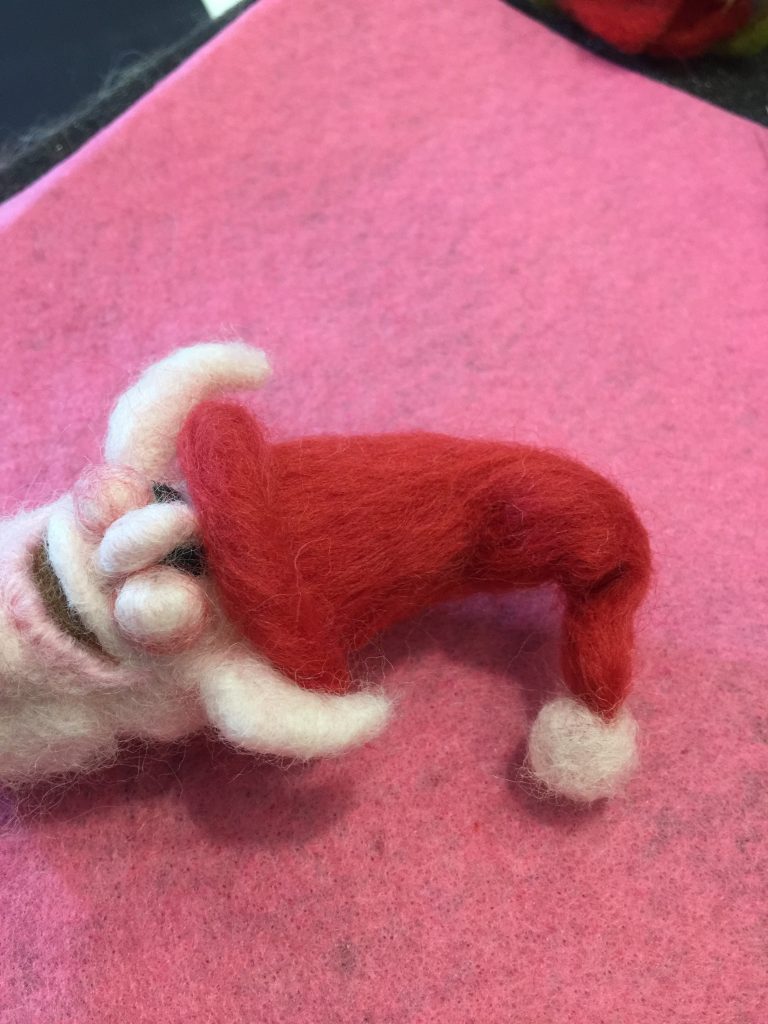
Place the hat on the elf’s head and felt a brim. I also bent the hat into a free-form shape off to the side and felted in a few spots to hold.
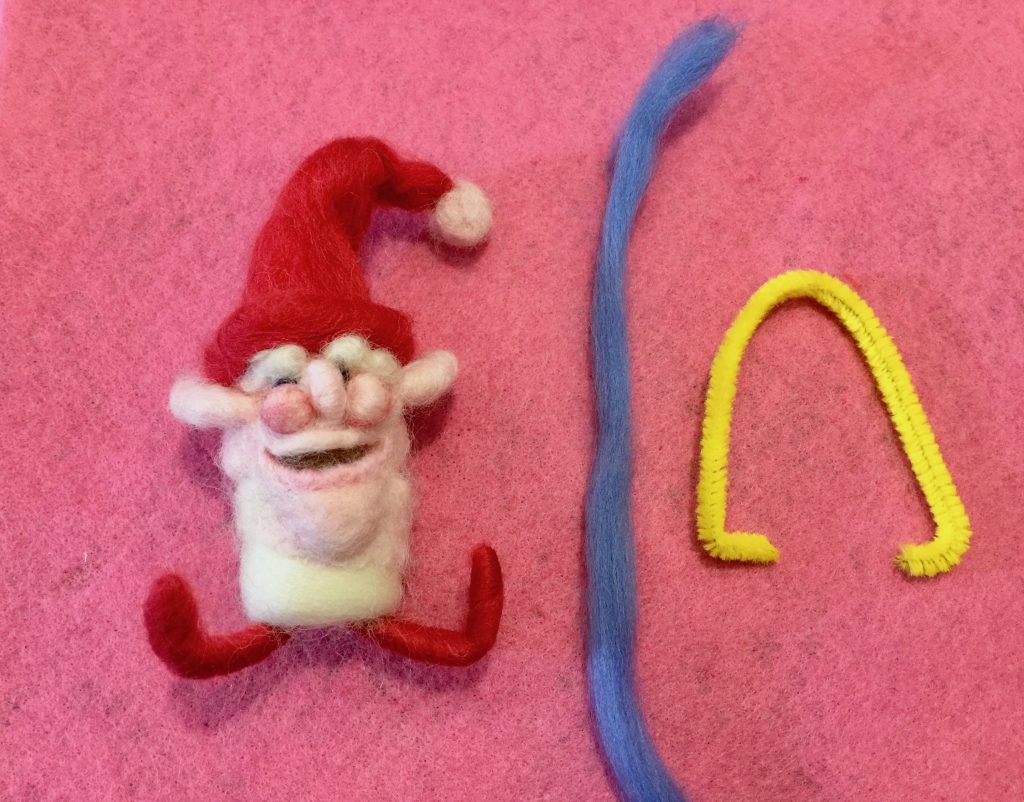
Now it’s time to give our elf some arms. Wrap a piece of pipe cleaner around the body to determine the size you need and cut it with a pair of wire cutters. Choose a colour for the mittens (I chose blue).
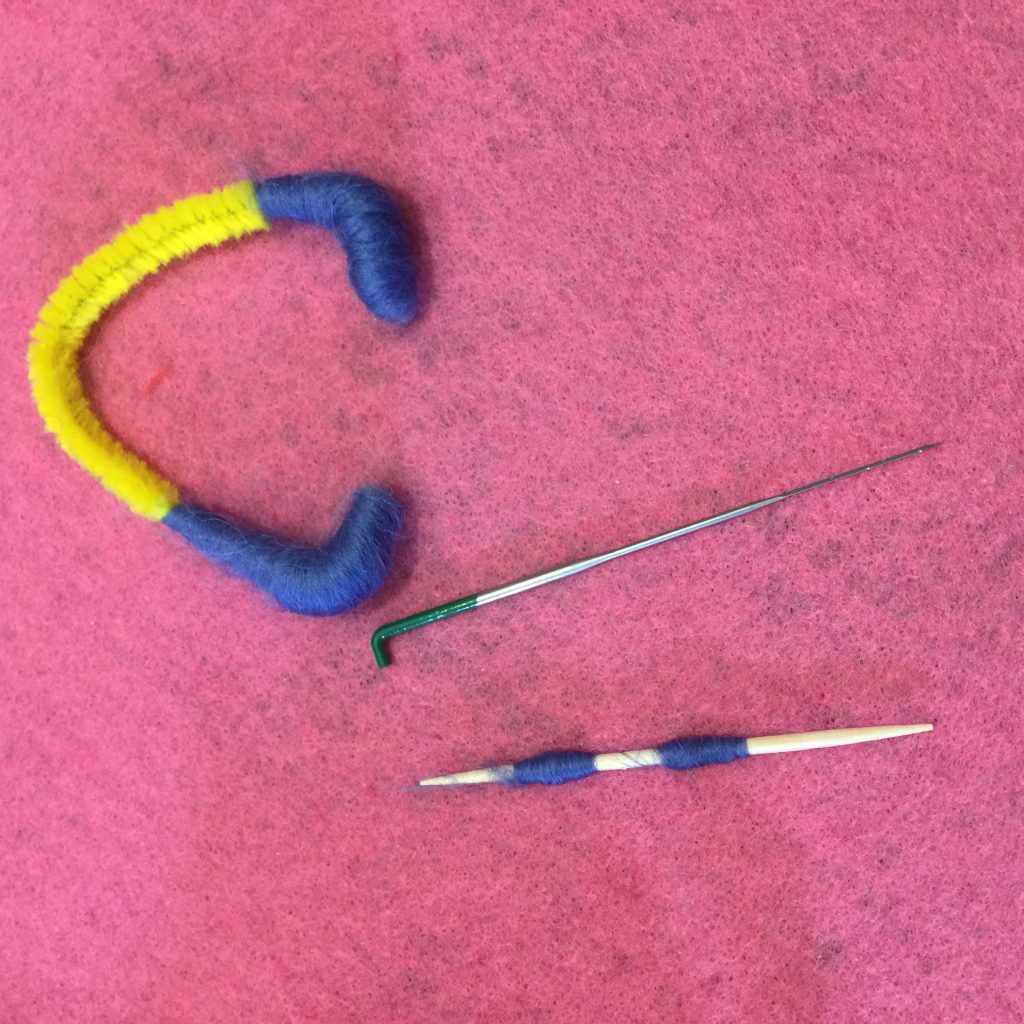
Wrap the ends as shows. Then wrap two more pieces of blue around a toothpick. These will be the thumbs. Attach to the mitts.
Felt together some white roving for the coat with the multi needle felting tools. Ensure it will fit around the circumference of the body with room to overlap.
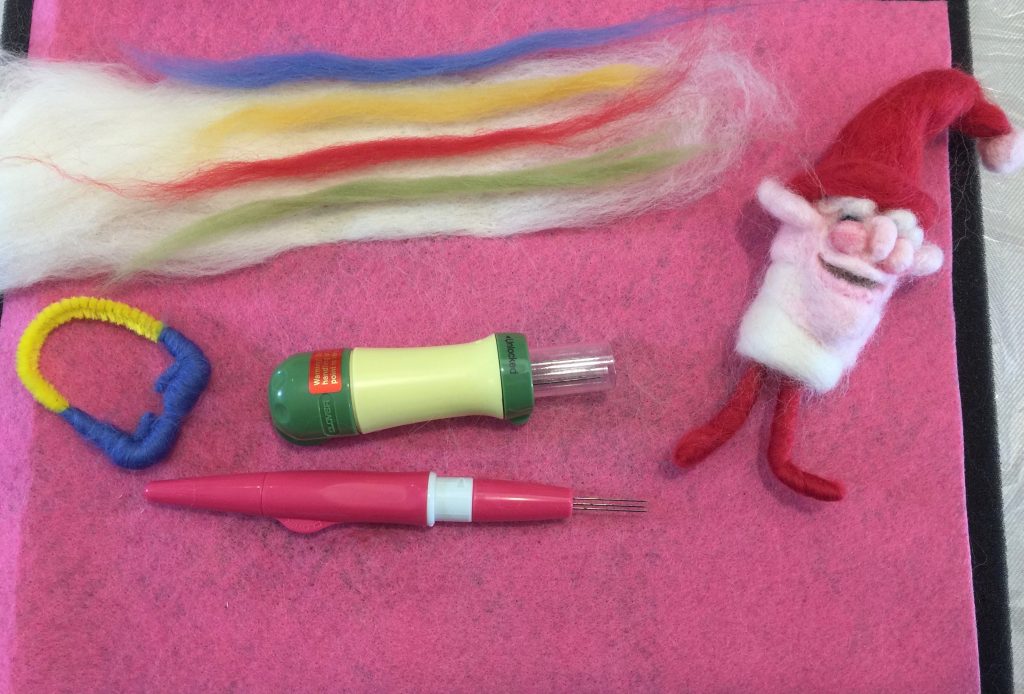
Take pieces of lime green, red, gold and blue roving and place onto the white coat. If you haven’t already guessed, my little elf is getting a Hudson’s Bay Point Blanket-Inspired coat! How Canadian is that?
Use the pen tool to felt in the coloured stripes. Make two holes in the back so you can eventually put the arms through.
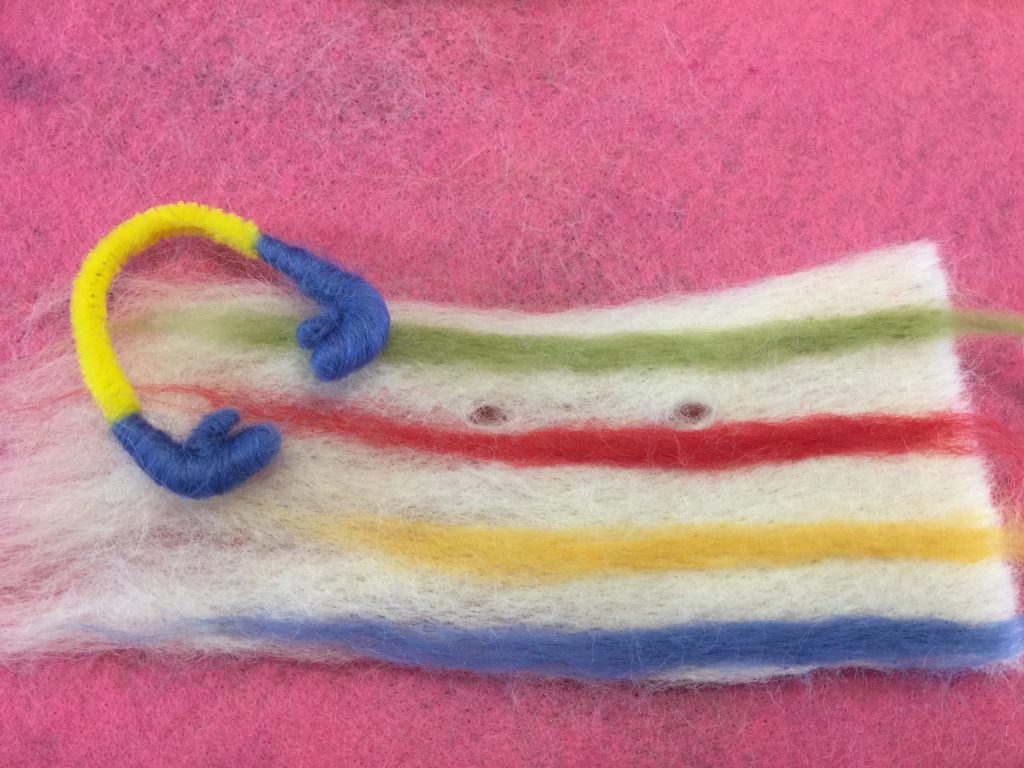
Use pieces of white roving to attach the arms at the back.
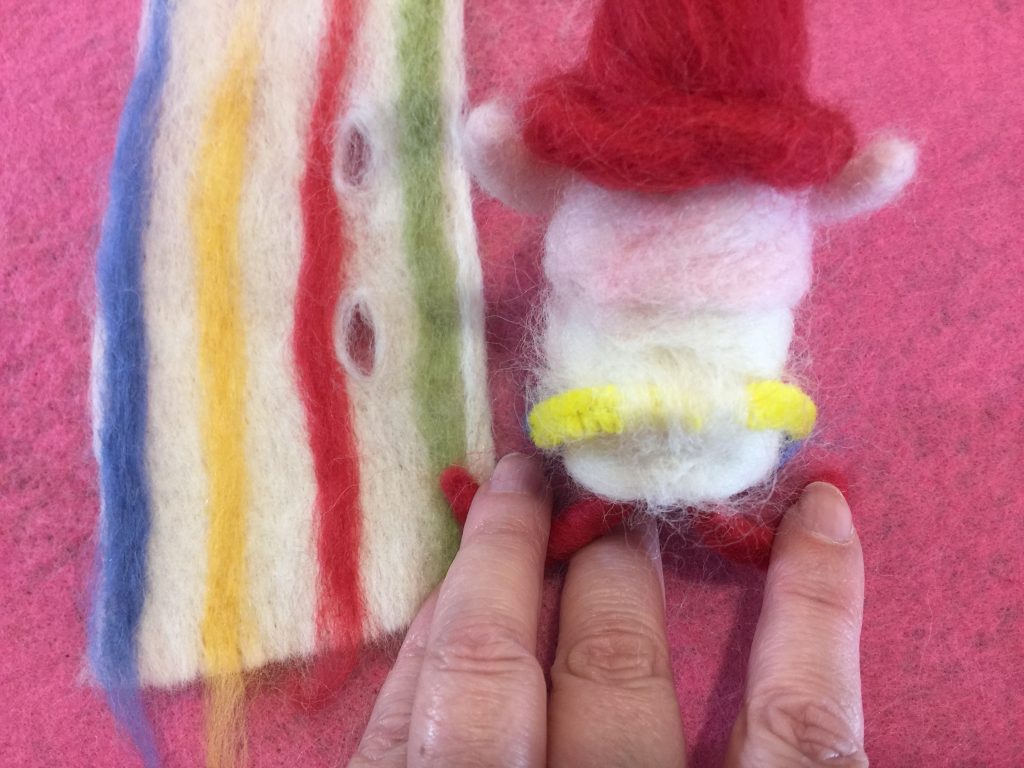
Thread the arms through the holes in the jacket and bring around to the front. Roll four balls of black and needle on to make ‘buttons’ on the coat. This will help fasten it onto the body.
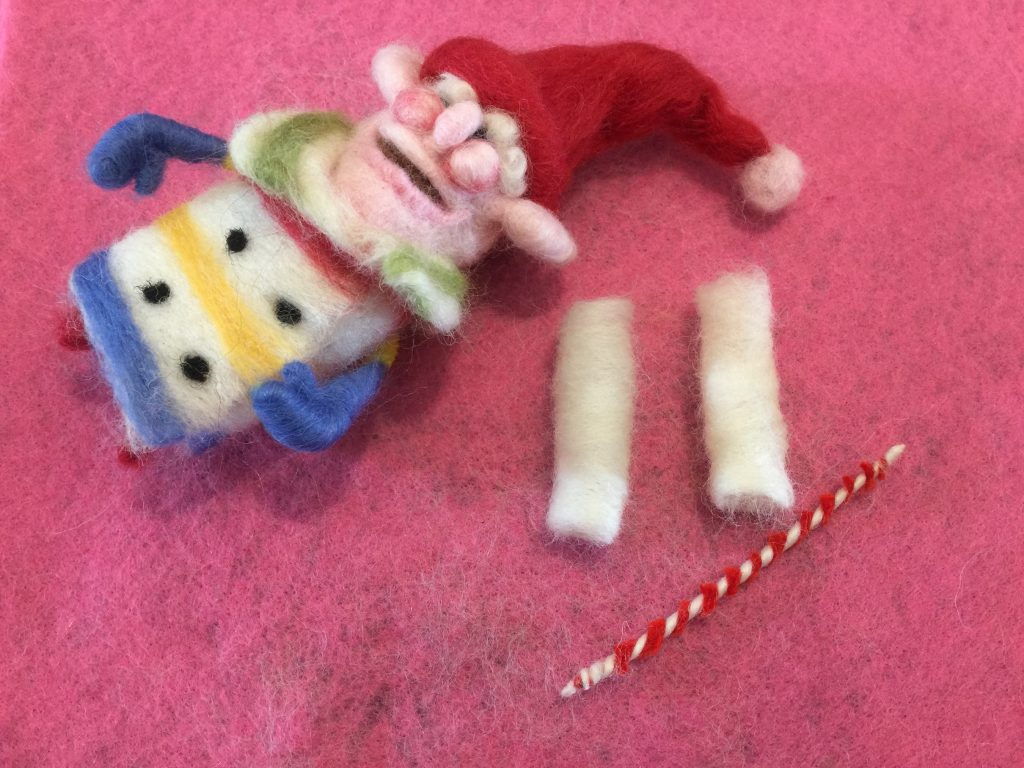
Make sleeves by rolling two pieces of white roving in a tube. I rolled the roving onto a piece of backer rod to make it easier to close the seam. You can stab right into it to maintain the tube shape!
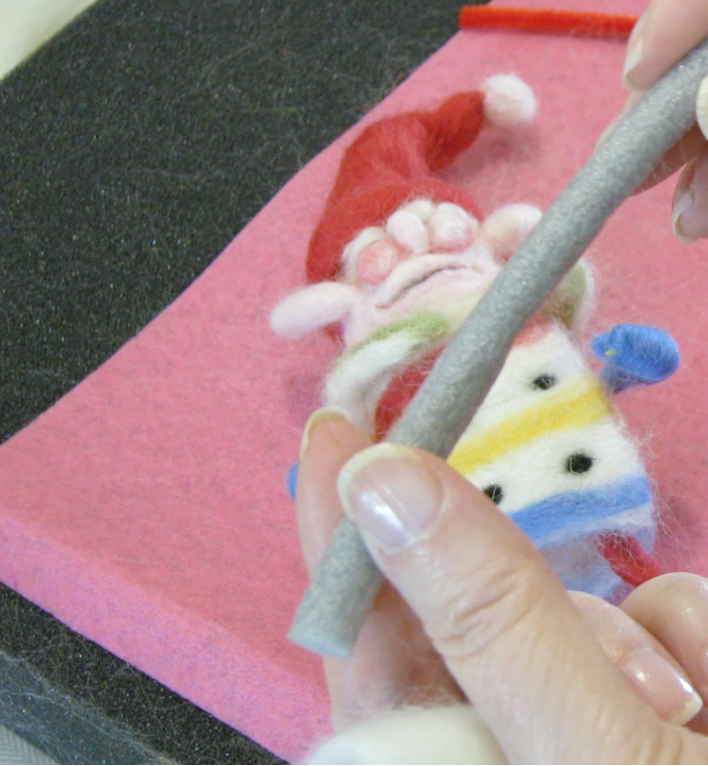
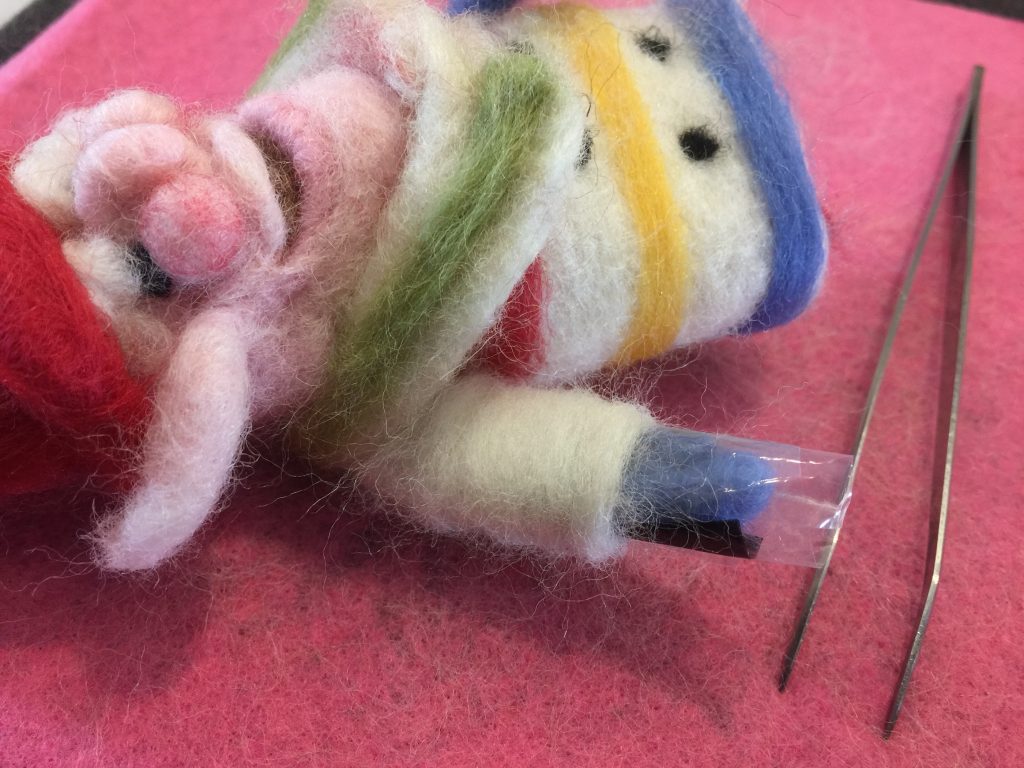
With the sleeves ready to go, wrap his arms in a piece of loose plastic. This is a great trick to help get the sleeves on in one piece.
Once the armholes are felted securely onto the coat, use your tweezers to grab the plastic and remove it.
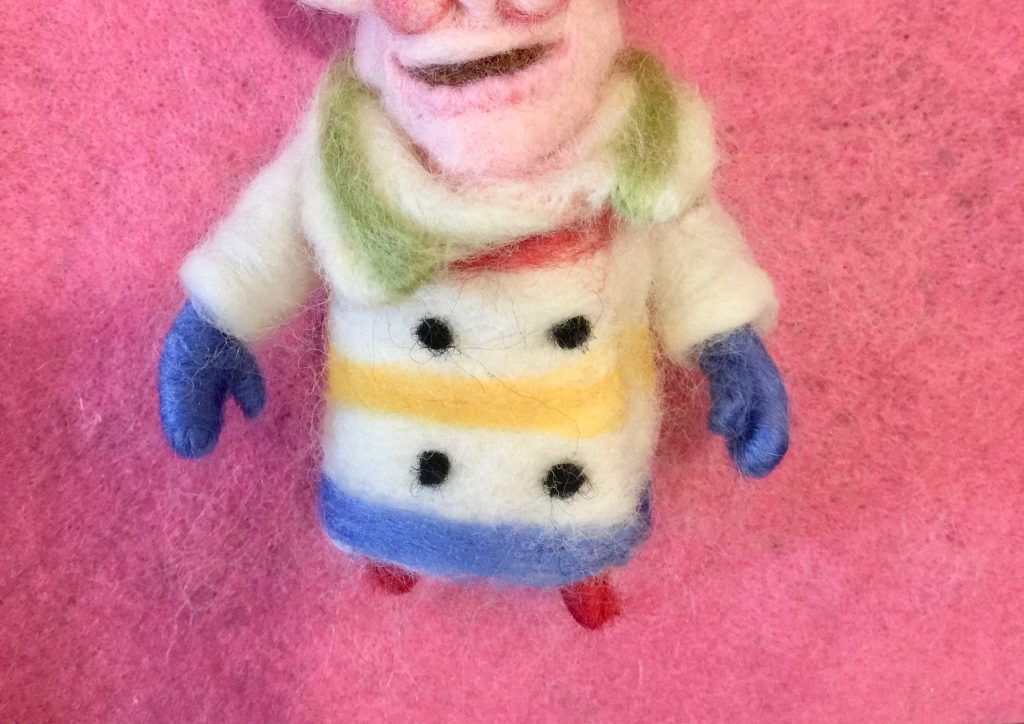
Clean up around the neck and collar if needed.
I was just going to give him some boots and call it a day. I originally intended for him to sit, but I actually made the coat a bit too long for his little legs. On to ‘plan B’: I straightened out the legs and decided to put him on skis! Using a popsicle stick, I outlined a ski shape onto two equal-sized pieces of red roving and felted them to a stiff consistency. Leave the middle a bit fluffy so you can felt the boots on later.

To create the curve of the skis at the front and back, place a darning needle into the mat so you can bend the shape against it. Felt it into a curved shape.

For the boots, we’ll use the thinner pieces of black to wrap the bottom of the legs, creating the cuff.
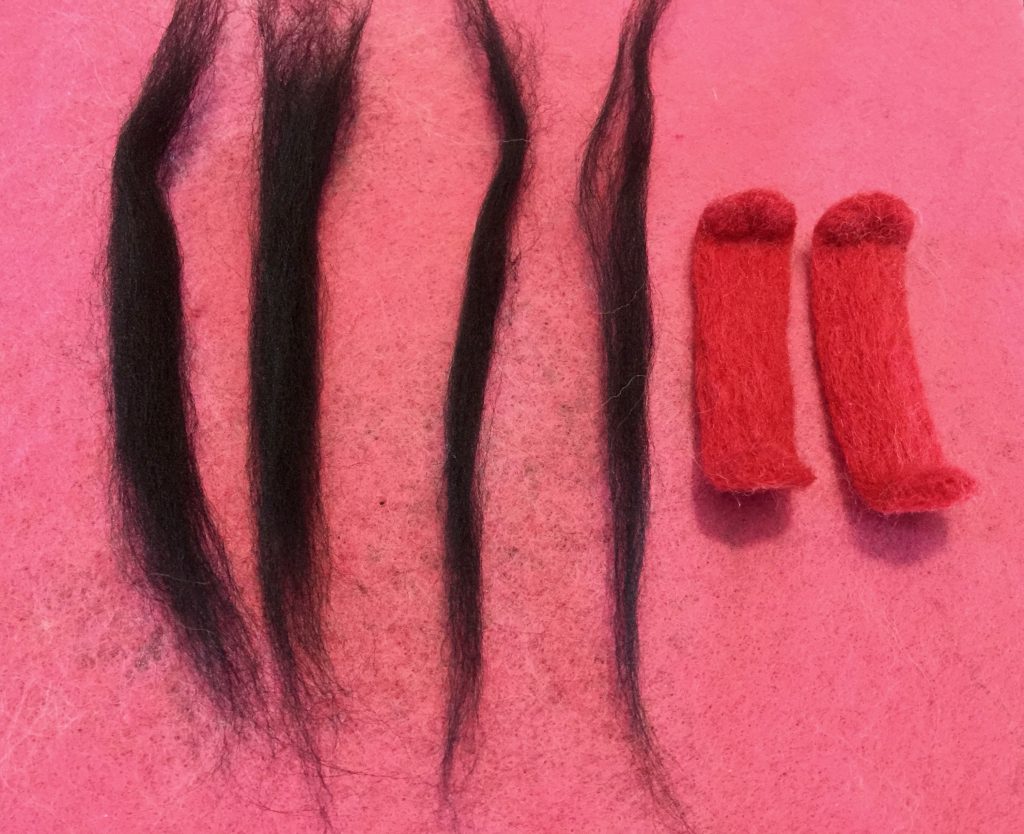
Here’s the bottom of his legs wrapped in black, ready to receive the boots.
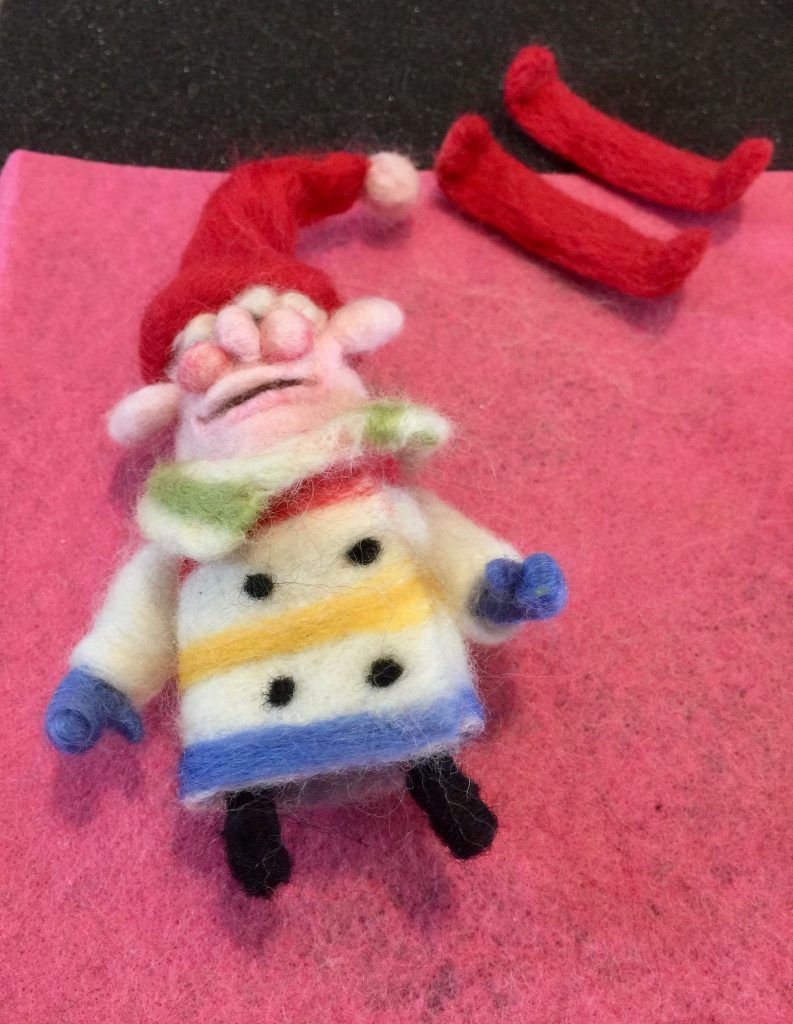
Use the wider pieces of black roving to create a foot shape. Place onto the bottom of the legs and felt on. This part is tricky! Once his legs are placed on the shapes you just created, you need to fold the back up to create a heel. When that is felted, fold the toe and secure around the entire boot.
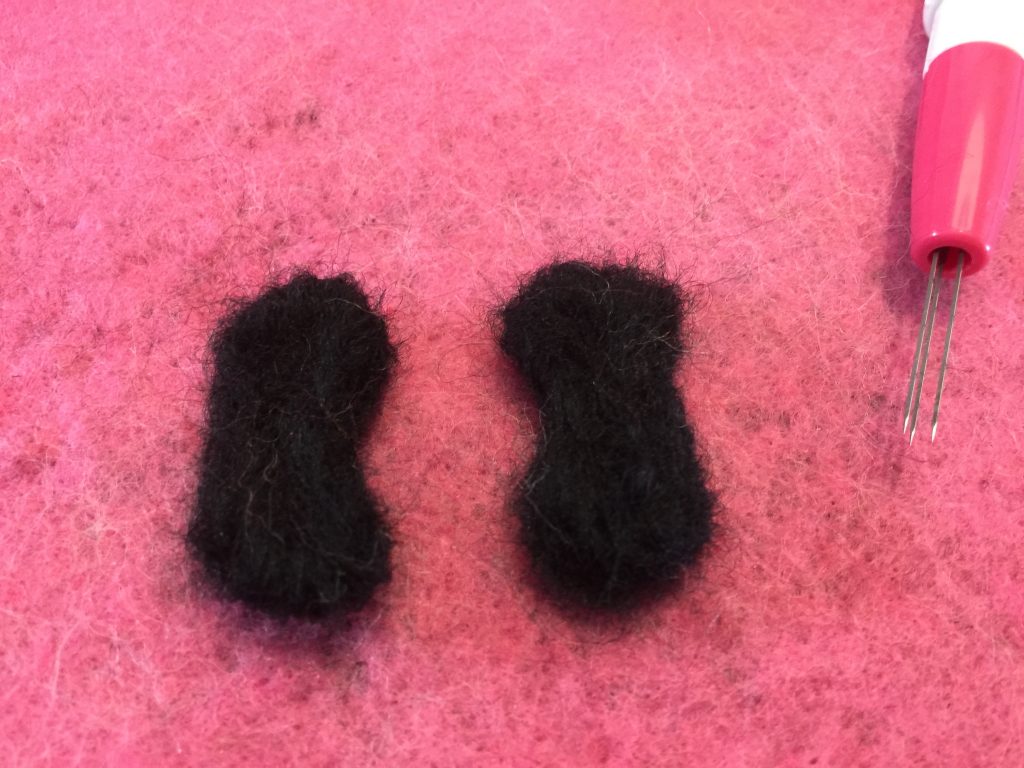
The boots are done and ready to attach to the skis.
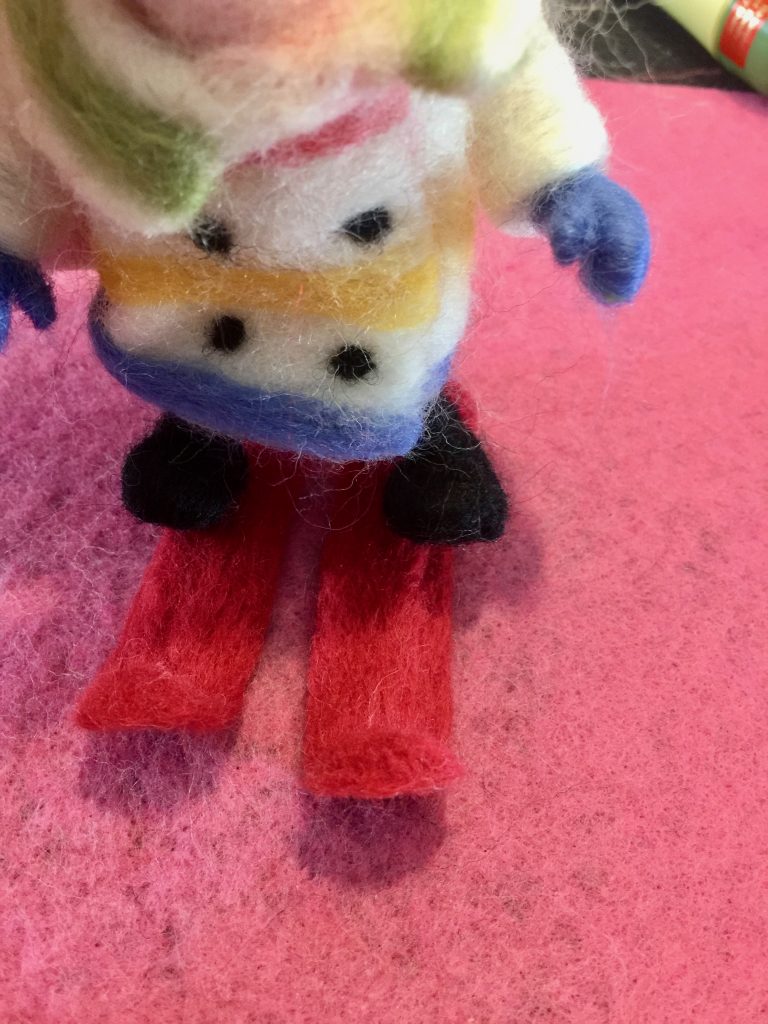
Place darning needles through the boot, into the skis securing it to the felt pad so you can work with both hands to steady it. Ignore the fact that I used a felting needle for the picture; you should use a regular needle but I couldn’t find another one!
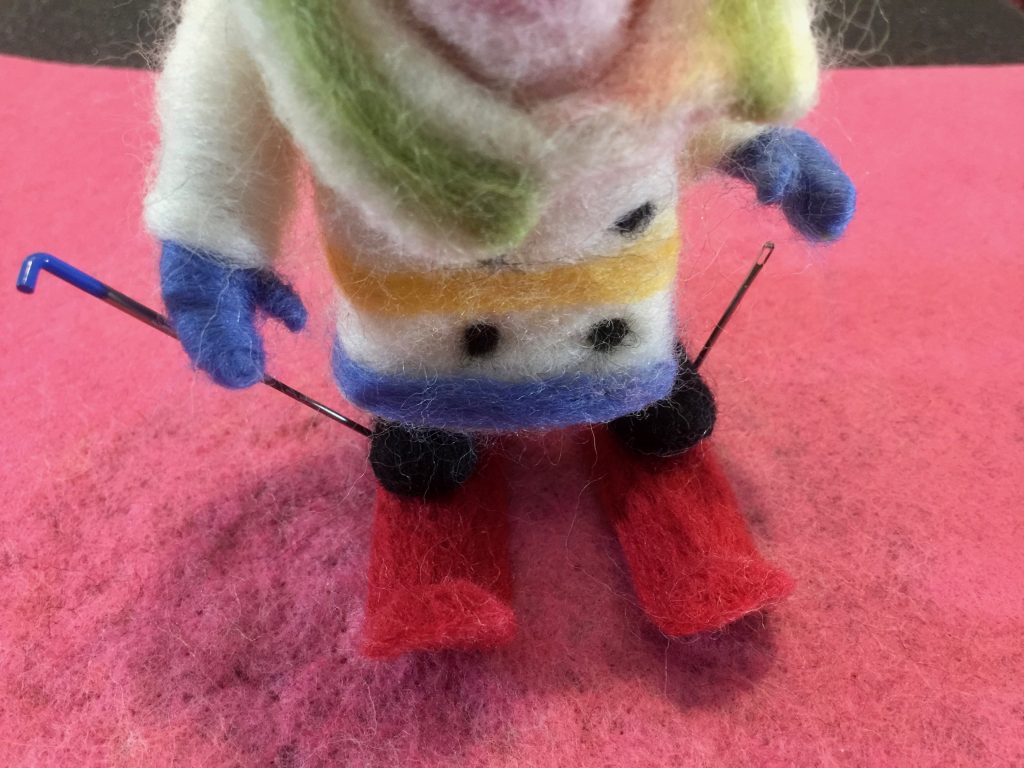
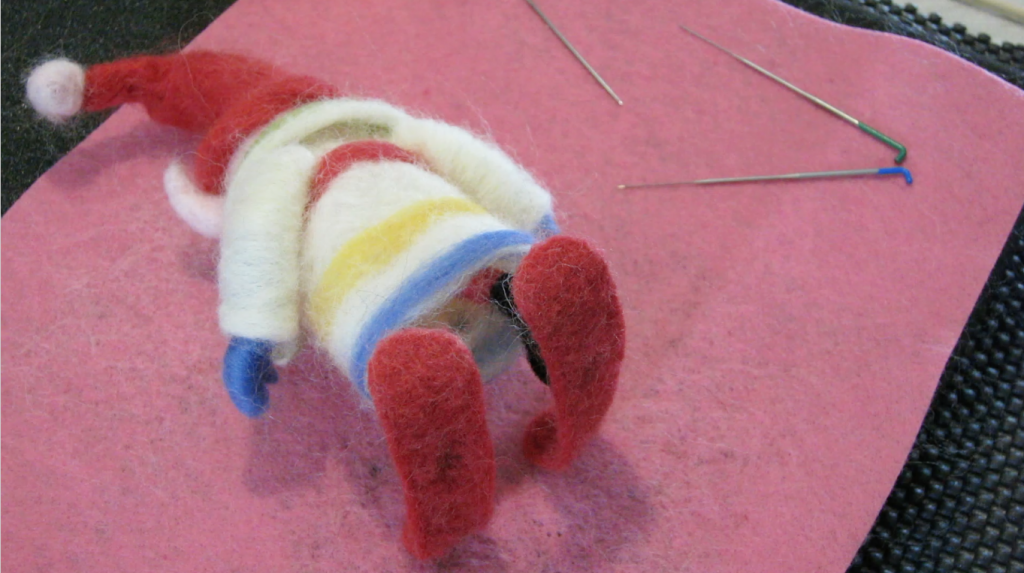
Once the boots are secure onto the skis around the perimeter of the boots, turn your elf over so the bottom of the skis are facing you. Carefully stab upward from the skis into the boot to secure the entire bottom.

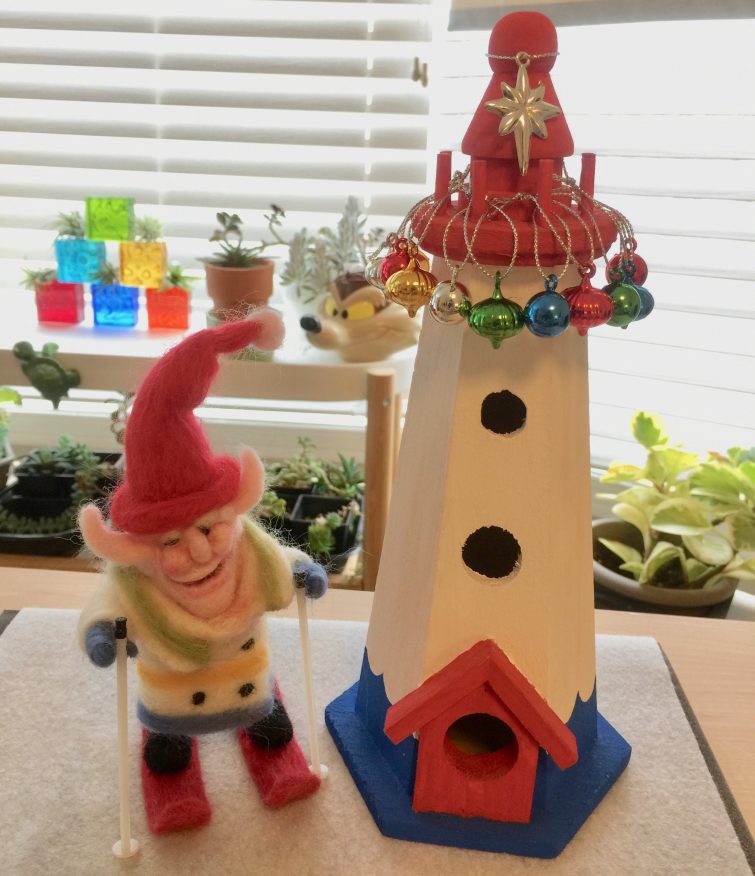
He’s now ready for his holiday debut!
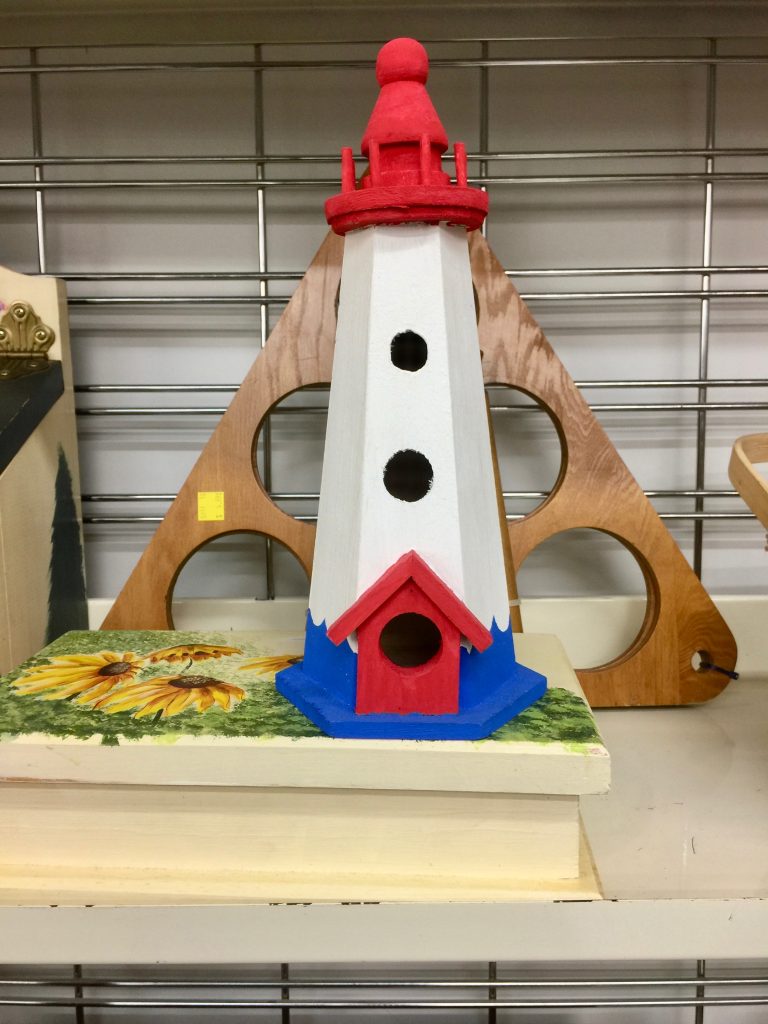
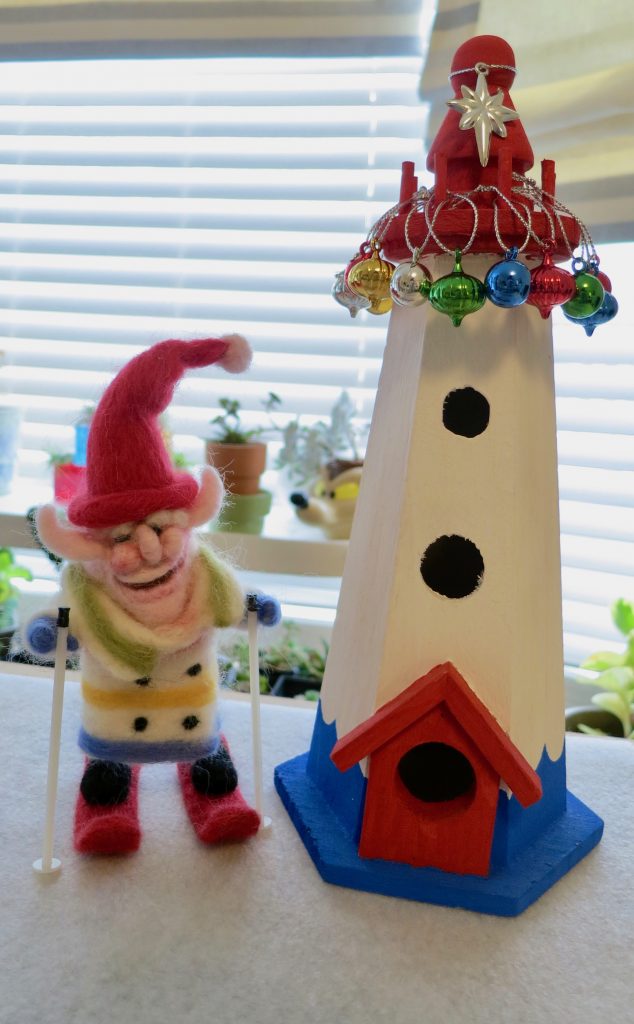
Over the weekend I found this adorable light house at a thrift store. My favourite place to visit is PEI, so I knew I had to upcycle it to create a coastal Christmas!
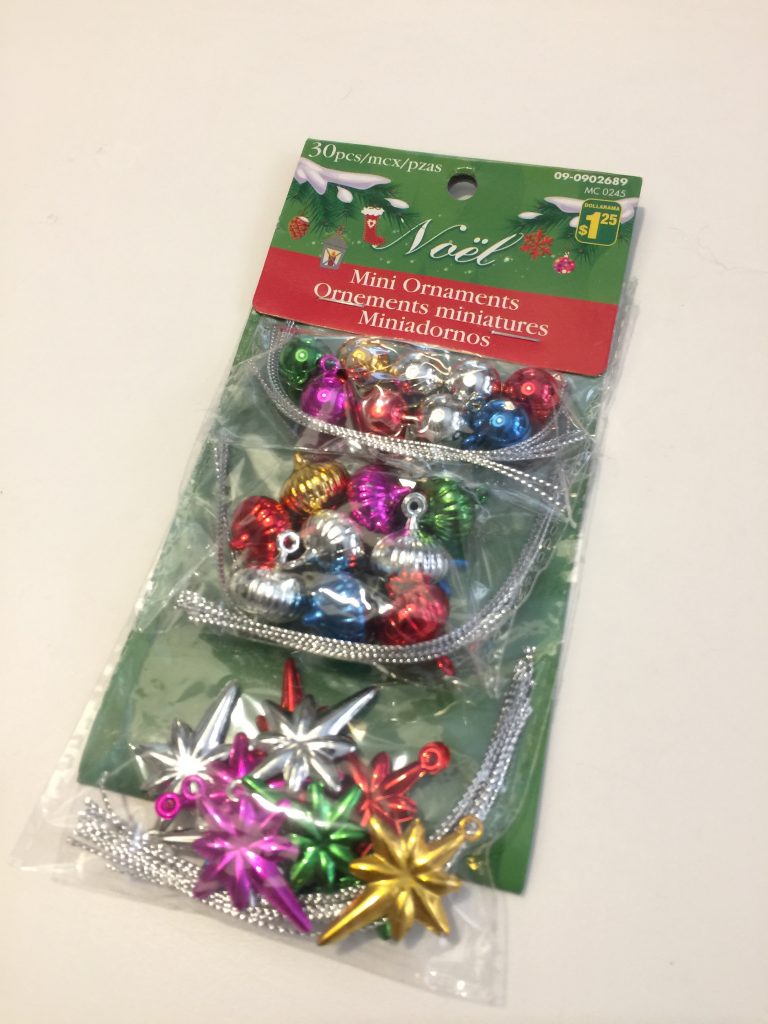
I adorned it with mini ornaments from the dollar store.
And here he is! I haven’t named this little guy yet, but if you have suggestions, I would love to hear them!!
I know there’s a lot of information in this post that might seem difficult to grasp so I created a step-by-step video for you to follow along too!
If you’re like me, and you’re a visual learner, you’ll find the video helpful. Hope you enjoyed learning how to needle felt an elf. Until our next project, you’ll find us at birdzofafeather.ca 🙂
Happy holidays!