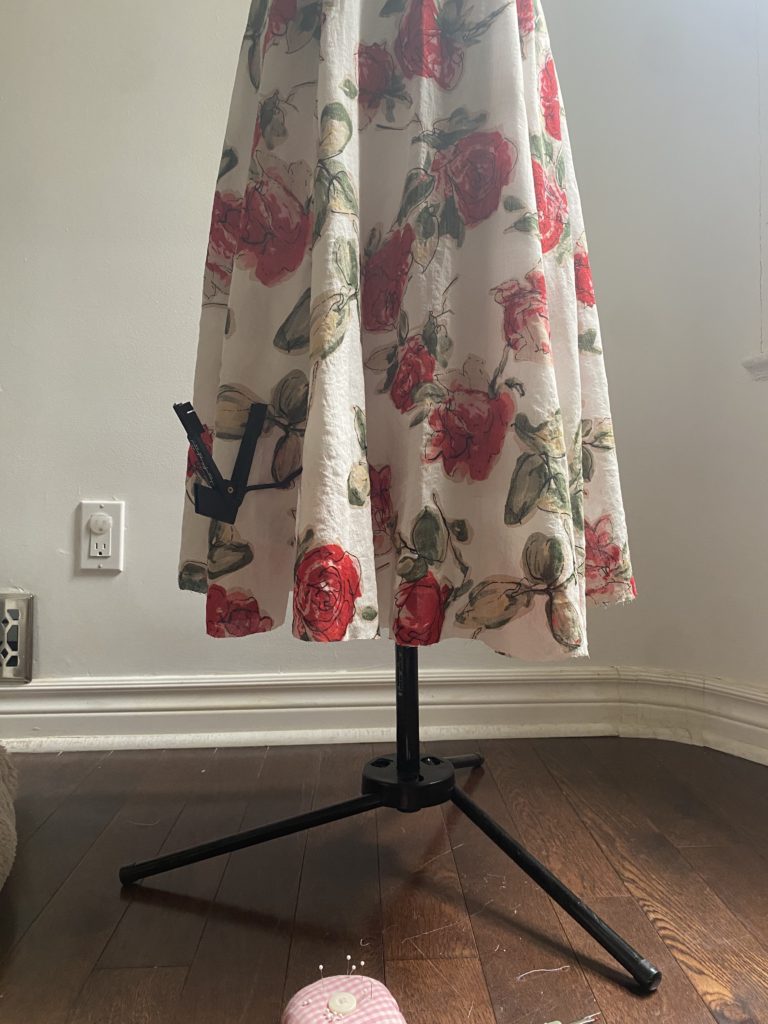
I first noticed the milkmaid dress trend last summer, and when I saw this gorgeous cotton viscose print I knew it would be a perfect match for the Dream Frock pattern by Lydia Naomi.
The cotton viscose is the perfect breezy spring fabric I was looking for. I struggled to find the right lining fabric, but the one I like the most is a cotton batiste that Fabricville helped me choose. It’s light enough to let the shell move, but has enough structure to fill out the silhouette. Long story short, if you’re ever unsure of which fabric you should choose, I’d definitely recommend contacting them for help.
I chose view C with the extended skirt length. My copy of the pattern pieces and fabric measurements did not include this view, so if you’re interested in making this view I would double check to see if your copy includes it. If not, I would order at least a 1/2 meter extra.
This pattern does not include written instructions, but there are several instructional videos on Lydia Naomi’s YouTube channel. Here’s the link to the one I used.
The video does cover most of the steps, but as I mentioned the pattern pieces do not account for the extra length on view C. Here’s how to extend the skirt:

You can also optionally add a lining length line to the extended pattern piece. My lining is 2” shorter than the shell. Repeat these steps for all of the skirt pieces.
The construction of the dress was a bit technical, so I suggest watching the video all the way through at least once before sewing. Here are some construction tips that might help along the way:

The top view of this pattern is also a great option if a romantic flowy dress isn’t your thing. I love how this dress turned out and got so many\ compliments both on the pattern and this gorgeous fabric!
