Spring and summer are ripe with special occasions to dress up and put your best foot forward. This year is no exception. Our youngest son is graduating high school, and after carefully selecting his attire, it was finally time for the mother of the graduate to be treated to a look fit for the occasion.
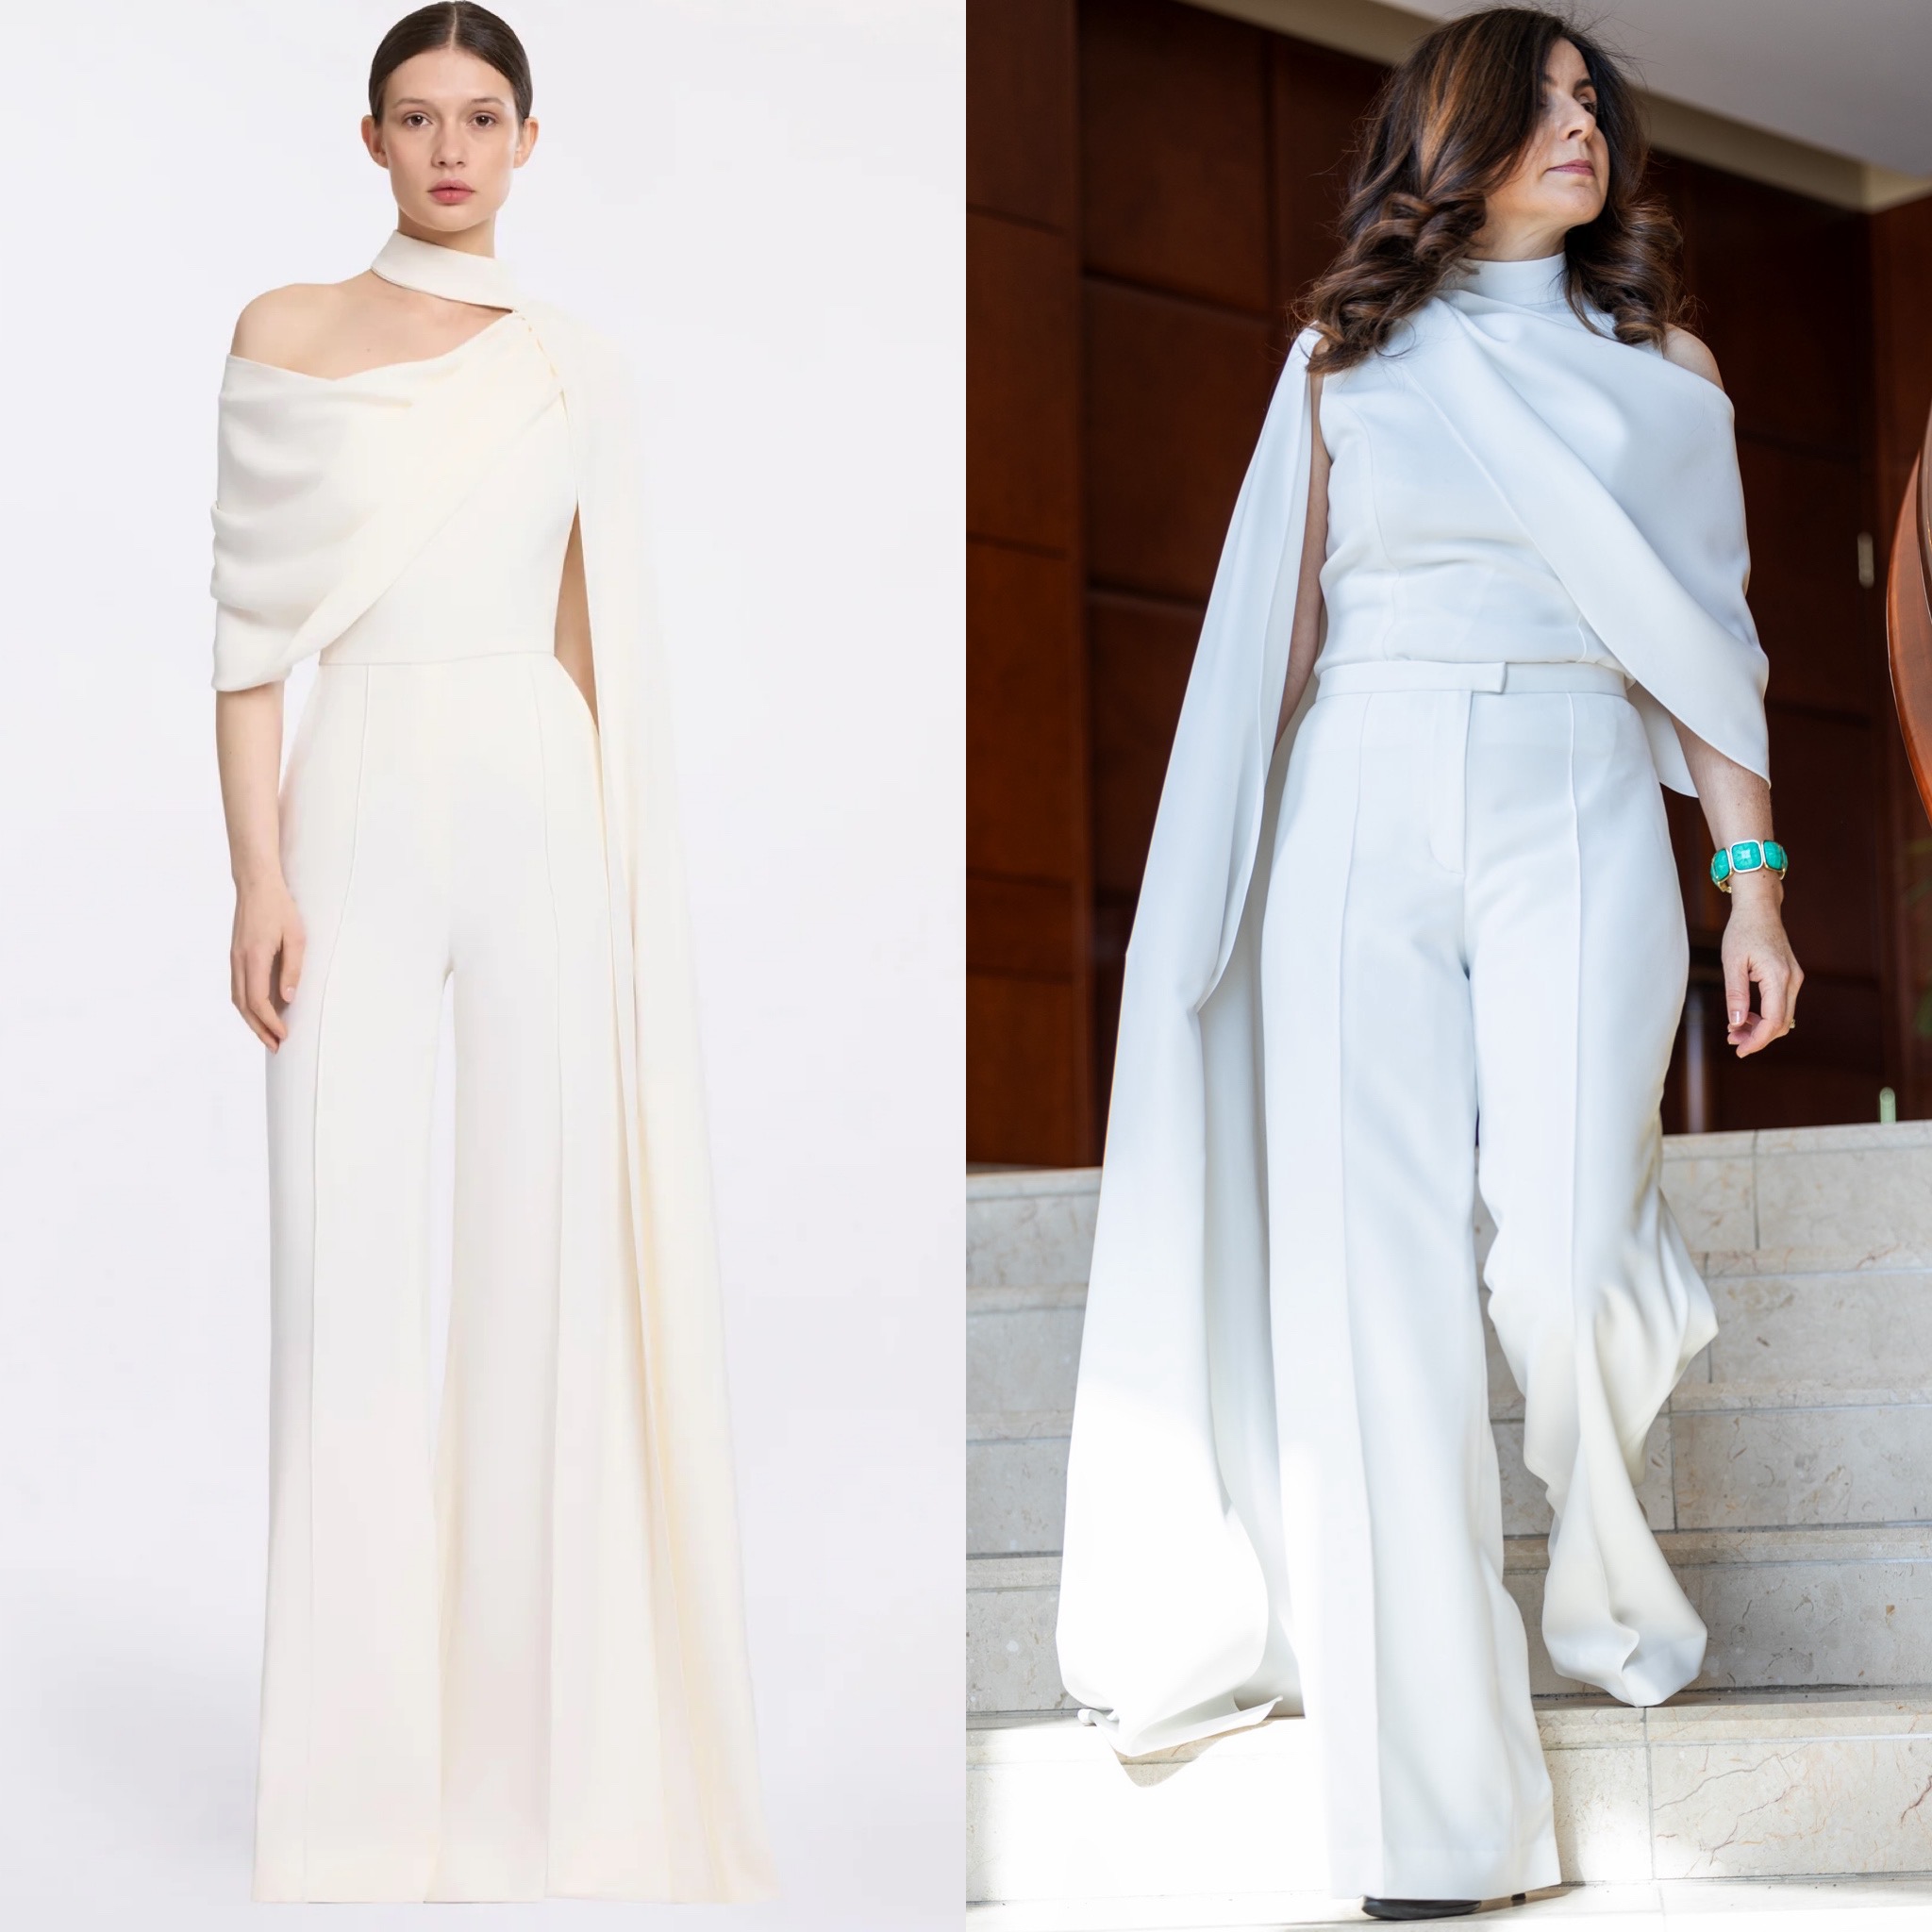
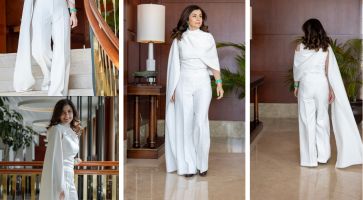
The spark for this project came from Elie Saab’s Cruise 2026 collection. Among the splendid gowns and fabulous day dresses, it was the jumpsuits that truly caught my eye. Fitted yet flowing, decorated with lace and chic draped elements, they are the epitome of “casual chic” refined for a summer festivity. One particular white jumpsuit, featuring a one-shoulder drape and a floor-length train, was the obvious choice for a graduation party!
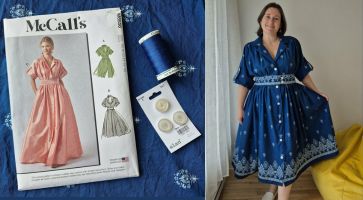
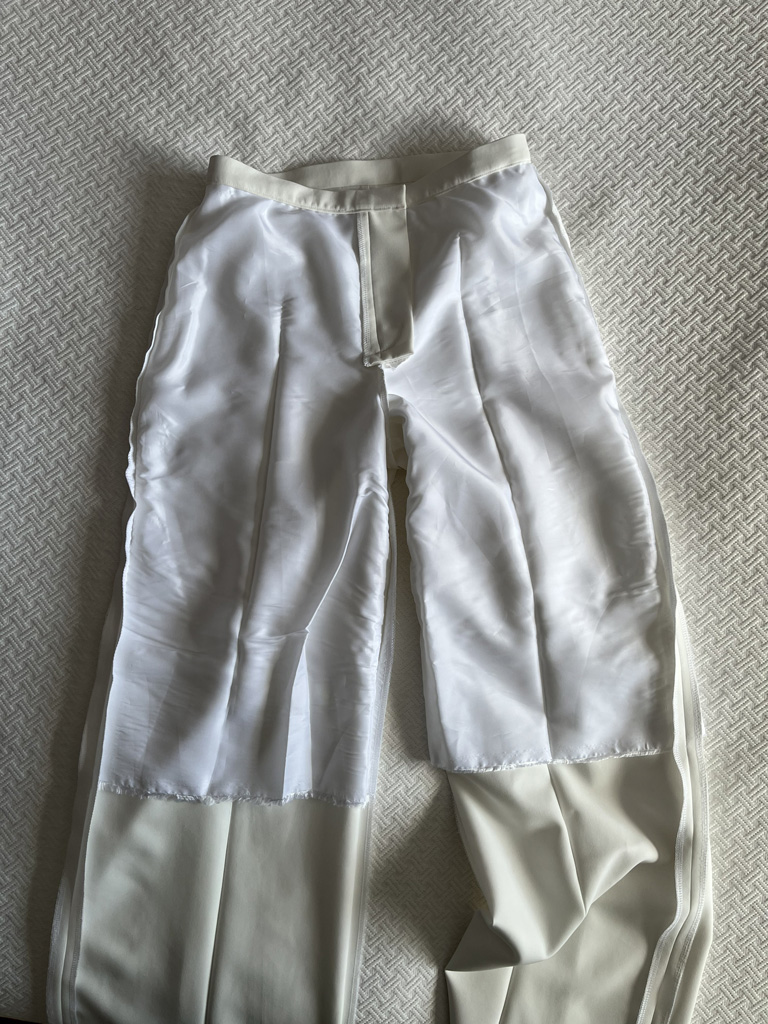
The main challenge of a jumpsuit is practicality. While they look polished and balanced from top to bottom, they are notoriously difficult to get in and out of. To solve this, I suggested creating a look-alike ensemble using separates: trousers and a blouse. The fabric I chose is Light Suiting – Diana.
We started with two patterns from the Burda Style archives:
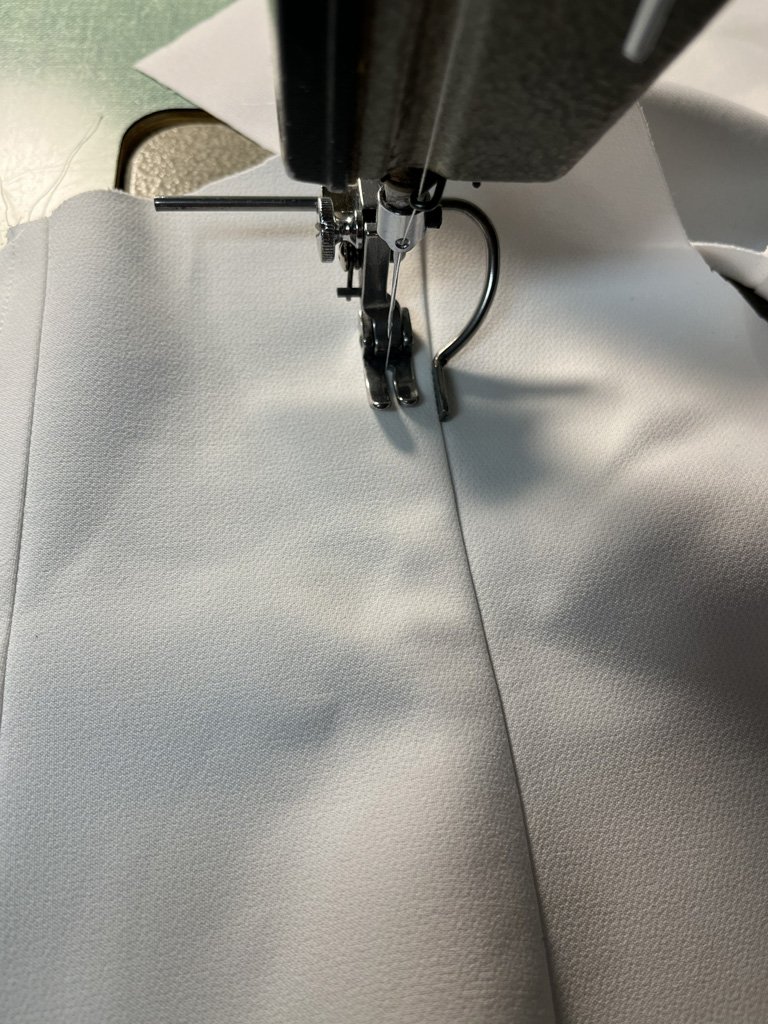
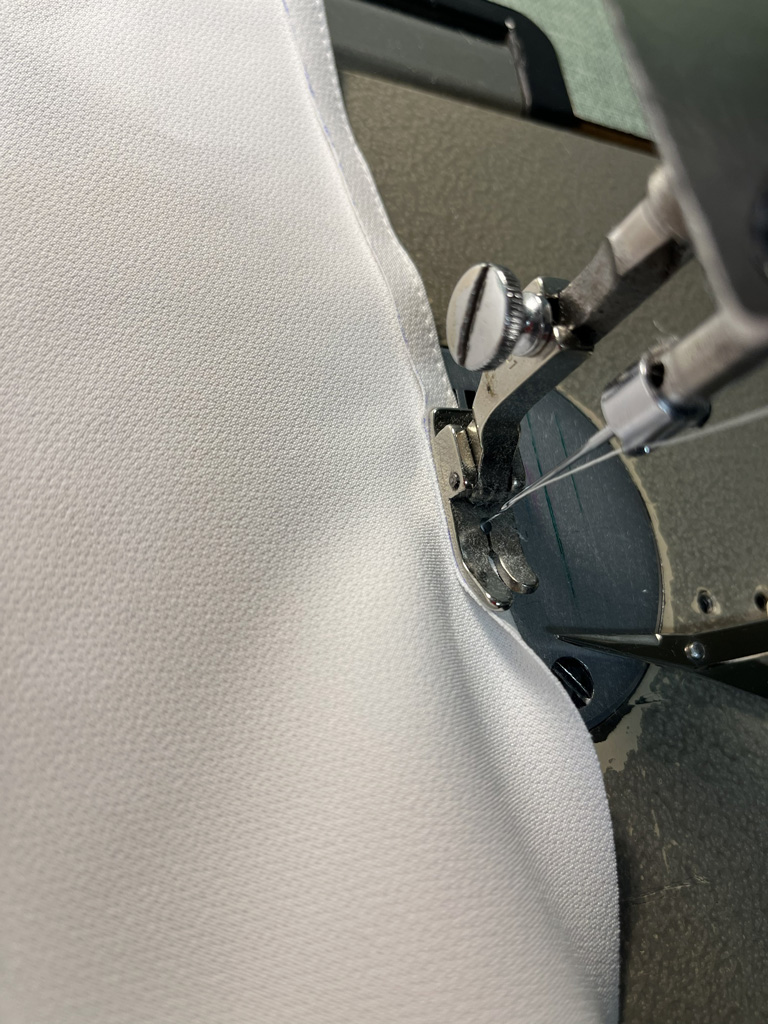
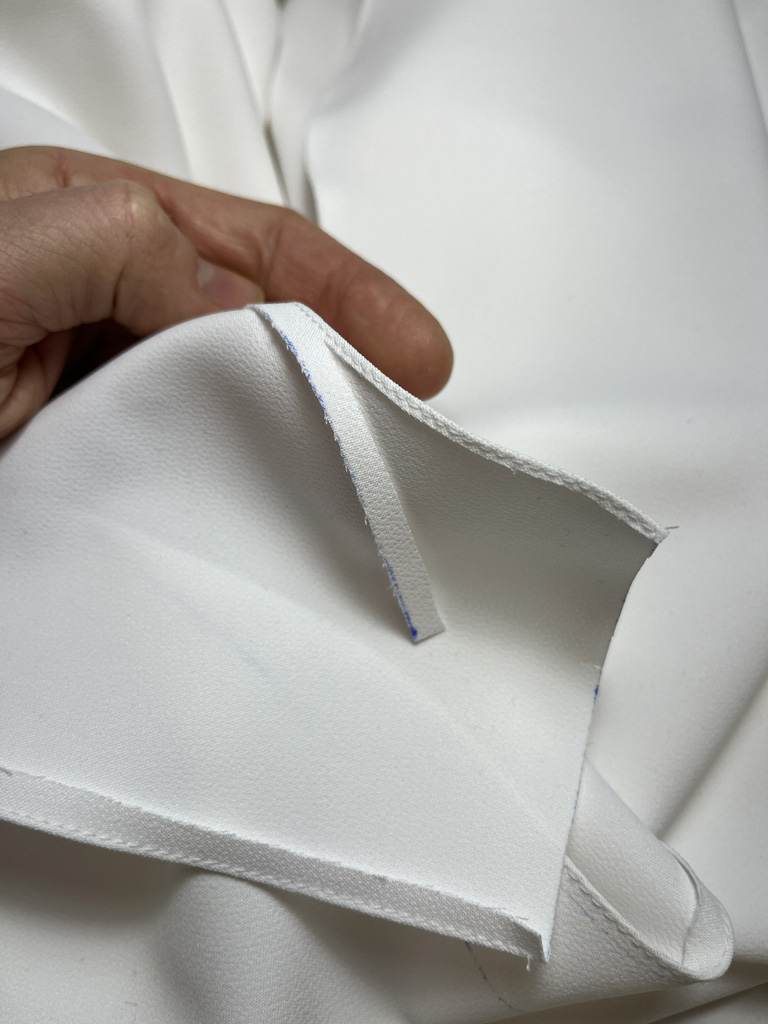
For the pants, I initially followed the instructions exactly, adding a lining for comfort and to reduce transparency. However, the fitting required some editing: I removed the in-seam pockets, cropped 8cm from the hem, and let out the maximum seam allowance in the seat. With a sigh of relief, the pants were ready.


Excited, I moved on to the corsage top. This was only my second time ever tackling a corsage. The first was at age 11, sewing for my sister; back then, “boning” meant nothing to me and the project defeated me. Now, with years of experience under my belt, I summoned my courage for a rematch.
I took careful measurements and, trusting the brilliant “German heads” behind Burda, I dove in. I assembled the bodice panels, bust cups, straps, and lining, and inserted the separating zipper and boning. Then came the fitting.
The cup size was totally wrong. I spent a whole day trying to salvage it, but alas—the corsage defeated me for a second time!


Thankfully, there was enough fabric left for a pivot. I pulled out a self-drafted dress pattern and used the bodice portion to create a simple sleeveless top with princess seams. Without the need for further adjustments, I whipped the top together in a couple of hours and moved on to the most fascinating part: the drape.
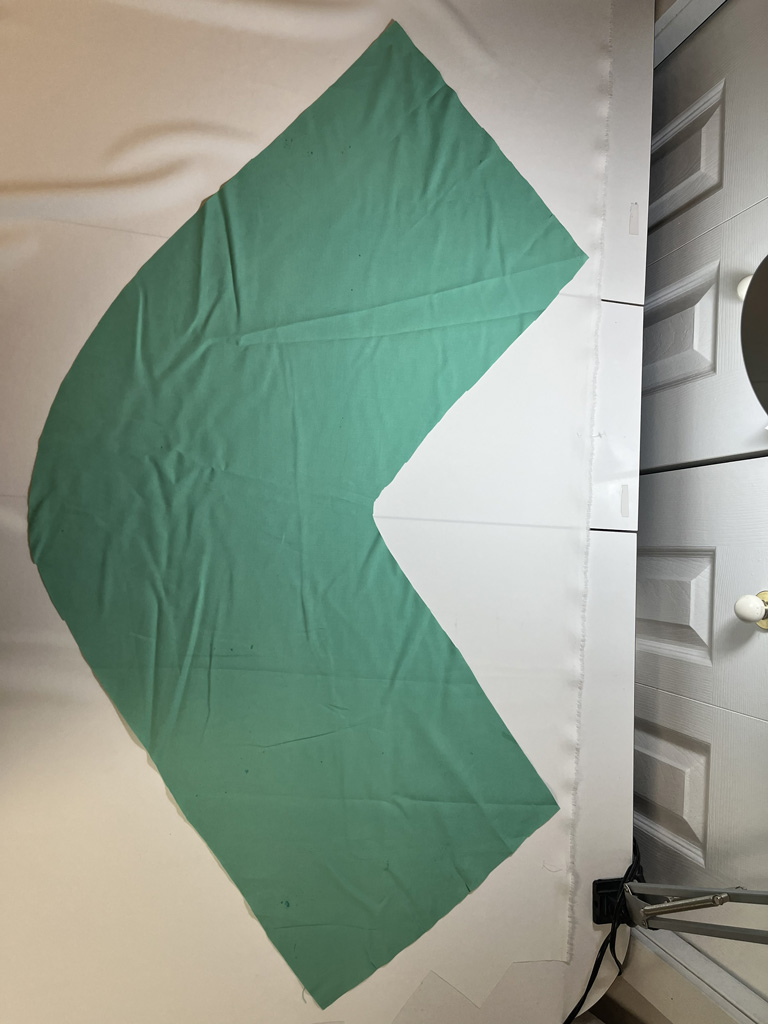
To begin, I used a measuring tape to wrap around my client’s shoulders and determine the fabric length. I also measured from the shoulder to elbow height to find the width. My final dimensions were 93cm and 133cm in length by 36cm in width.
I draped a long, straight piece of fabric directly on the client, pinning the folds and marking the excess. This resulted in a curved piece, which I then re-cut. This curvature is key; it helps change the direction of the drape and places the fabric on the bias, creating those beautiful, fluid folds.
The final train dimensions are 155x40cm, with the shoulder end narrowing to approximately 8cm.


This ambitious project for a white “jumpsuit” ensemble ended as a total success despite the hurdles. The stark white silhouette, paired with the graceful draped detail and dramatic train, doesn’t just highlight the wearer’s beauty—it brings a necessary touch of glamour to a milestone celebration.


Every project is a teacher, and this one had a lot to say! If you’re tackling a high-stakes special occasion look, here are my top takeaways: