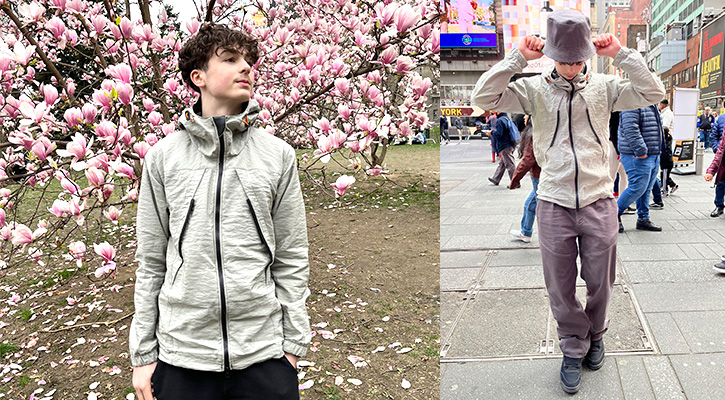
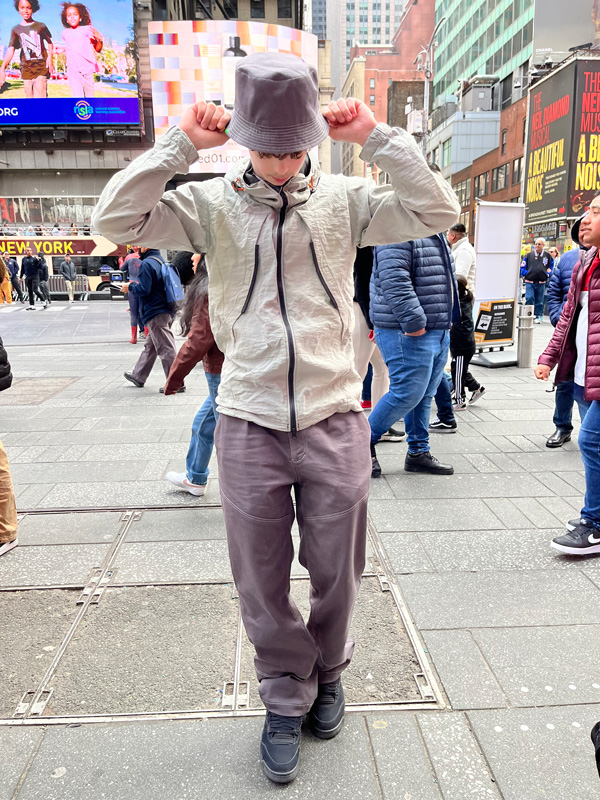
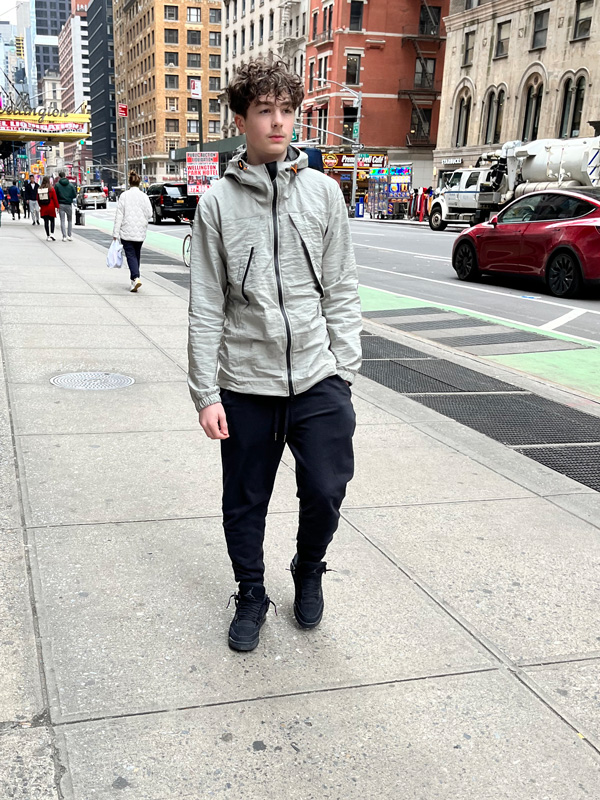
My most ambitious project to date: self drafted baggy pants and a windbreaker for my teenage son!
It all started as we were planning a family trip to New York City over the Easter holidays. He was turning 14 and growing too fast out of all his clothes. He needed something to wear on the trip. And part of the challenge was to come up with an outfit he could rock. I mean, teenagers are very difficult to please! We exchanged endless messages with screenshots of pants and coats, and hoodies, and what have you. Finally we narrowed it down to oversized pants and a windbreaker. I made him several pairs of pants since he was 5, about 1 every season. But a complicated piece of outwear? Challenge accepted!
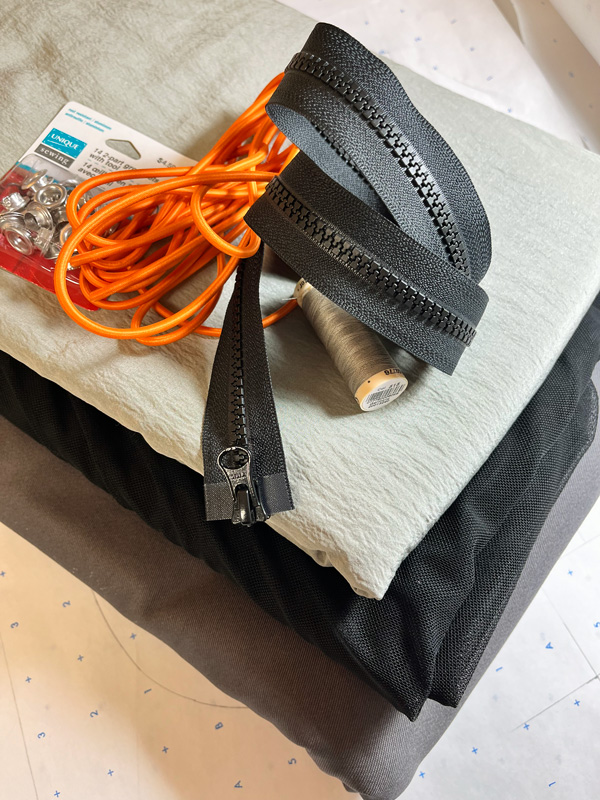
Fabricville came to the rescue. Their new collection of spring and summer fabrics is outstanding. We found a fantastic Duncan grey twill for the bottoms and taupe crushed outerwear cloth for the windbreaker. We supplemented our selection with Lizabella black mesh for the lining, costume makers activewear 70 cm two way separating zipper, 8mm silver grommets and orange 3.5 mm elastic round cord. A great set of supplies!
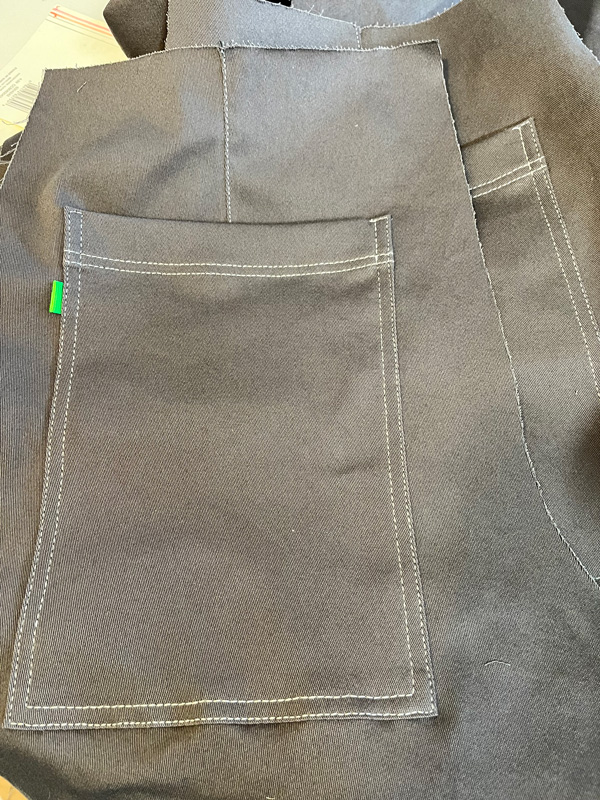
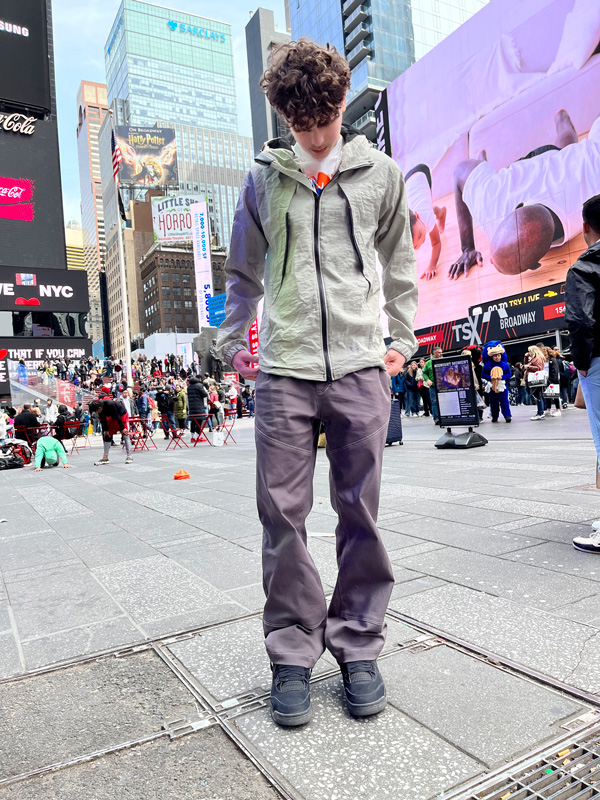
As I mentioned before, I sewed pants for my youngest son before. And I used Rundschau pattern construction method. The method was around over 100 years, hails from Germany and is used in companies like Hugo Boss. This time around, I cheated a bit and did not construct the pants from scratch. I used the pattern I constructed over Christmas, just added a front pleat (4 cm) and widened the leg of the pant from the knee down. Then, I just added purely decorative seams on the front of the leg and big patch pockets on the back of the pant.
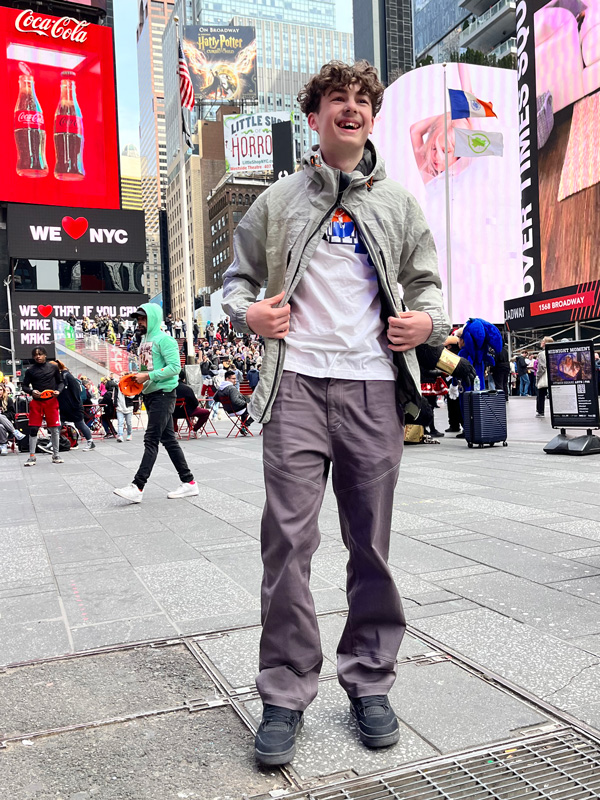
As for the windbreaker, I started with the block pattern for the outwear from the same Rundschau system, and then based on the images we exchanged with my son, added seams, pockets, back flap, hood and turned the sleeve into a two piece one. I made separate pattern pieces for the lining, because it did not need all the seaming of the shell.
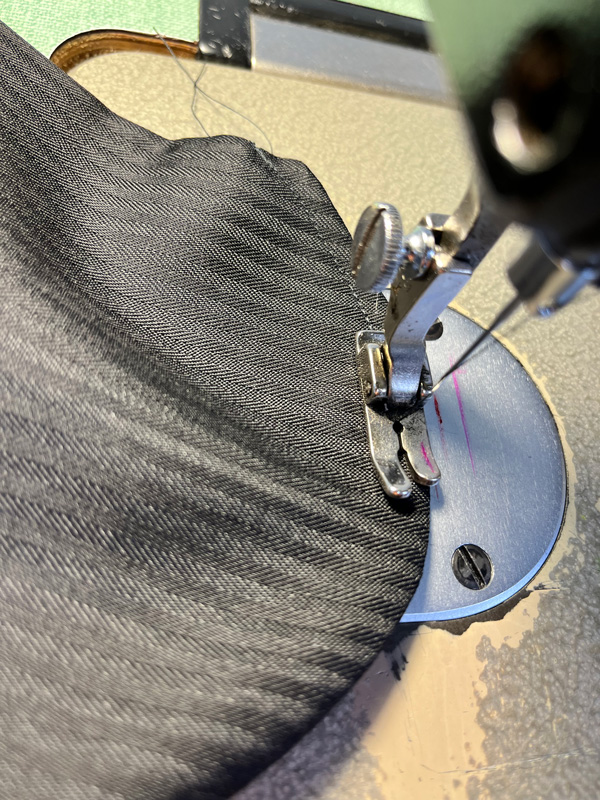
The sewing of the pants was not complicated at all. Following the usual order, I put together front pockets, attached them to the fronts of the pant leg and then installed the zipper with the zipper fly. Then, I sewing back darts, back pockets and back seam. Next, I sewed the inseam of the baggy pants and, lastly, the side seams. I finished the top of the pant, hemmed them, and voila. Oh, I used 3 machines: straight stitch for the inside seams, overlock to finish to raw edges and an old Pfaff (Kijiji donation) for top stitching and zigzag. That way, I did not have to change machine settings every time I need to change the colour or thickness of the threads. What do you think of my sons choice of topstitching colour?


The coat lived up to its challenge. There were many pattern pieces, but what I found challenging is not having instructions, which meant I had to figure out the order in which to put the coat together. I started with obvious things: constructing the sleeves without sewing the bottom seams yet. I proceeded to the back with the vent flap, then the fronts with the pockets, side panels and, finally, the yoke. Then I constructed the lining our of mesh.
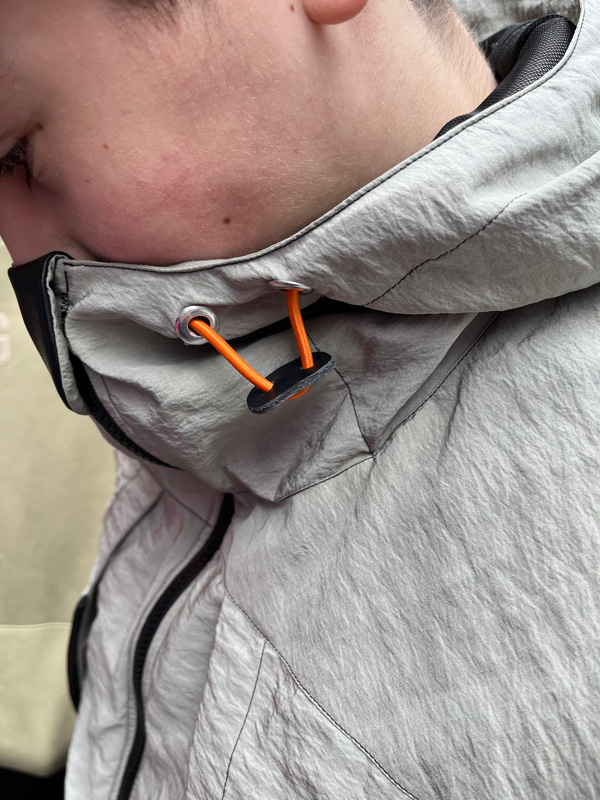


Next, I sewed the hood together, attached the sleeves, closed the side seams and was ready to assemble the shell and the lining together. At this stage, I installed the grommets, and secured the elastic cord. I also made the cord stoppers out of the leather I rescued from a pair of old boots. Once that was done, I installed the zipper with the zipper guard, hemmed the bottom of the windbreaker, installed 3cm elastic at the sleeve edge and secured the pocket openings with velcro.


I had a bit of fabric left over, so I decided to make something extra, just for fun. The free pattern and instructions are available from the Merchant and Mills site.


I am very pleased with the result of this project. My teenage son approved of my effort and gladly wore the outfit and the separate pieces on our trip.