This summer, we have the joy of attending a long-anticipated wedding celebration. Naturally, my spouse wanted an elegant yet modest look to honor the occasion. For inspiration, we turned to none other than Queen Letizia of Spain, who wore a stunning gown to the Royal Theatre’s season opening in Madrid—a perfect blend of sophistication and timeless style.
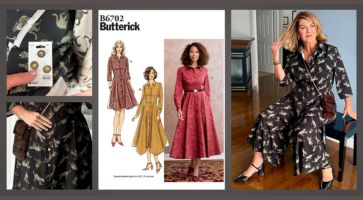
For this royal-inspired wedding guest dress, we turned to Fabricville’s spring-summer 2025 collection, which is a treasure trove of special occasion fabrics. From satins and chiffons to brocades and printed imitation silks, the options felt almost regal.
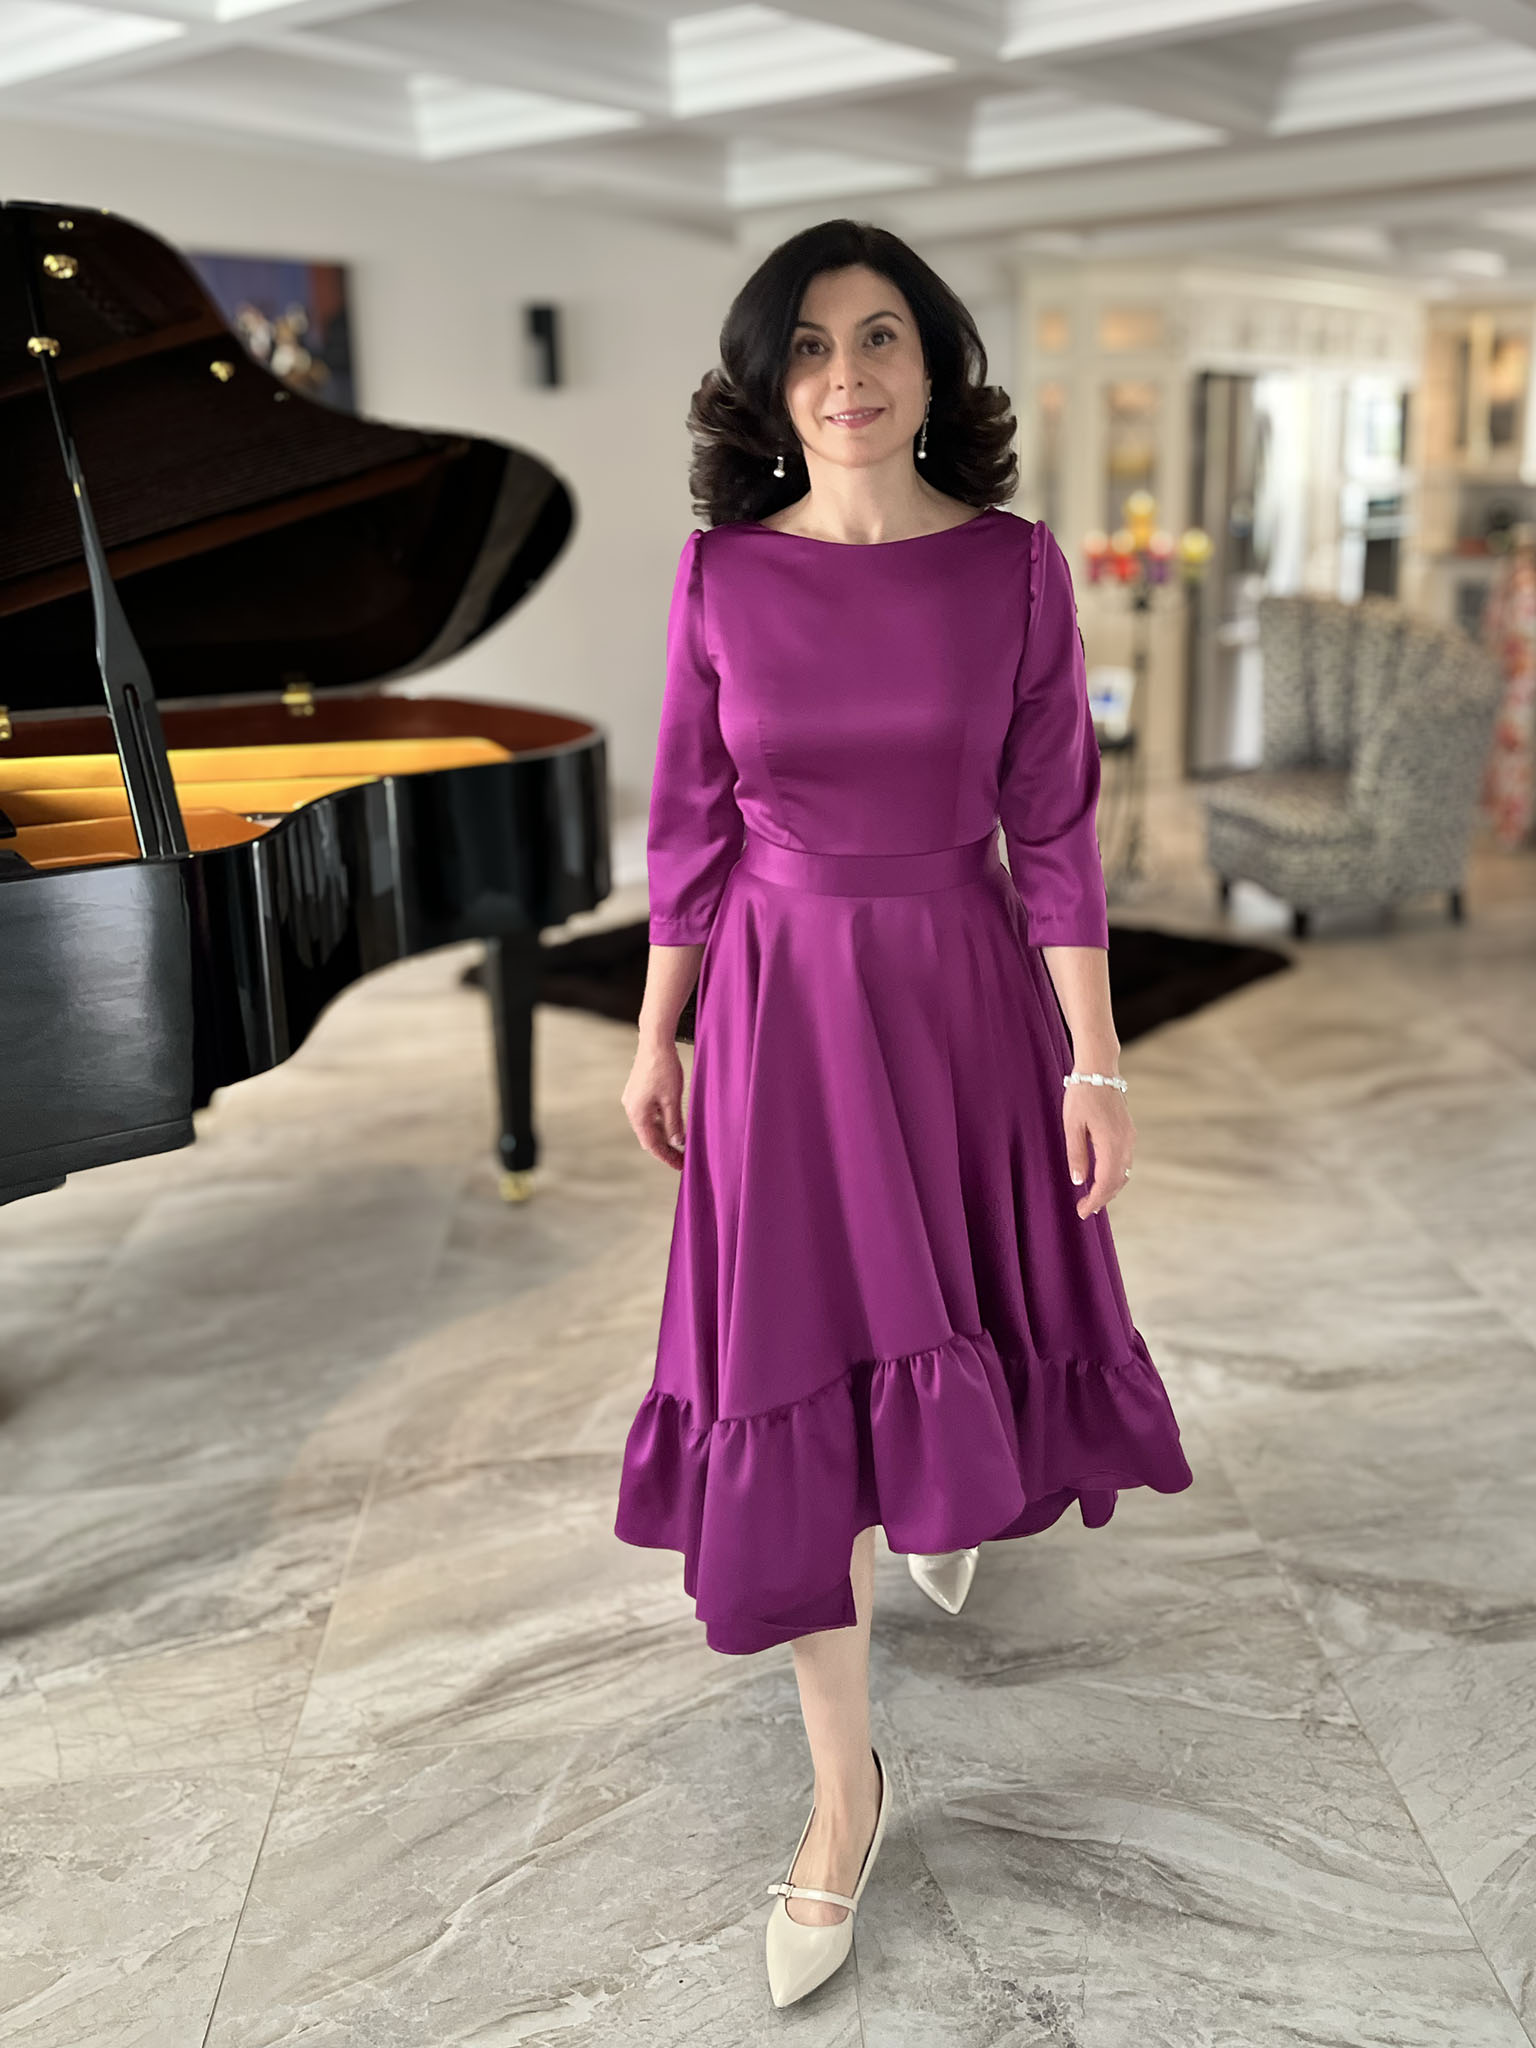
We debated between teal and pink before settling on a rich orchid flower Chantilly crepe-backed satin with matching Gutermann Laurel thread. The drape was absolutely divine, it resisted wrinkles like a dream, and best of all—it was a breeze to sew: no slippage, no shrinking, just smooth construction all the way.

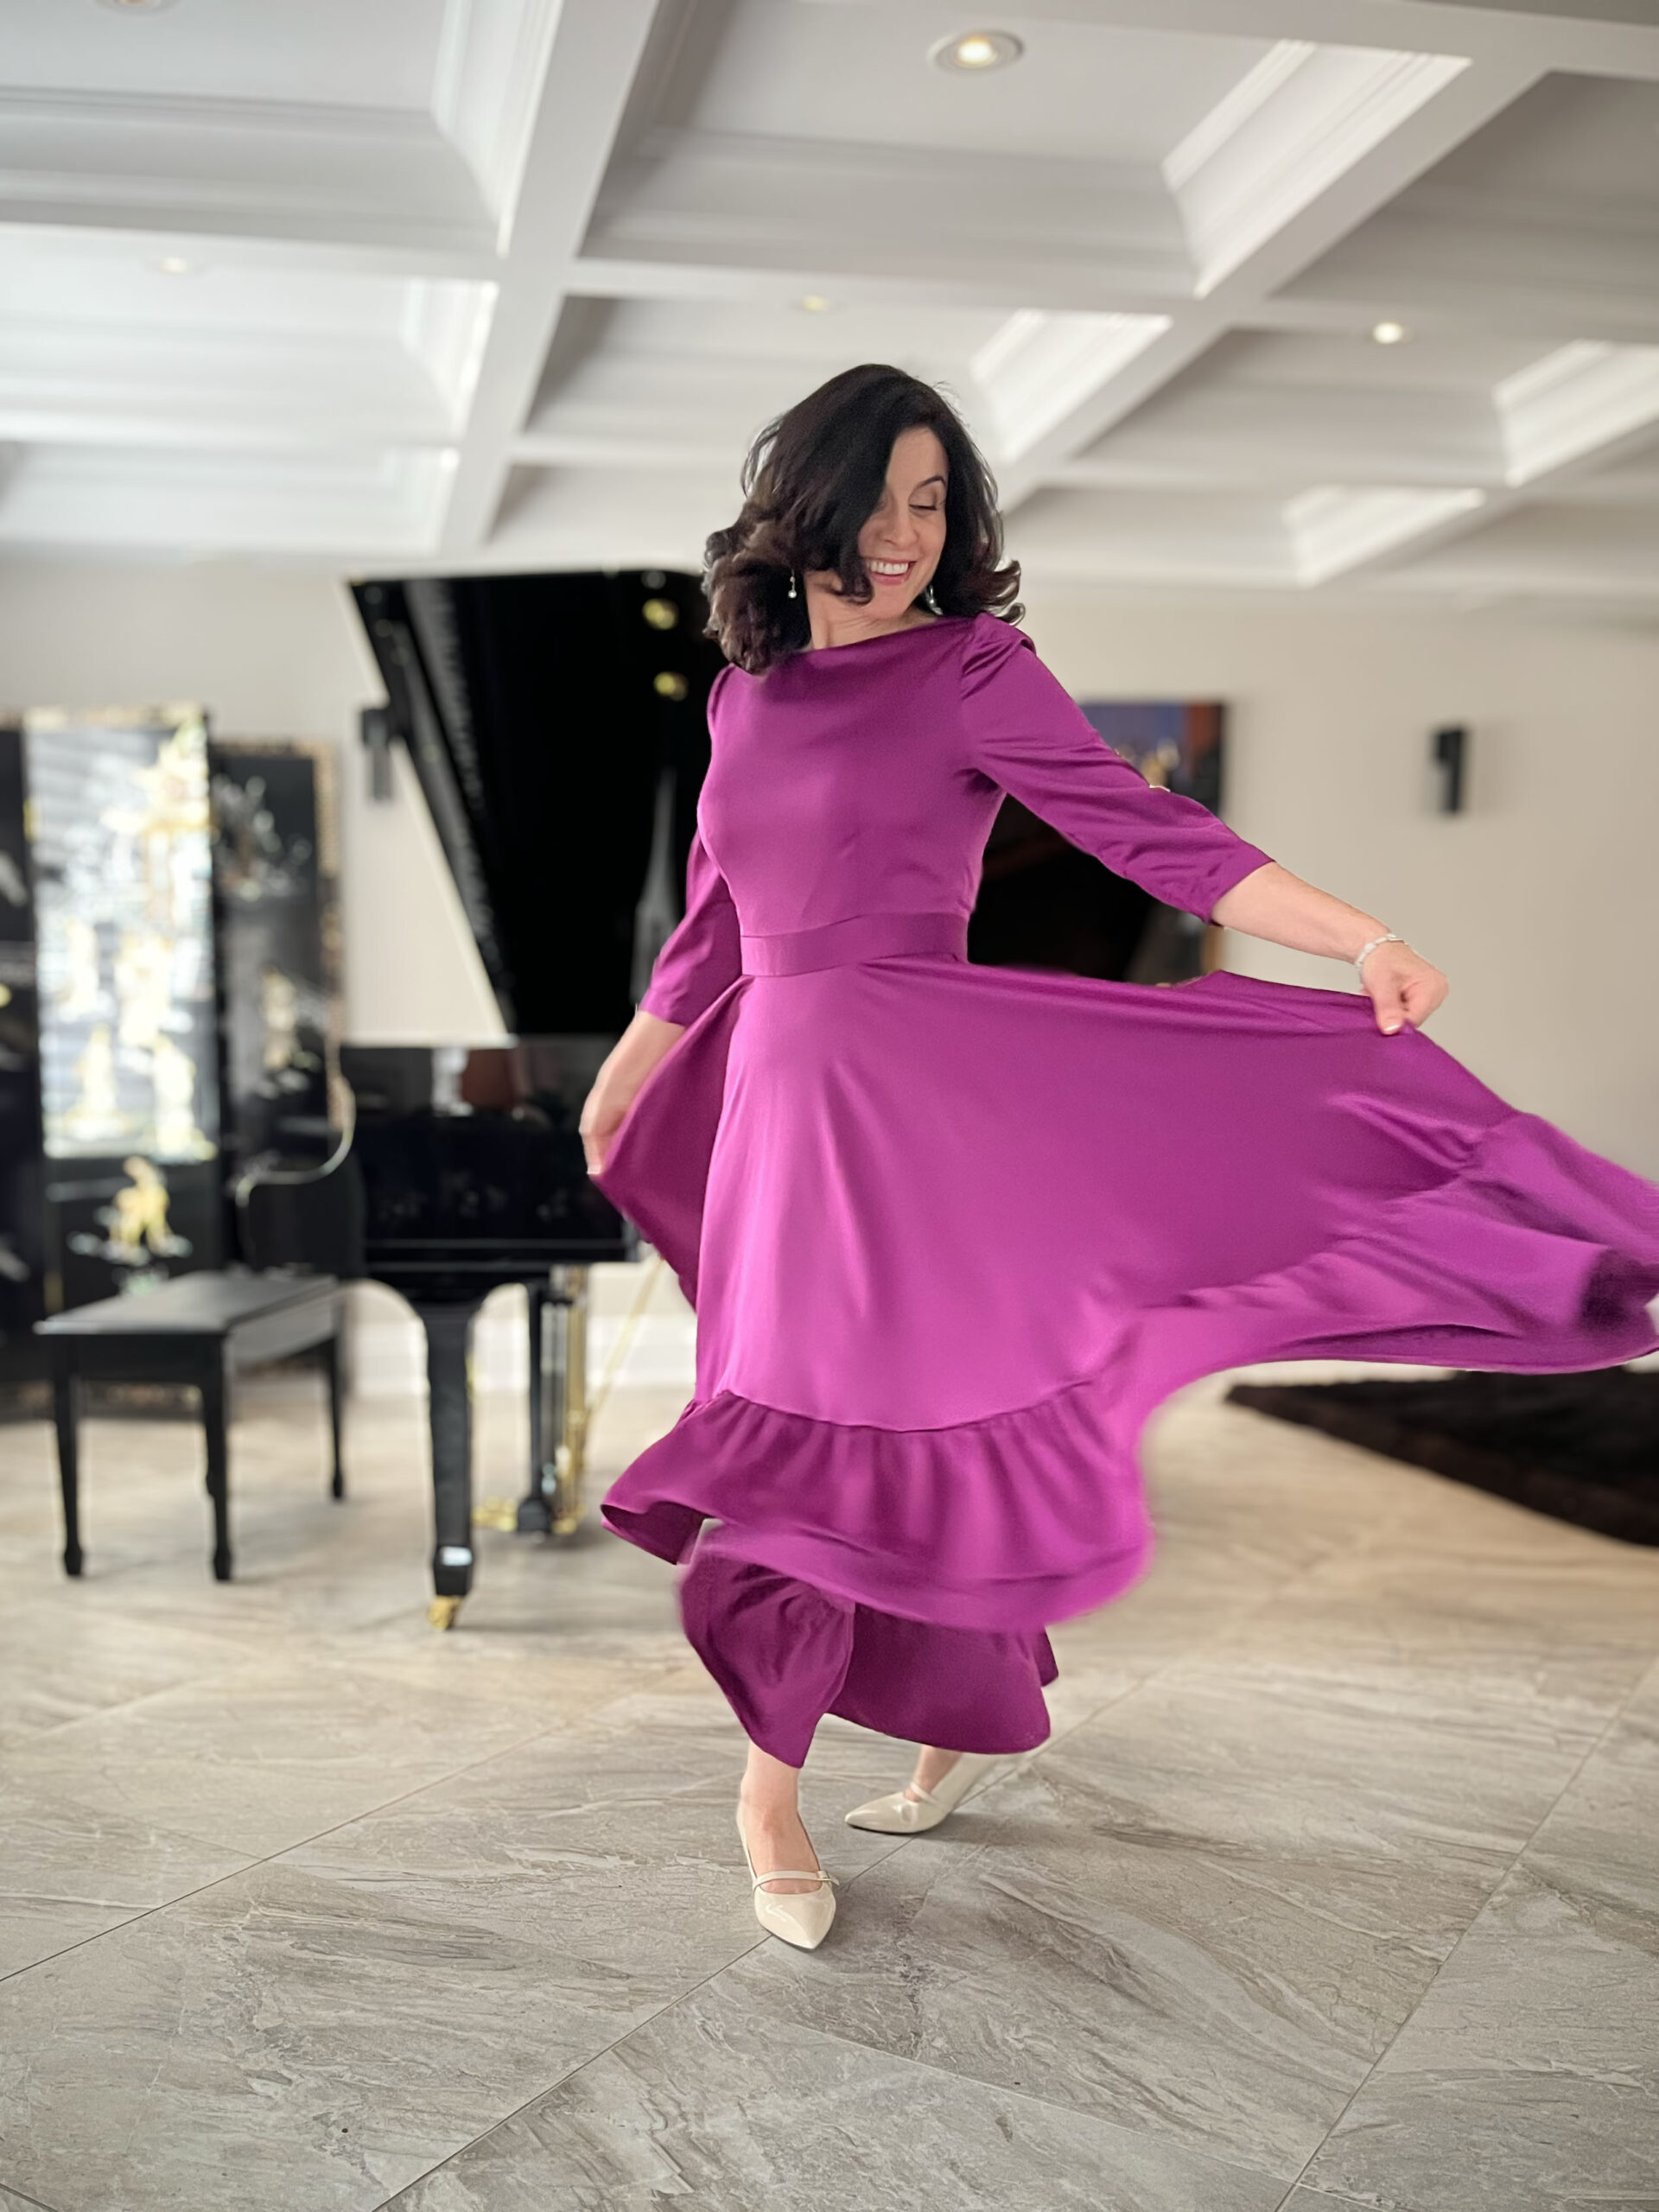
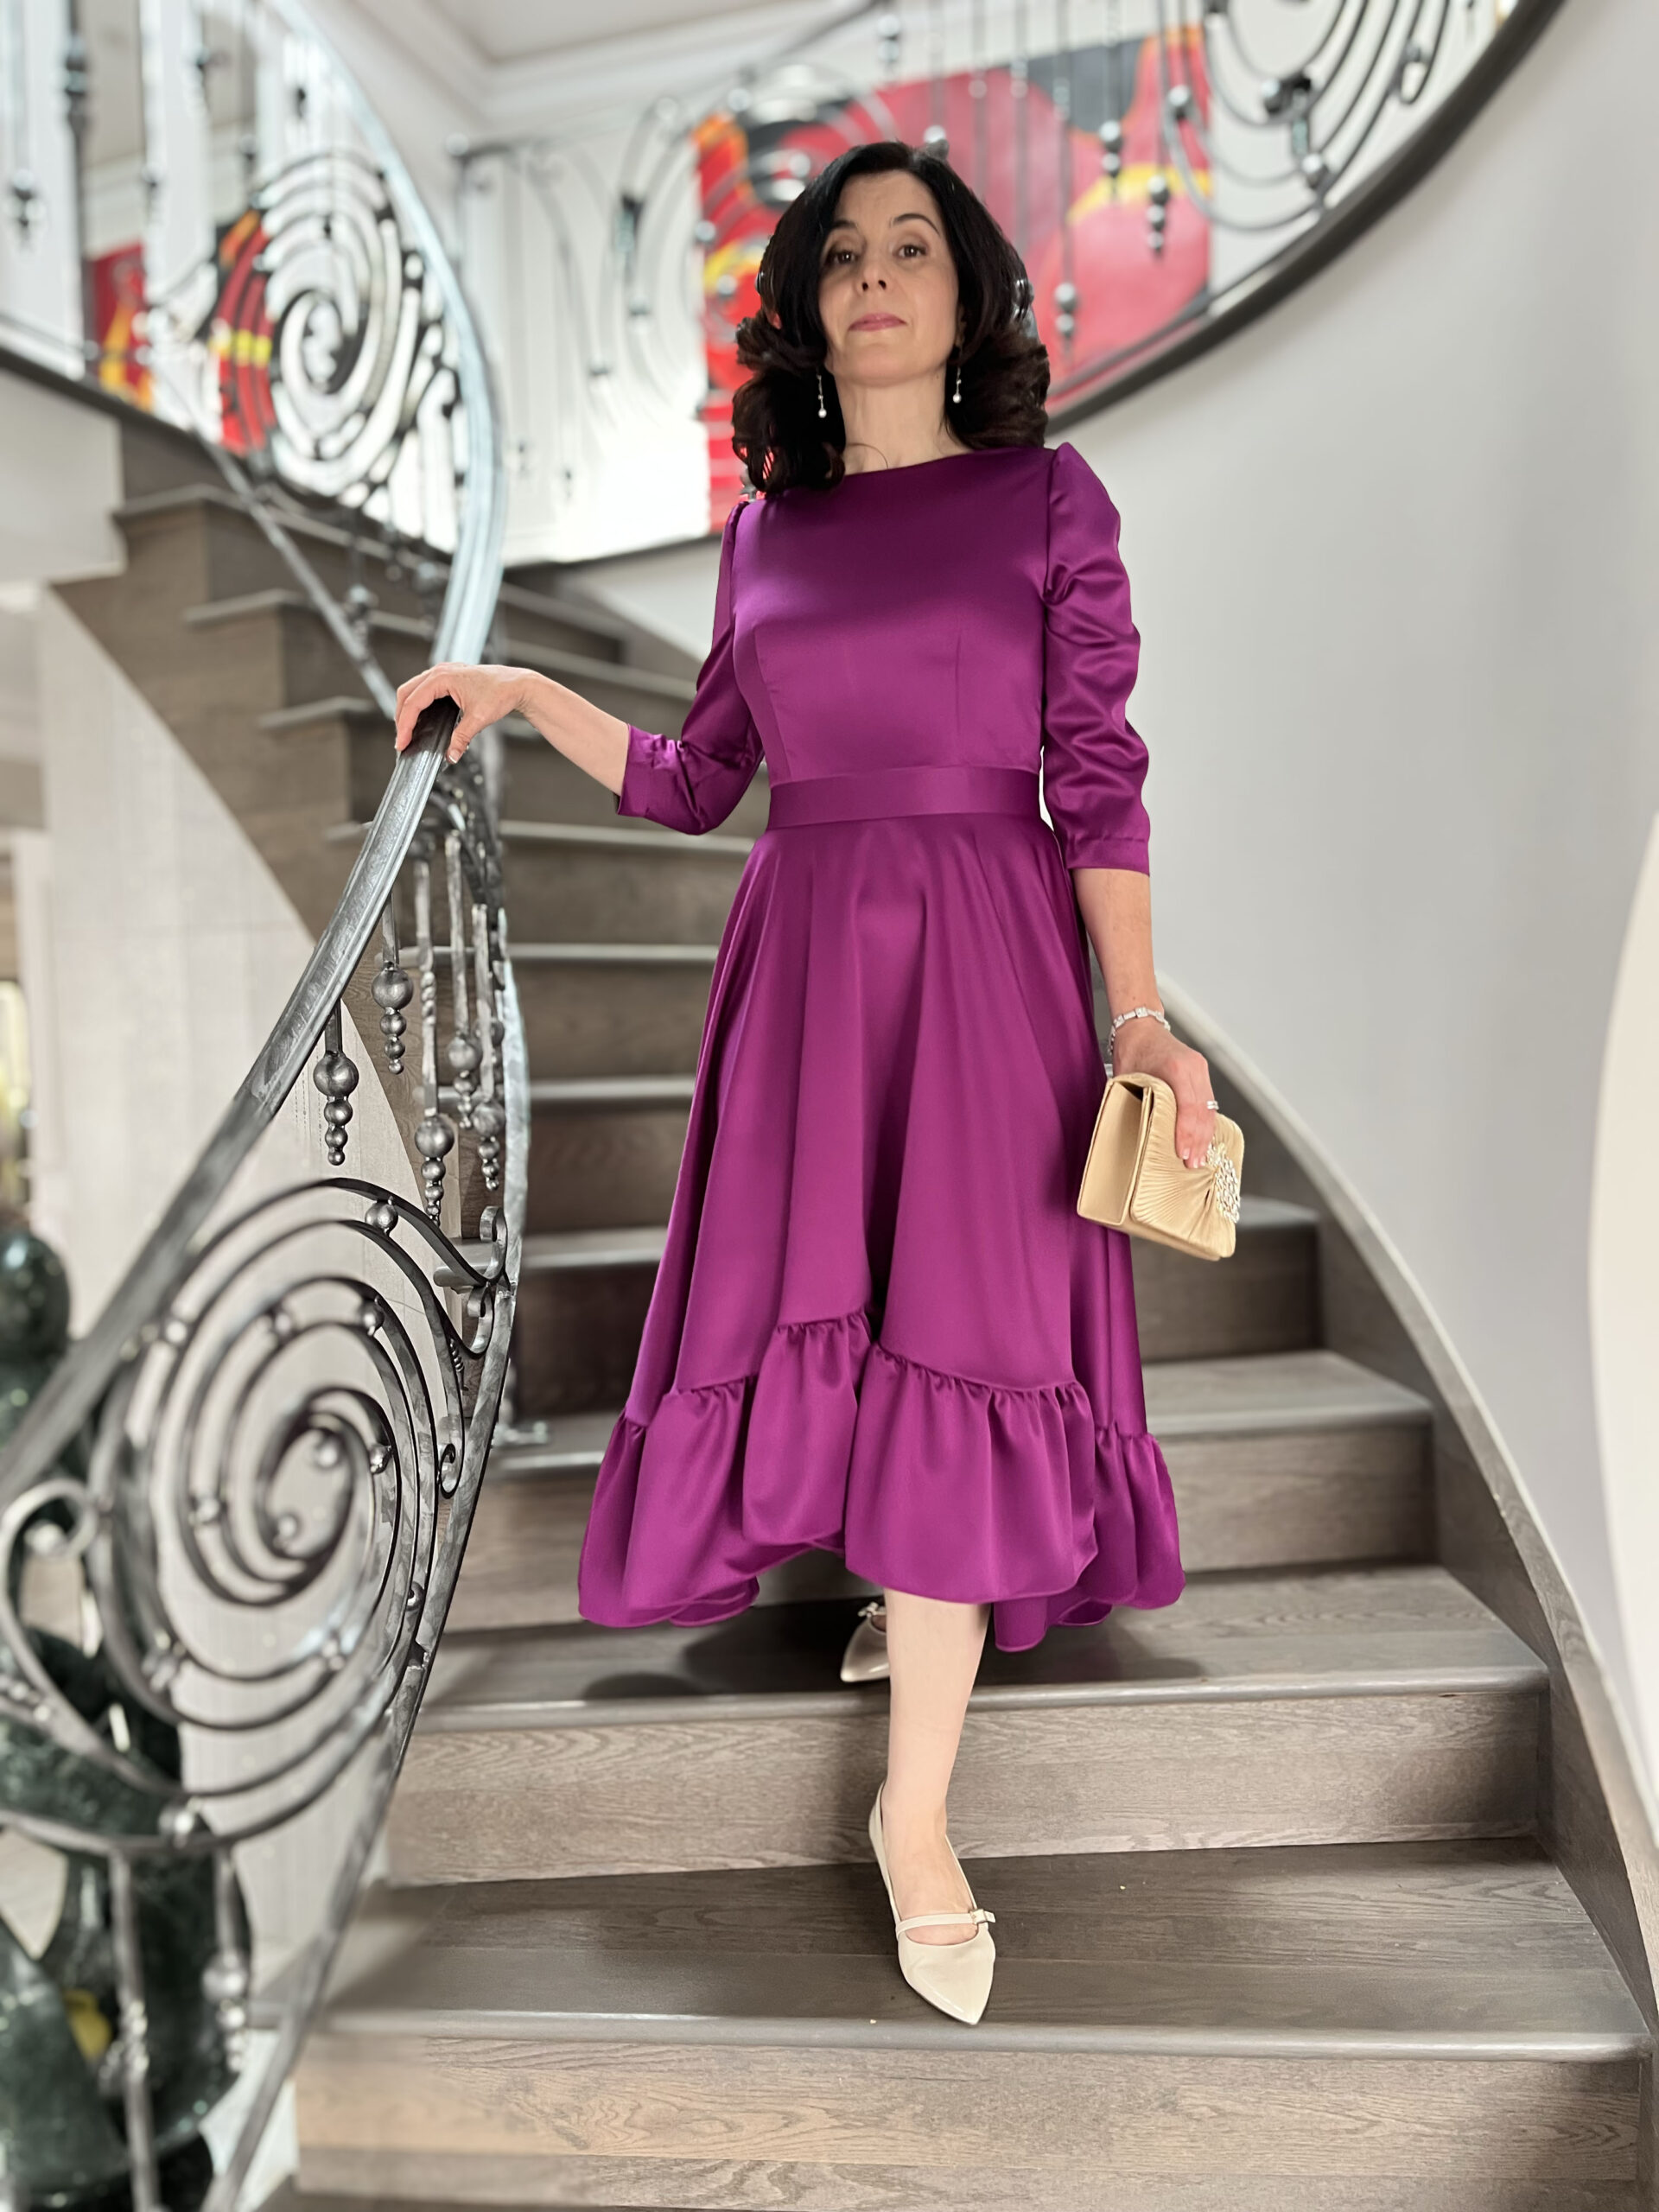
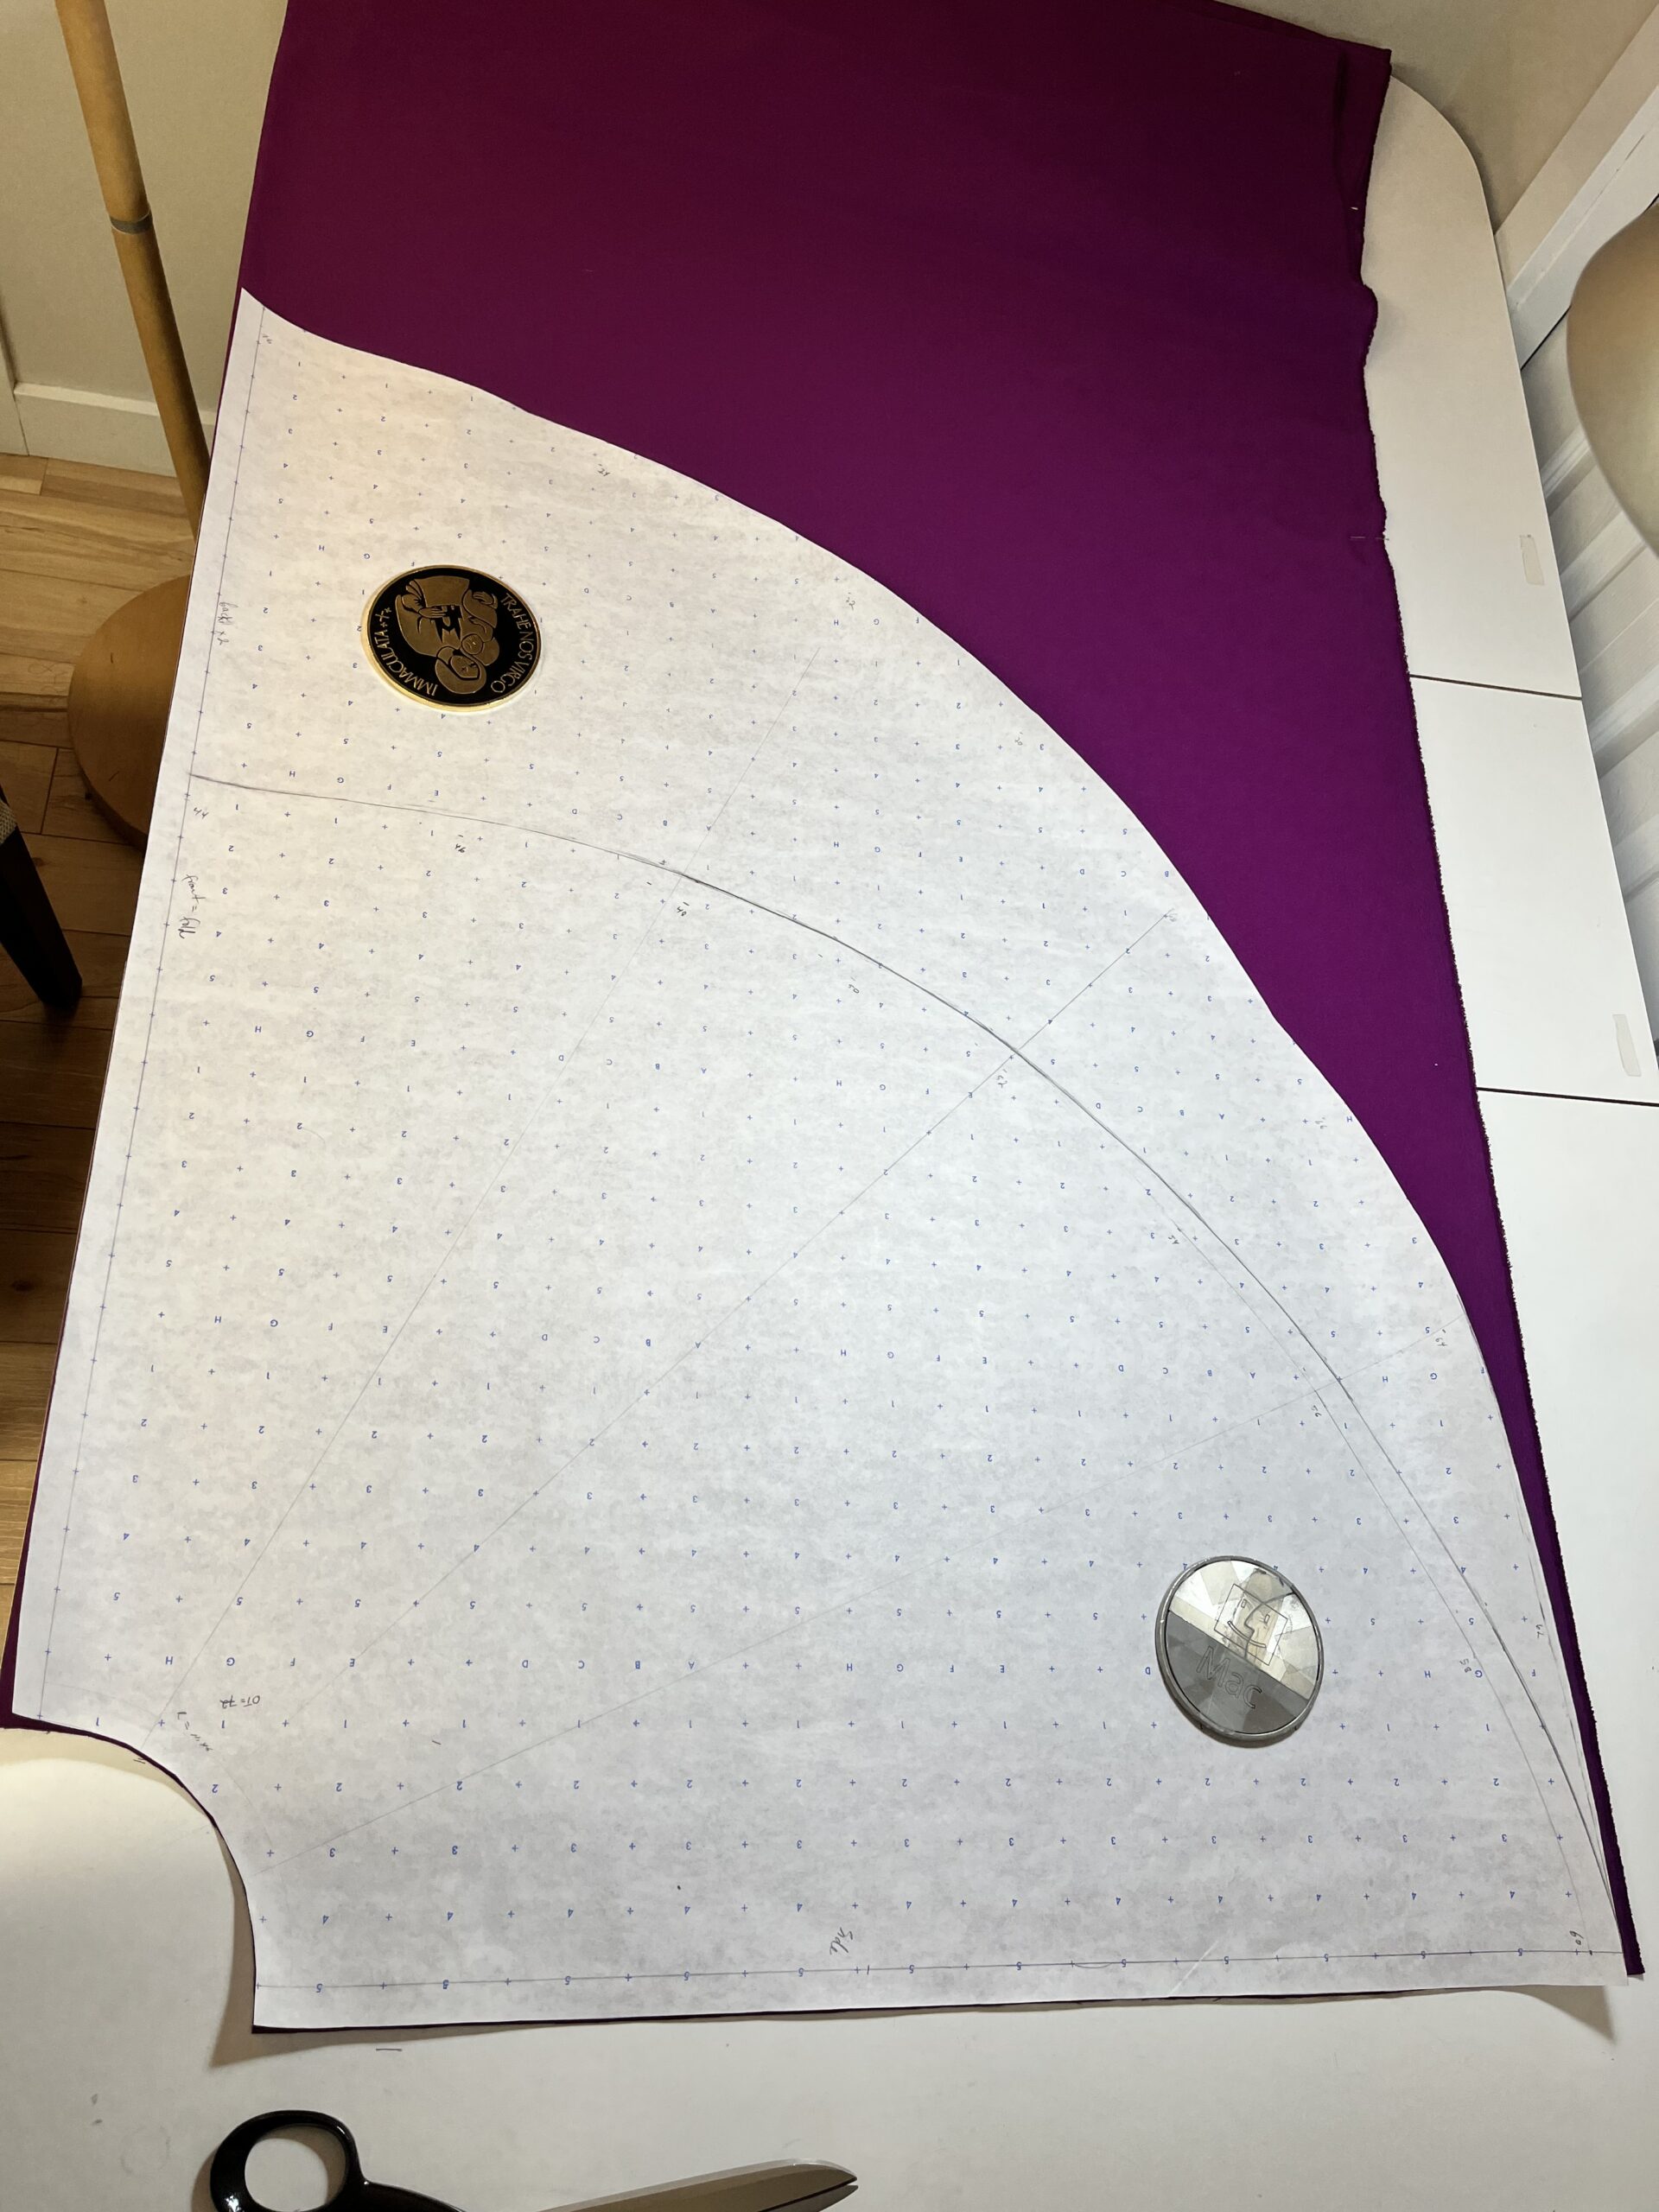
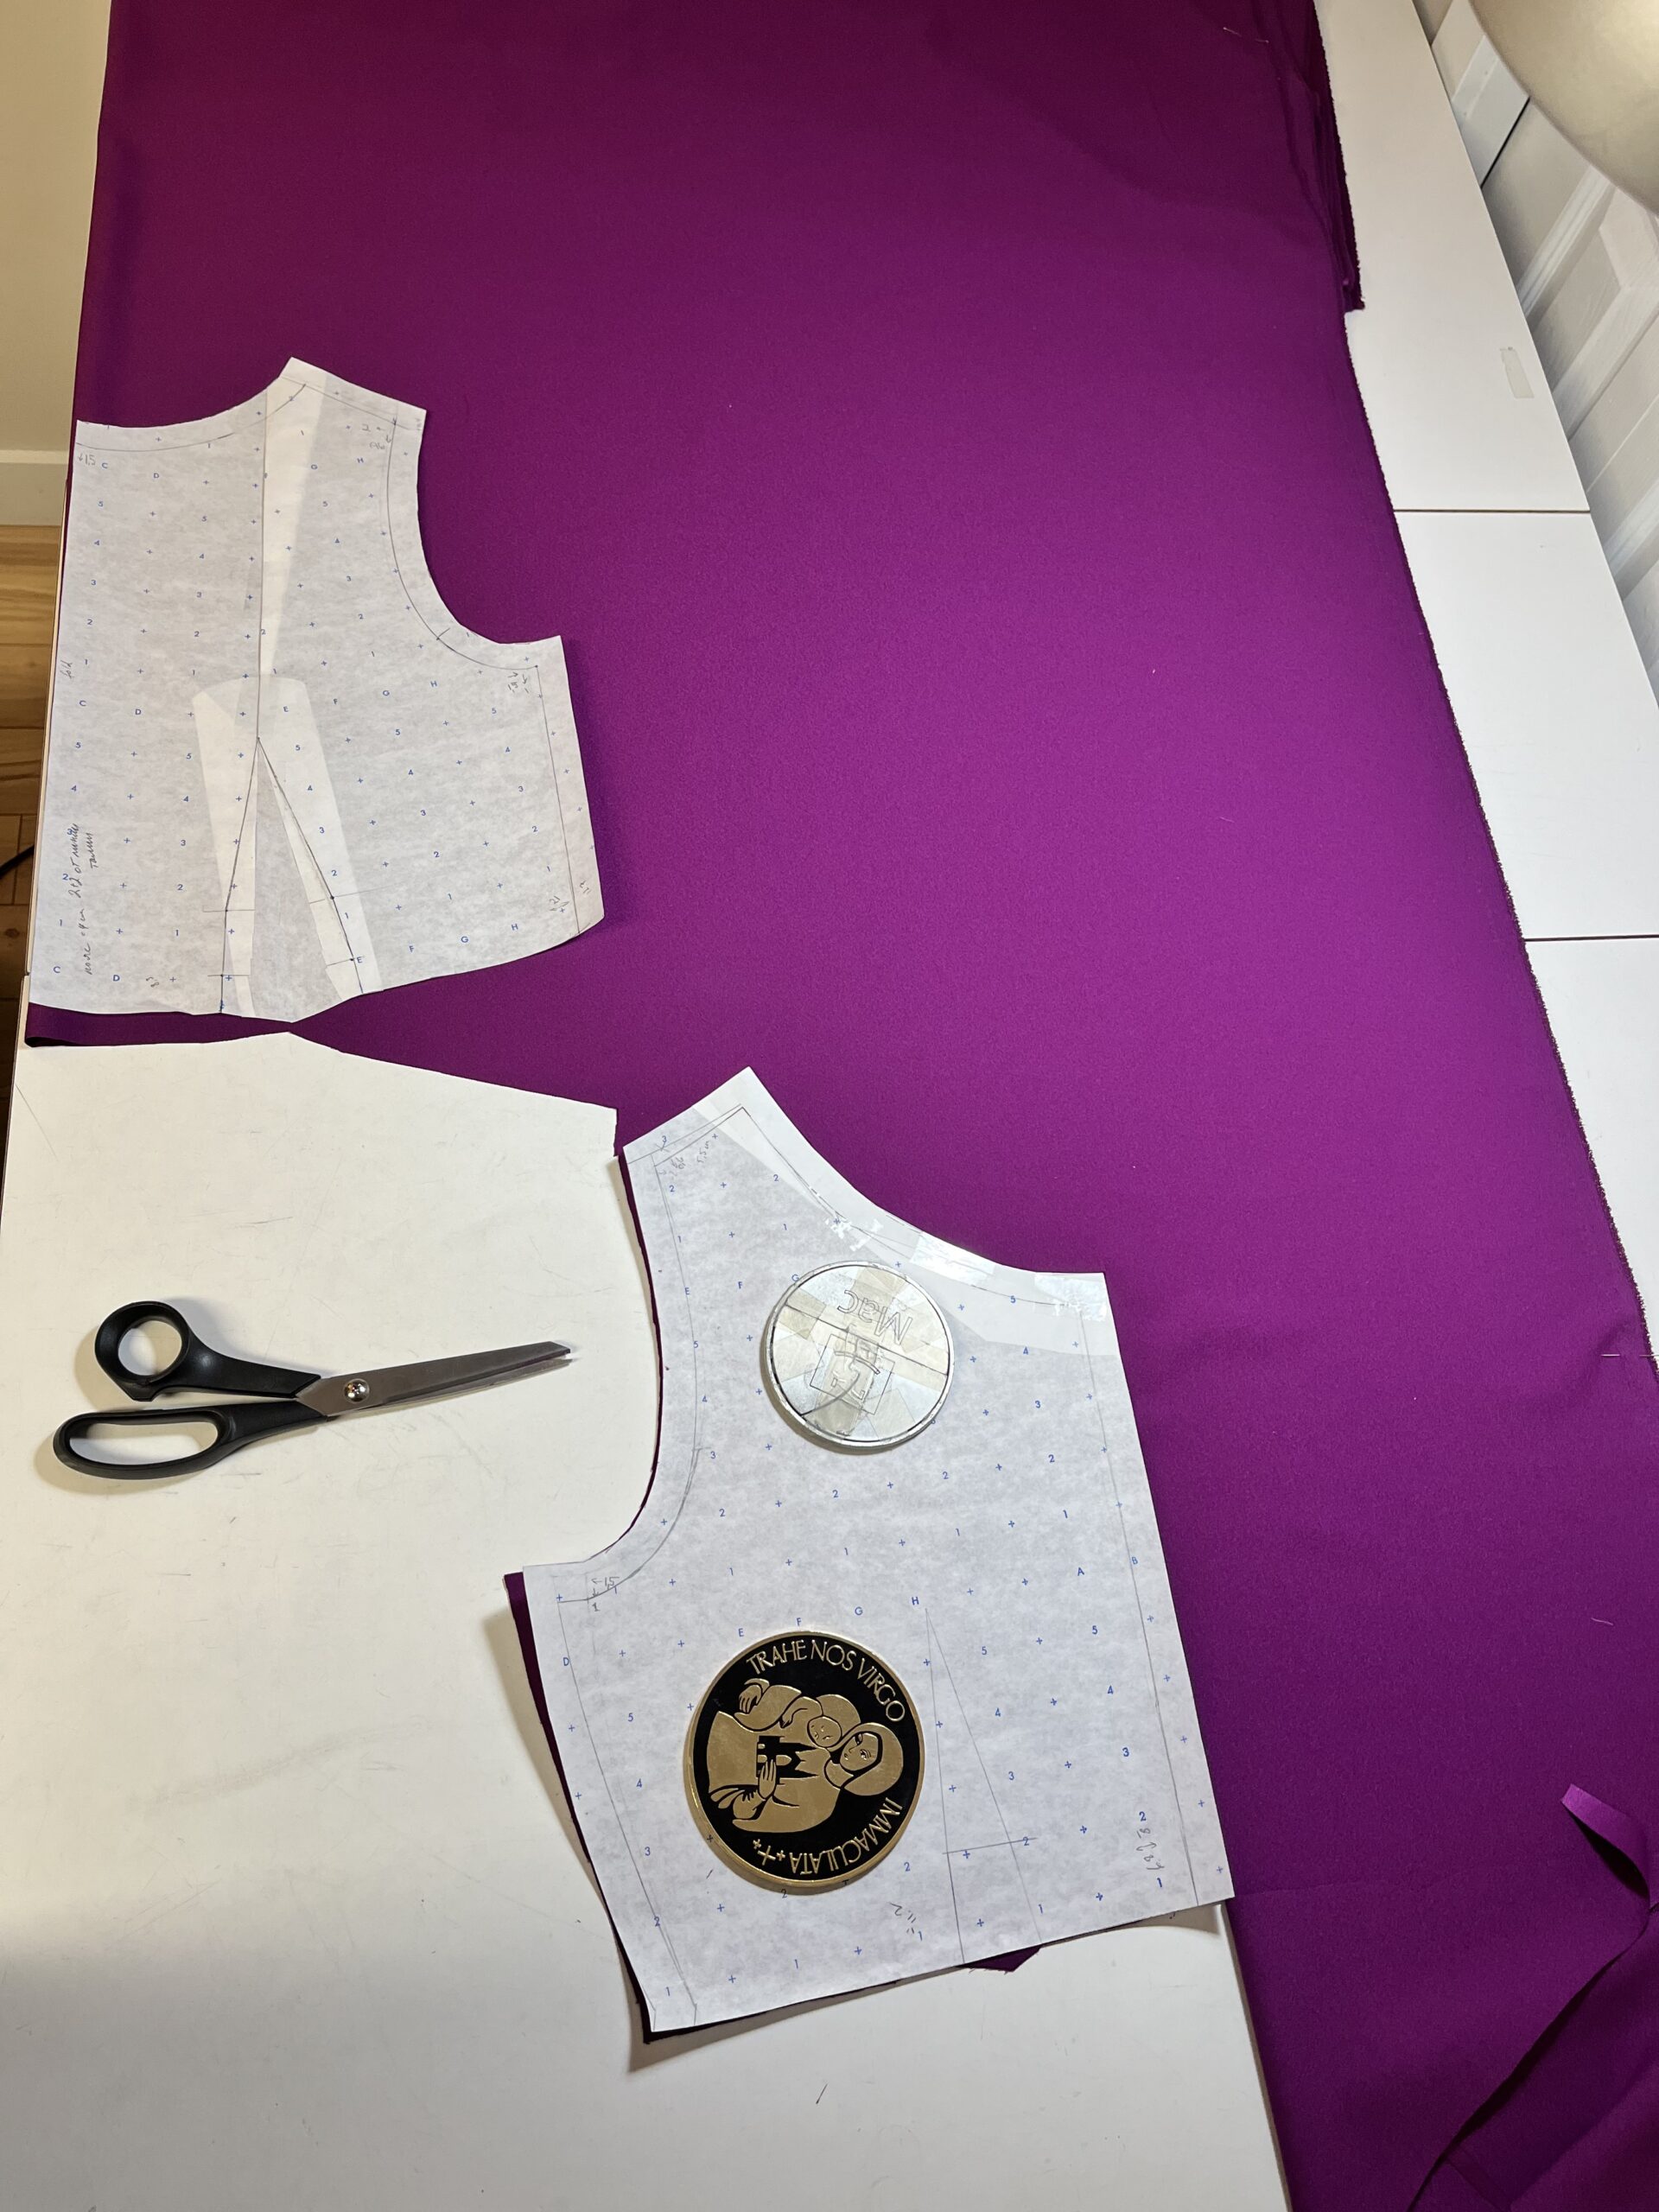
Unable to find a commercial pattern that matched our vision, I created my own using Mueller & Sohn’s bodice drafting instructions. I designed a flattering boat neckline with a slight dip at the back, shortened the sleeves to ¾ length, and paired the bodice with a simple circle skirt (drafting instructions below!).
Use these formulas to create your perfect skirt silhouette, based on your waist measurement (W):
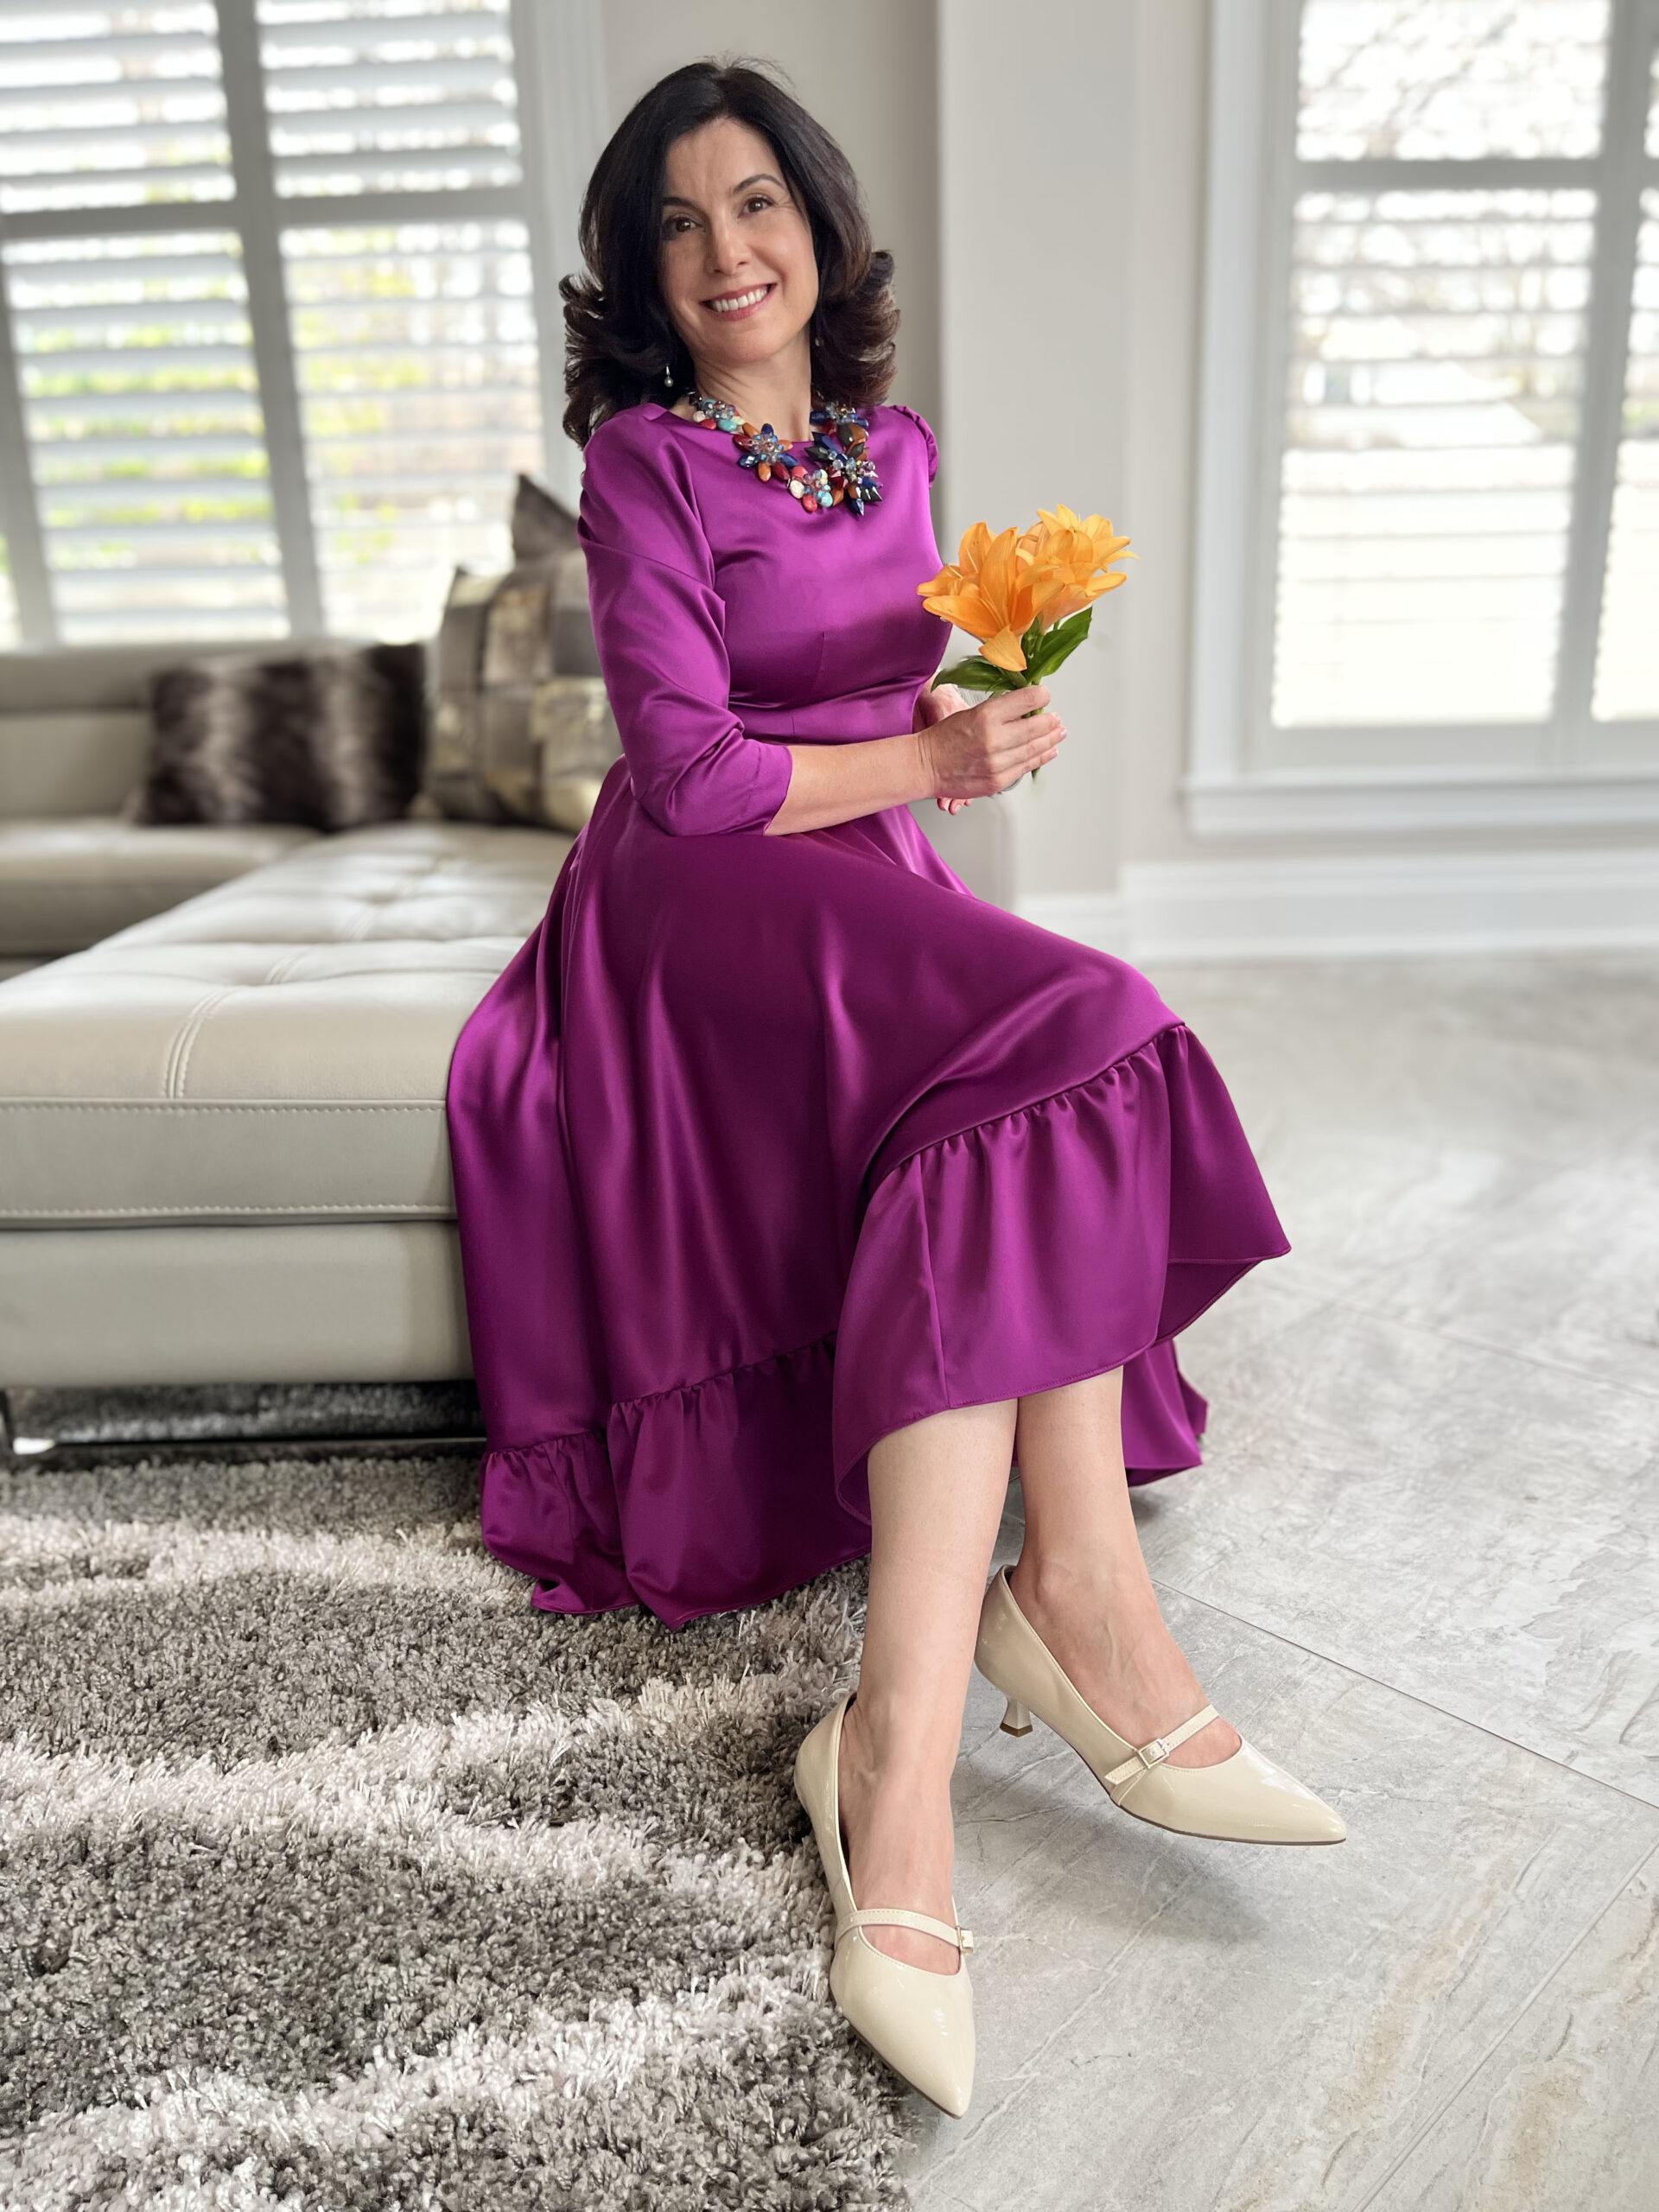
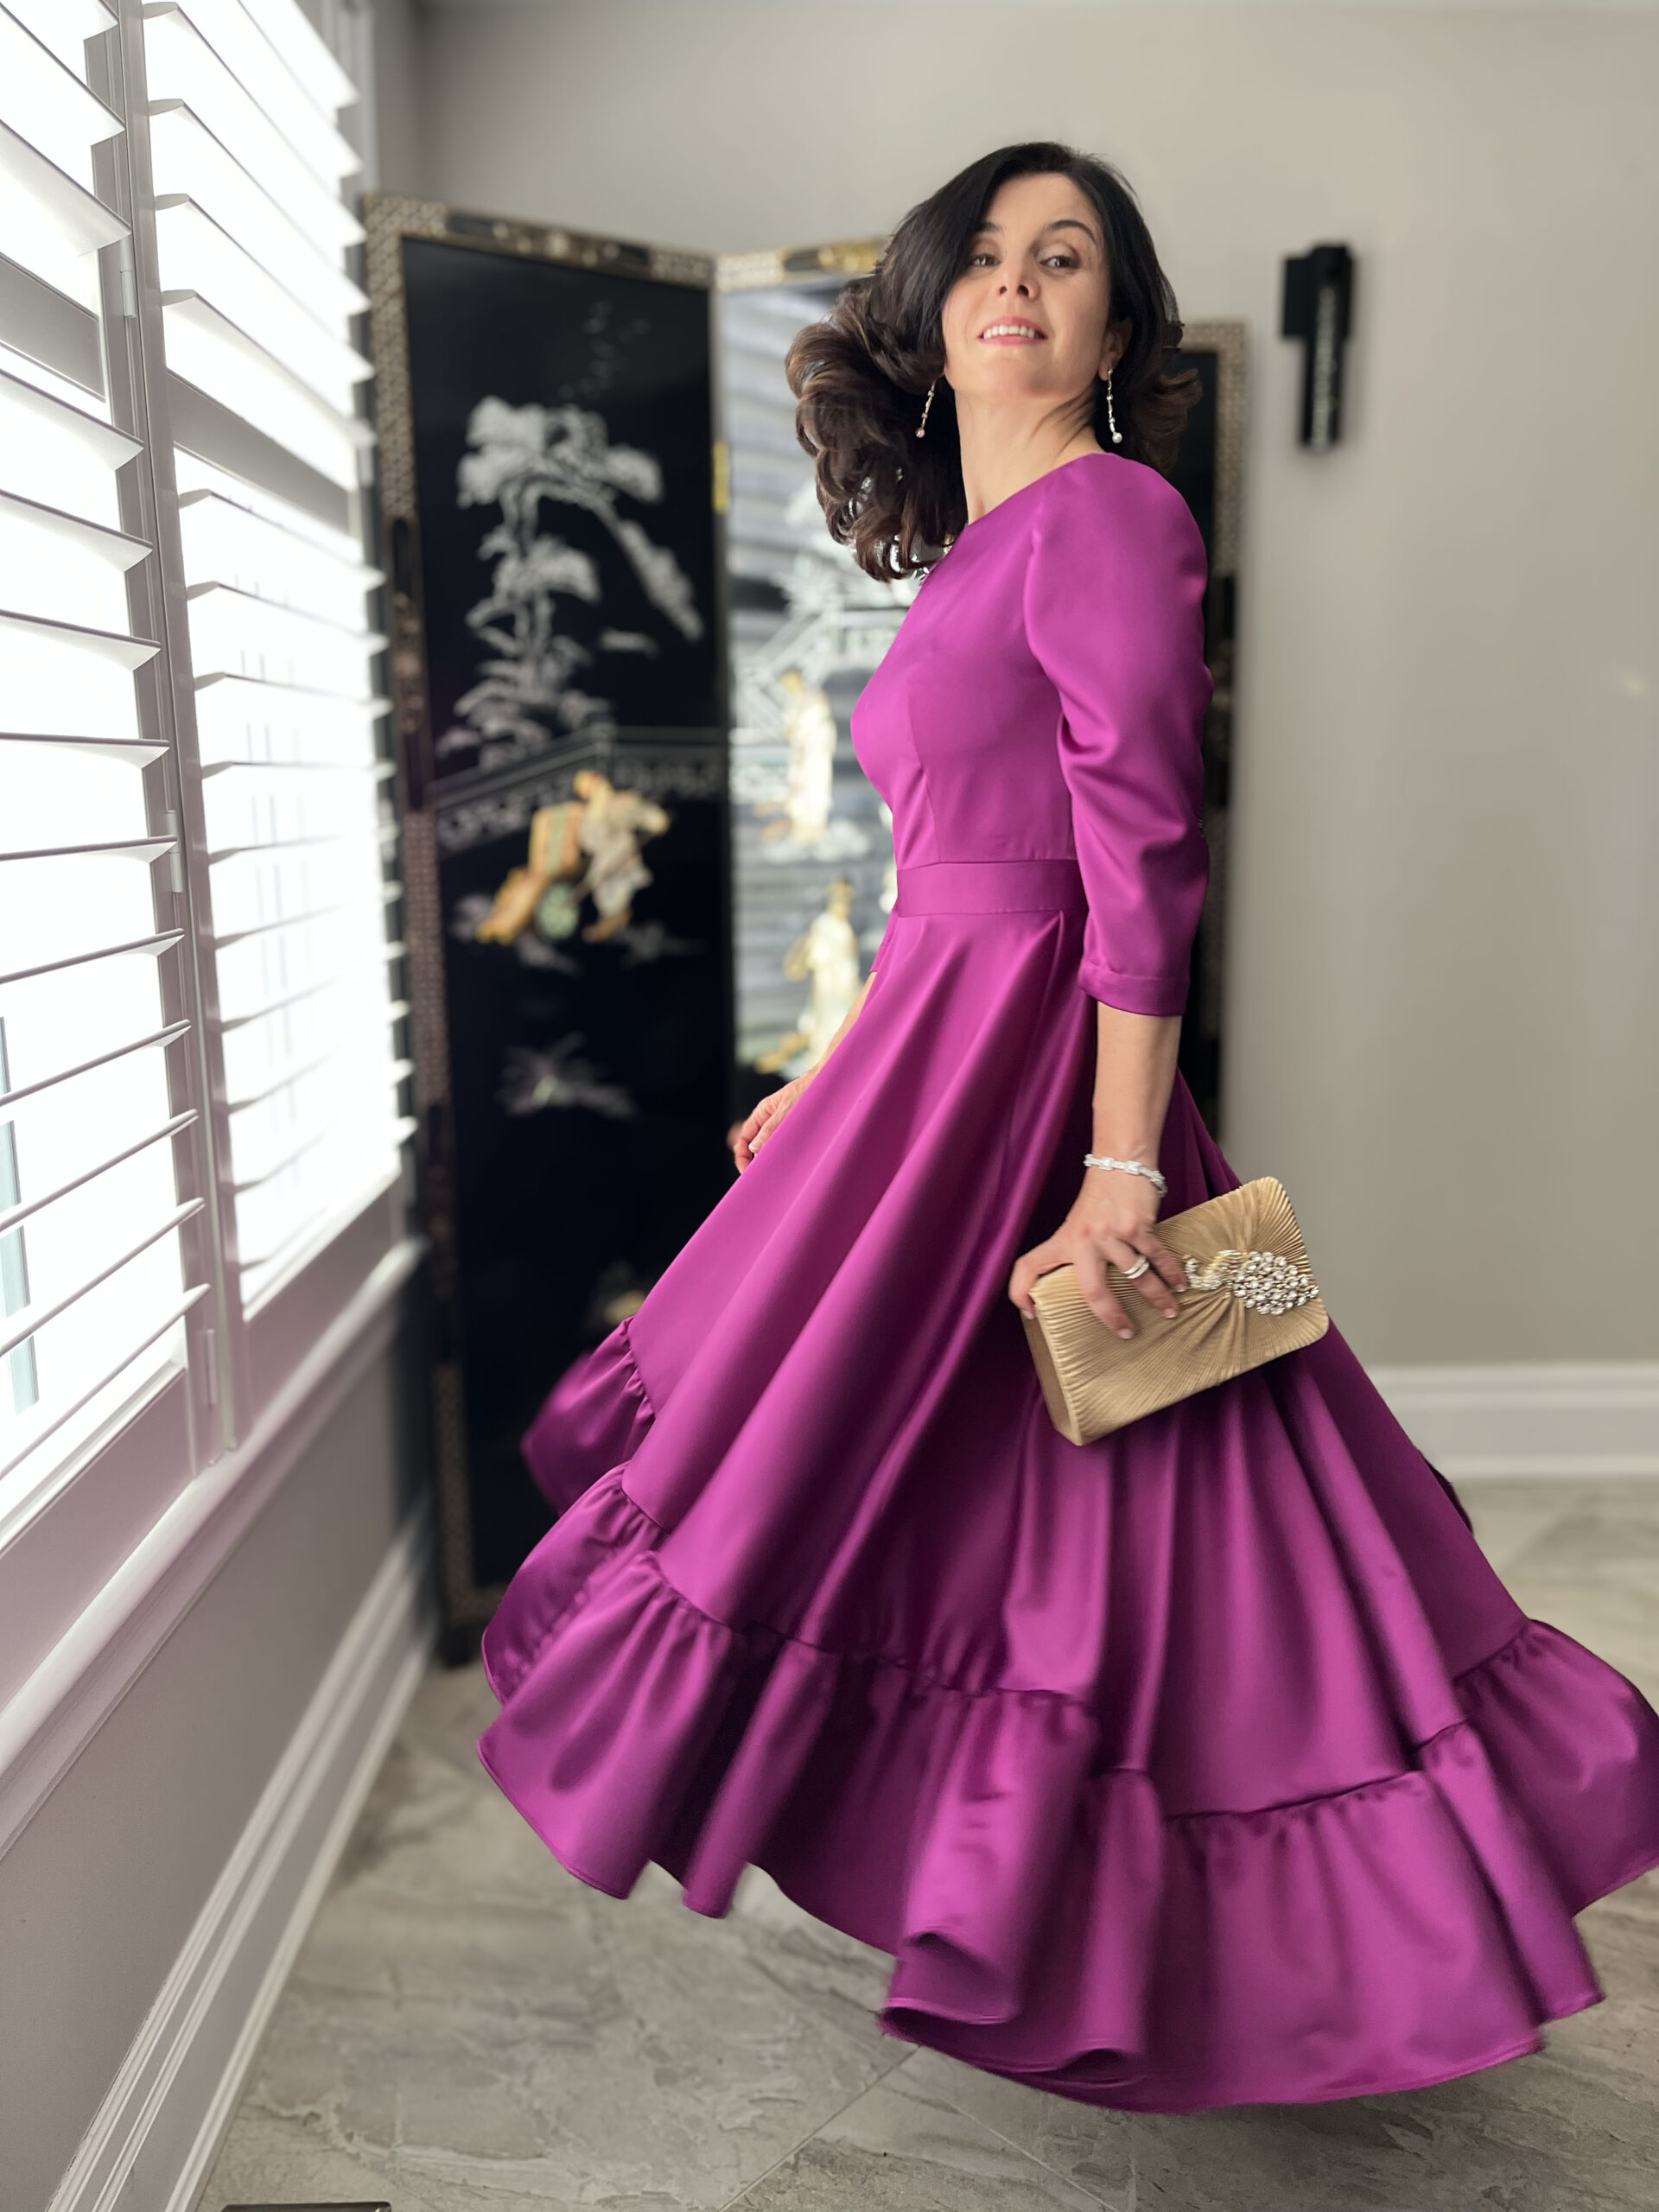
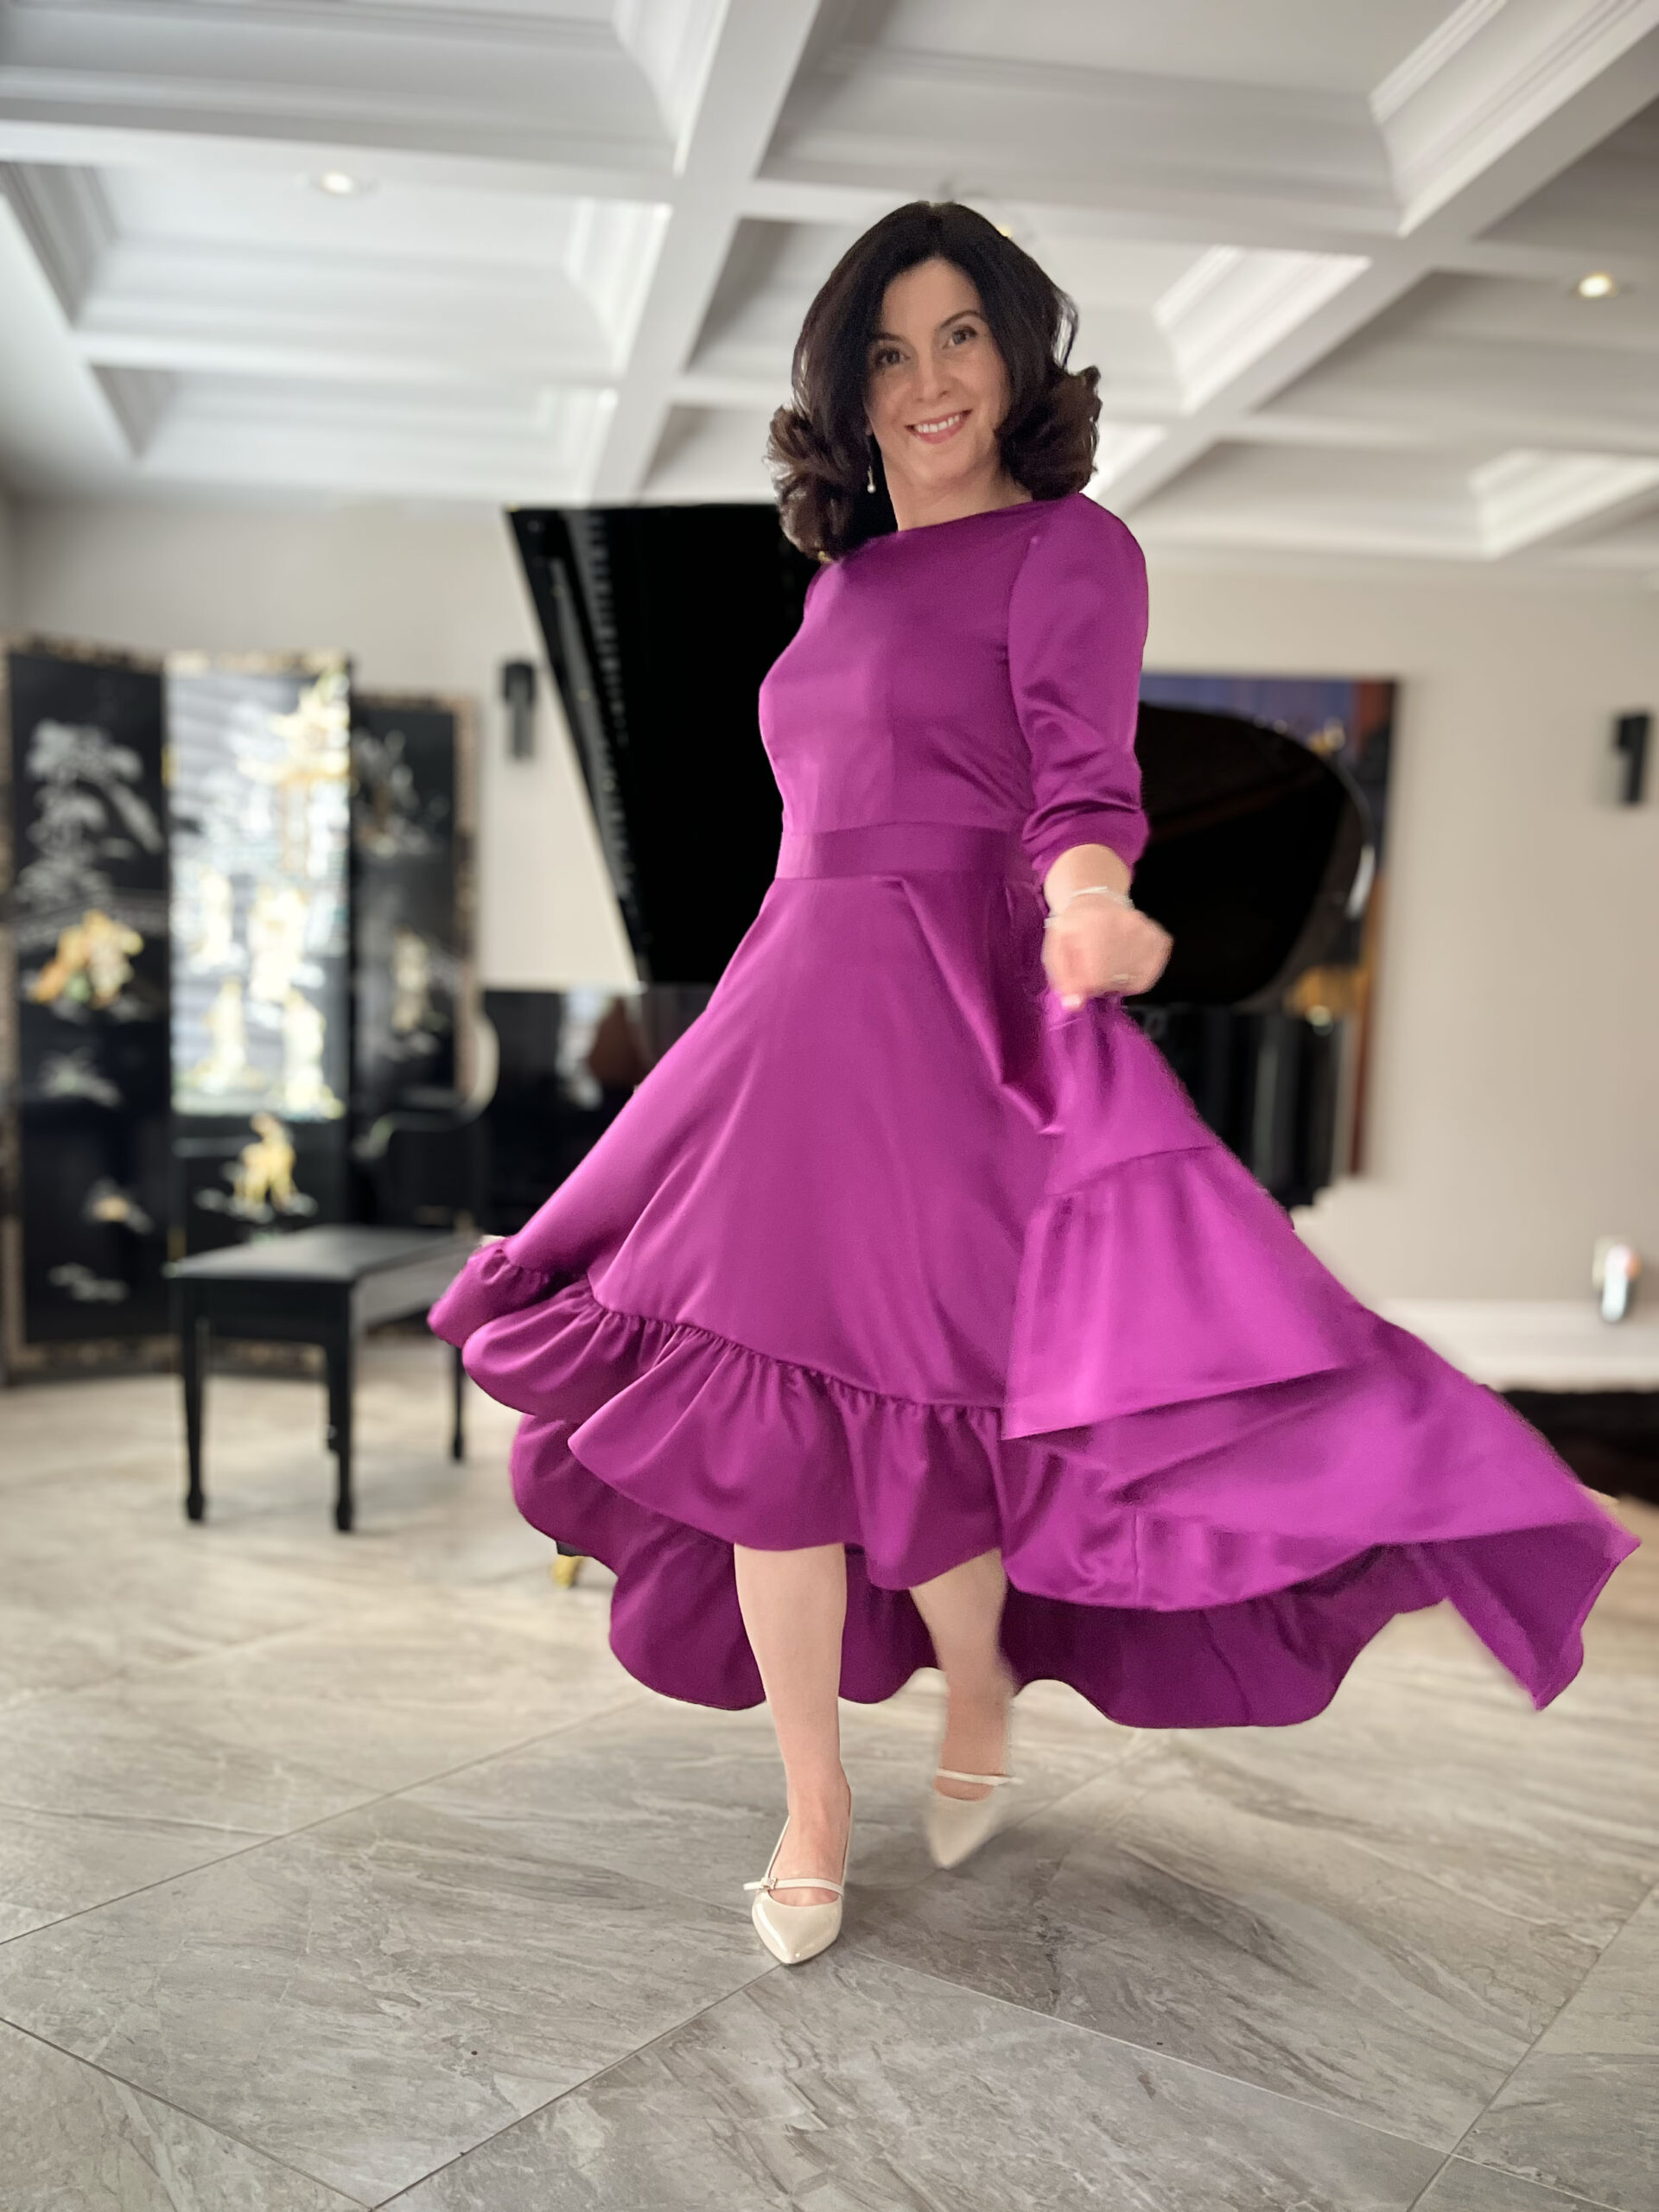
We added a 32 cm high-low hem variation for an elegant asymmetric look, and a 20 cm wide ruffle at the bottom for extra movement and flair.
I lined the bodice and added an invisible zipper at the back. For the skirt ruffle, I initially cut three fabric-width strips—but underestimated how much I’d need. (Tip: Always measure your hem length before cutting ruffles!) I ended up cutting two extra strips, which saved the day.
Gathering and attaching ruffles is no small task—it’s a true test of patience! Big respect to anyone who regularly sews voluminous garments. I finished the interior seams with seams soft tape, which neatly enclosed raw edges without adding bulk.
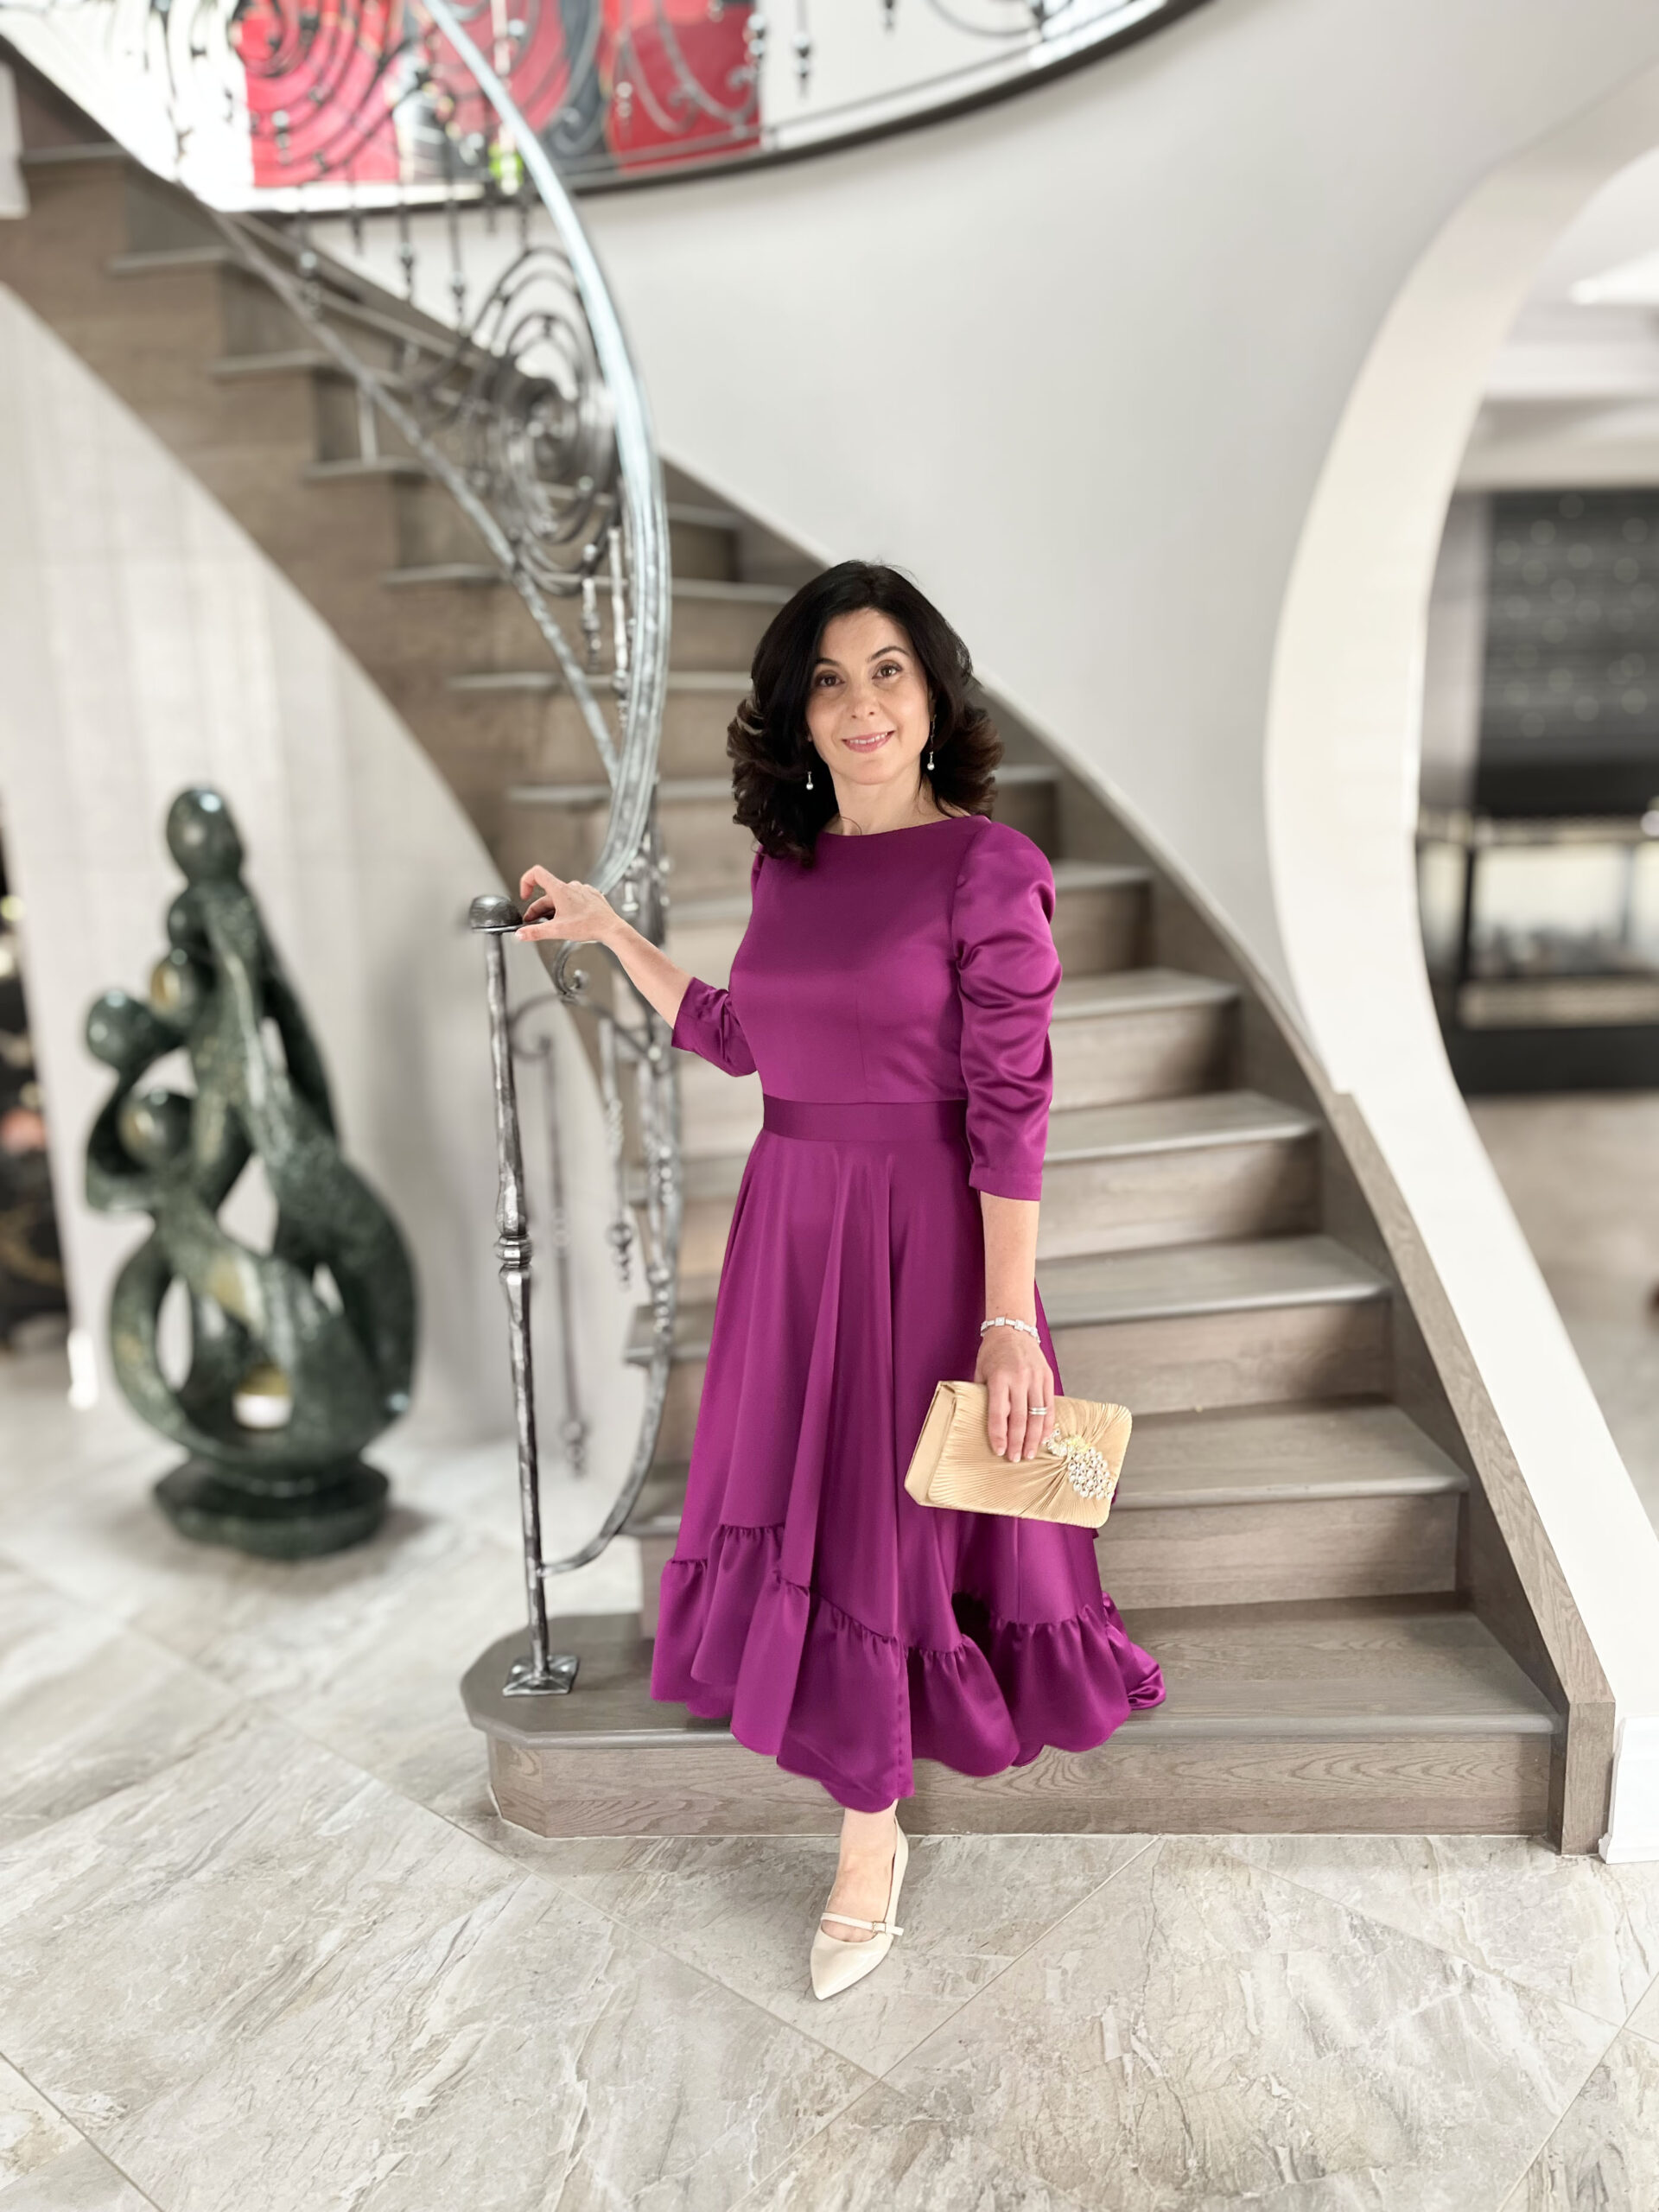
With simple jewelry, natural makeup, and matching accessories, the finished wedding guest dress was ready to shine. A blend of royal inspiration and handmade love—perfect for celebrating a beautiful day.