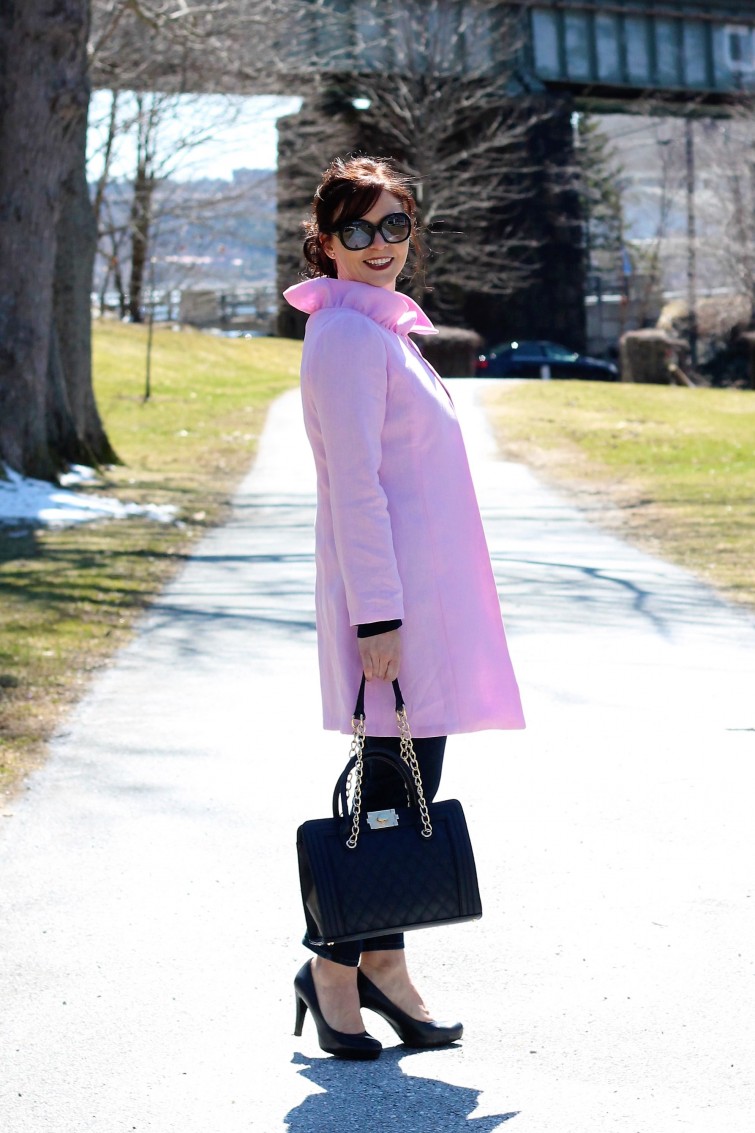
Hello everyone! I’m Margo and I can usually be found over at Creating In The Gap but I’m super excited to be sharing my coat here with you today! Spring is in the air…well.. at least it is in my new coat! I am not usually drawn to the color pink but when every fashion magazine cover is bursting with it’s sweet hue, how could I not be influenced!?
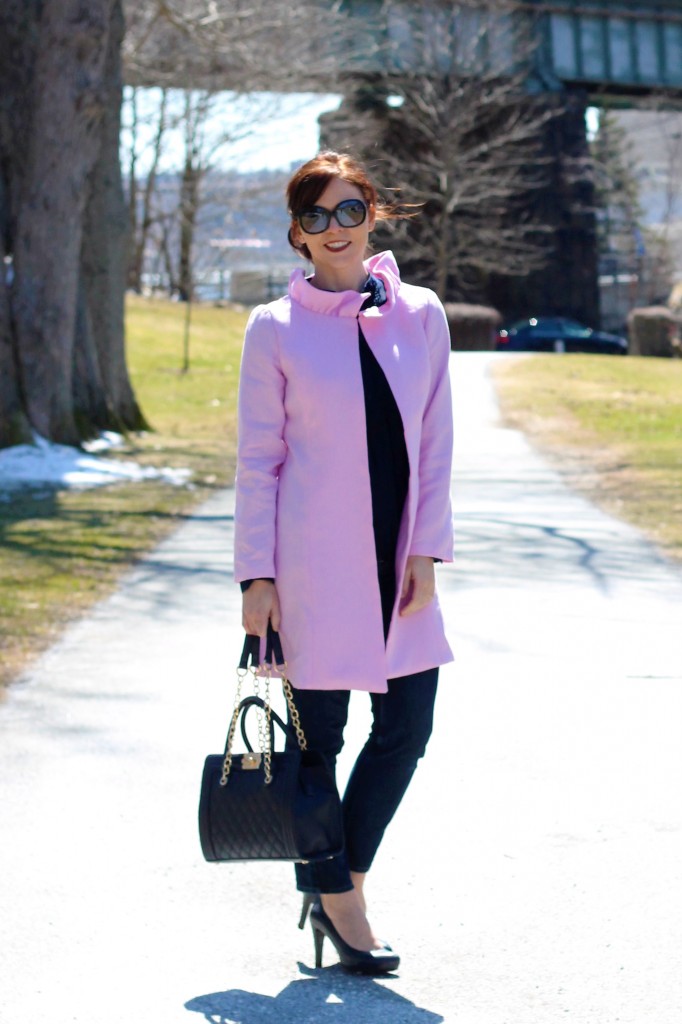
I didn’t just stop at picking a color uncharacteristic to me…I also decided to go with a linen from fabricville.com. I haven’t sewn with linen very much and so of course my lack of knowledge factored into my idea to make a coat. Just what everyone wants…a wrinkly coat. Yeah, good idea, Margo. Well as it turns out, I think it was a great idea. I really like it! And the wrinkles aren’t so bad!
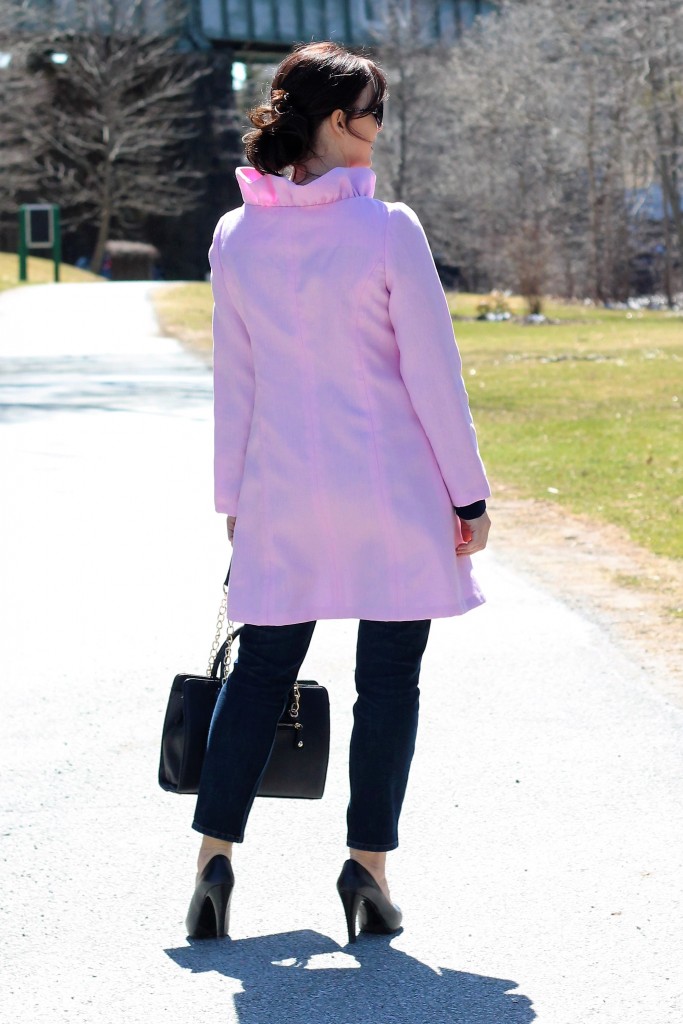
I chose this Pastel Linen in Petal Pink. Pretty! Although I started this project blindly…I stopped myself from going further and researched linen and how to sew with it. I came to my senses, aren’t you proud of me?
Here is just some of what I learned…
Much of this I learned from listening to a podcast on Thread Cult…. I love listening to sewing podcasts while I sew.
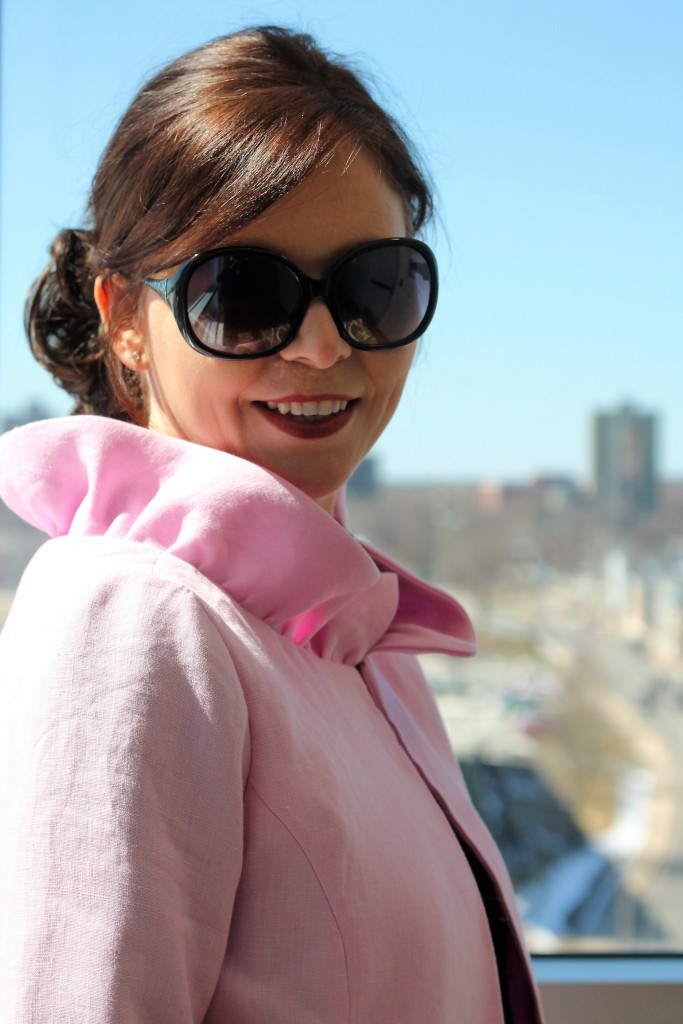
For my coat, I used Newlook 6162. The pattern has been in my stash a long time and I thought it’s collar could easily be changed to the ruffled one I wanted by adding length to the pattern piece. I used the ruffle attachment on my sewing machine to get the nice even ruffles.
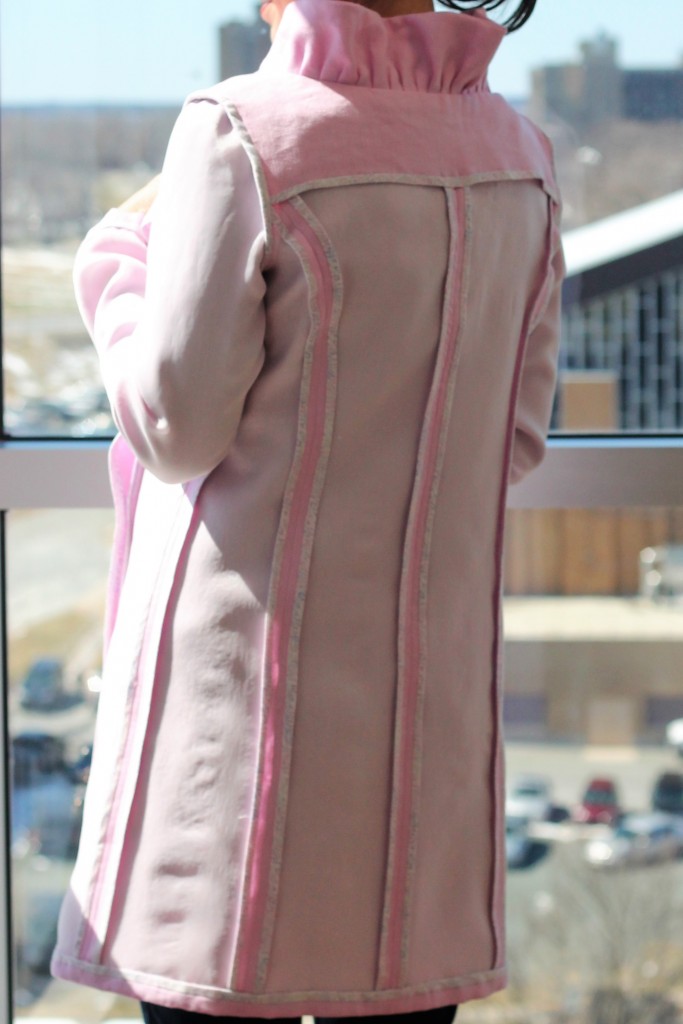
I underlined my entire coat with organza. I chose the organza because I read somewhere that it would help…but not prevent… harsh creases from forming in the linen. I would have to agree that it does help. Then I treated my seams with a Hong Kong finish. And yes, it was A LOT OF WORK! But so worth it! I am so proud of the inside that I had to put it on inside out for a picture to share with you.
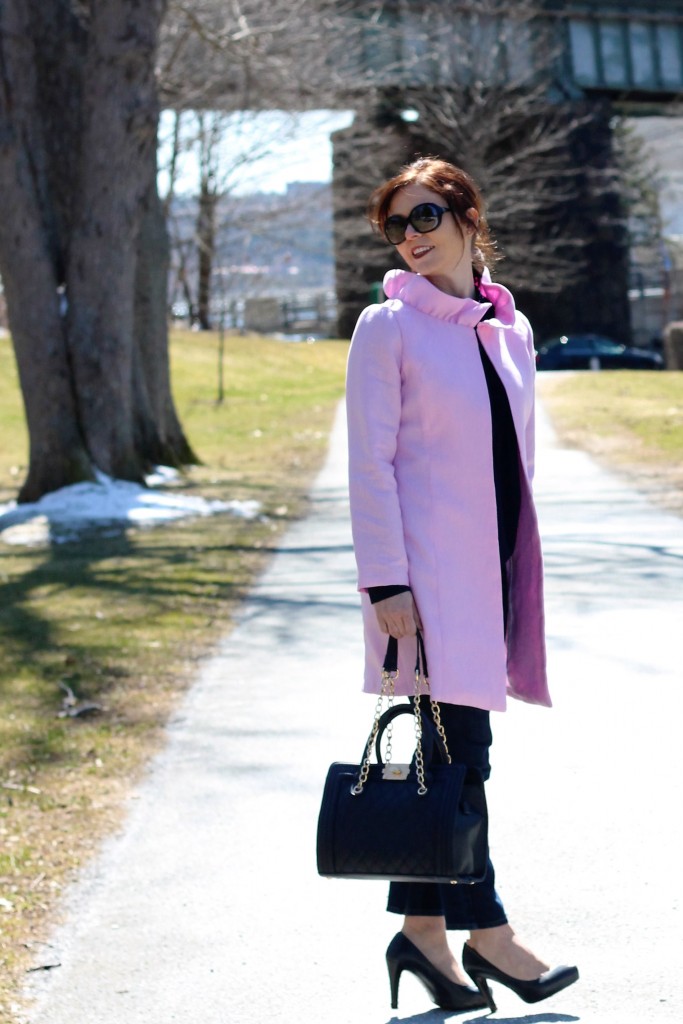
My foray into the world of linen eased my fear of sewing with it and its wrinkly nature. I think I’m now tempted to try a flowy dress in this Hankercheif linen. So pretty and cool for the summer.