I think I’m something of an anomaly among sewing enthusiasts. I don’t believe in hoarding fabric. I have no fabric stash. I can’t stand the idea of all that beautiful fabric just sitting around waiting for me to turn it into something wearable.Of course, if you consider a few lengths―four at the most― neatly stacked along with their intended patterns to be a stash, well, I guess I’m that kind of stasher. The point is that I usually begin with a pattern when I’m sewing―the fabric comes after. This autumn, things were different.
As I spent a happy hour or two surfing through Fabricville’s online fabrics for fall 2022, my attention was drawn to the coating fabrics. Did I need a new coat? Did I have a coat pattern begging for a wool blend fabric length? No, and no. But when I happened upon the new Kashmir coating, I was inspired to see if I could find a pattern that would do it justice instead of the other way around.
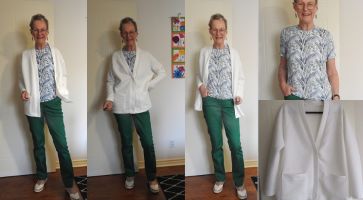
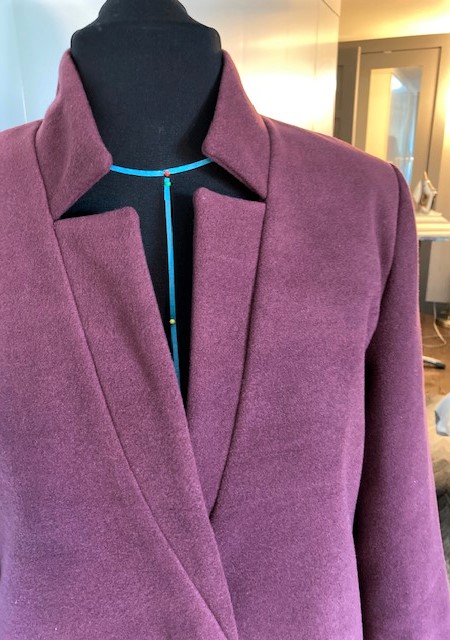
The Kashmir coating fabric (SKU: KR2212-013) is a lush, soft coat-weight material fabricated from 88% polyester, 10% rayon and 2% spandex. I chose the eggplant colour and found Vogue 9133 (SKU: V91330Y0) pattern for an elongated, unlined blazer/coat that looked like something I’d love.

When the fabric arrived, it seemed such a big bundle! Of course, that means that the fabric has weight to it, and for anyone not used to working with thicker fabrics, it means a challenge. I’m one of those people. I often work with light to medium-weight knits, shirting fabric and silk. But a coat? I hadn’t used fabric this thick in years. But there was much to do before really getting into the sewing.
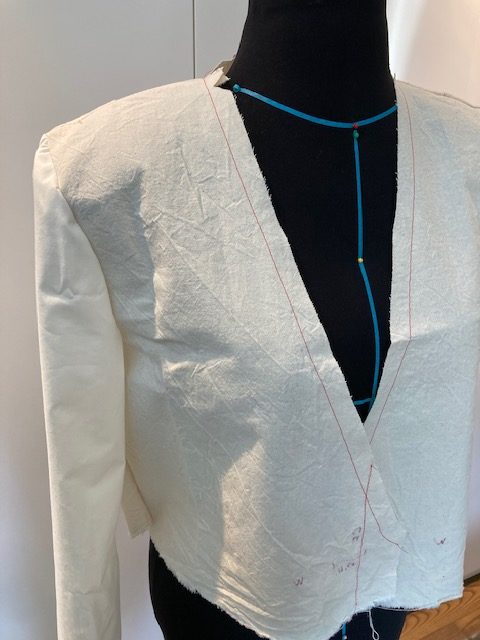
I made a partial muslin before I began to ensure the fit of the shoulders. I often find that shoulder lengths in commercial patterns are a quarter to a half-inch too long for my body, and altering the pattern before cutting it out is the way to go. (I call it a partial muslin because I didn’t cut it the full length of the jacket, thus saving on muslin fabric.) Then I was ready to cut into the coating fabric.
I laid out the pattern pieces all in one direction because I felt a nap when I ran my hand over the fabric. Then I marked it with tailor’s tacks and waxy tailor’s chalk. Although the coat is unlined, I decided to line the arms (because my arms get cold, I had left-over lining fabric and lining makes the sleeves slide better) and use interfaced lining fabric for the back facing. I thought it would look nice and perhaps not be so bulky. (And I set in the lining by hand.)

Then, before I began sewing, I did my usual tests: interfacing tests and seam finish tests primarily.

The style has a single button, and since I decided to do a bound buttonhole, I did a sample. I discovered that the fabric is too thick to make a neat bound buttonhole, so I tried one using interfaced lining fabric. That worked beautifully. You can see the bulky one in the photo below and the one I settled on.

I used a regular presser foot in my sewing machine and a lengthened stitch length. The pattern called for machine-sewn hems on both the bottom hem and the sleeves. I did this on the bottom hem but chose to hand sew the sleeve hems for a more professional look―and I was covering the hems with the sleeve lining anyway.
My seam tests had taught me that this fabric would need open seam finishes because doubled over, the lines would have been too thick. I also learned that pressing would be crucial to a good finish and that too much pressing would mark the fabric. I had to go slowly, use a press cloth and barely touch the fabric with the iron.
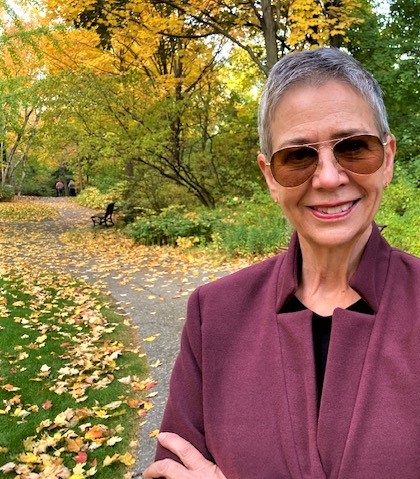
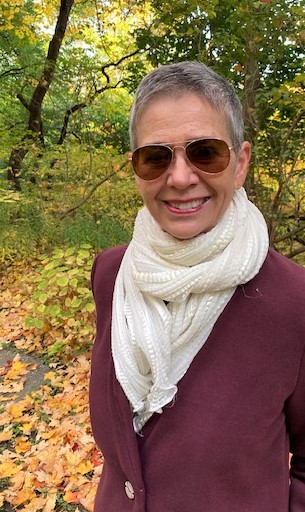
The final product has a lovely, tailored look in a fabric that reads as wool Melton at a fraction of the price. And how does it feel to wear it? Absolutely wonderful!


My tips for working with this Kashmir coating fabric:
I share sewing stories regularly on my blog, The GG Files, at www.gloriaglamont.com.