There’s still two weeks until Easter. So today I have not one, but two adorable Easter bunny ideas for you! I started with the idea of creating a wreath to hang on the front door using this oval wooden embroidery hoop as the frame.
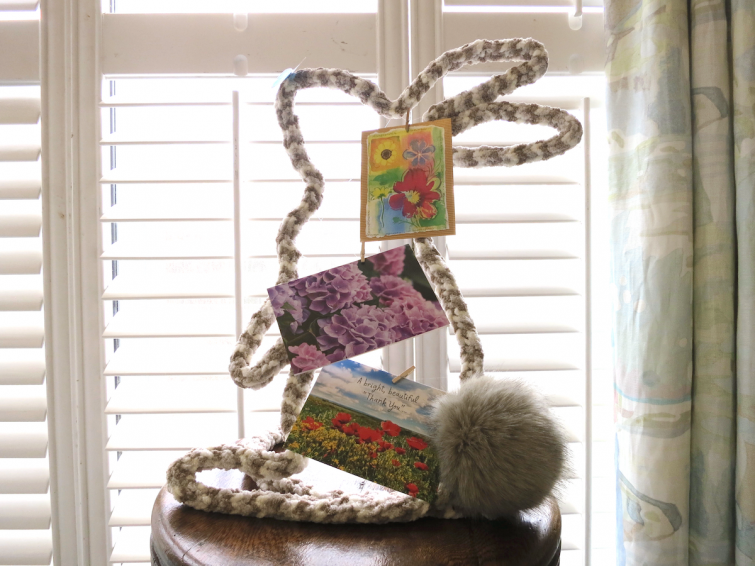
But then I got inspired and created a standing bunny so I could display cards or photos (which you’ll see in the reveal). I love both versions so I’ll let you choose 🙂
You will need the following materials:

(All the above, plus the following for the second project):
Additional Materials and Tools:
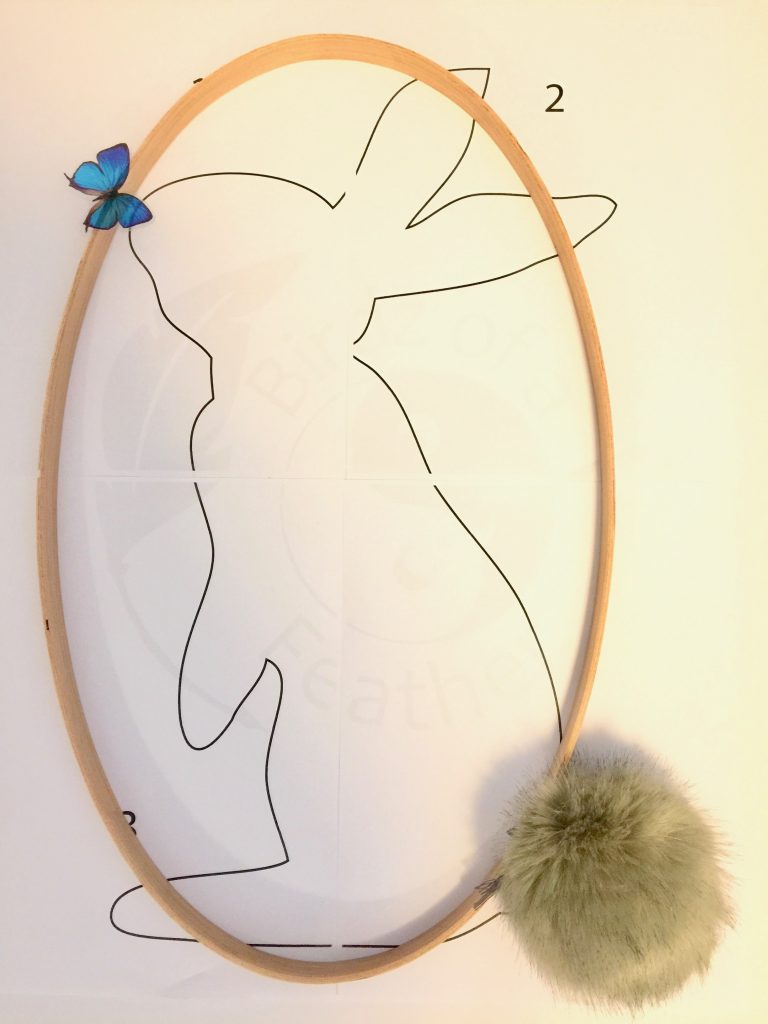
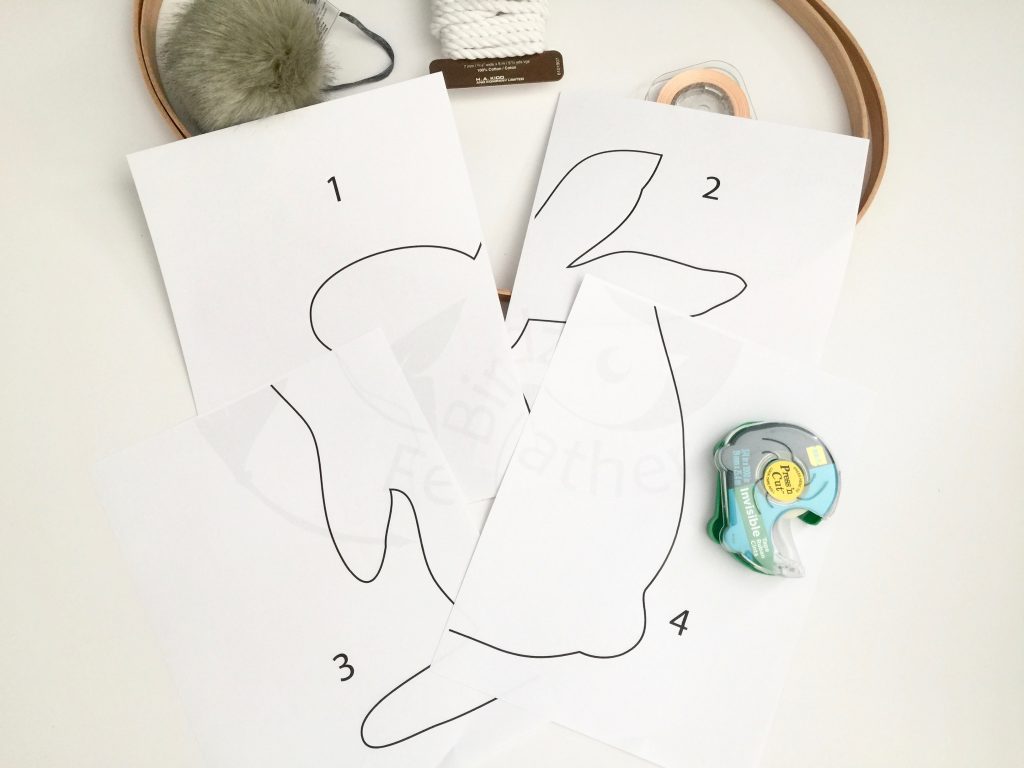
For either project, draw and print a bunny scaled to 12″ x 20″. I taped together 4 pieces of standard printer paper to get my templates.
Crochet an i-cord to the length that you need to go around the outline of the bunny. Watch the video at the end of this post to see how to crochet an i-cord.

To start the i-cord, make a slip knot and chain 3. Insert hook into second chain and draw up a loop. Insert your hook into the 3rd chain and draw up a loop (3 stitches on hook). Drop loops 2 and 3 off the hook. Be sure to hold onto them: pinch them between your thumb and forefinger.
Chain 1. Put the second loop back onto your hook, yarn over and chain 1. Put the 3rd loop back on your hook, yarn over and chain 1.
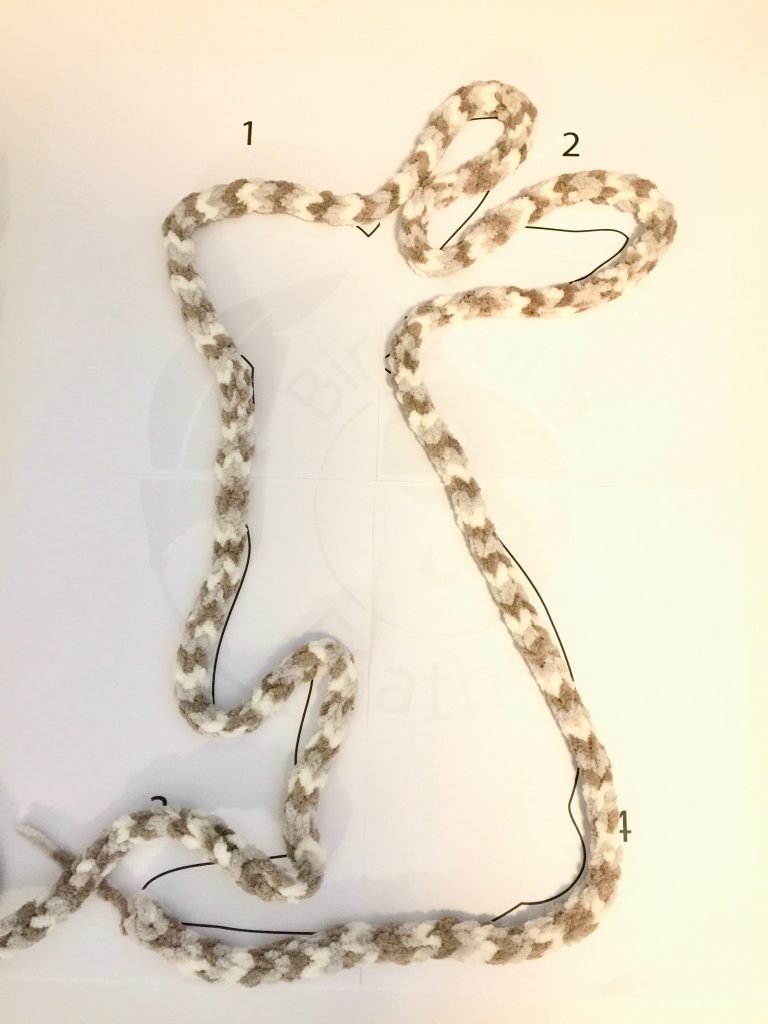
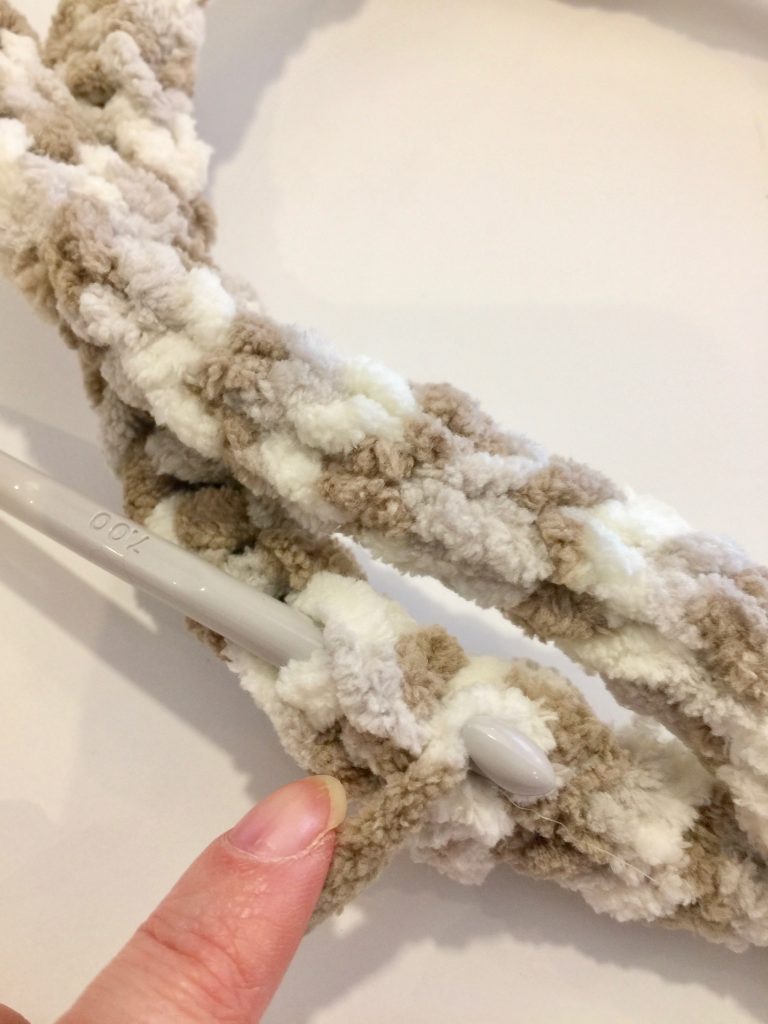
Repeat the previous steps for every row. Keep crocheting until you have enough length to go around the entire perimeter of the bunny template as shown. Keep the crochet hook in the work so you can add on if need be.
To create the wire form, I started by using a round object to create a circle. I bent the end of the wire to act as a hook.

Here is the completed wire form. Note that for the second project, you don’t need the circle; just form the wire around the outline as-is.

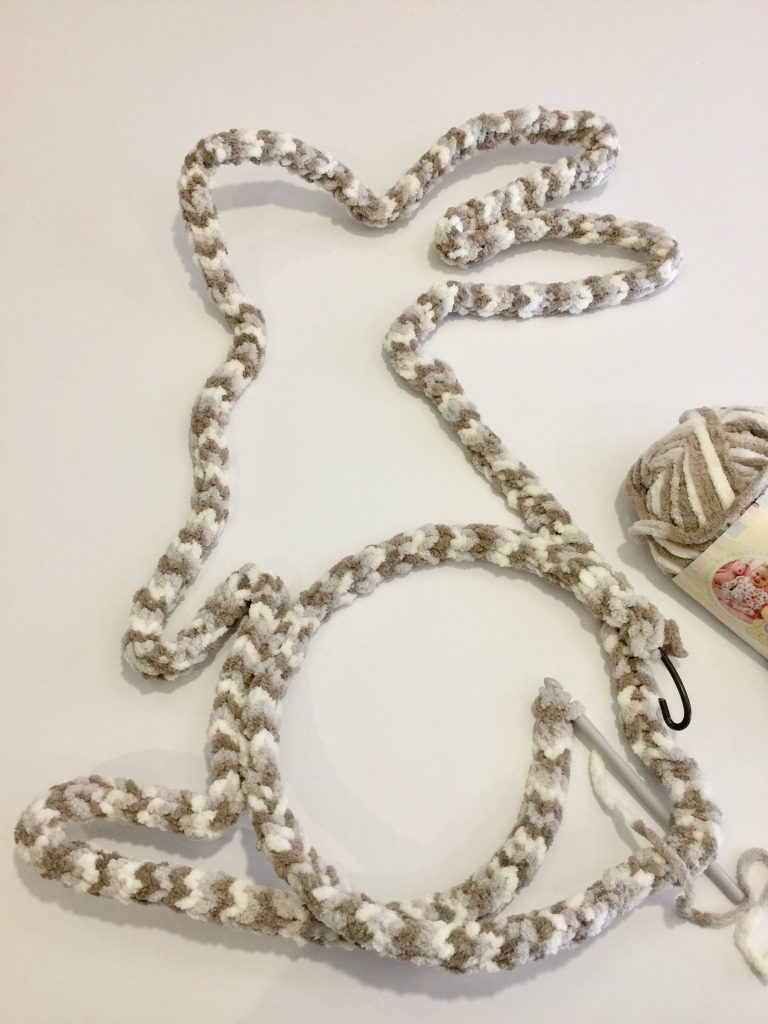
Thread the i-cord onto the open end of the wire and feed it all around until all the wire is covered.

Create another hook at the end you started from using needle nose pliers and crimp the two ends together with the help of some pliers.
Sew together the two ends of the i-cord and hide the ends inside (I wrap the end with a piece of tape so it’s stiff, like the end of a shoelace, so I can easily weave the ends together). Use the crochet hook to help pull the yarn ends through the centre to hide them.
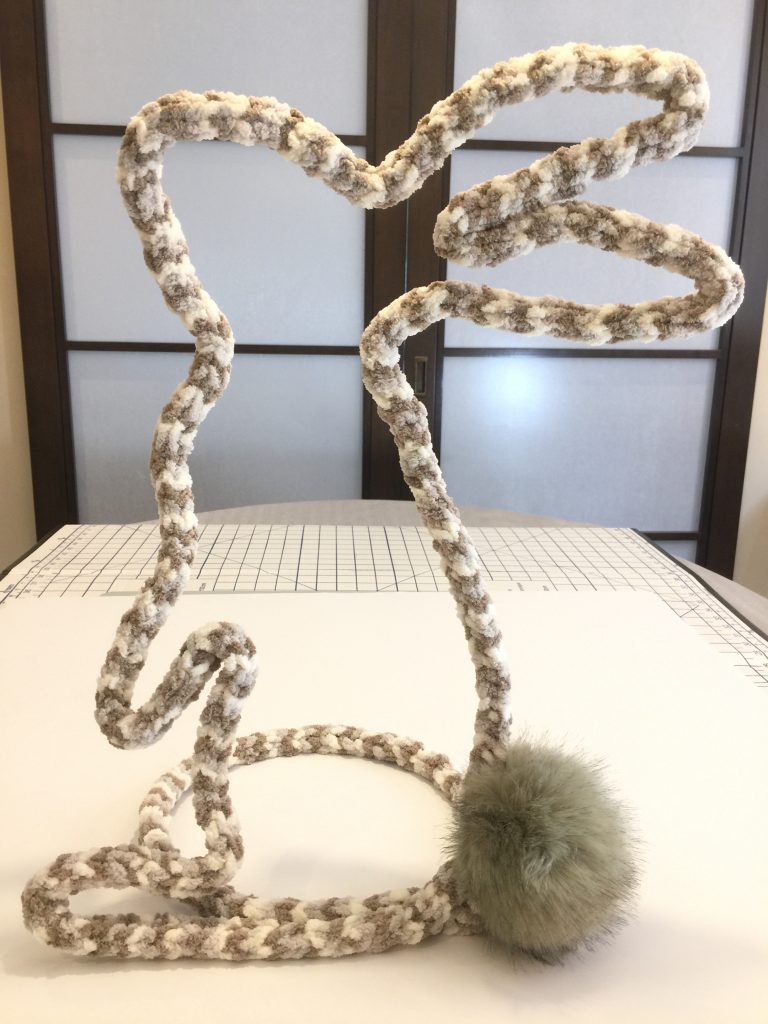
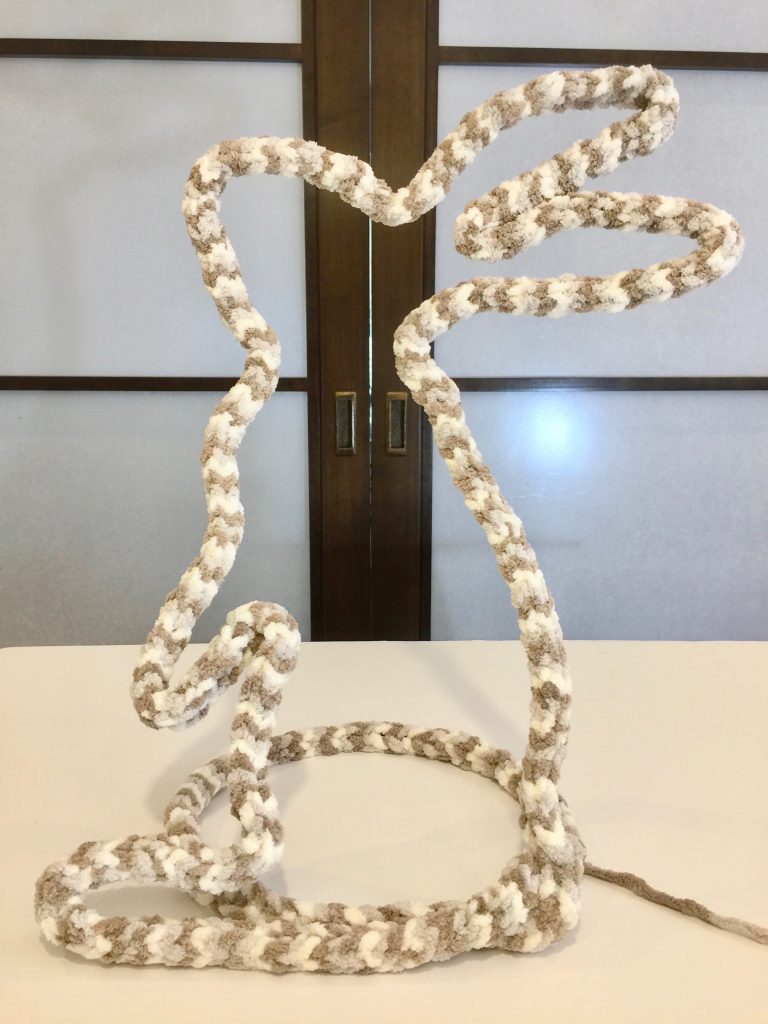
Bend the circular piece of wire backward until the bunny is perfectly balanced and standing. He almost looks like he could hop away now!
Tie on the pom pom tail and hide the ends within the i-cord. A large darning needle helps with this.

He she is with her puffy tail! Only one more step and she’s done.
Cut off a long length of invisible thread (I doubled mine).
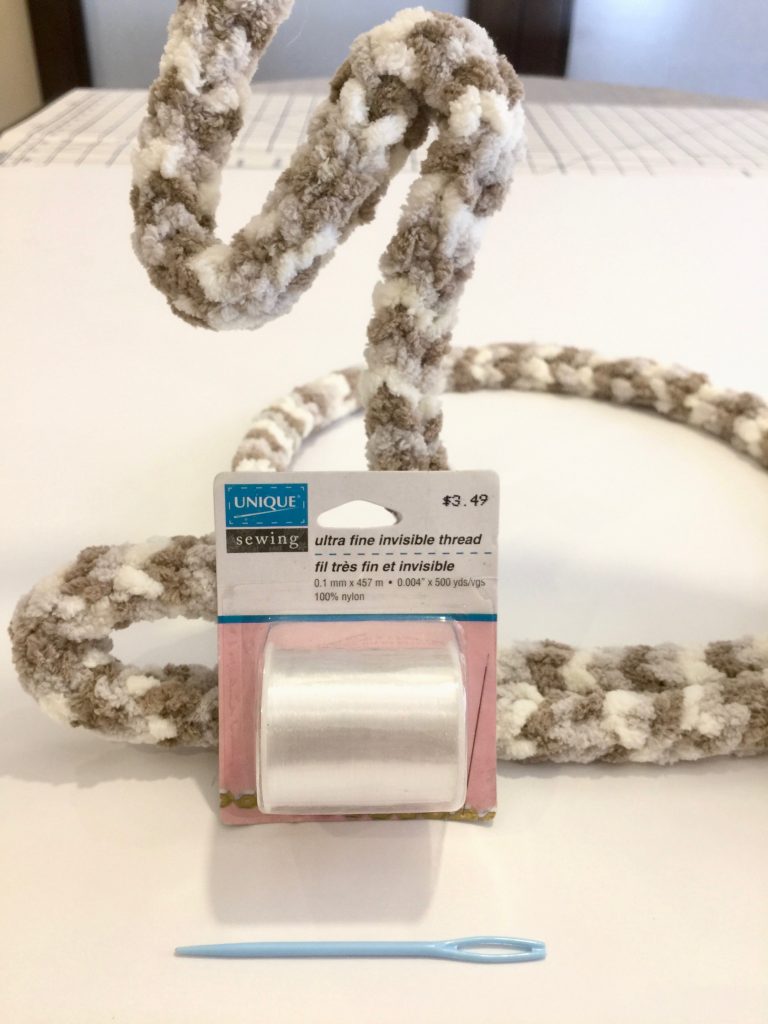
Thread it onto the needle and knot the end.

Start at the bottom and zig zag the thread through the i-cord all the way to the top of the bunny.

Criss cross the threads as you wish back toward the bottom again and tie off.
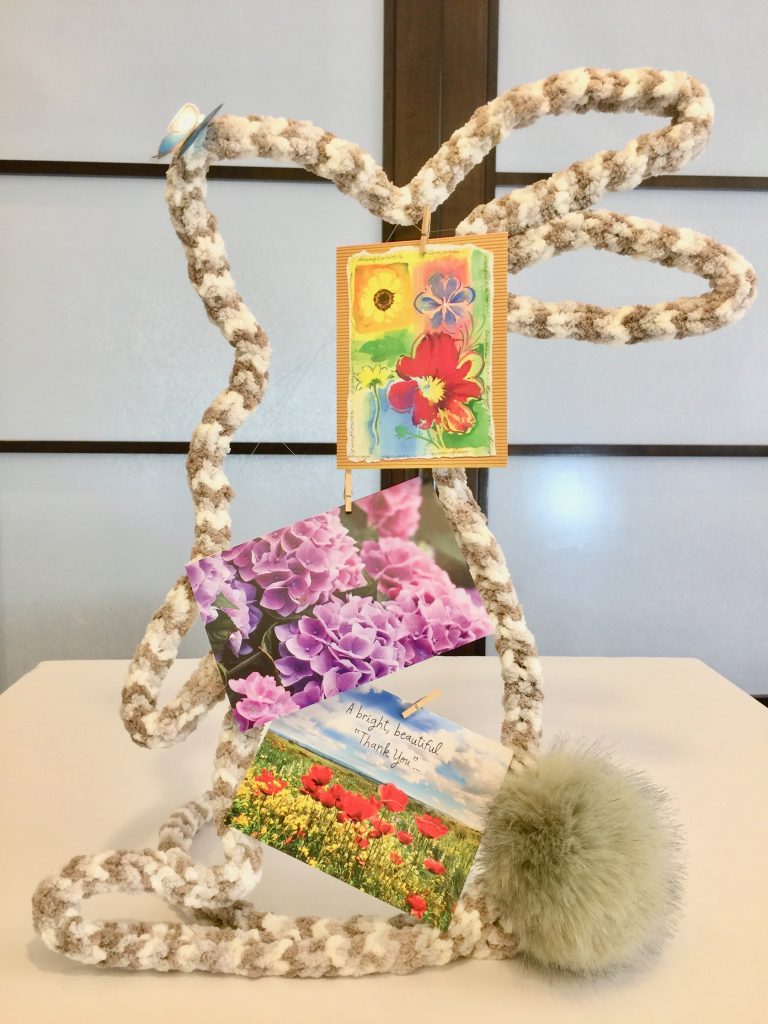
I embellished her by placing a butterfly on her nose. Then I fasted some cards to the invisible thread with tiny wooden clips (some mini binder clips or even paper clips would work too). You could also display photos or artwork: anything that you wish to display. I love how the Bernat baby blanket yarn emulates the bunny fur. It keeps more than just babies cozy! Project # 1 done!
I created a different bunny template and proceeded with the i-cord and wire form as in project #1.
For the bunny wreath, you’ll need everything you used for Project #1, plus an embroidery hoop (I took it apart and only used the inner portion) and cotton cord.
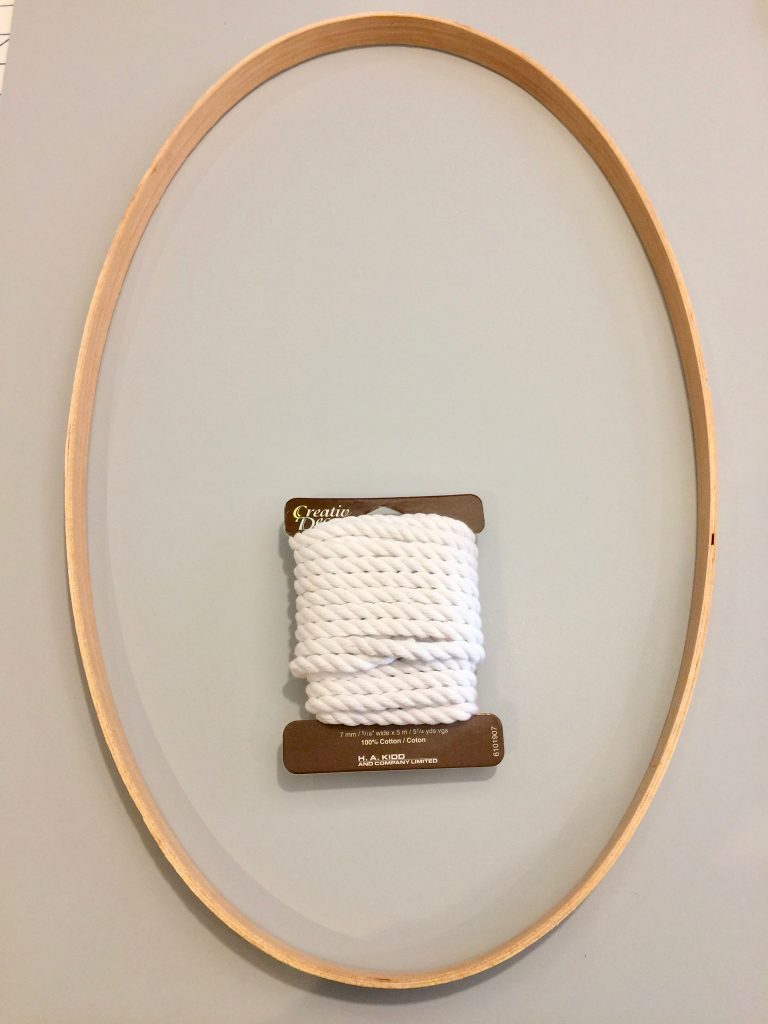
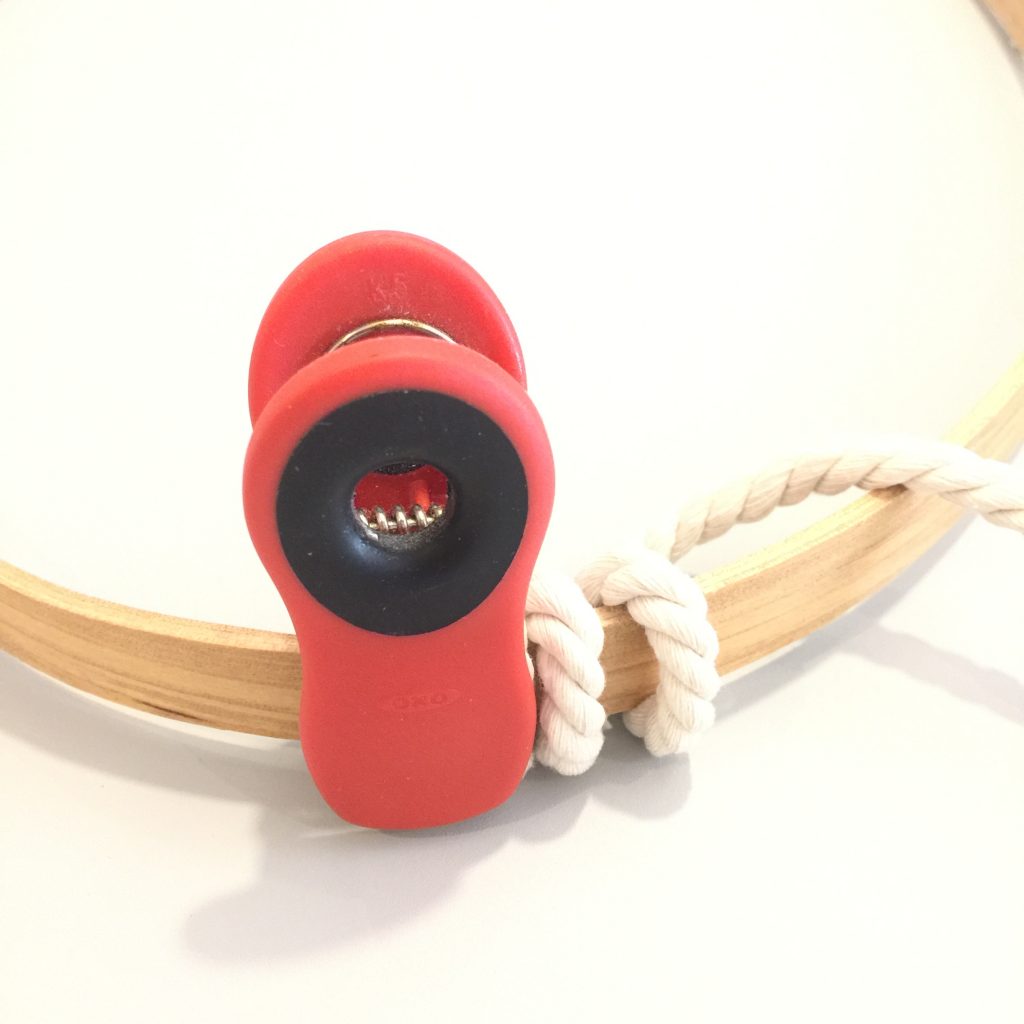
Wrap the cotton cord around the wood hoop and distribute it evenly. If you prefer a more solid coverage of the wood, use two packages of cord to cover the hoop. Leave enough cord at the top to form a hanging loop and stitch together securely using the invisible thread.
Use the invisible thread to tie the bunny onto the oval frame (secure it at the top and bottom) and then hang on the door. For this one, I embellished with a piece of ecru grosgrain ribbon.

If you’re like me, and you’re a visual learner, you’ll find this video helpful.
Hope you enjoyed these two Easter bunny projects. Now you’ve seen both, which one is your favourite? Let me know in the comments 🙂
Happy Easter! Until our next project, you’ll find us at birdzofafeather.ca