You definitely need to sew a trench coat for spring, because they are the perfect transition item for the warmer weather. Spring is definitely my favourite season. I love the transition from cold, dull, end-of-winter weather to the warmth, weather and colours in the spring season. I also adore changing my wardrobe over and shedding my winter layers.
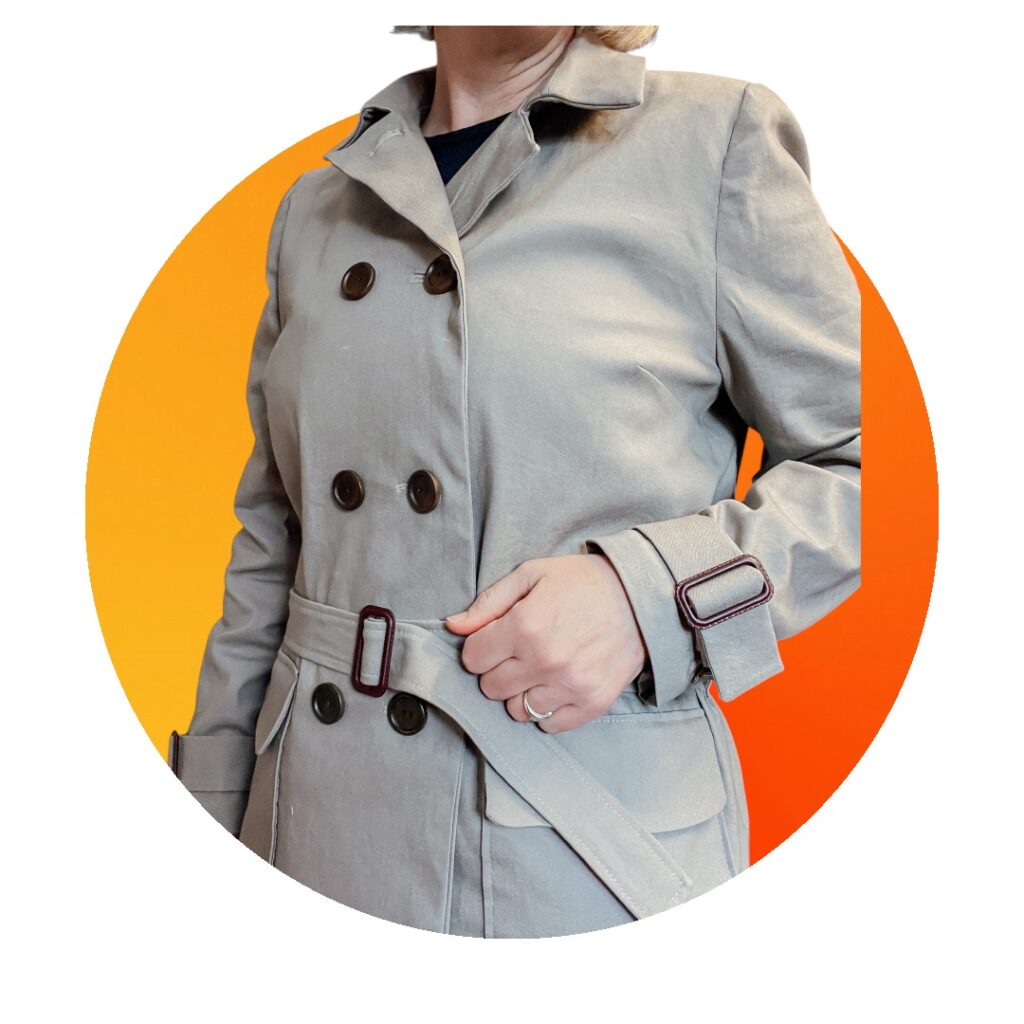
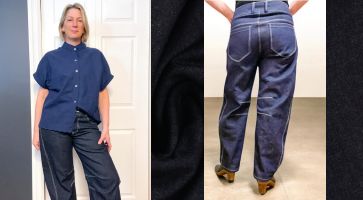
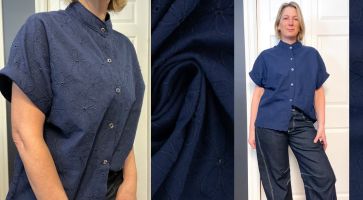
Wearing brightly-coloured spring clothing makes me happy, so I prefer a neutral jacket that I can throw over any outfit. The double-breasted neutral trench-coat style jacket is trending (just Google « tan trench coat » and there will be inspiration galore), and I was excited to be able to sew my own.
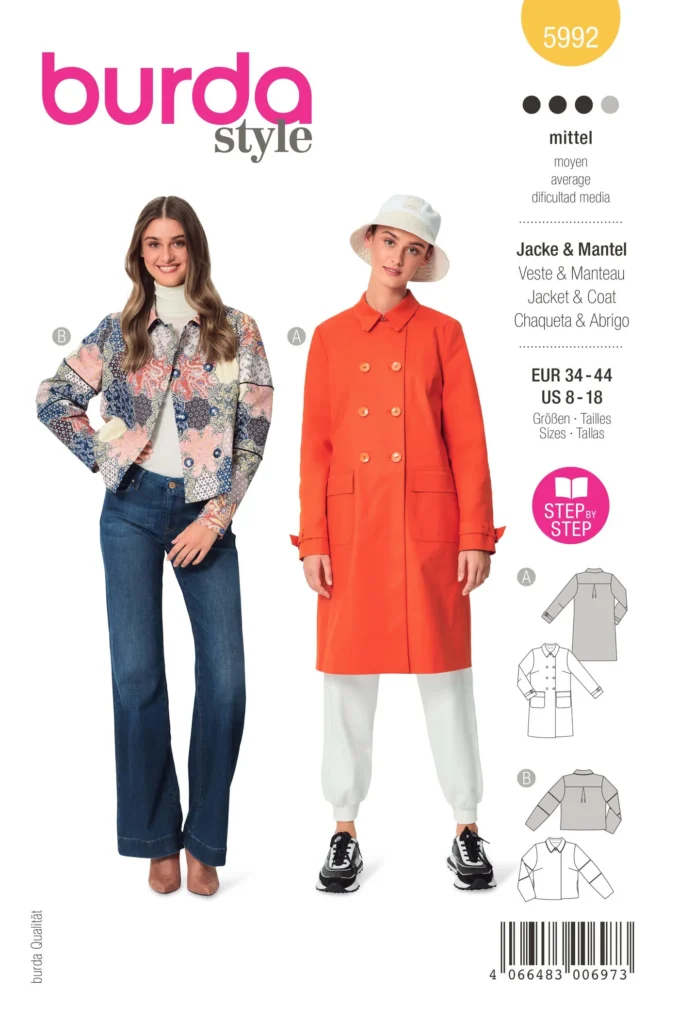
Burda 5992 Coat
Colored Denim – Rainbow – 012 – Taupe
*Coordinating Lining Fabric
*Note- I used Bemberg Rayon Lining, which I absolutely love, love love. It is smooth and feels absolutely luxurious to sew and wear. I sewed it with smaller seam allowances to account for the stretch in my denim fabric. Stretch woven lining is sometimes challenging to find. You could also substitute a knit lining or cut a woven lining on the bias.
Sewing Machine Needles: denim size 14 or 16, and topstitch (optional)
Sewing Thread
Topstitch Thread (optional
8 Coat Buttons
Twill tape or ribbon for hanging loop (Optional)
Trench Buckles (x3) for wrist straps and an optional belt
Interfacing: Pellon Tricot fusible (be sure your interfacing has stretch if you are using a stretch woven fabric)
I received my order from Fabricville.com . It came very quickly and was neatly packaged with elastic holding the notions together.
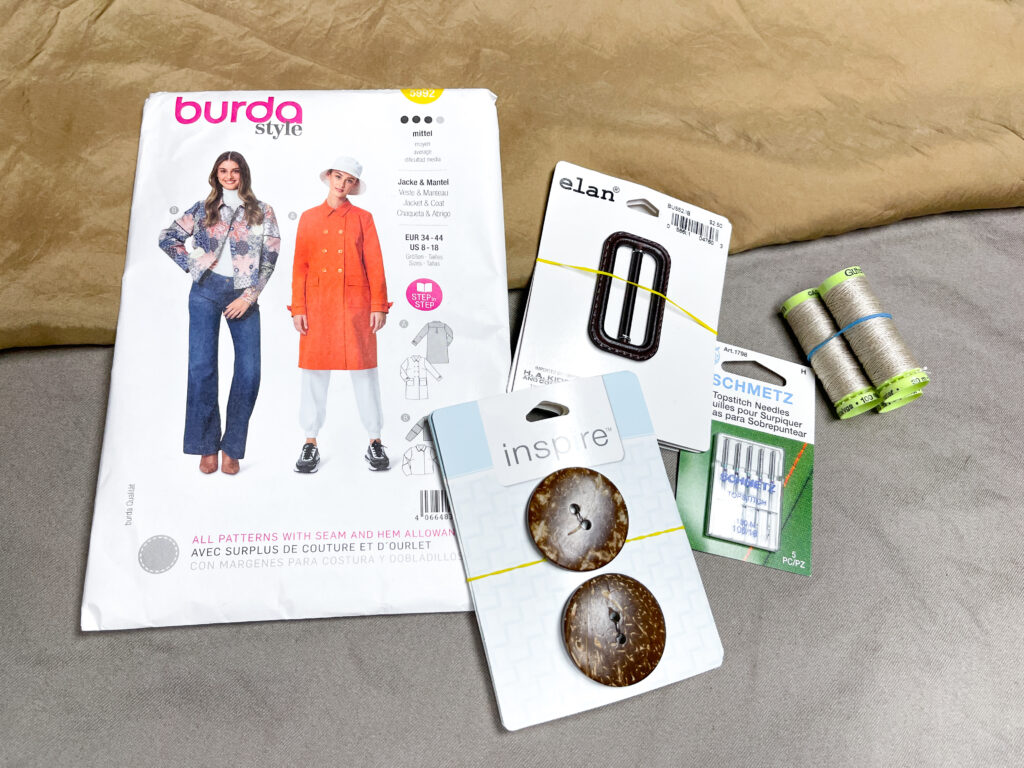
Gather your fabric, pattern and notions and get ready to sew!
Cut out your pattern pieces from lining, interfacing and the main fabric.
Fuse the interfacing to the pieces as noted in the pattern. There are quite a few pattern pieces to interface, so make sure you plan time for that. Be sure to read your interfacing’s instructions so that it will fuse properly to your fabric. I suggest testing a small scrap on a piece of fabric first.
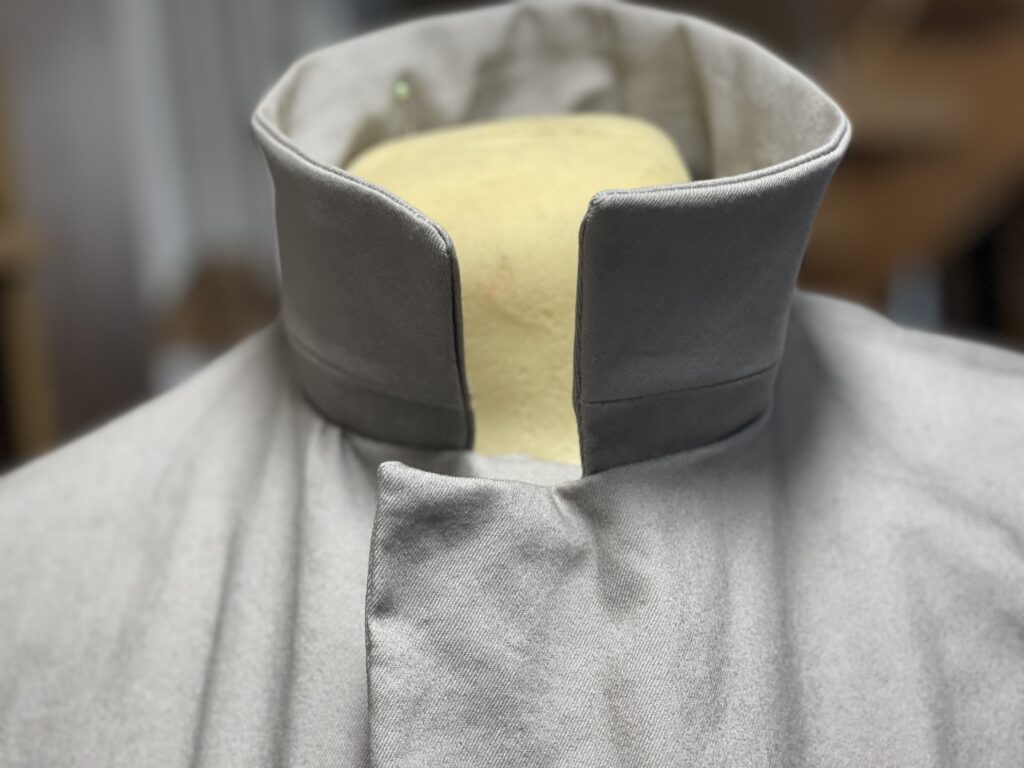
You will start by sewing the outer fabric back and front pieces together. Sew the collar pieces together and attach your collar to the neckline. I like to add a hang loop to the neck of my jackets. Be sure to baste your loop in place before attaching the jacket facings.
Hanging loop inserted between the collar and back neck facing.
Next, I attached the front pockets and the pocket flaps. It is easiest to attach the pockets before the sleeves because there will be less bulk to manage on your sewing machine. However, you may want to try on your jacket and attach the pockets later if you like to adjust it according to your height and arm length.
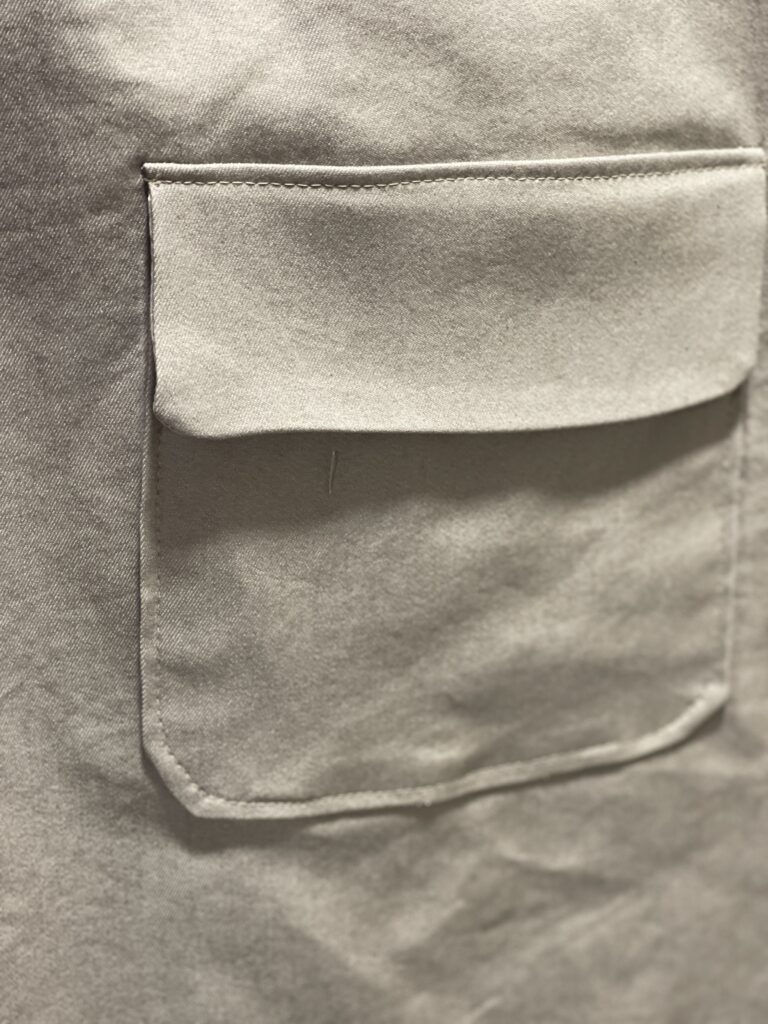
Pocket and flap is attached and is now ready for a good press with lots of steam and a press cloth.
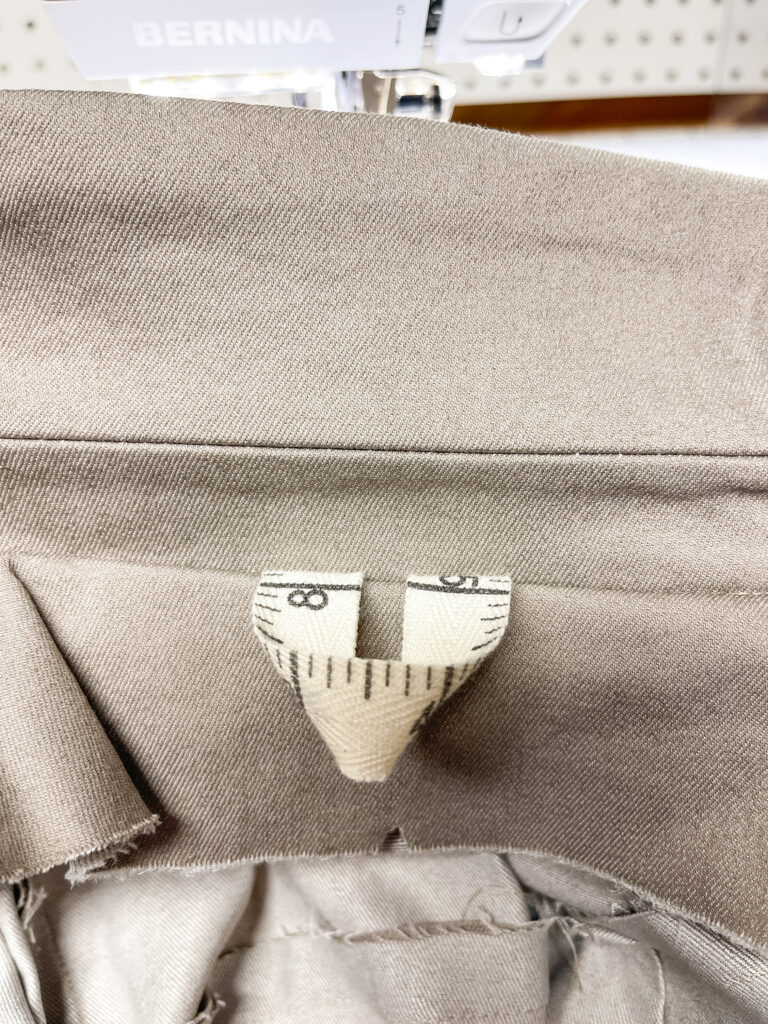
Measure the buckle sliders that you have selected. Mine are larger than the pattern calls for, so I increased the sleeve tabs accordingly. For the 2” buckles, I widened all of the pattern pieces (pieces #10 and #11) by ⅞” and lengthened pattern piece #12 by 1”.
When you use the Fabricville trench buckles, no eyelets are needed for the sleeve tabs.
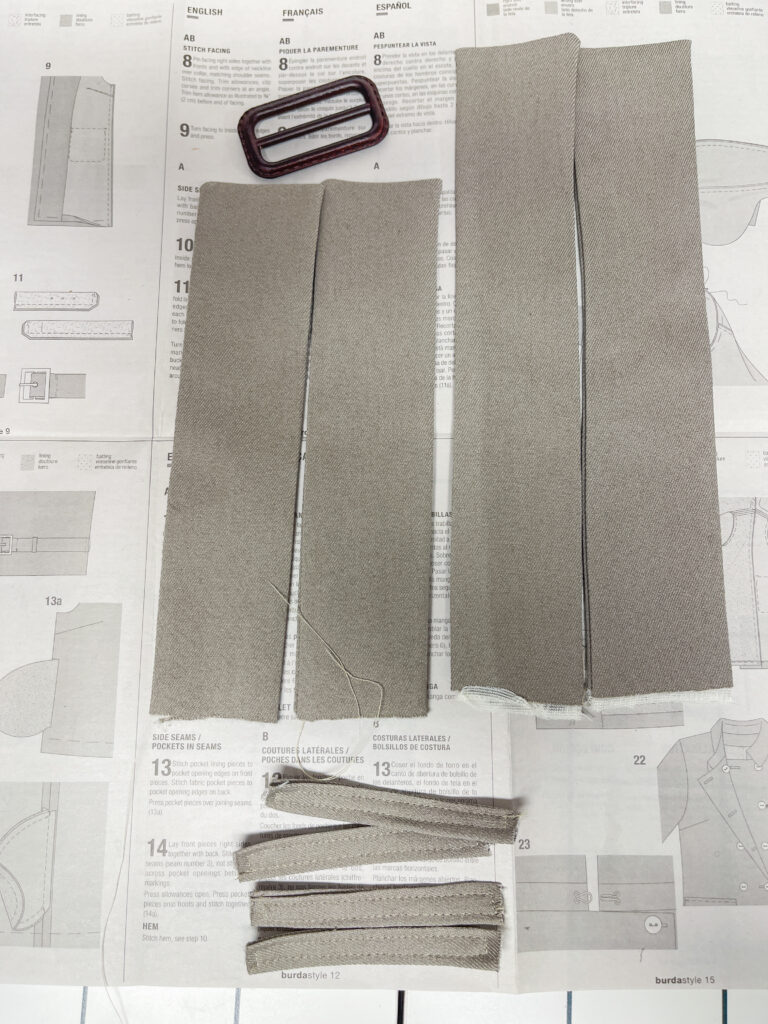
Wrist straps and tabs for the trench coat sleeves.
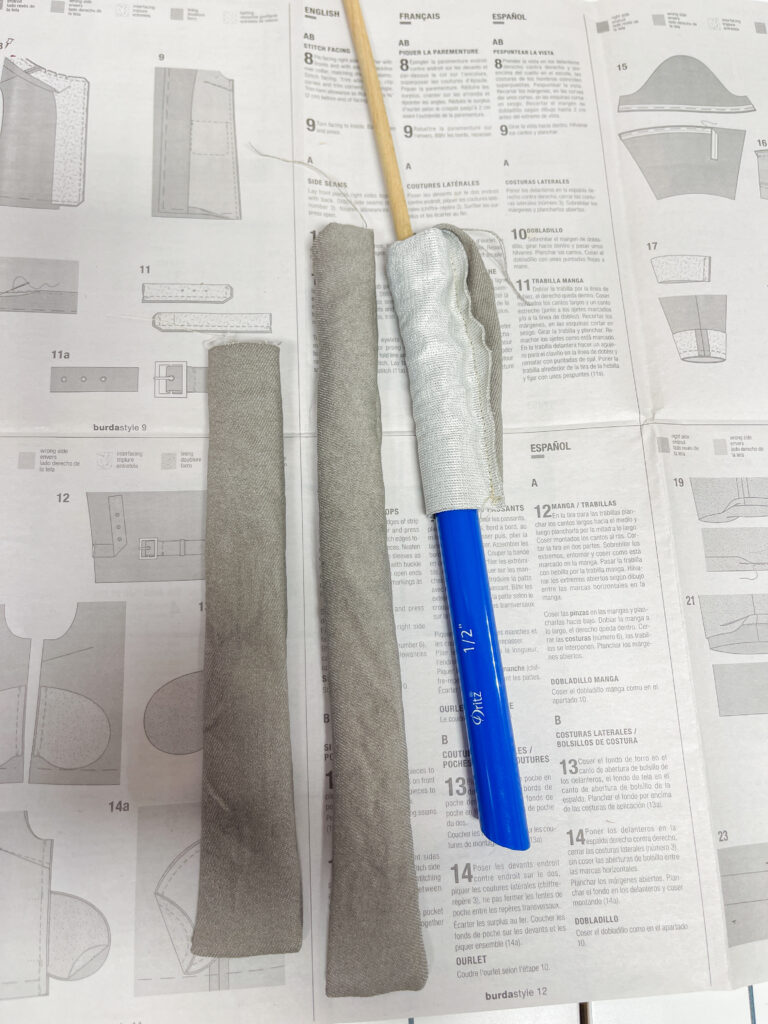
Tube turners are my favourite turning tool and it makes these narrow straps a breeze to turn right side out.
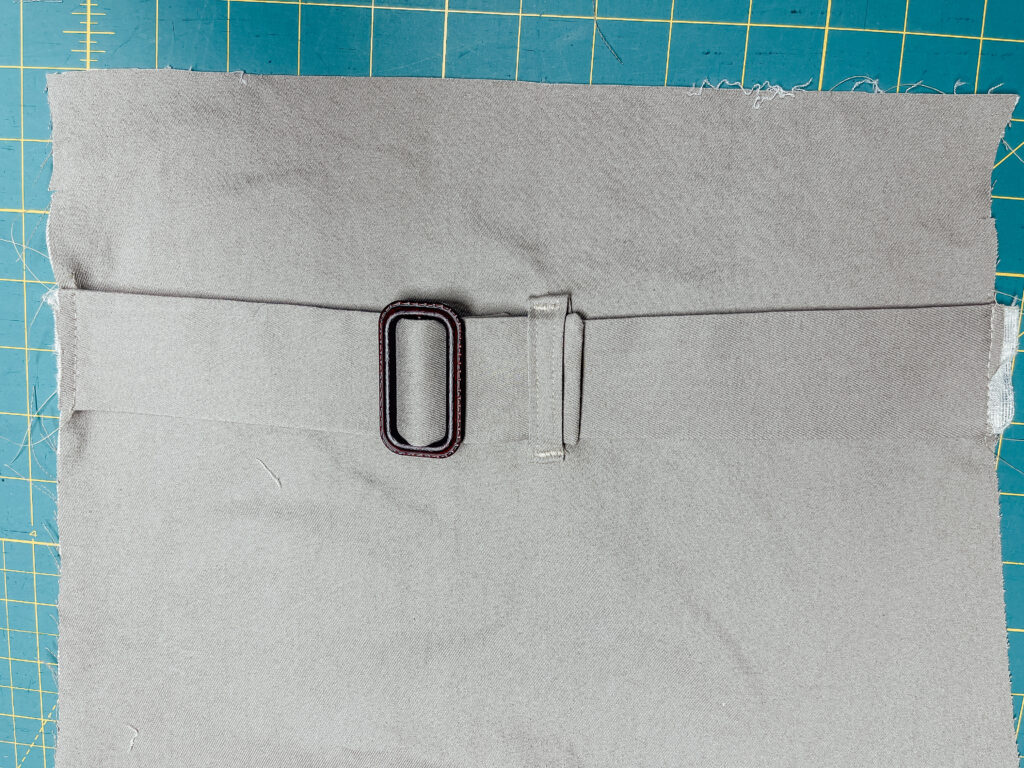
Wrist tab attachment.
The coat pattern doesn’t include belt pattern instructions, but I wanted to add some shaping to the garment. Make two additional belt tabs, the same size as you did for the wrist strap tabs. Attach the tabs to the side seams approximately in line with the top of the pockets.
Use the width dimensions from the wrist tabs, and make a belt long enough to wrap around your waist with enough overlap to thread through the buckle and hang down. You may want to take a belt from another jacket or garment to get an idea of how long you would like your belt to be.

The Burda pattern includes instructions for sewing your trench coat lining. I always like to bag jacket linings, so I have included a link to a tutorial if you would like detailed instructions.
https://www.threadsmagazine.com/2008/11/01/bag-your-jacket-lining
When bagging a lining, you sew the lining together, making sure to leave an opening in one of the side seams to turn the jacket through at the end of the ‘bagging’ process.
Try the coat on and decide if the buttonhole markings from the pattern pieces are positioned appropriately for you. I like to make sure that there is a button near to the widest part of my bust to prevent gaping. I then measure equidistance for the remaining buttonholes.
My sewing machine has an automatic buttonhole feature. I test it out a few times on scrap fabric to be sure it fits the buttons correctly, and then I stitch away. 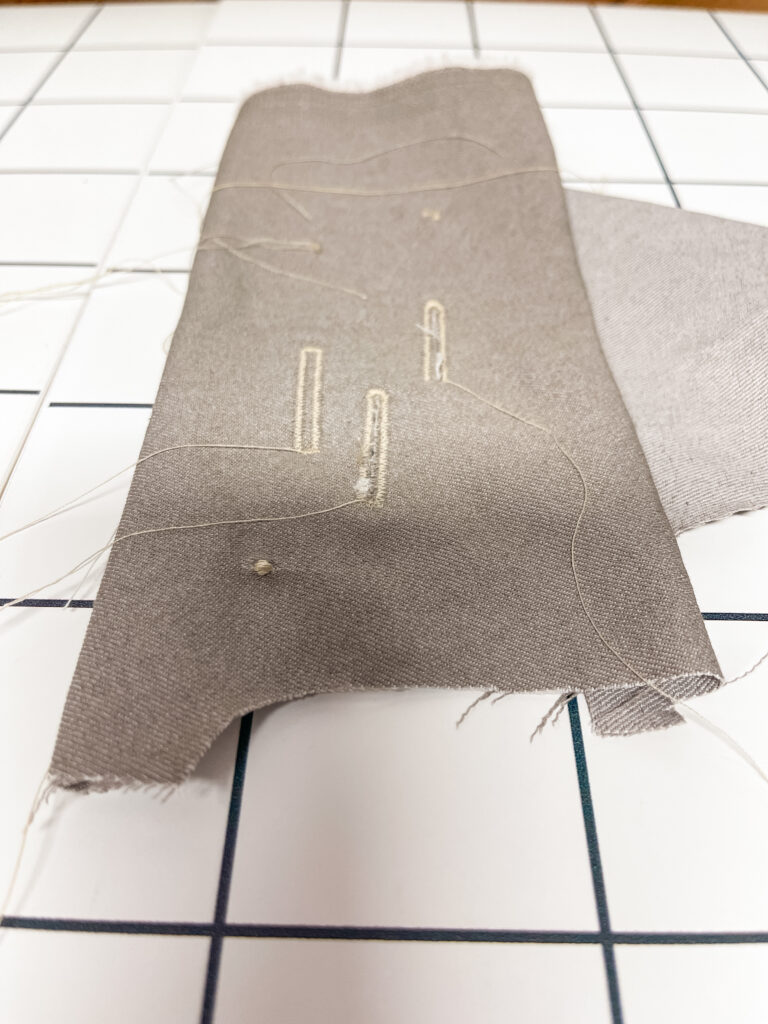
I used to be afraid of buttonholes, but a bit of practice and making samples took away (most of) my fears!
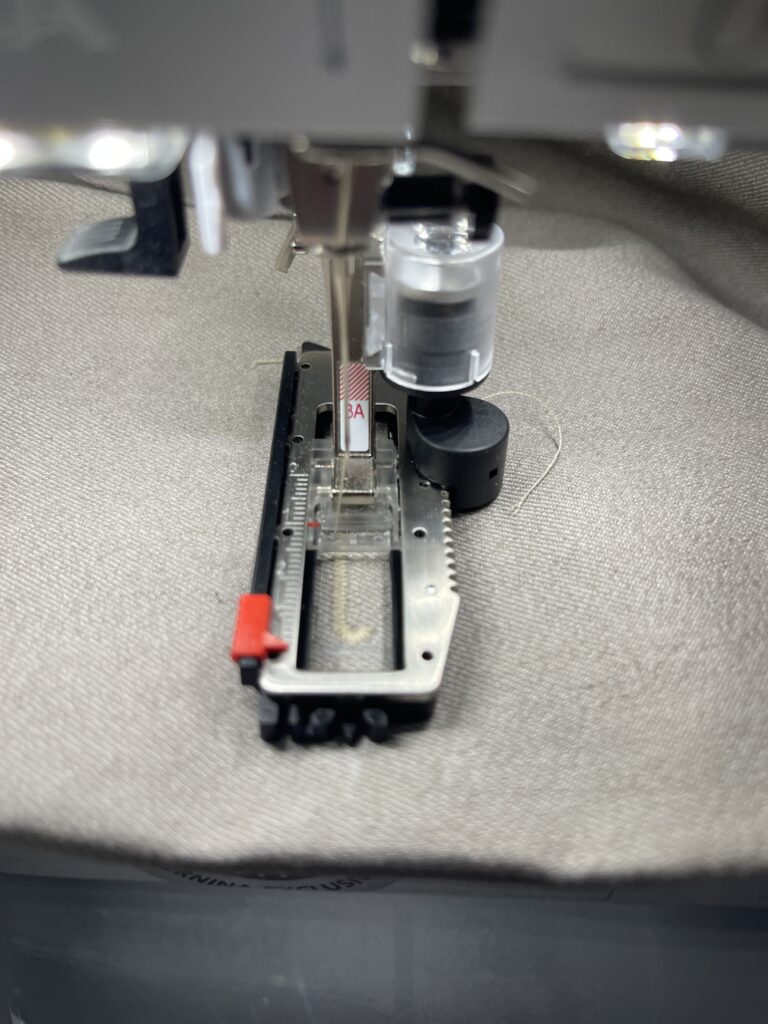
Buttonhole foot for automatic buttonholes.
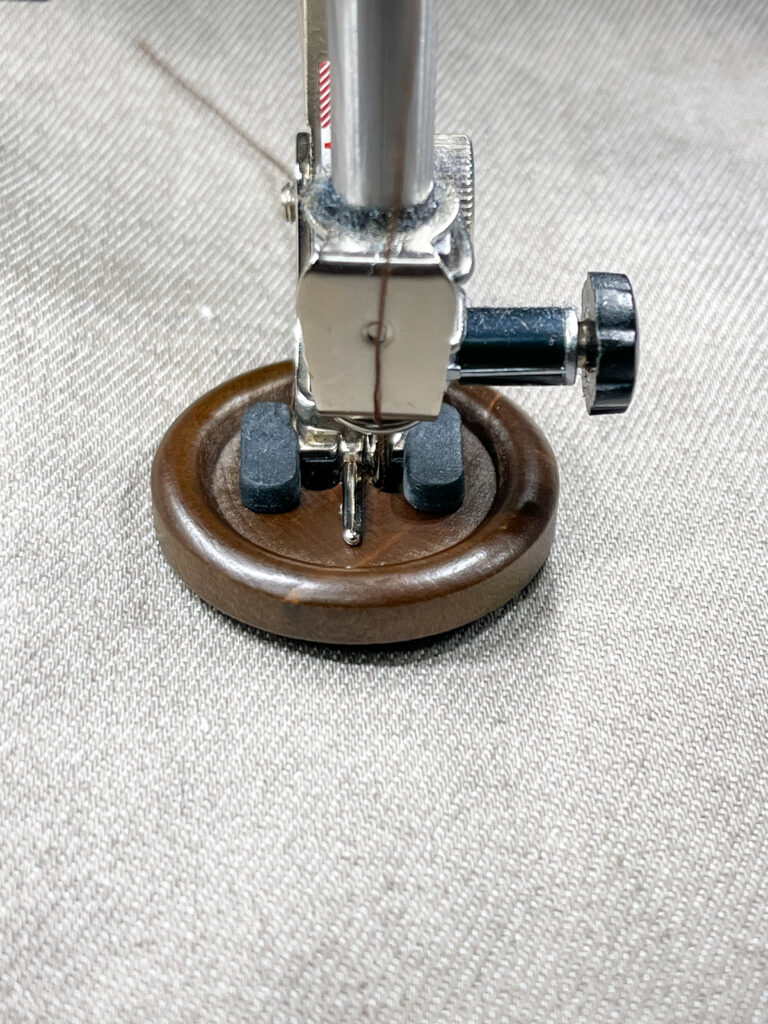
Using a button sew-on foot makes sewing on buttons a breeze. The foot holds the button firmly in place, and you use a zig-zag stitch with a stitch length of zero to sew on the button. Since there are eight buttons on this coat, this really makes it a speedy process.
Don’t forget to stitch the opening in the lining side seam closed, give your coat a good press, and you are ready to wear your new trench coat! I enjoyed this project so much that I think I need to make the shorter jacket version in a nice, bright colour. Fabricville has a whole rainbow of coloured denim fabrics, and I think the hardest part will be picking my next colour.
I hope you get to enjoy being outside in the spring sunshine and showing off your newest wardrobe item!

Happy Sewing!
Heather @ManitoulinThreads
Want to know about me?
I am so fortunate to call Manitoulin Island, Ontario my home.
With over 20 years of sewing experience, I make most of my own wardrobe. My favourite things to sew are jackets and activewear.
In my free time, I’m a school Principal.
Want to see more of my sewing projects?
You can find me on Facebook at Manitoulin Threads.
You can also follow my sewing projects on Instagram @ManitoulinThreads.