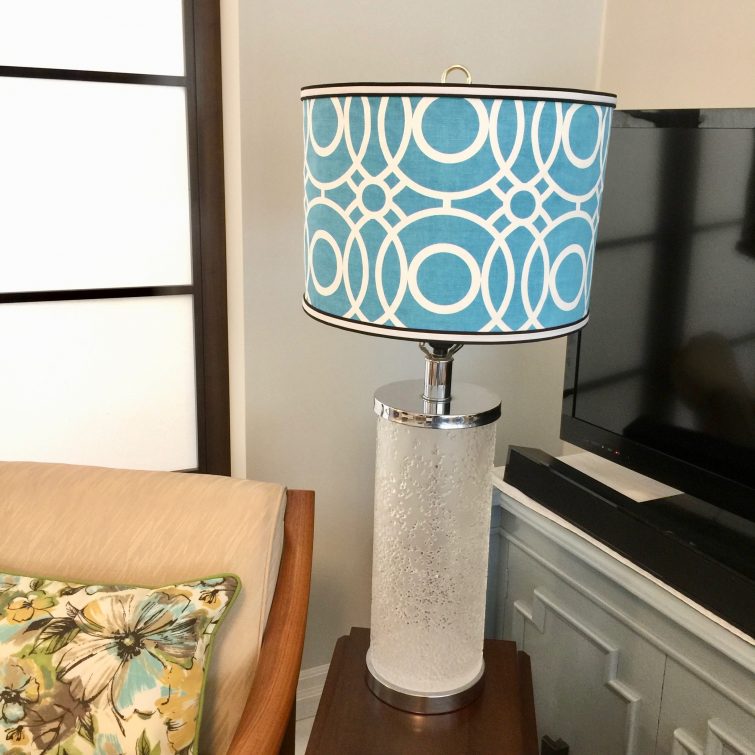
Right before the lockdown, I got some beautiful fabric (Nature Garden – Trellis in Aqua) determined to make a new lampshade for a thrifted lamp base.
I was unable to find pressure sensitive styrene in Canada to make my own shade. But inspiration came when I found a shade on clearance at a big box store. My original plan was to create a pattern, cut the fabric then use spray glue to attach it to the shade to transform it.
That’s when the pandemic hit and Canada went into lockdown. I didn’t have spray glue so thought I would wait it out until I could get my hands on some. Little did I know that lockdown would stretch out for so long.
After a month and a half went by inspiration hit again. I had just finished sewing an envelope style removable pillow cover. Why couldn’t I use that same concept and make a slipcover for the shade instead? I love to change our pillow covers every season, so I had high hopes that this idea would work out.
I had my heart set on using this fabric for the lampshade. I have a love of birds (hence my blog name Birdz of a Feather), but when it arrived the scale did not work for my particular lampshade (the birds would have been too few or cut off). I would recommend keeping the pattern very simple or going with a small scale pattern.
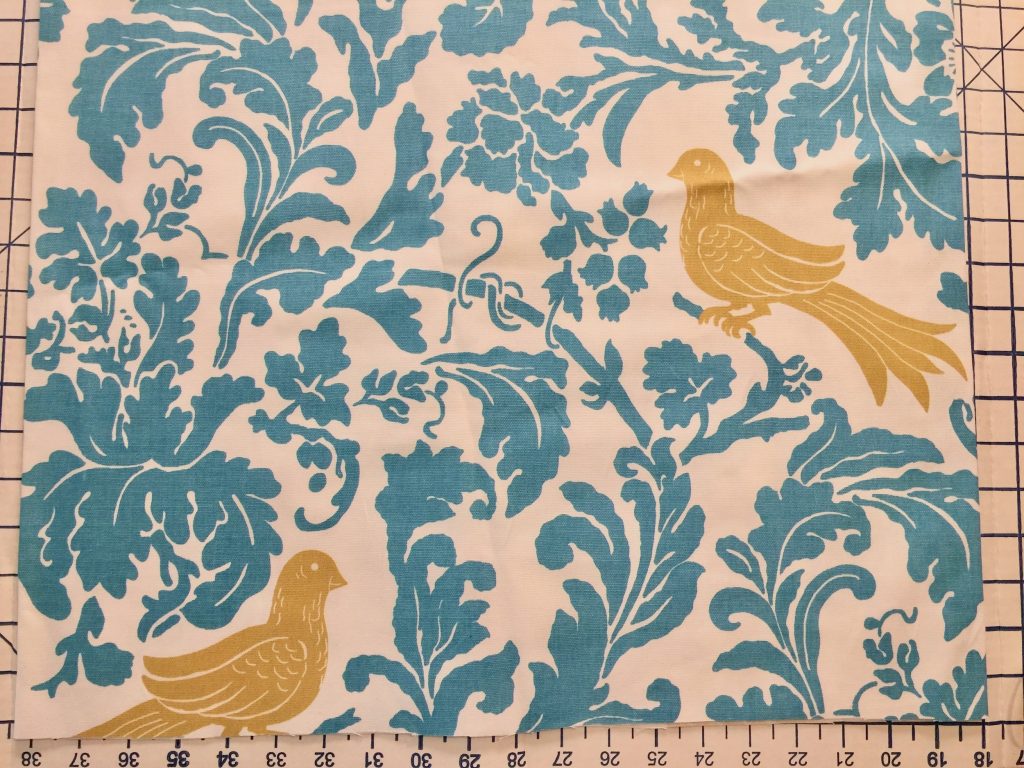
Below is the fabric I used instead. As you can see the scale of the pattern is much better.
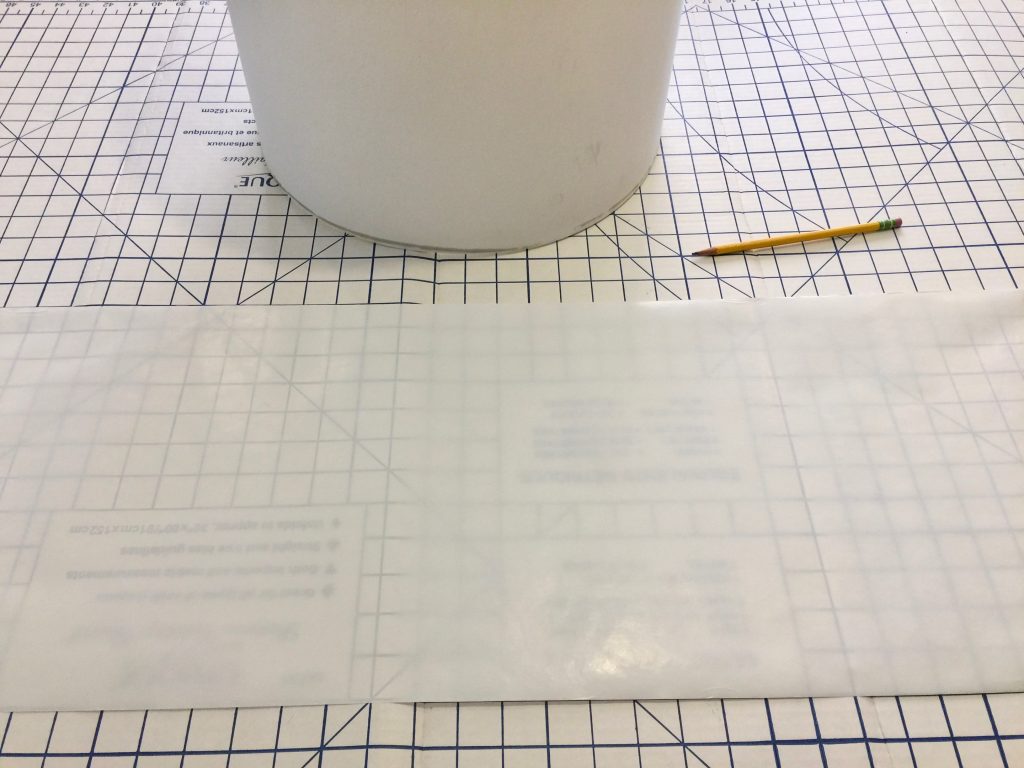
Sometimes a drum shade looks perfectly even, but this one looked like it might have a slight taper. Just to be sure the fit would be perfect, I traced it out onto paper. I added 1 inch of seam allowance onto the sides and half an inch on the top and bottom.
I then cut the pattern and folded it along the center so it would be symmetrical.

I also folded the fabric, then pinned the pattern to the fabric along the fold. Cut it out.

I pinned wrong sides together at the 1″ seam allowance and did a test fit before moving on. Note that if your drum shade does taper, mark the bottom so you know which way it goes onto the shade. 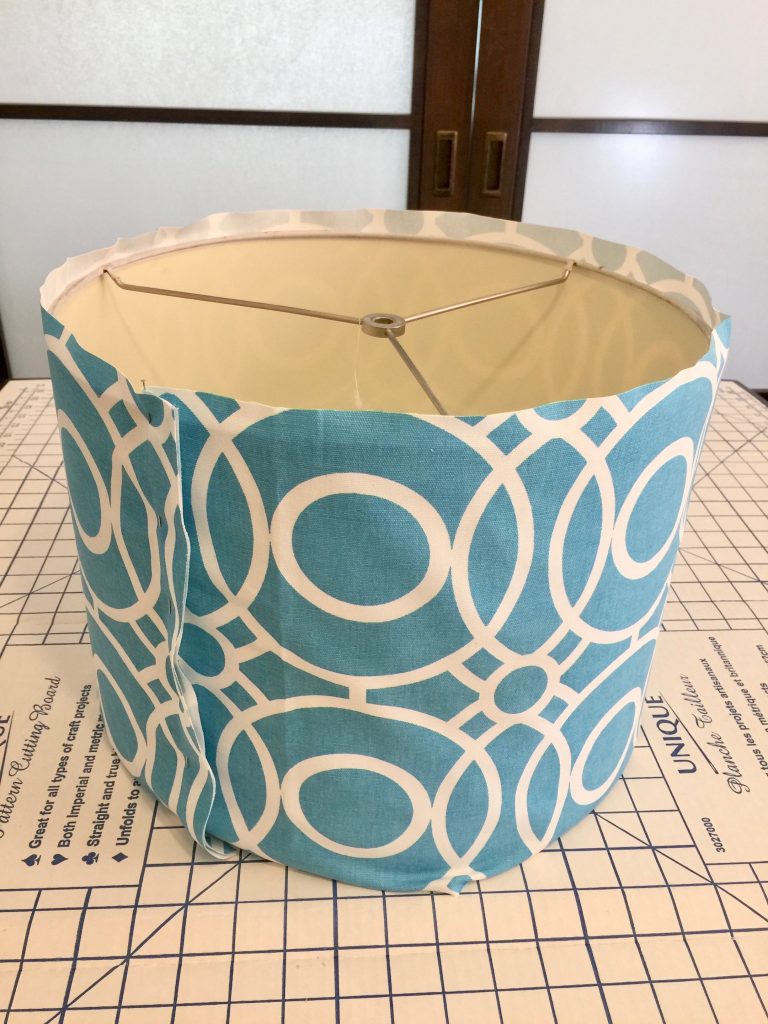
I was happy with the fit, so I stitched the side seam with wrong sides together so I could sew a flat felled seam on the outside of the fabric. A flat felled seam is the kind that you see on the outside leg of jeans.
I cut one side of the seam allowance back to 3/8″ then folded the other side in 1/2″.

Along the top and bottom I also ironed the 1/2″ seam allowances .
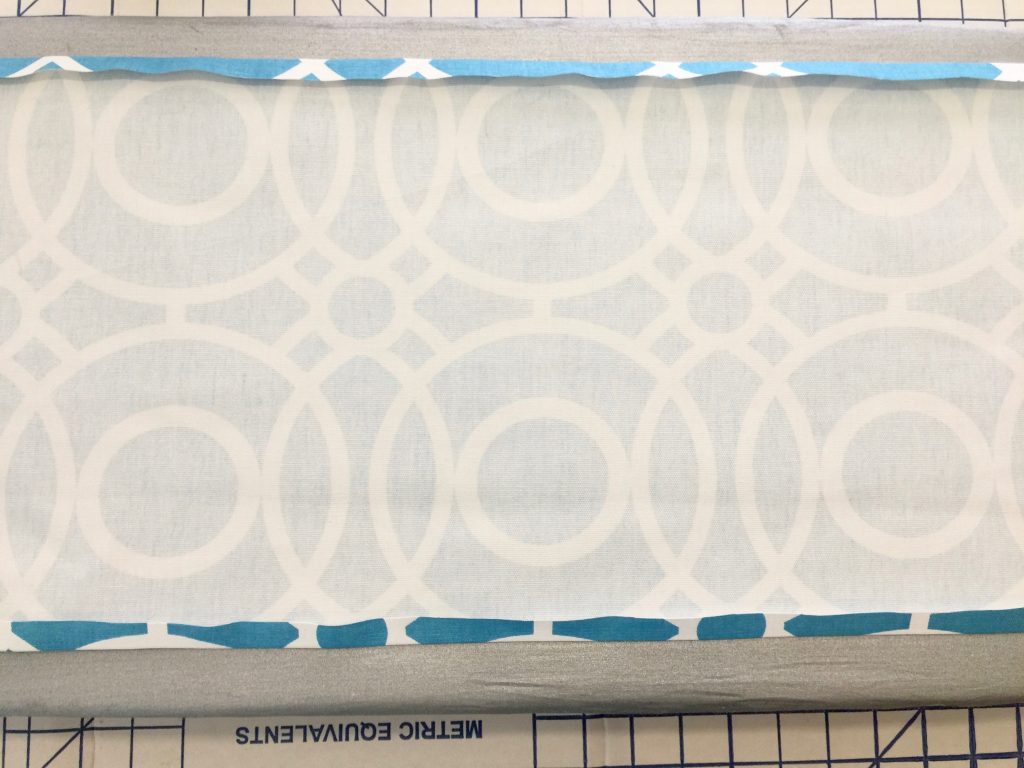
Because this is a slipcover, I decided to serge the top and bottom before folding and topstitching the outside. I topstitched just shy of 1/2″ so the bias tape trim would cover the stitching.
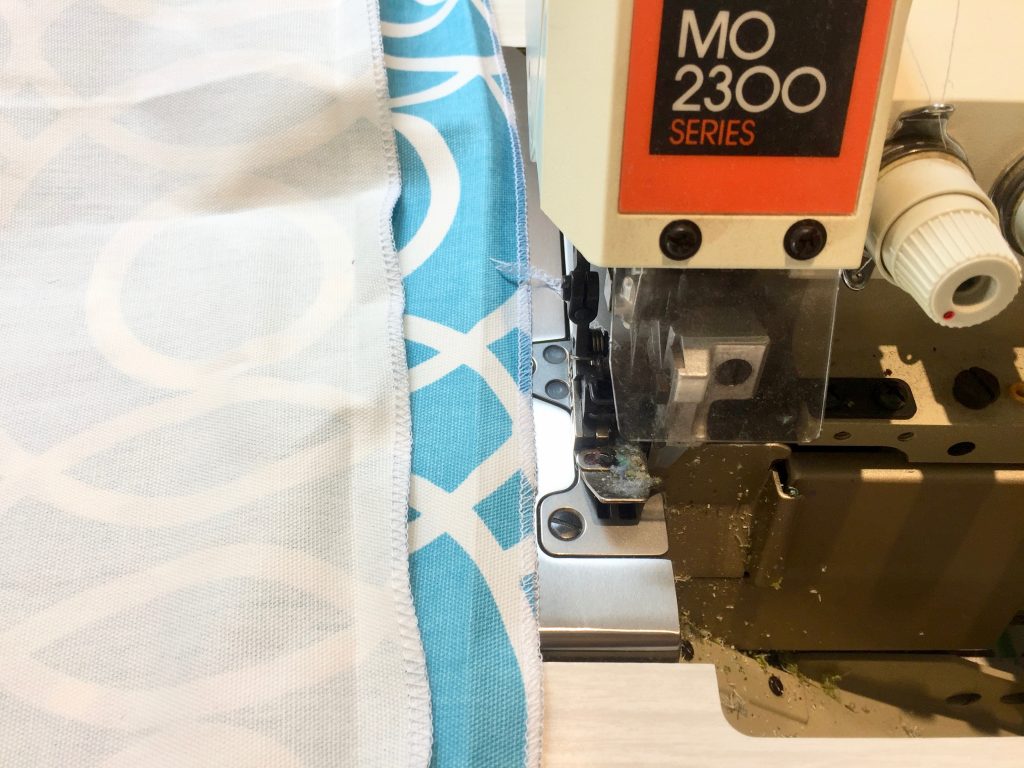
Put the slipcover onto the shade so you can attach the trim. Here’s how the flat felled seam and the rest of the topstitching should look.
You can use any pre-made trim, like grosgrain, to finish the edges or make your own bias trim using these fusible bias tape makers by Clover in two different sizes.
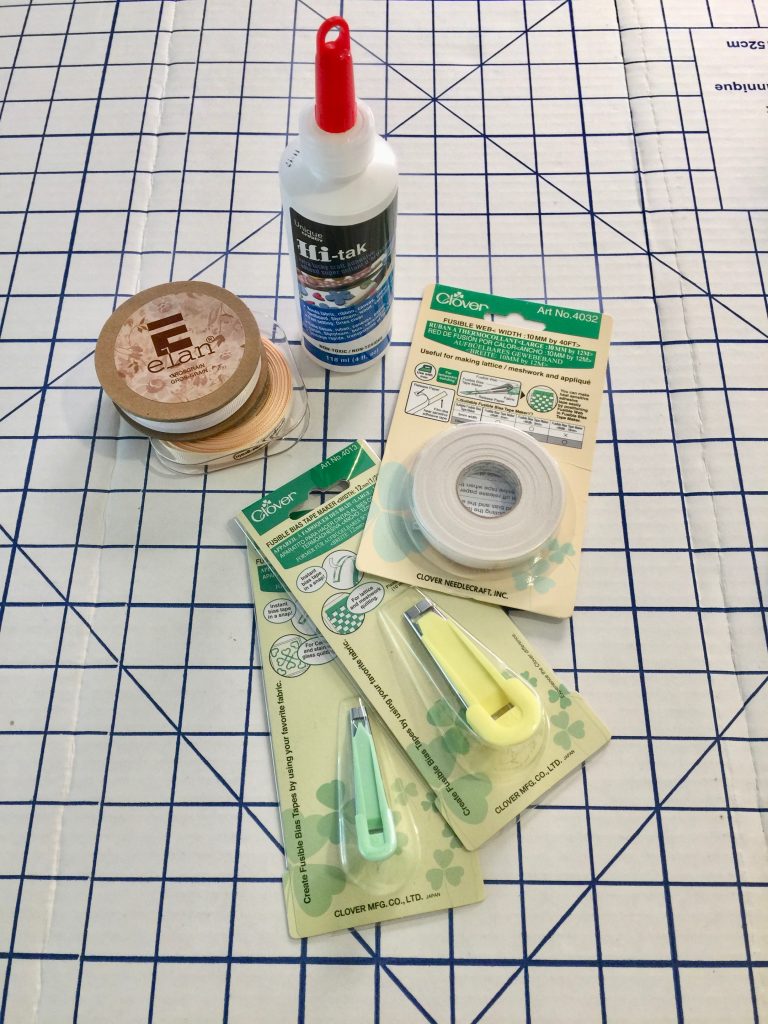
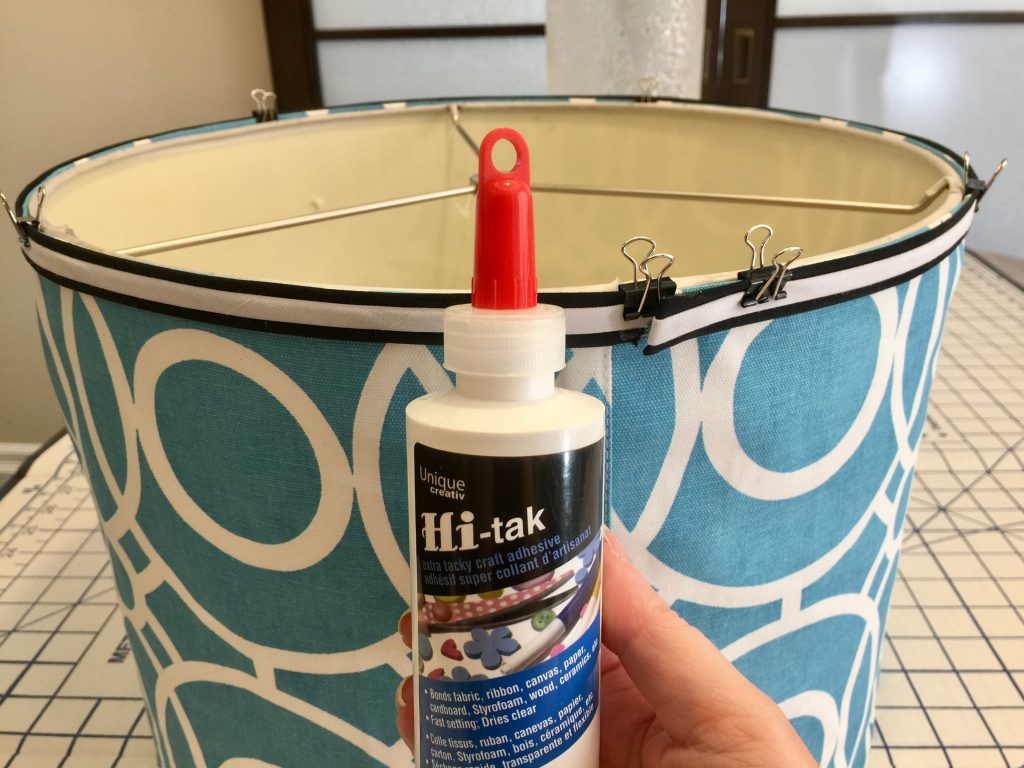
Once the trim is made, you can glue it around the edges of the fabric with Hi-tak glue (covering up the topstitching).
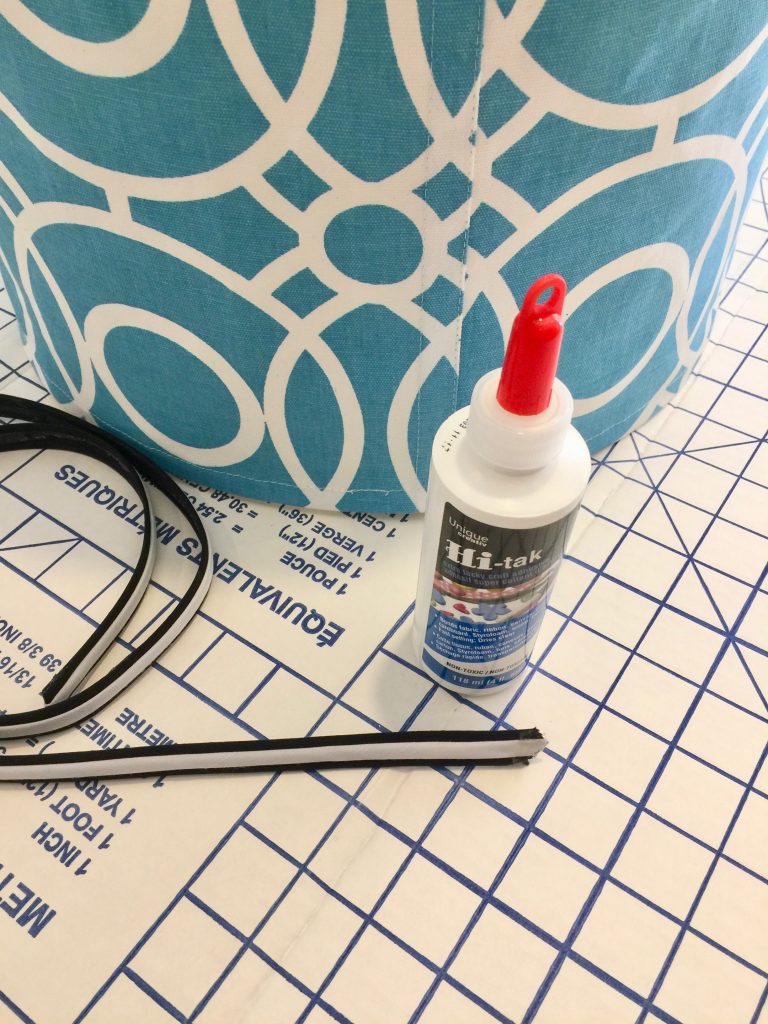
My trick is to use binder clips to help hold the trim in place while you’re attaching.

The binder clips also hold it in place while the glue dries.
Pop the shade onto the base and you’re done!
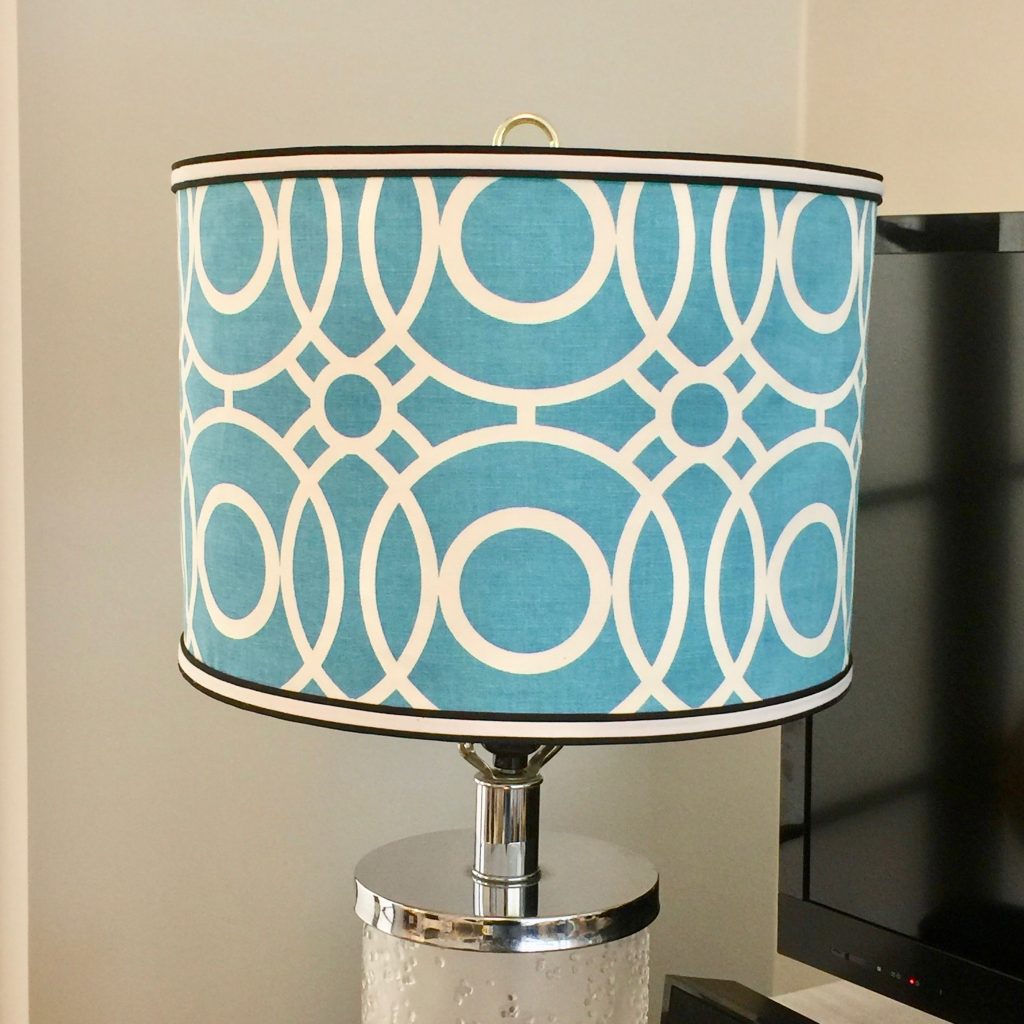
This slipcover turned out better than I ever expected. Not only didn’t I need harsh chemicals in the form of spray glue, but the flexibility that a slipcover provides makes it a win-win in my books!!
I can easily take this slipcover off and swap it out with a different slipcover. Now that I’ve done this one for Spring, I’m tempted to switch up the fabric every season! How fun is that?
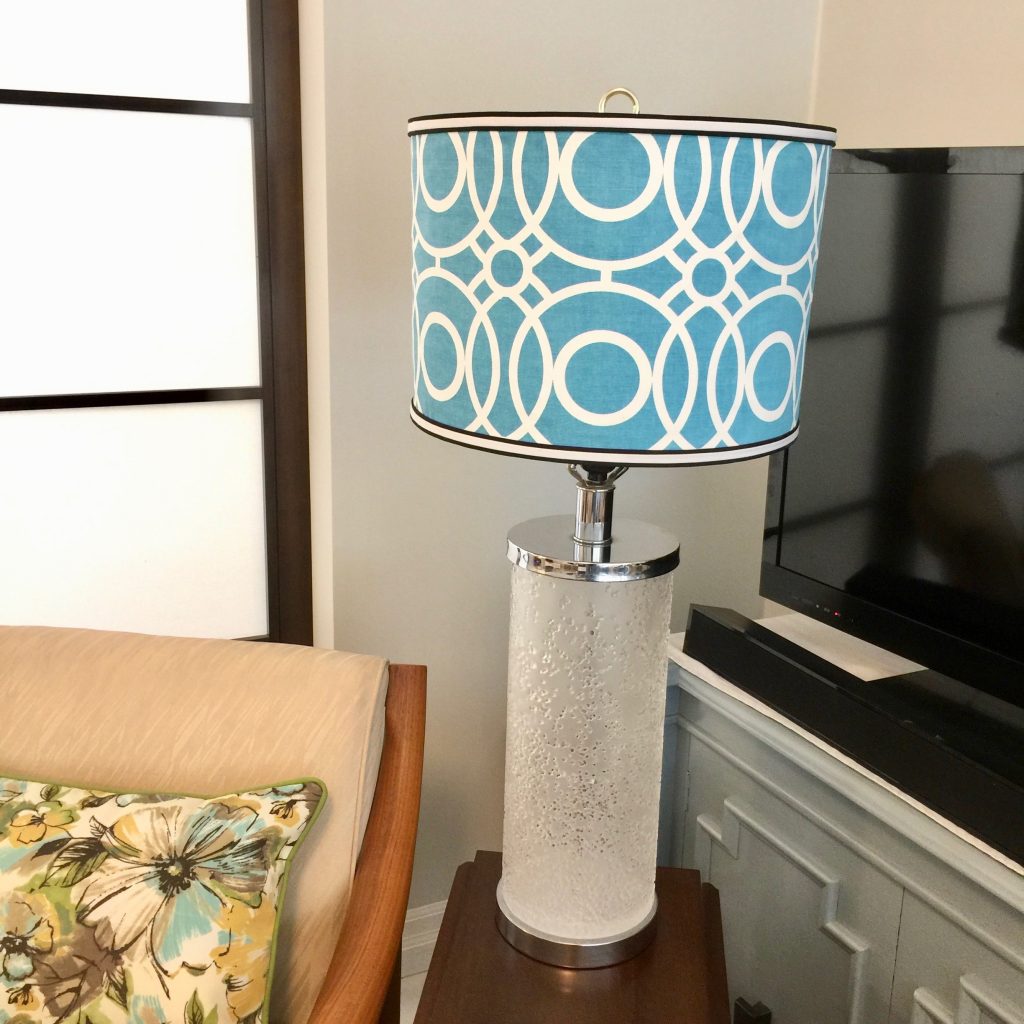
If you have a bland lampshade that could use some sprucing up, I hope you’ll give this slipcover project a try!
Please stay safe! Until our next project, you’ll find us at birdzofafeather.ca 