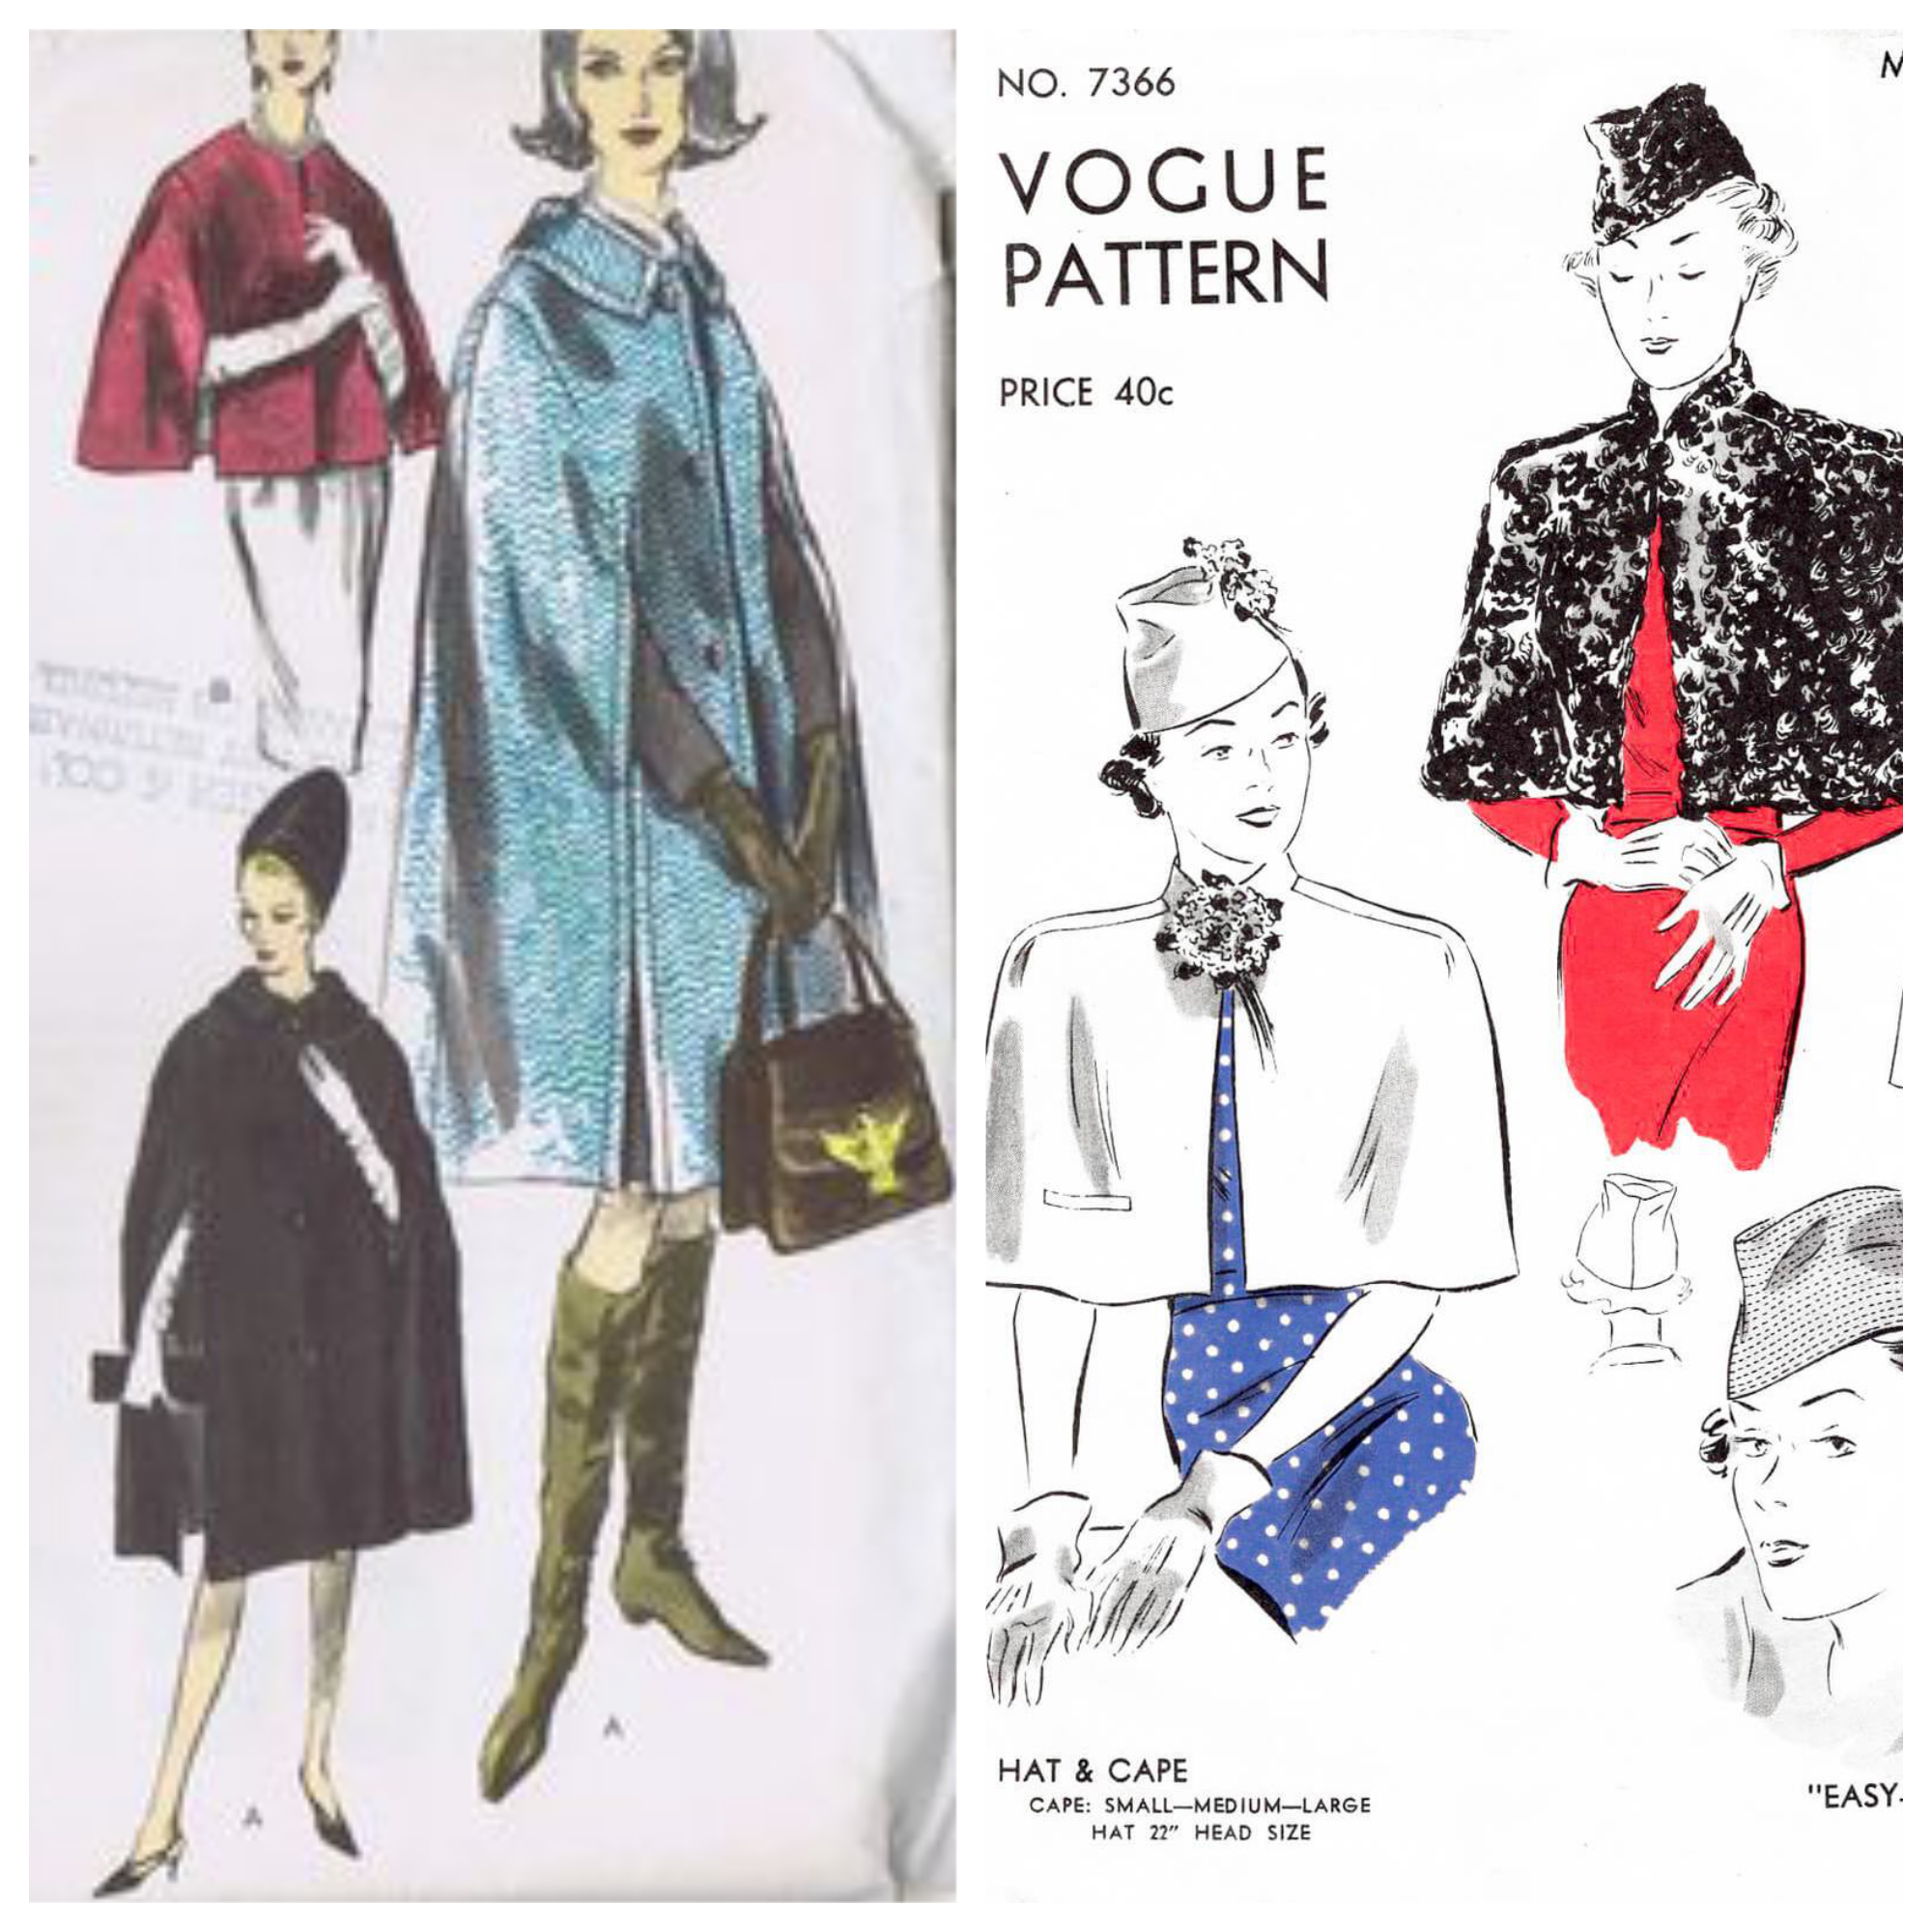
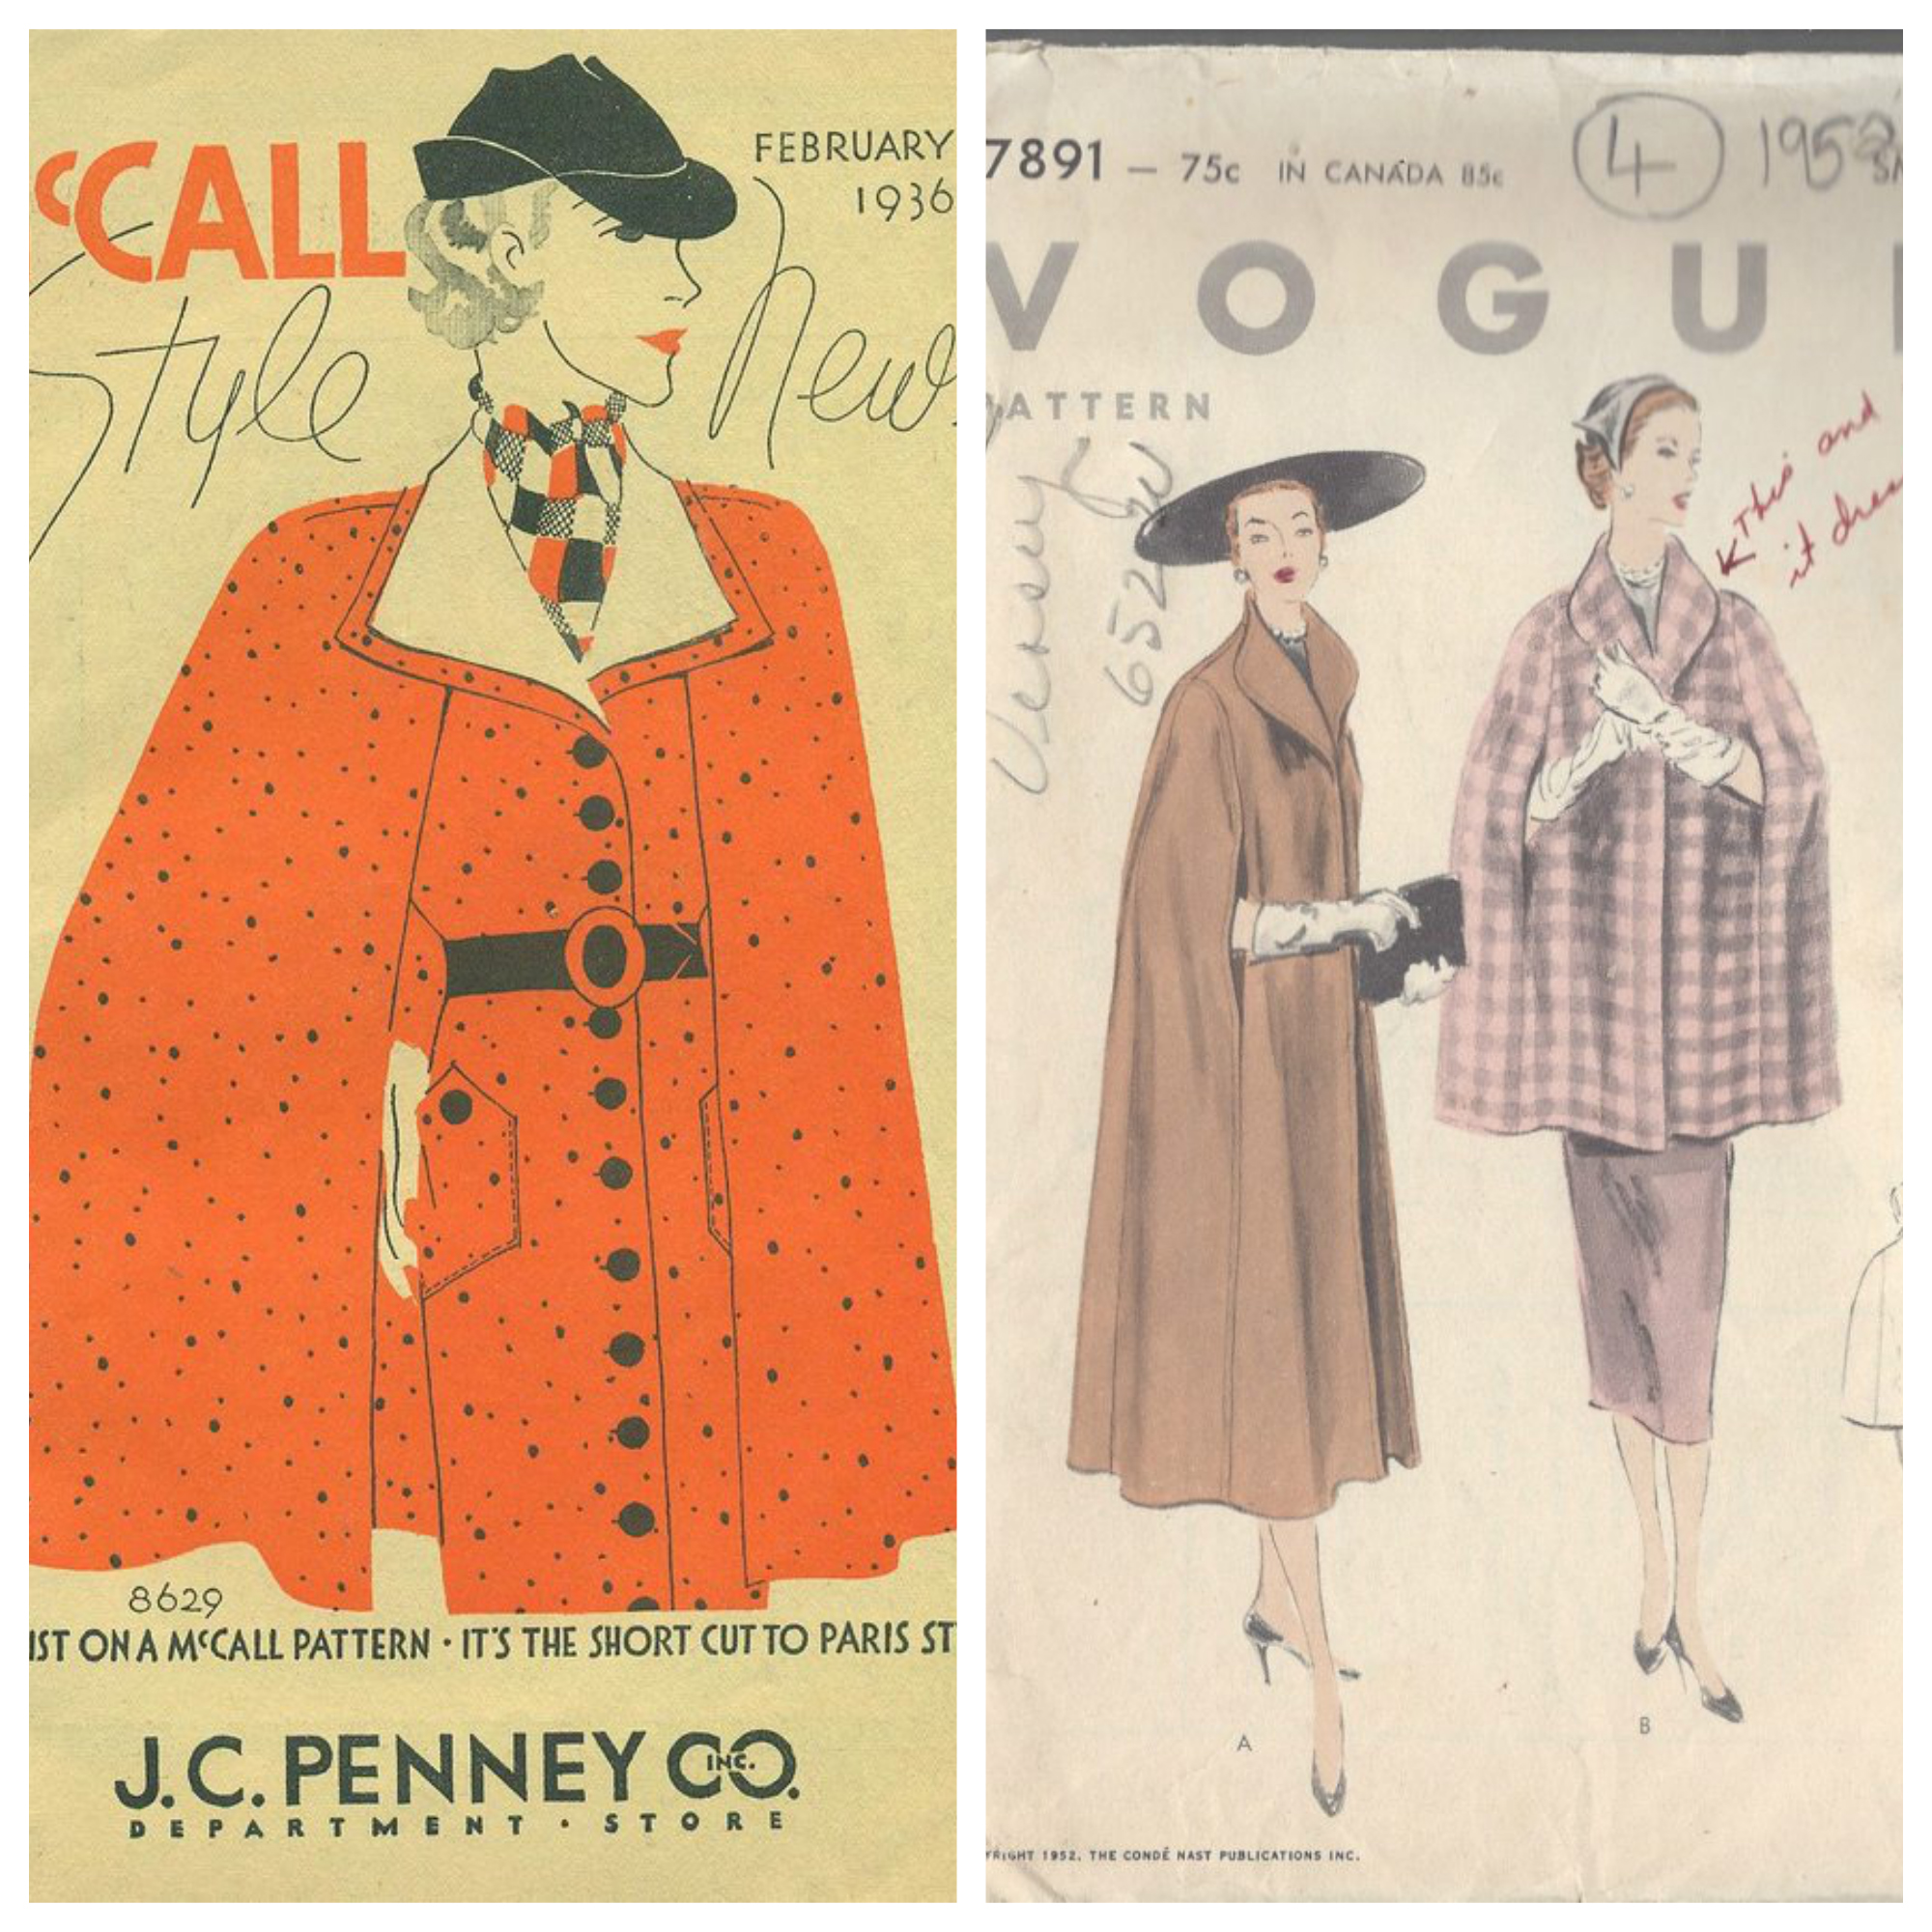
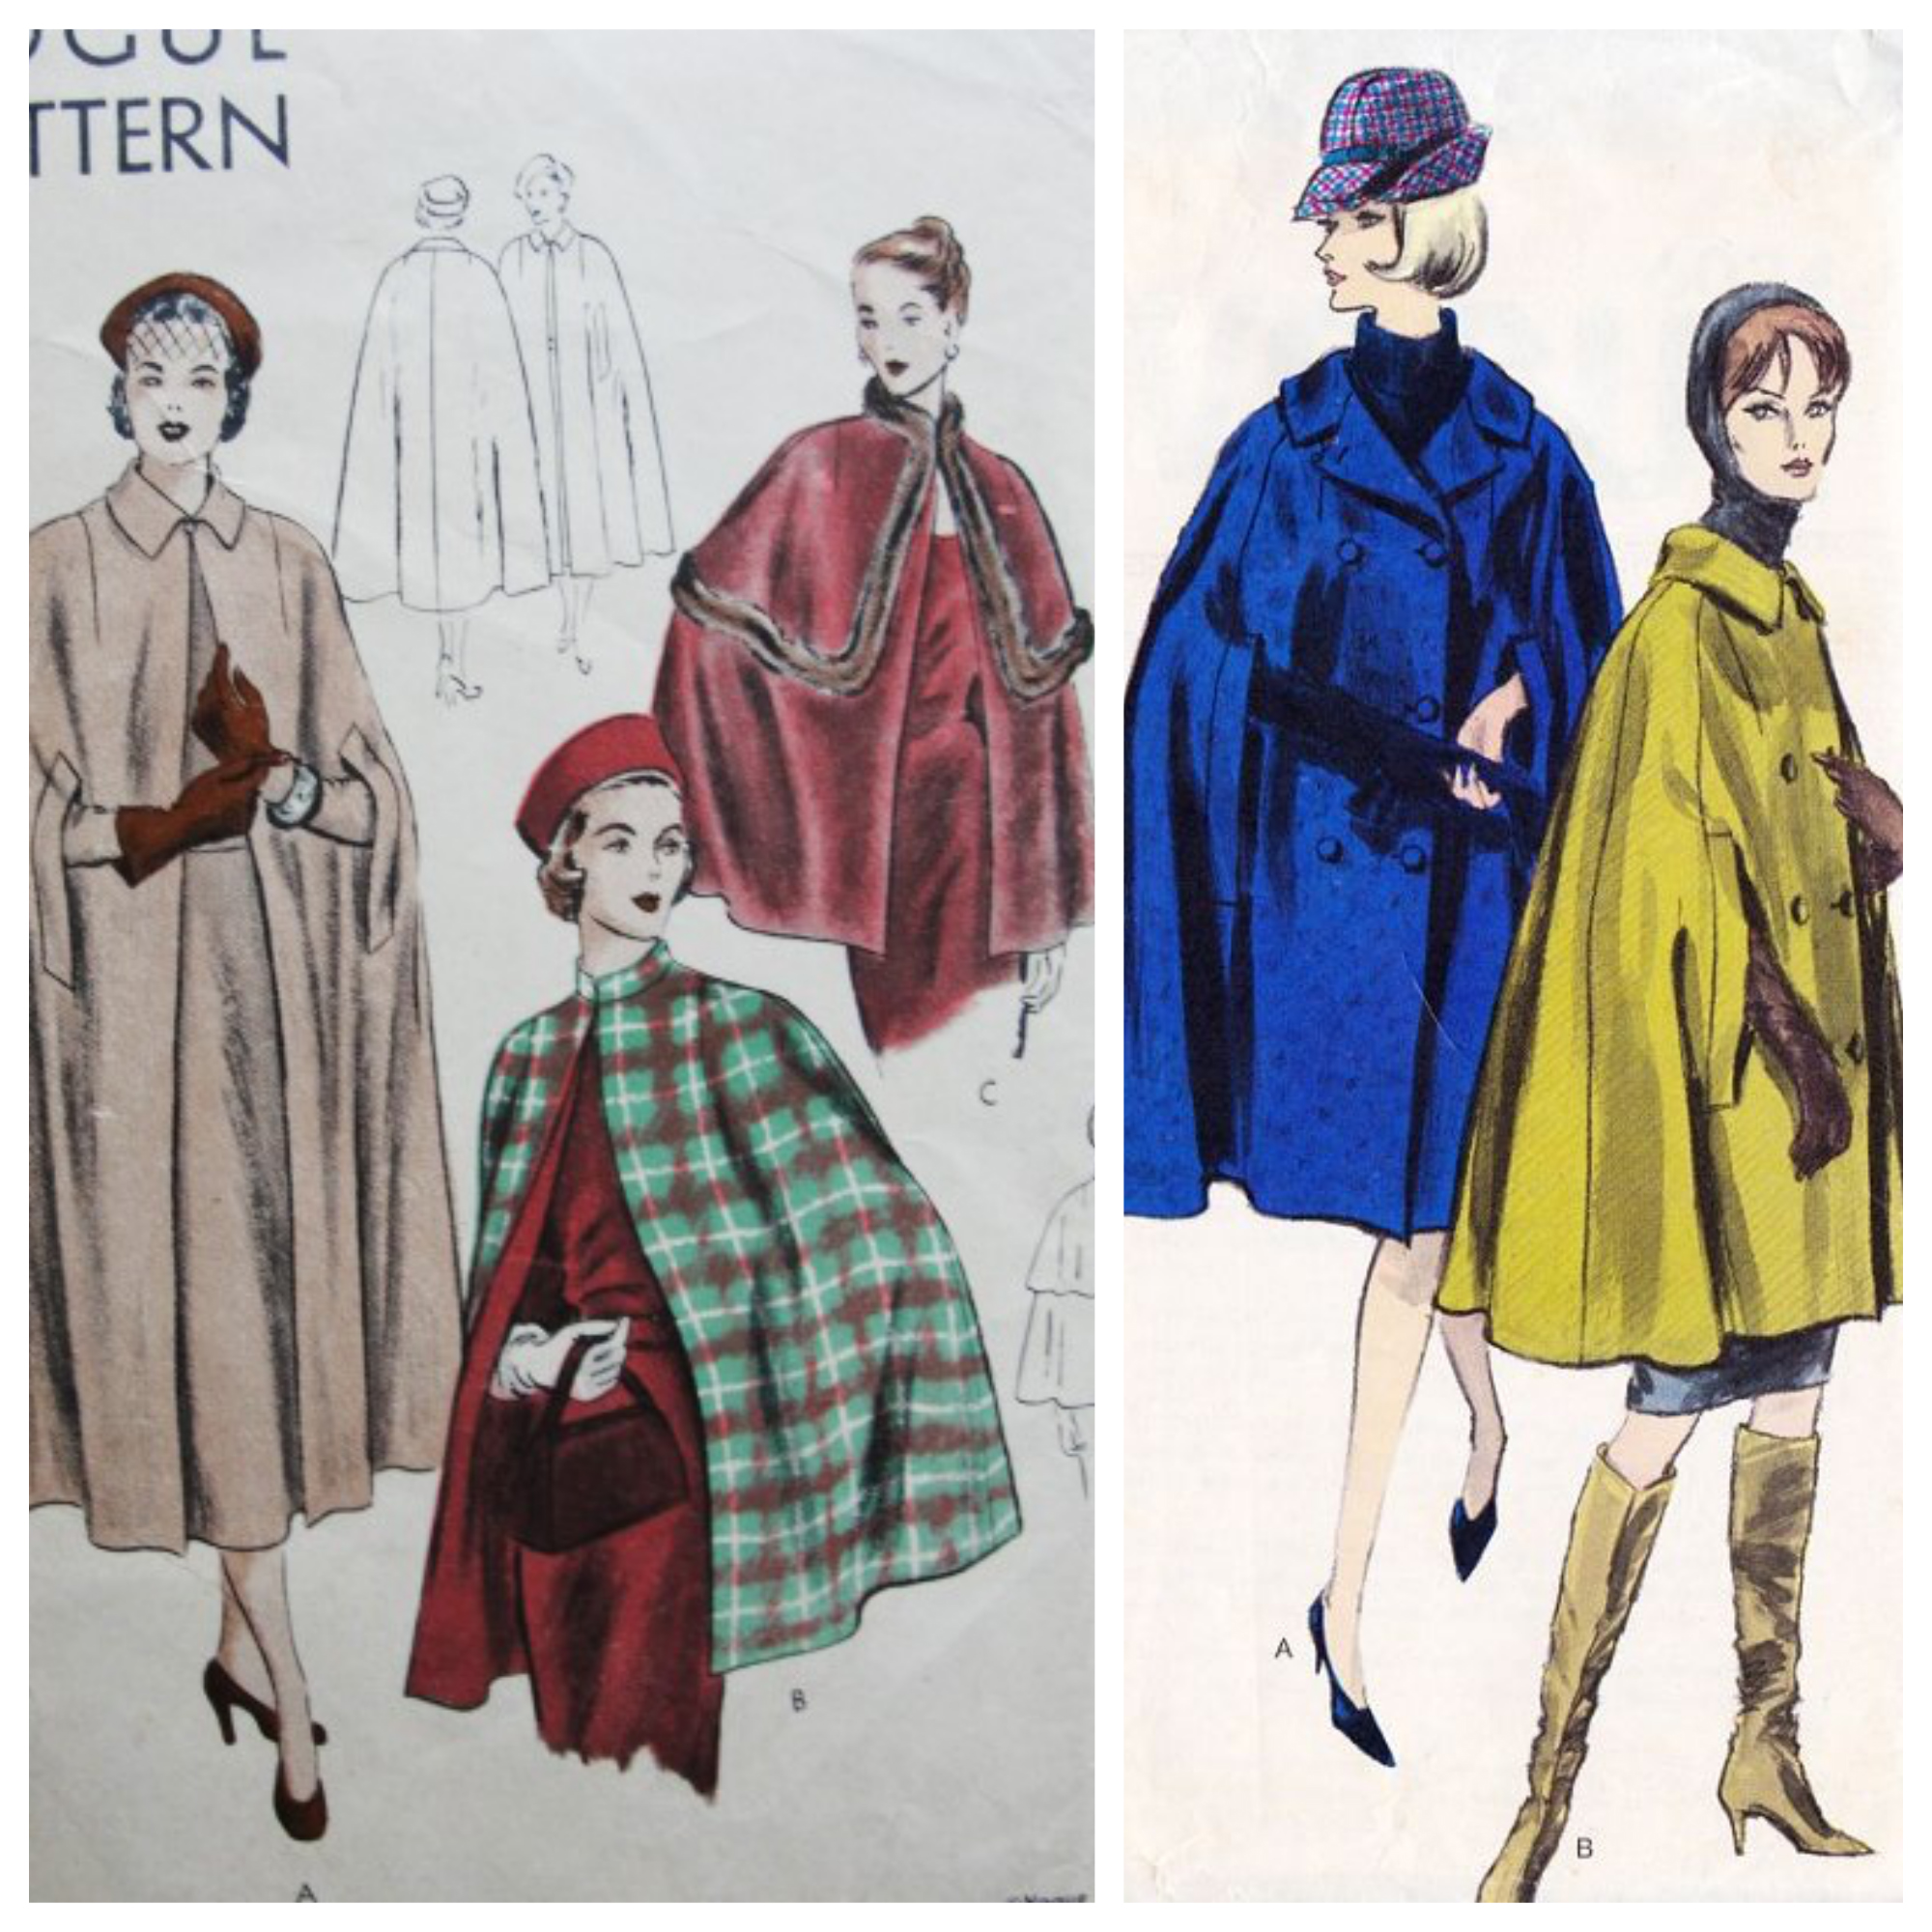
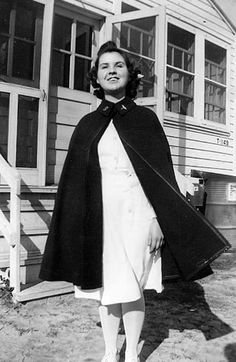
I always loved the grace and elegance of vintage fashion, especially the 1930’s to 1950’s. Now, that winter as arrived, I absolutely needed to make a vintage inspired winter outdoor piece for myself. Therefore, I wanted something sophisticated, yet practical for my everyday life.So, while doing some research on vintage winter outdoor fashion, I stumble on the cape and cloaks trend of the 1930’s and 1940’s, my heart stopped, this is it! Here are a few of my favorites:
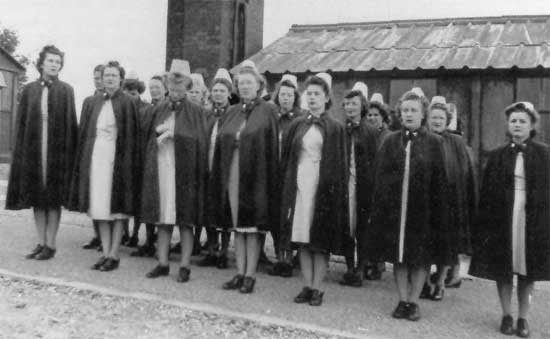
The inspiration came also from the WWII nurses uniforms, they look so well put together with their white dress, blue cape and army hat! Totally love this look.

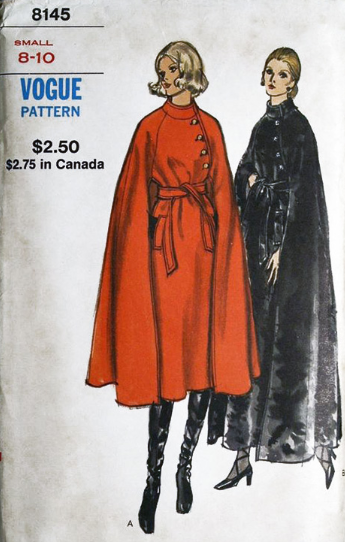
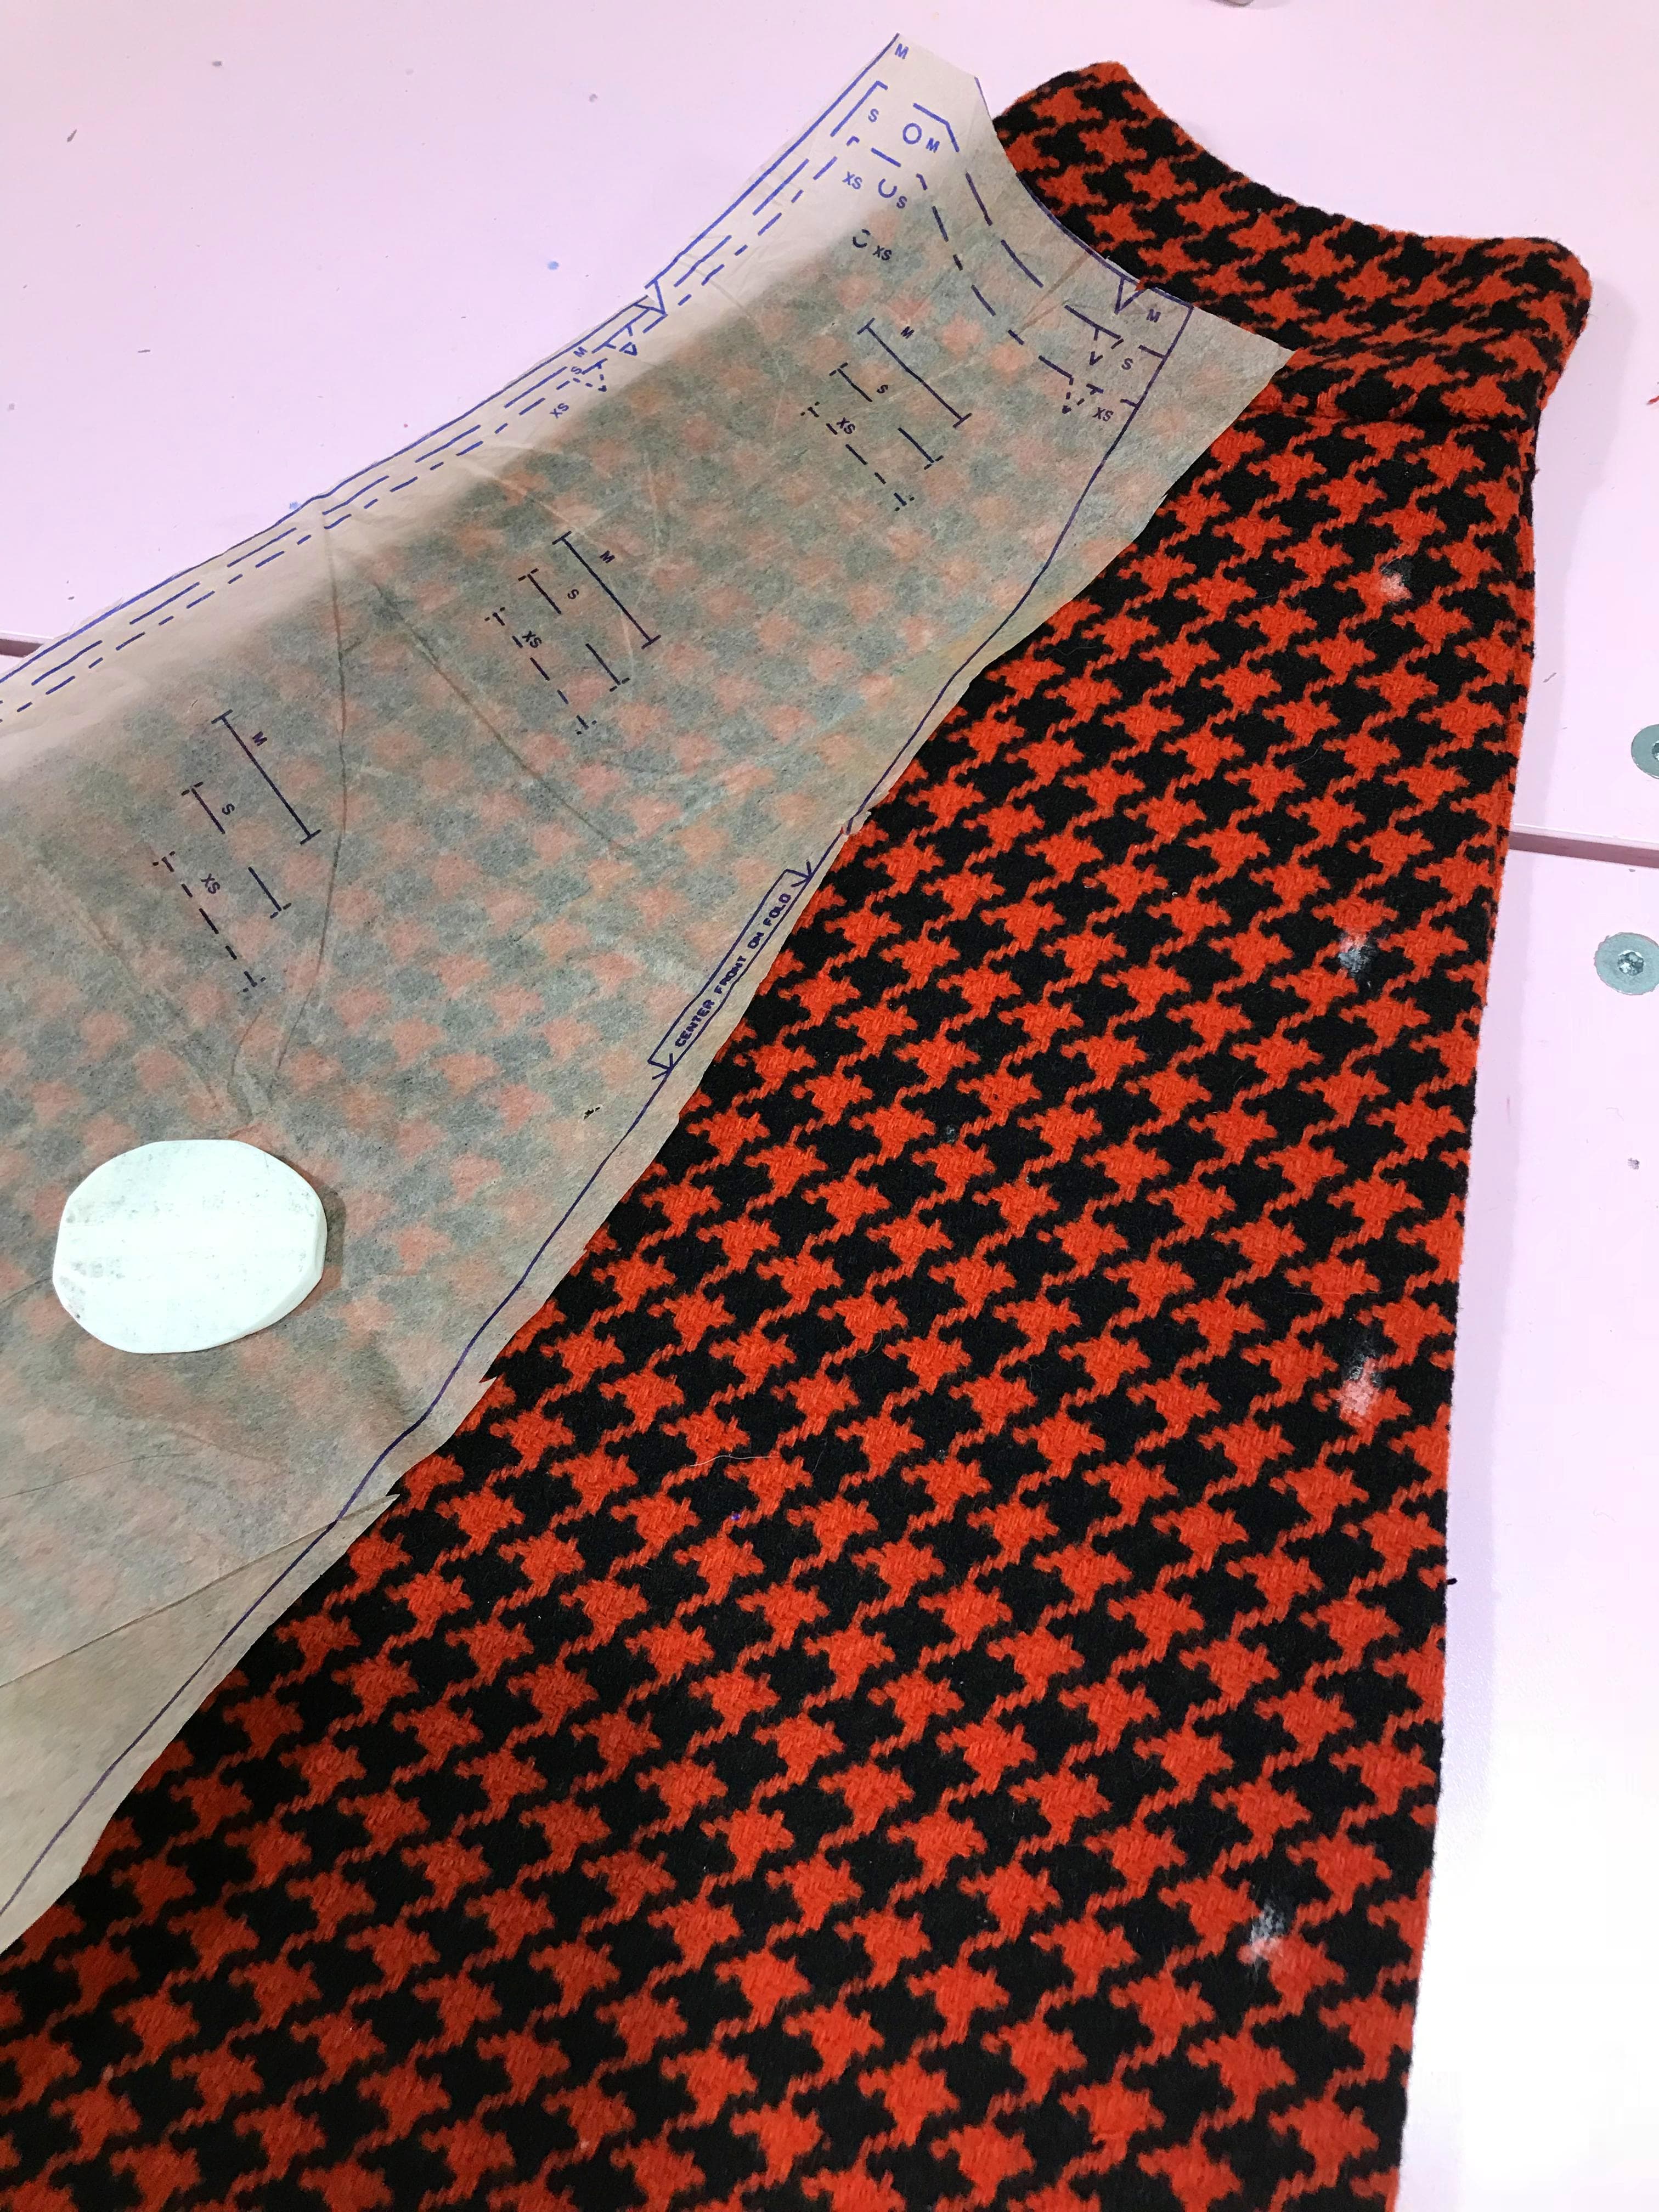
I had a specific look in mind, I wanted to have something more tailored than a regular cloak. My dream cape coat is the 1960’s vintage pattern, Vogue’s V8145. This pattern is almost impossible to find…Or very expensive if still available…
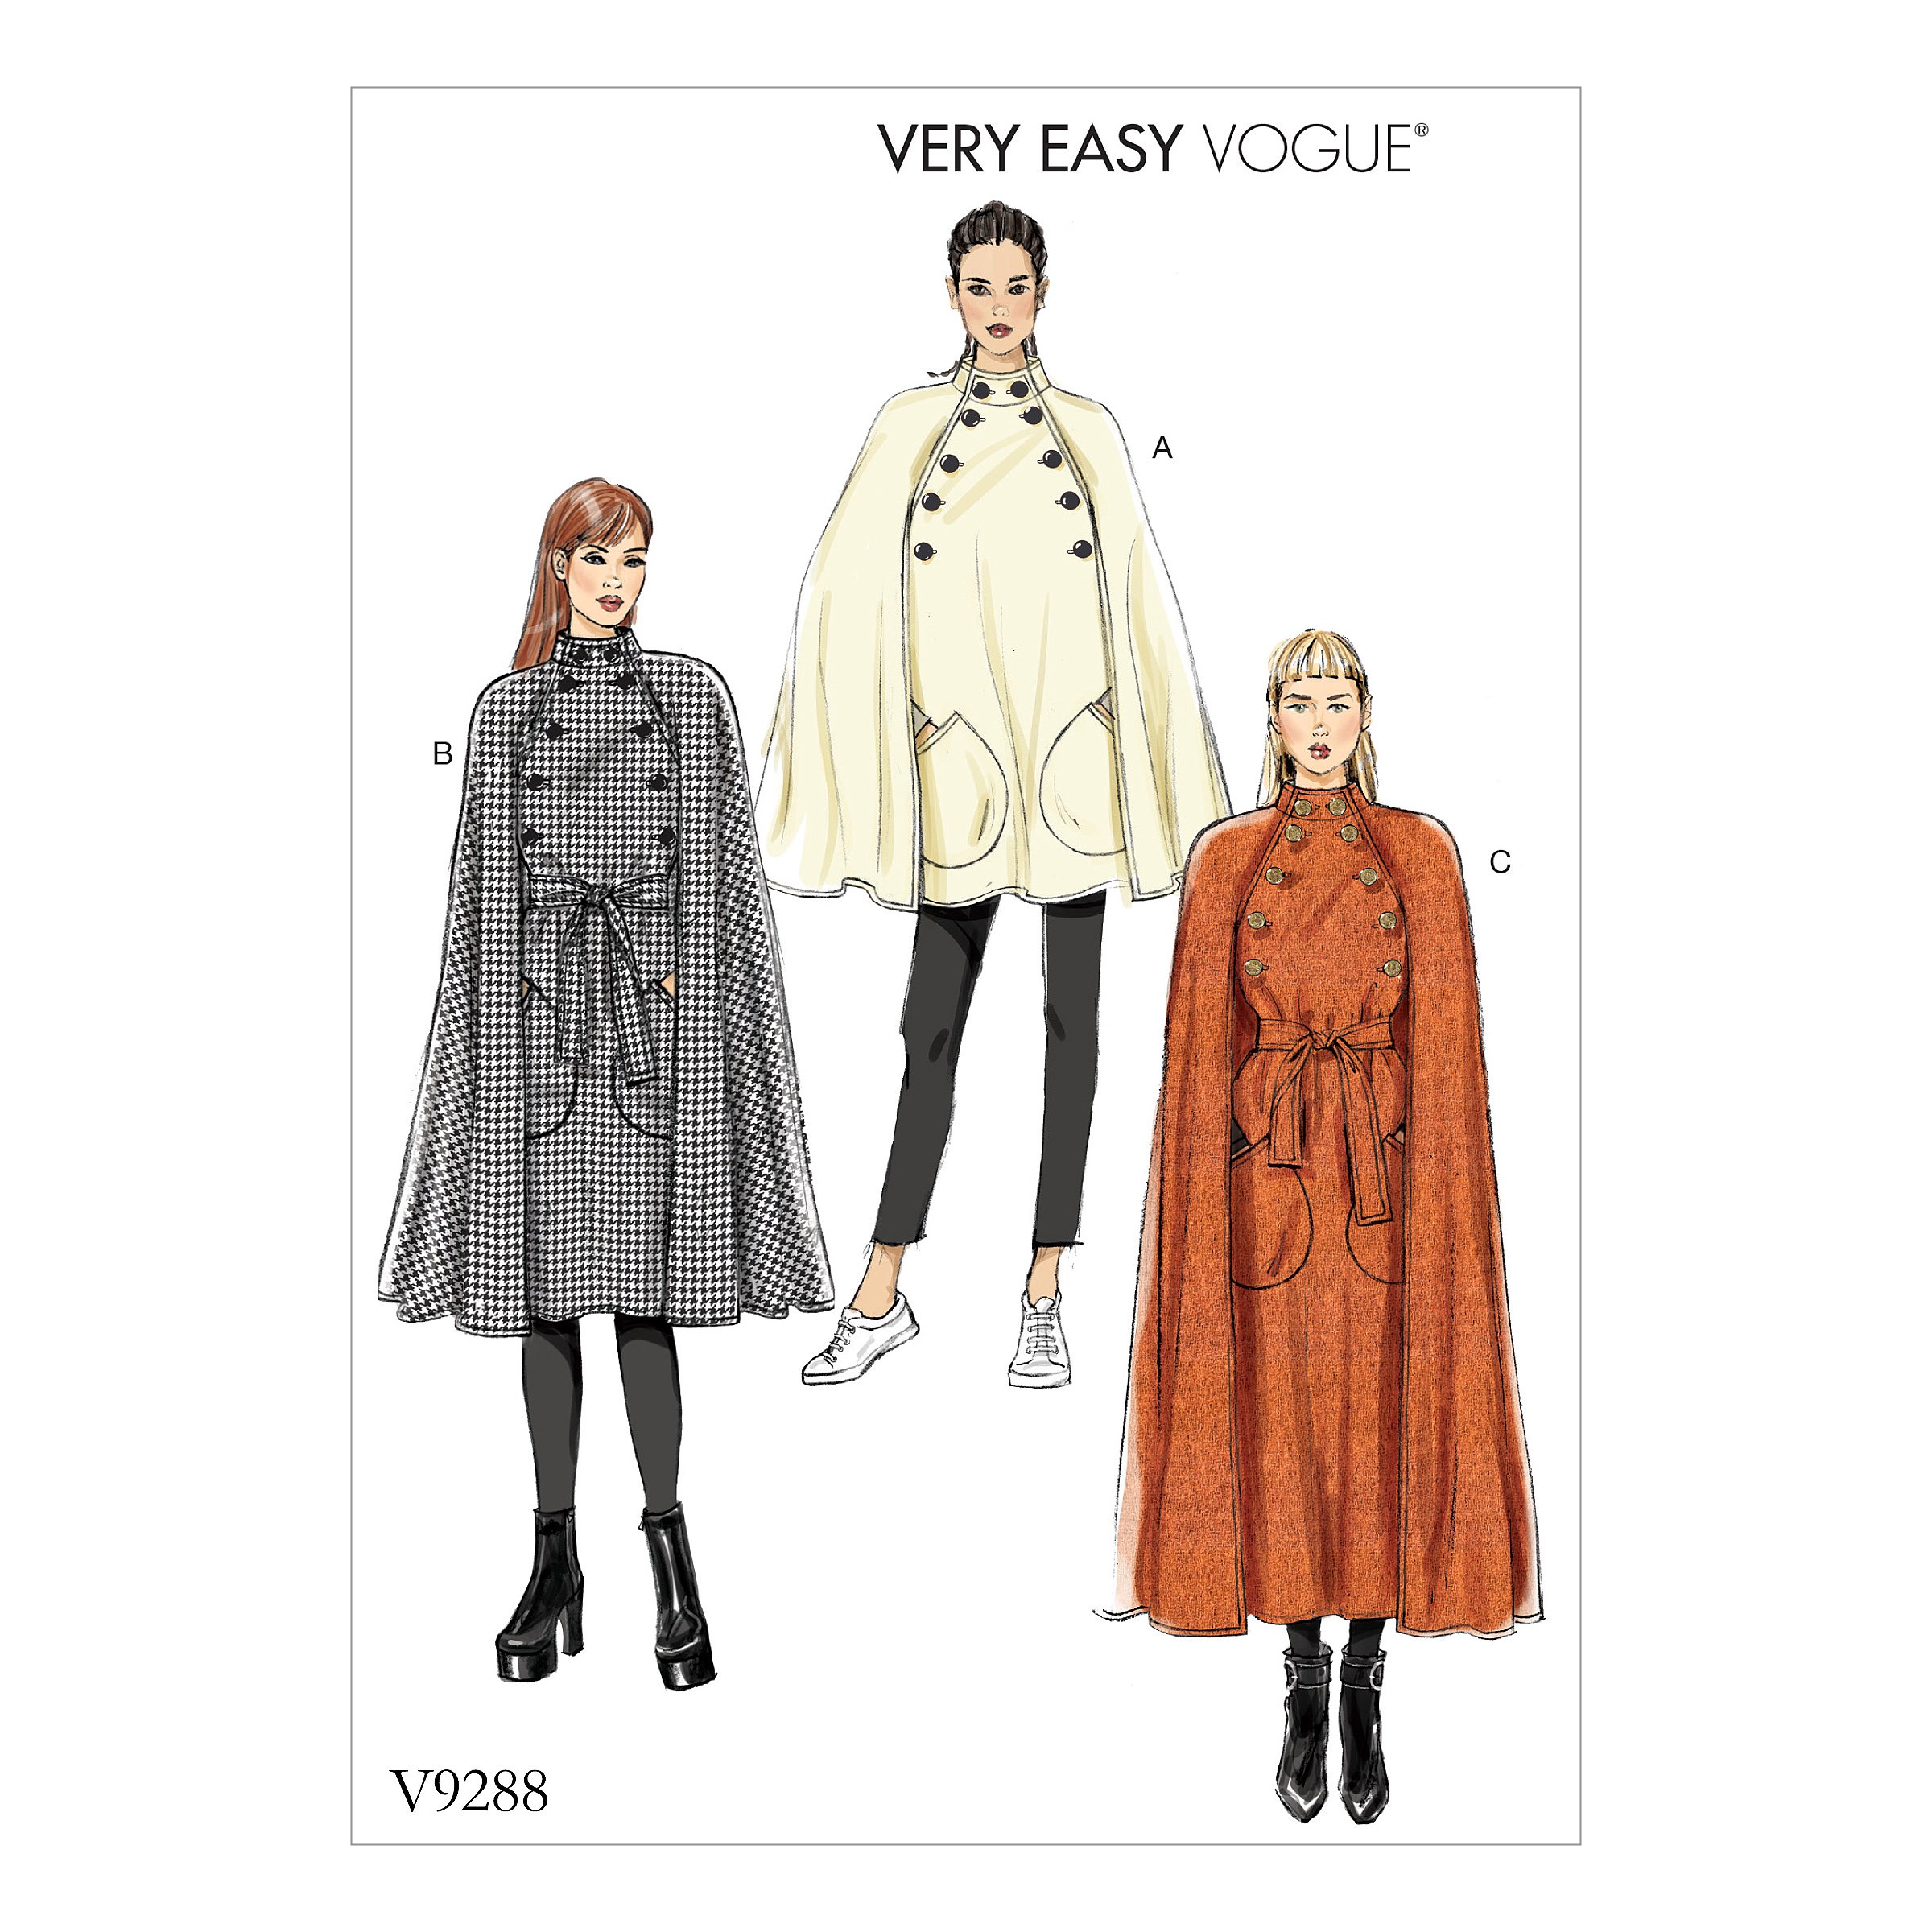
Fortunately, Vogue redesigned this pattern a year ago and added a modern twist to it, Vogue V9288 it has a statement opening with military buttons style. The front buttoned panel added to the flowy cape, makes it such an interesting design. Without further a do, let’s sew!
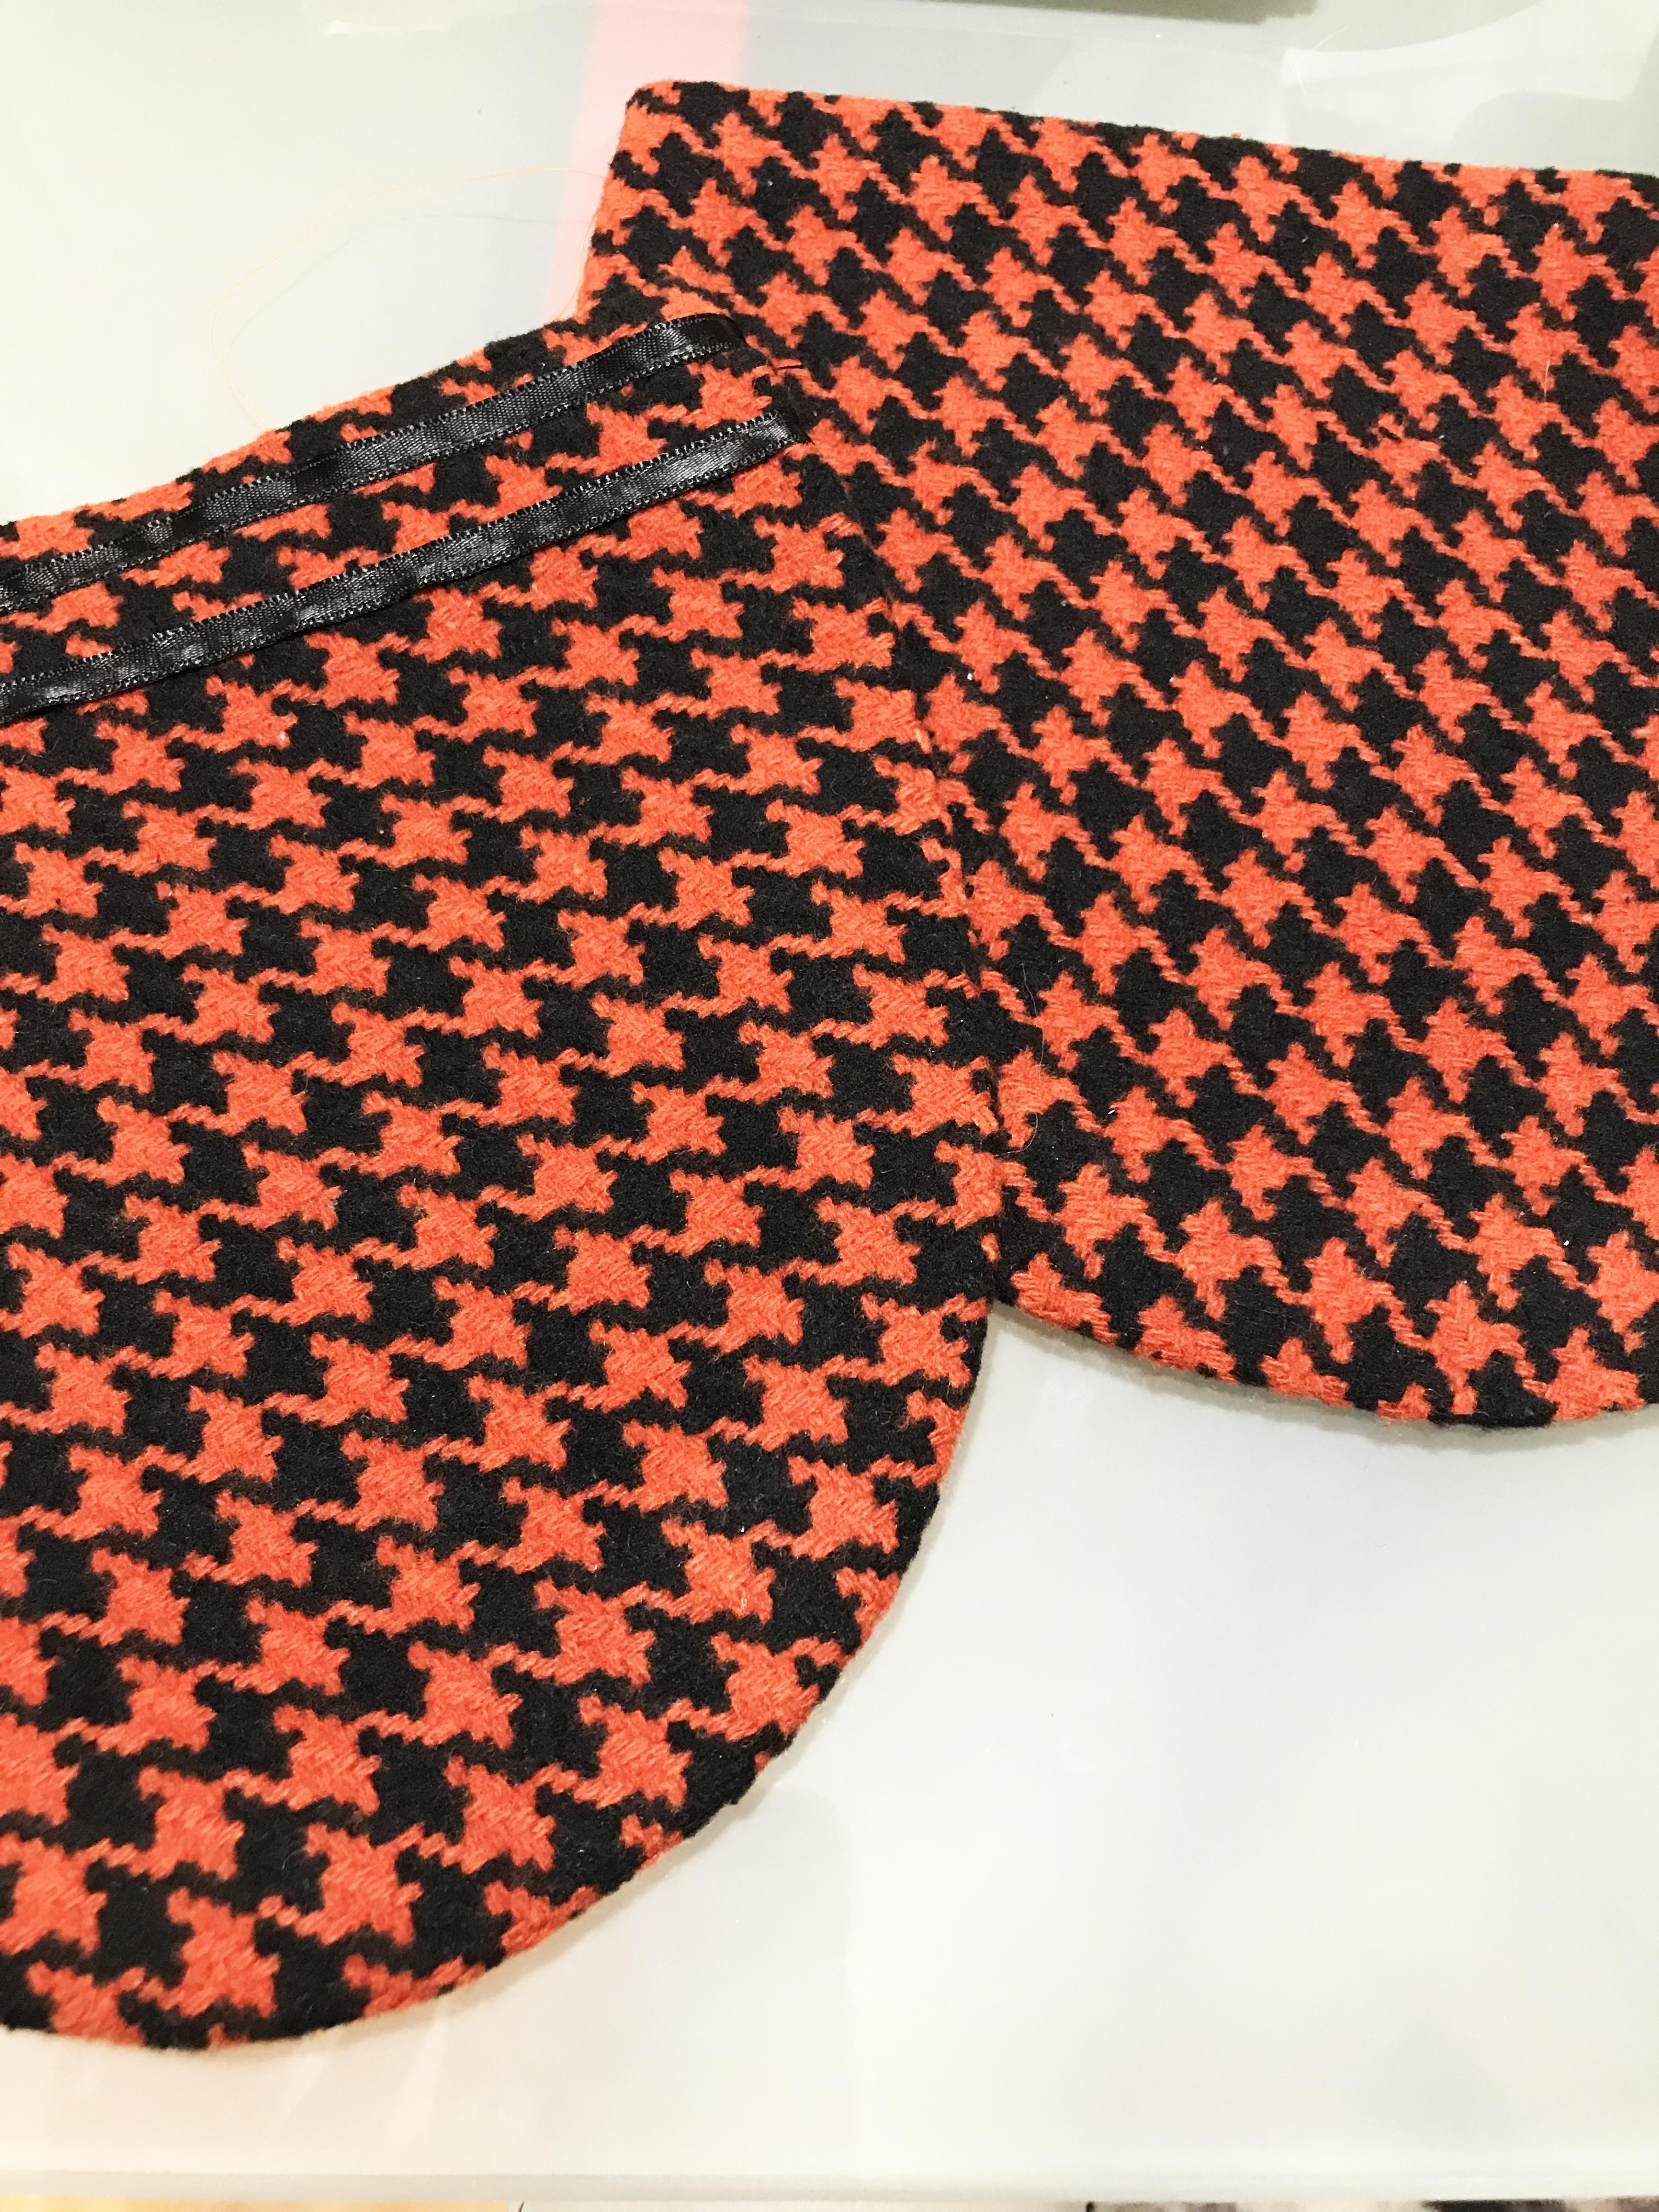
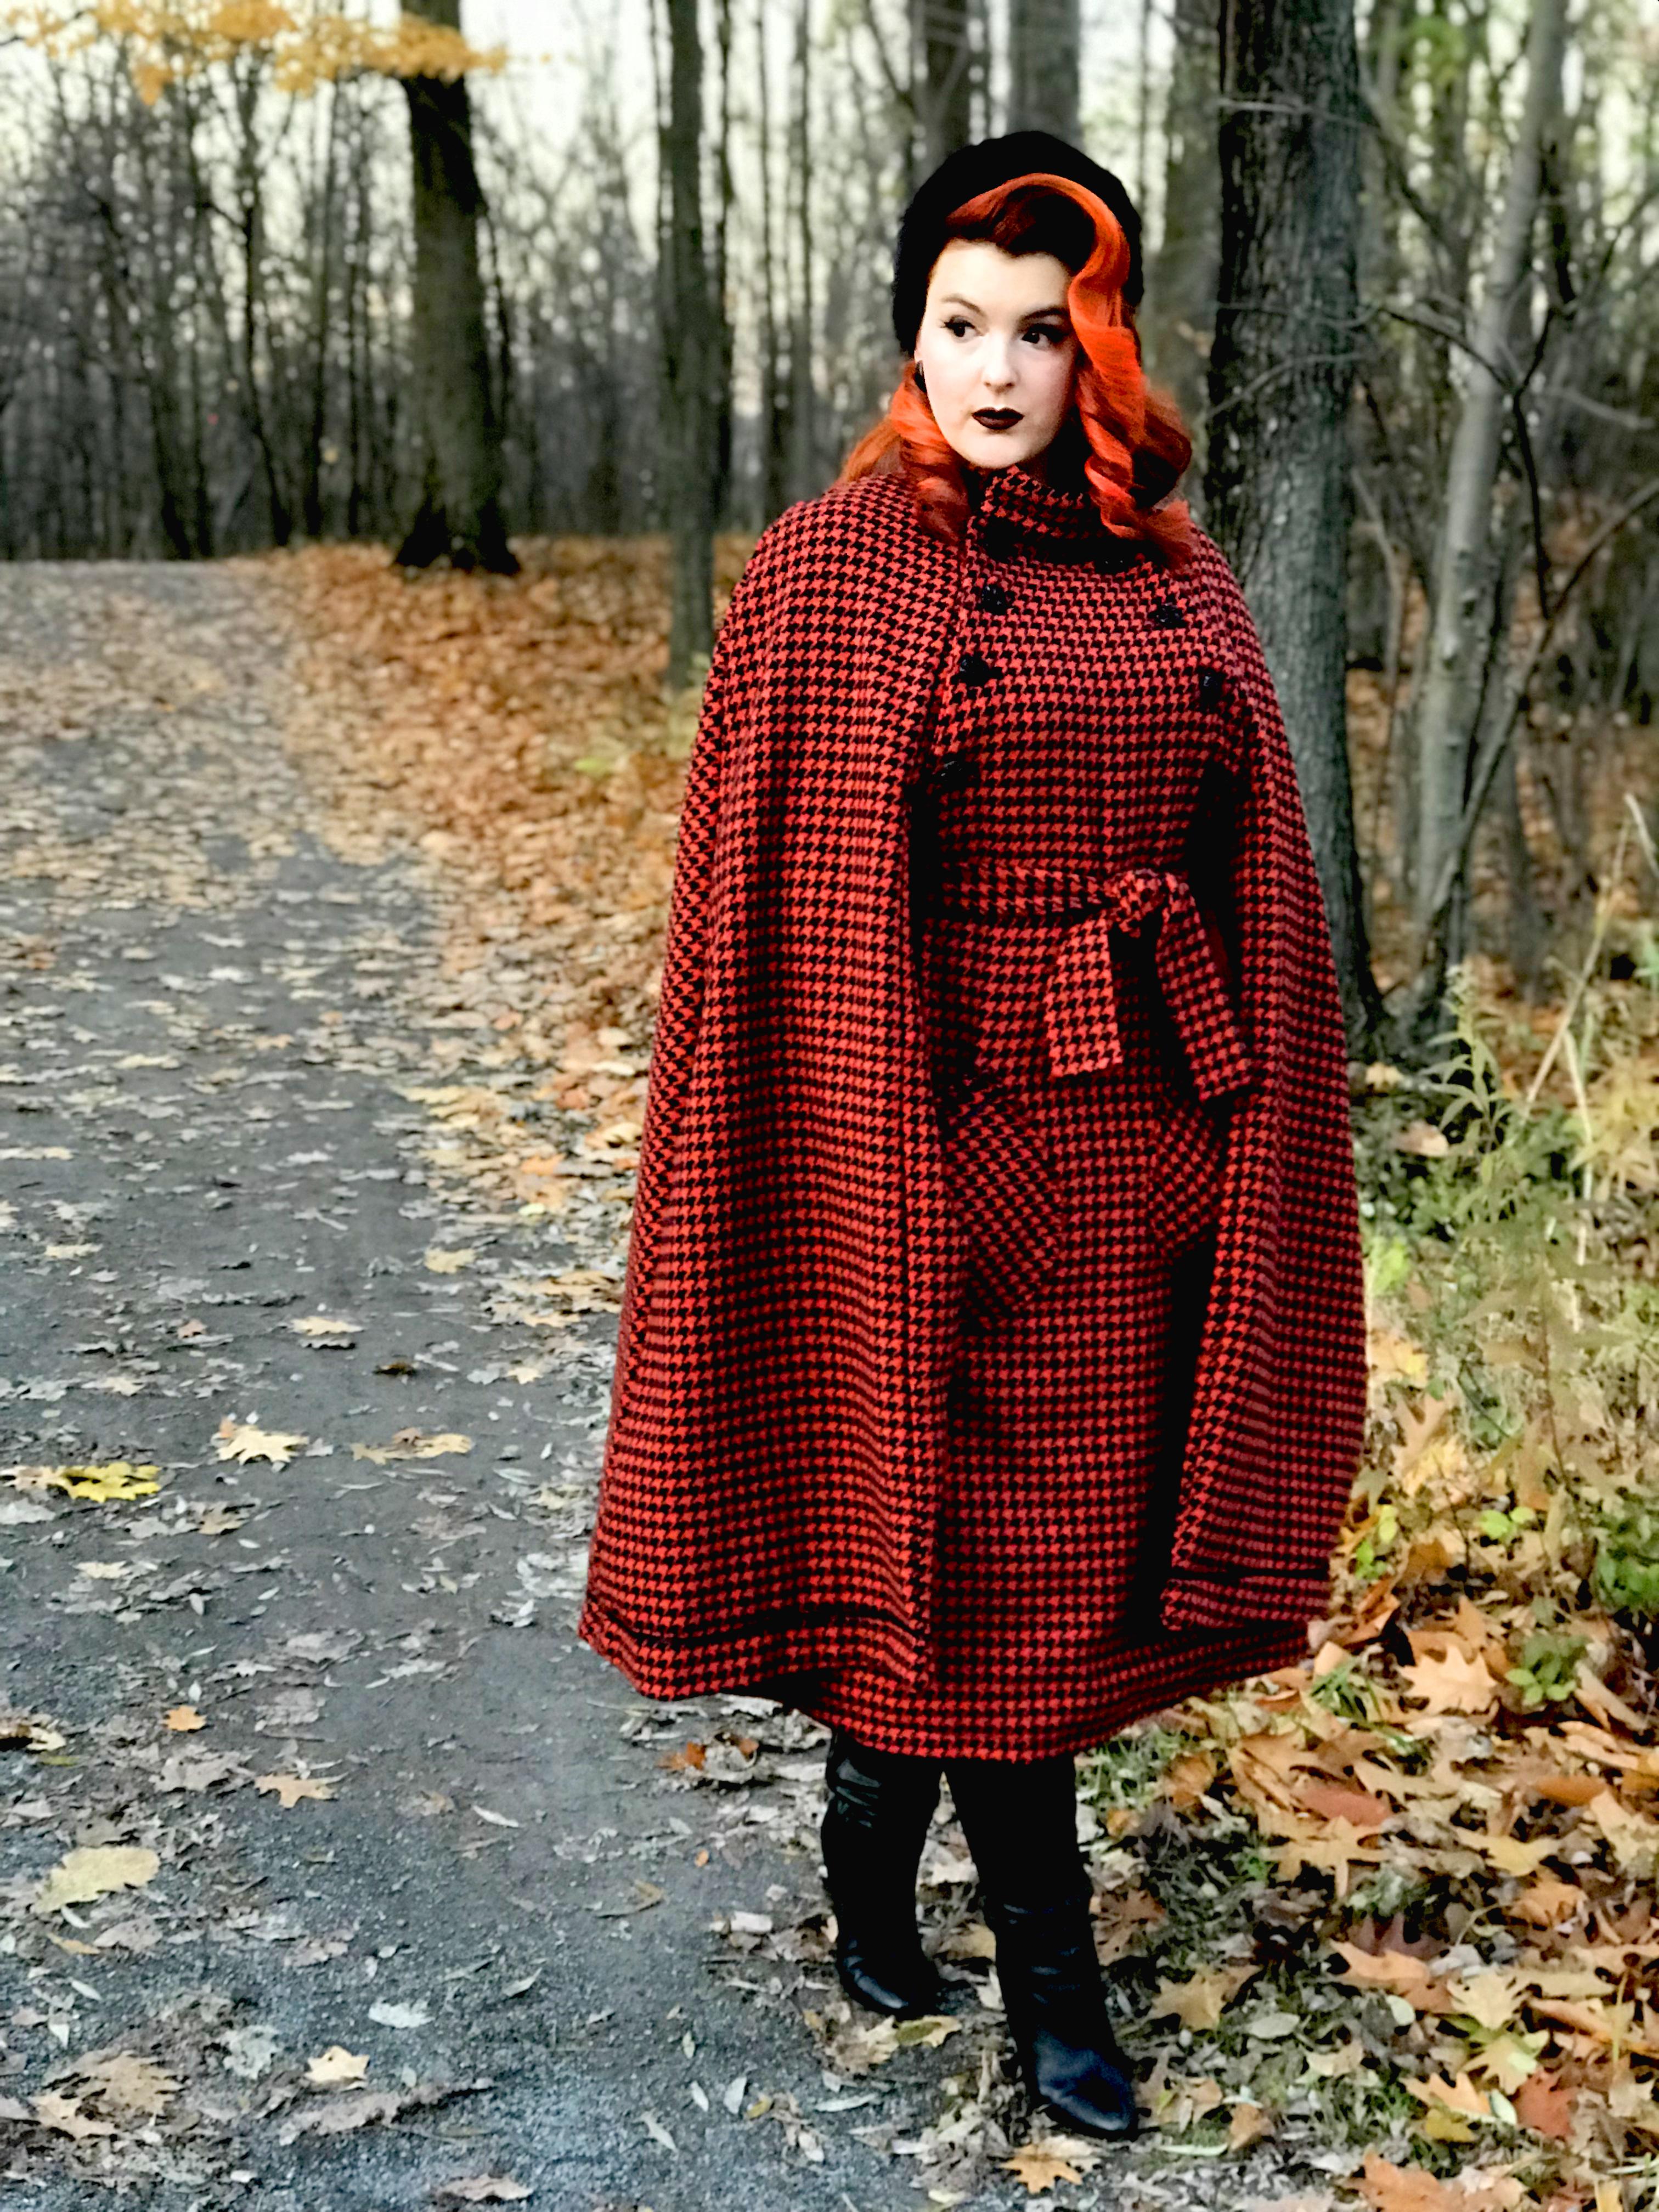
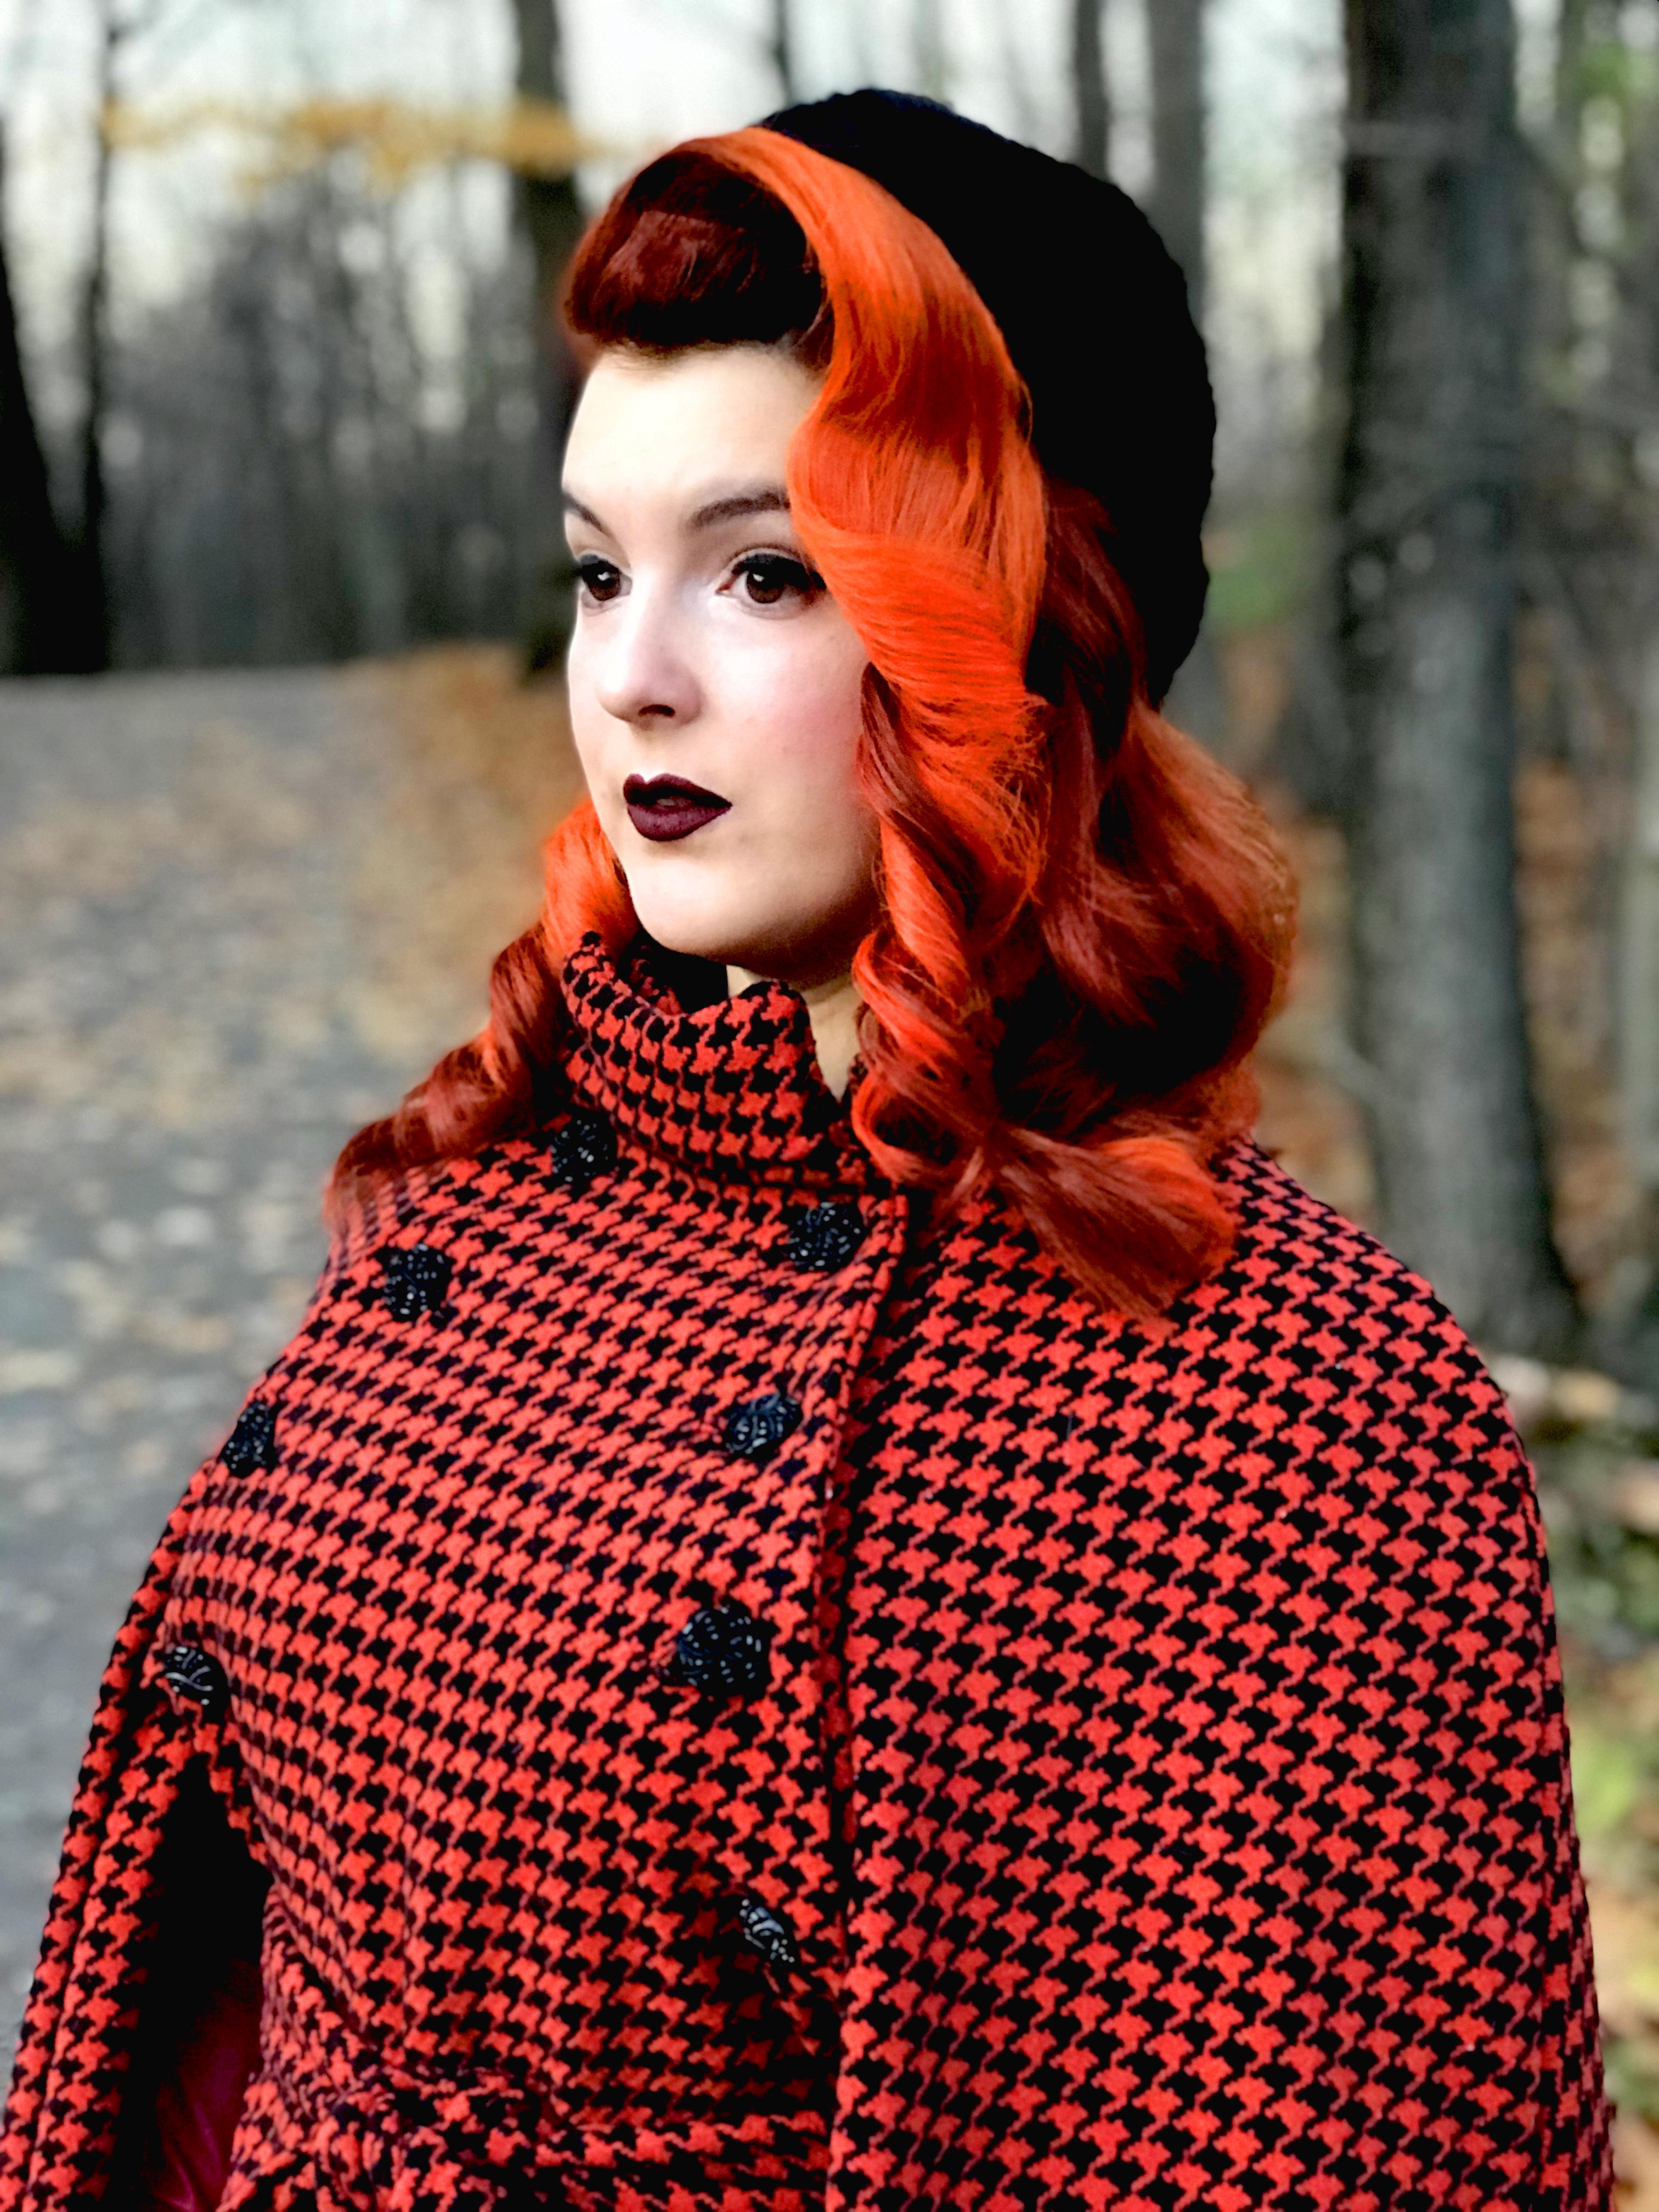
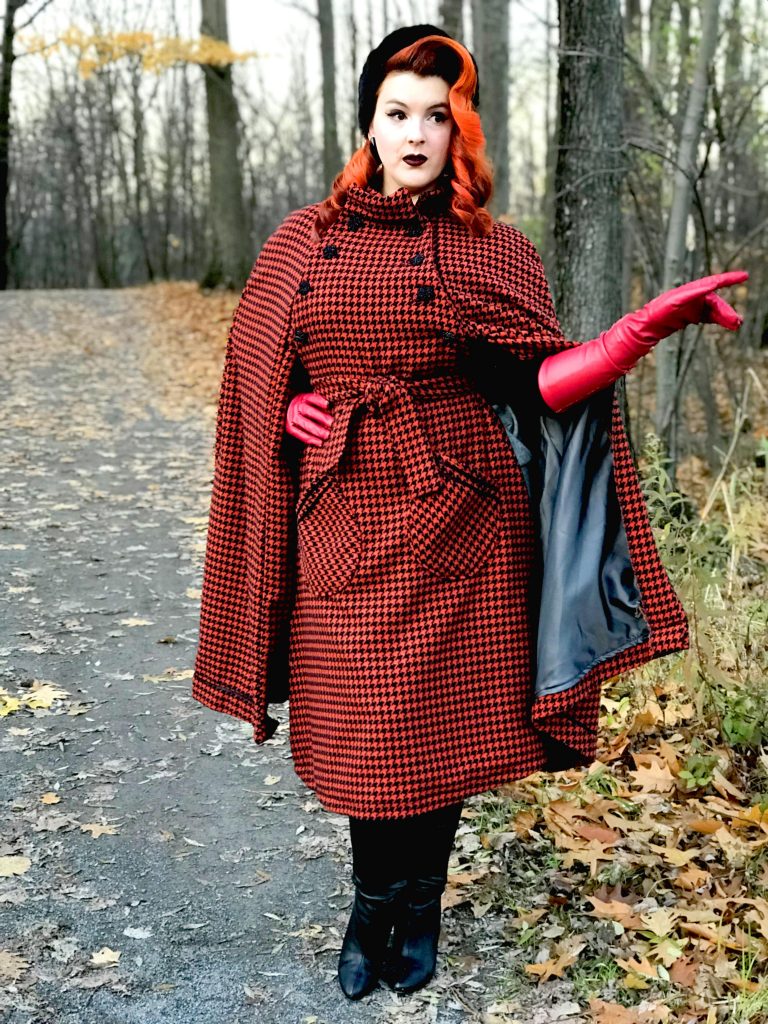
As an assumed houndstooth pattern lover, I chose this gorgeous wool coating fabric for the cape, LINDSAY Jacketing – Houndstooth – red / black . I really love the contrast of the red and black. The fabric will be embellished with some fancy shiny black buttons.
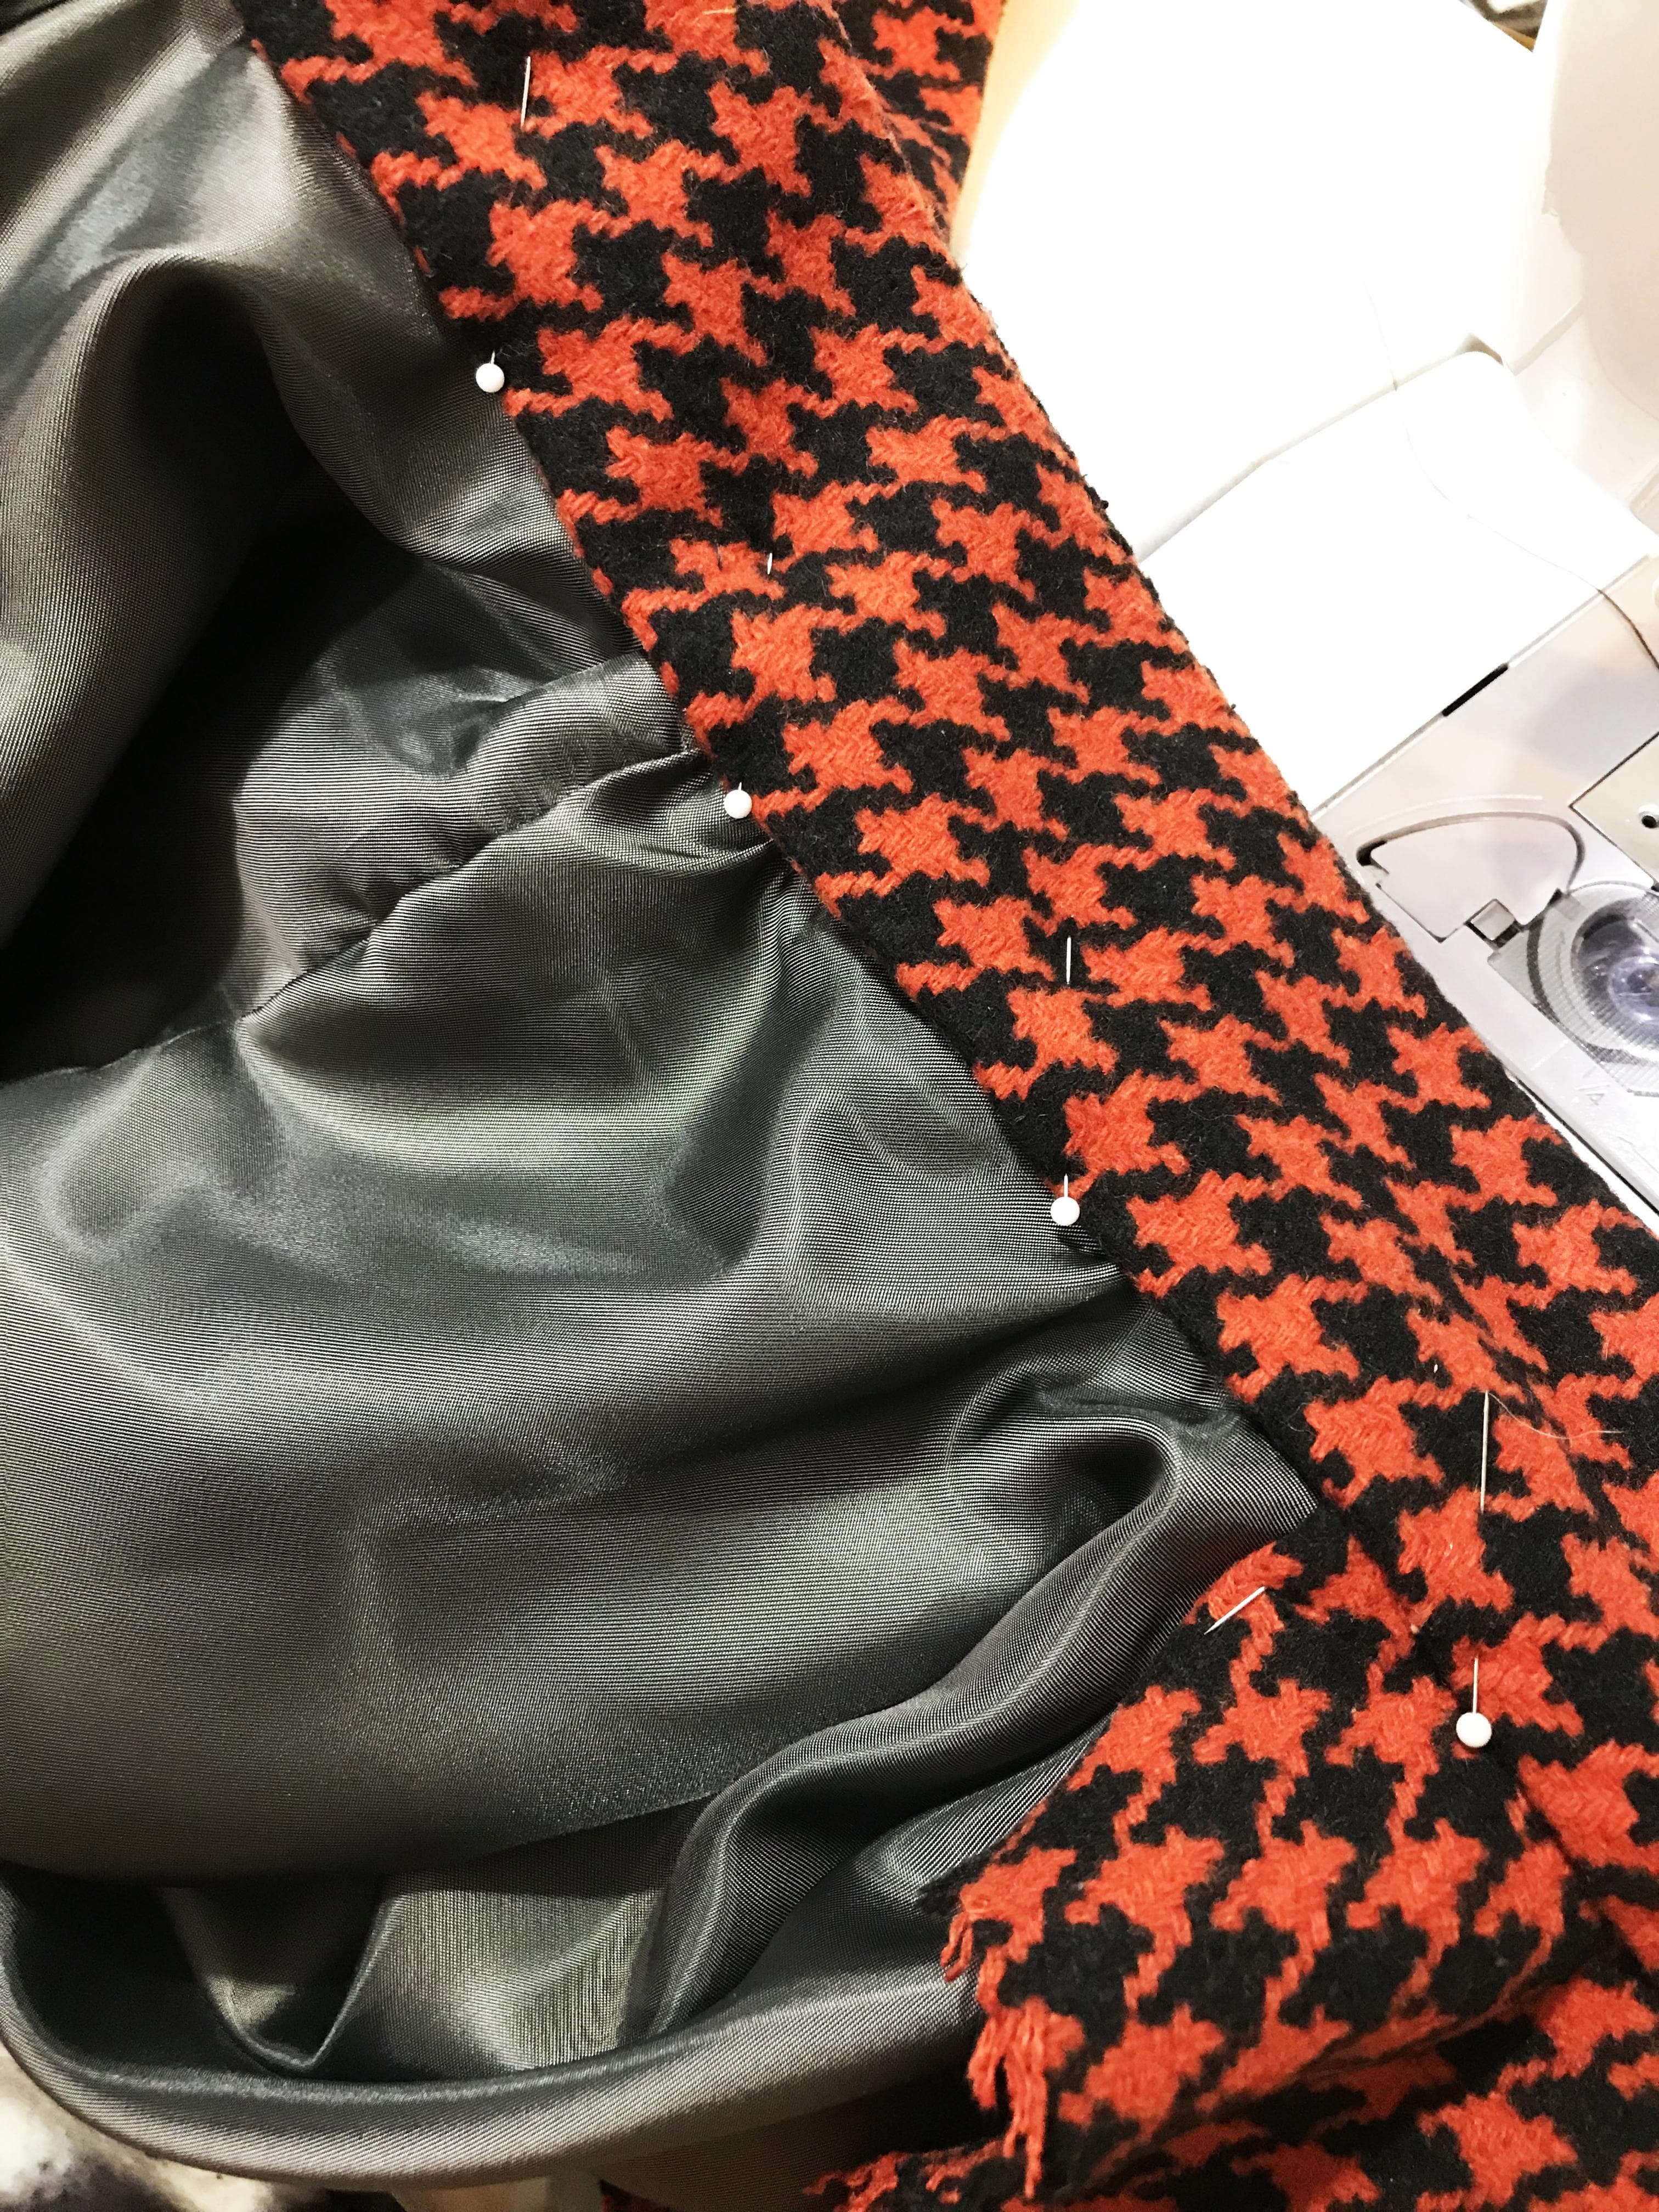
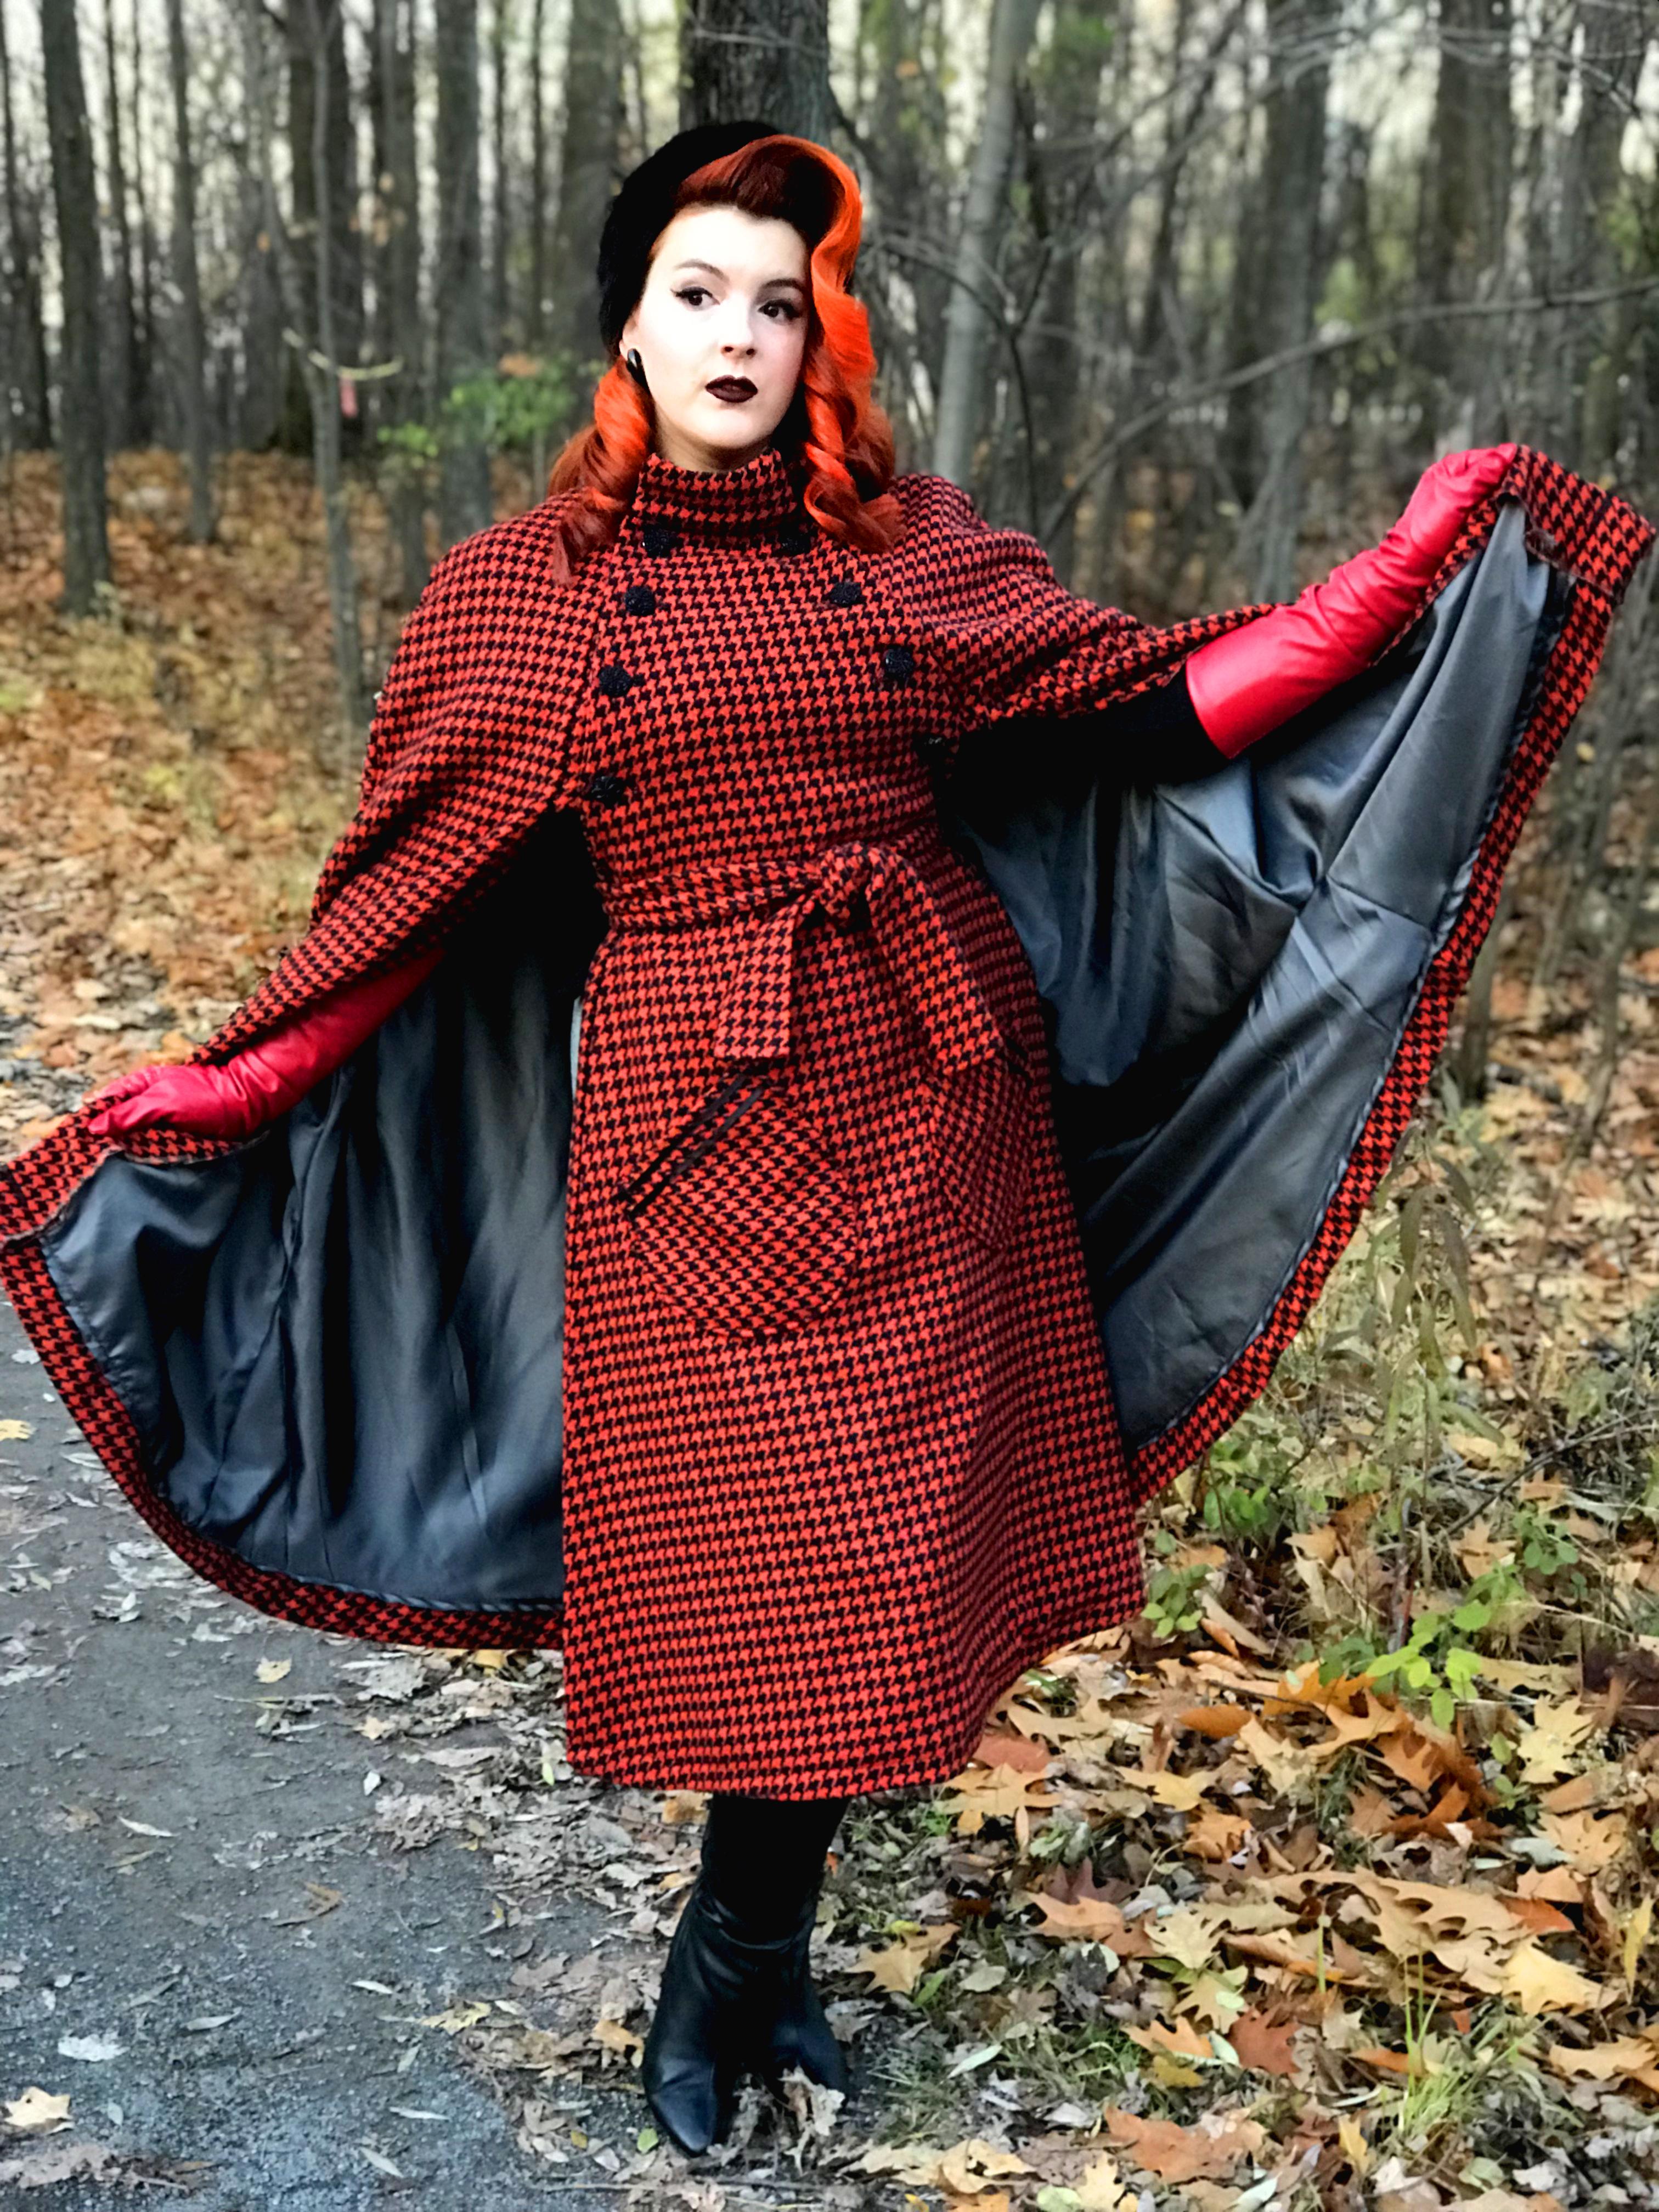
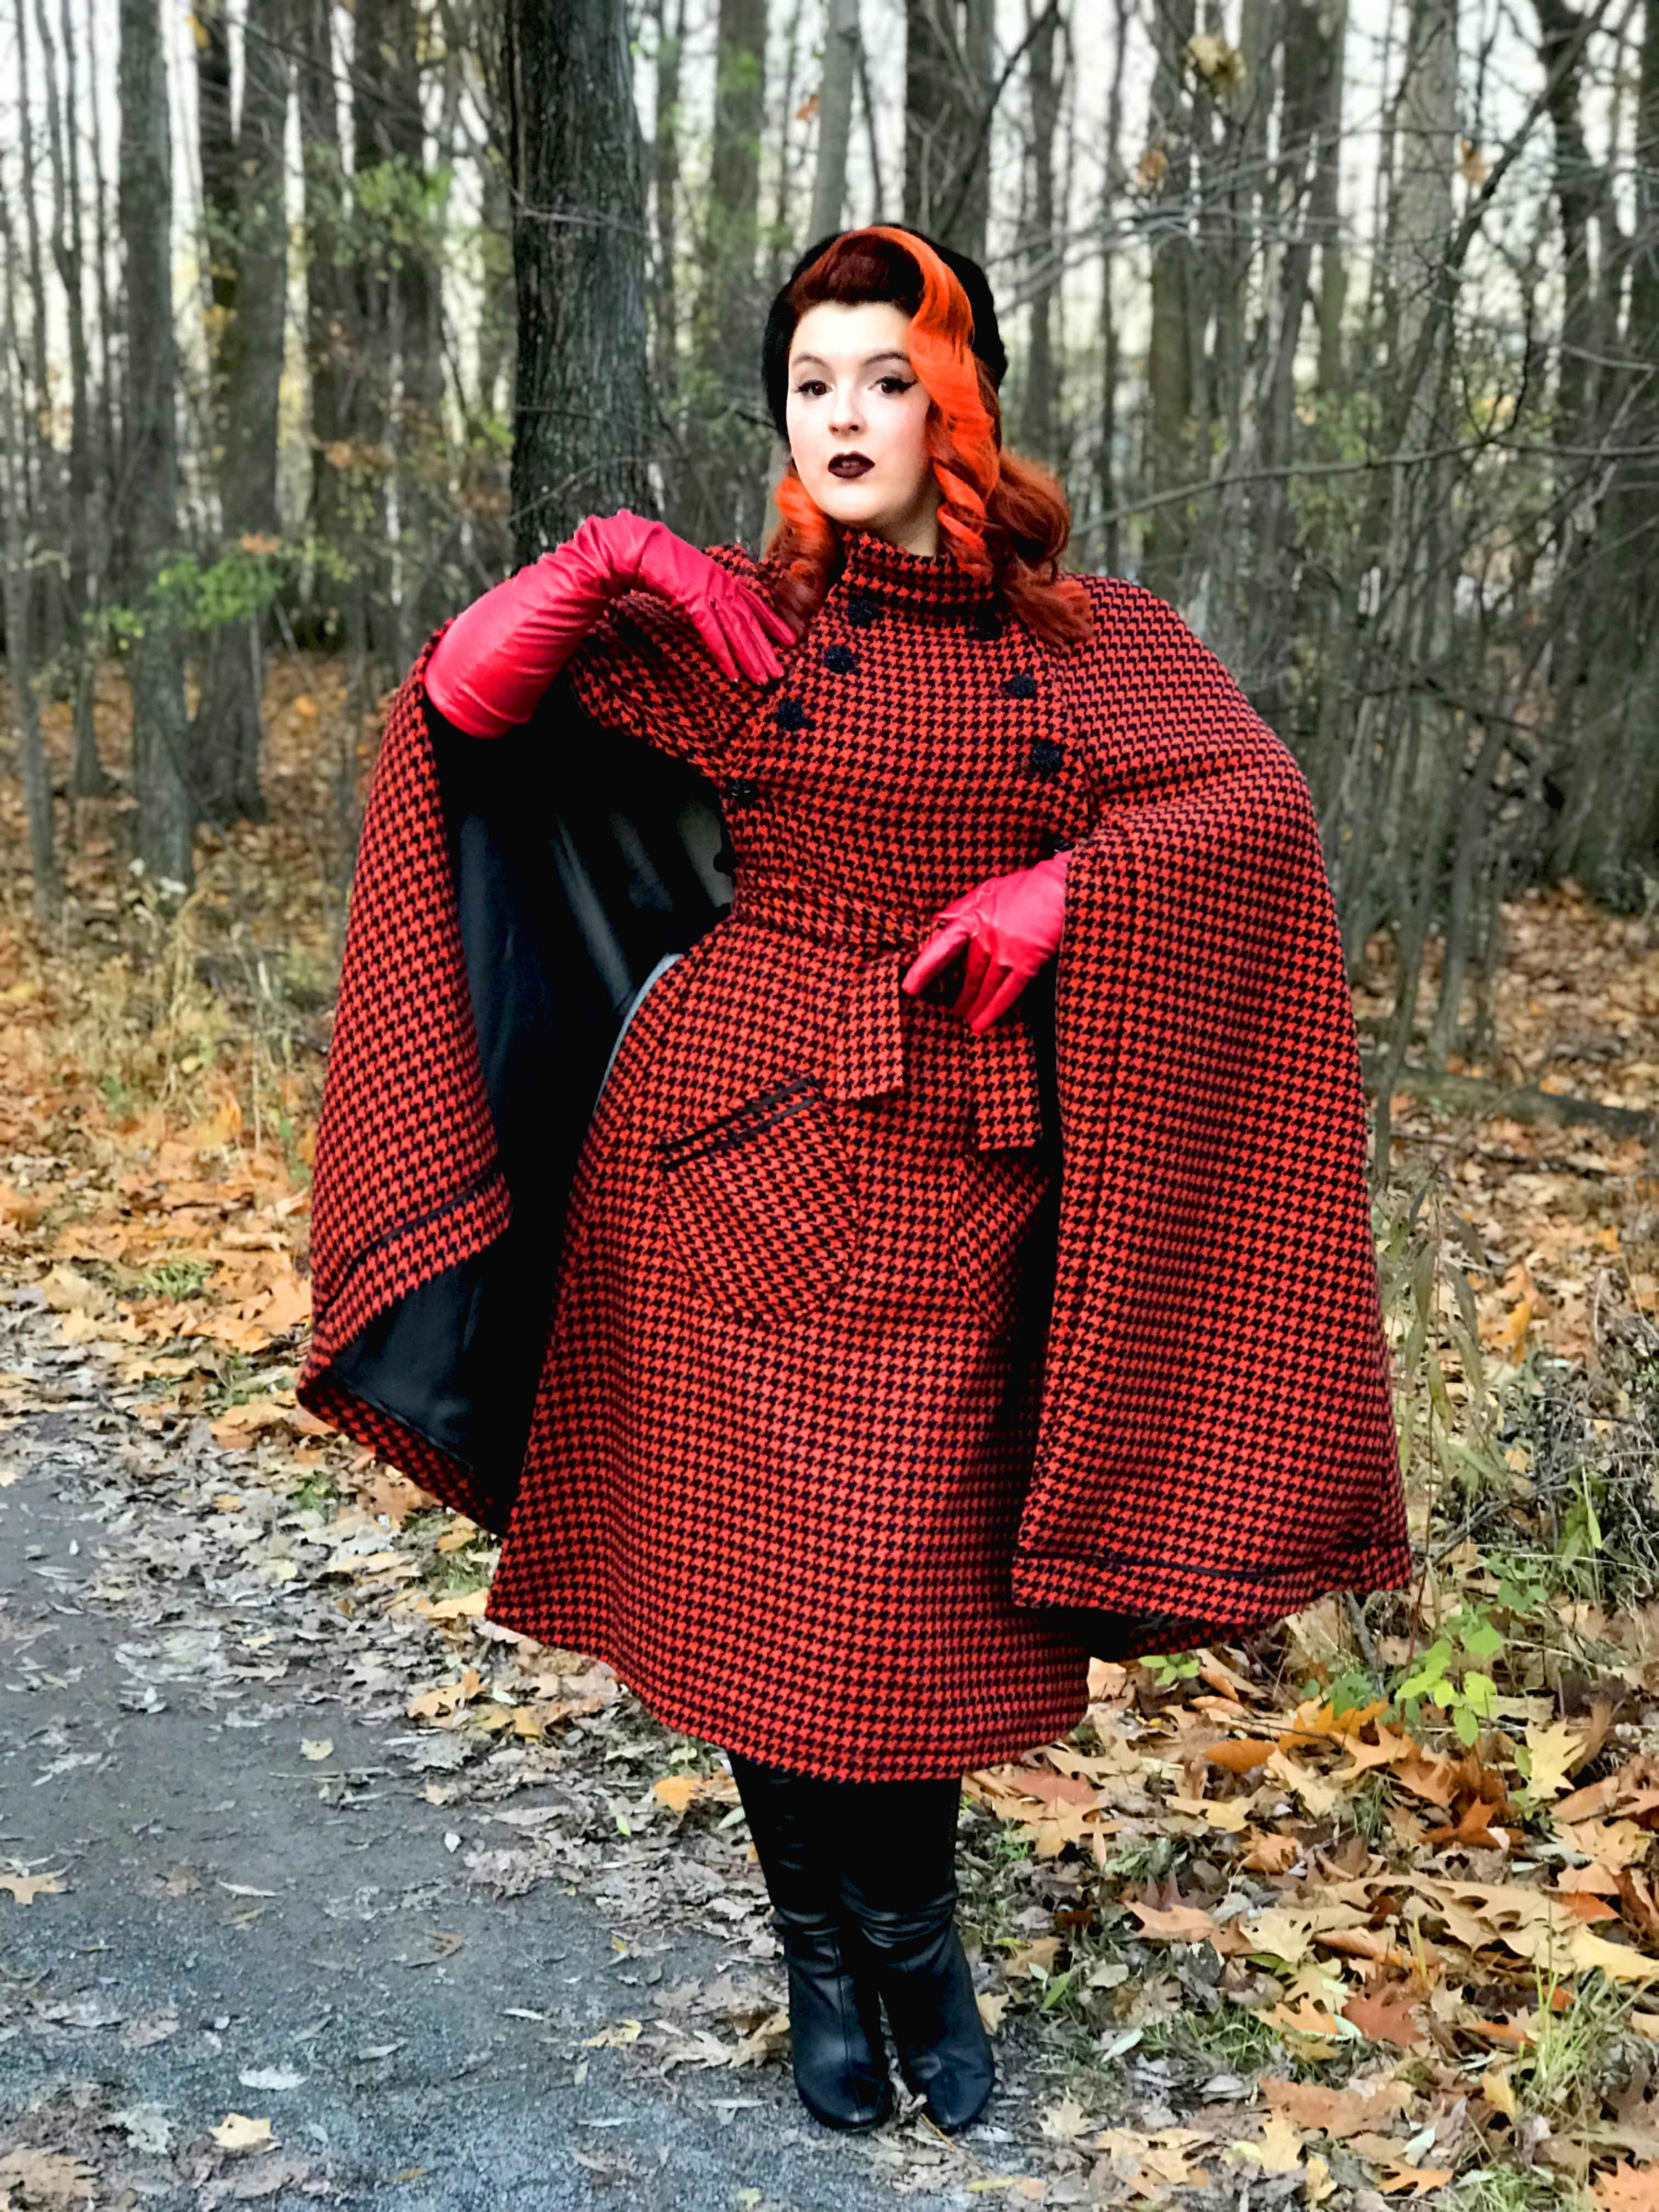
The pattern doesn’t call for a linging, but I chose to add one, I think that it makes the cloak more finished and professional looking. The lining I chose, is a very pretty deep dark grey satin, that would give a dramatic effect and contrast to the cape.


I think that this bold fabric goes very well with the overall style of the coat. As I want the cape to have a vintage style, I will do a slightly longer view B. I want the cape to go just below the calf.
Oh my, this pattern is a real breeze to sew. I must admit that I was pleasantly surprise how fast and easy it came all together. It is a very basic design with only a few pieces to sew together.
I was concerned that the rounded edges pockets would give me some trouble… I absolutely hate sewing pockets. They are my nightmare, I don’t know why, but somehow, there is always something that goes wrong! Luckily, because the way the fabric is woven and the gathering technique around the curved edges, the seam allowances is folding under itself, quite easily.
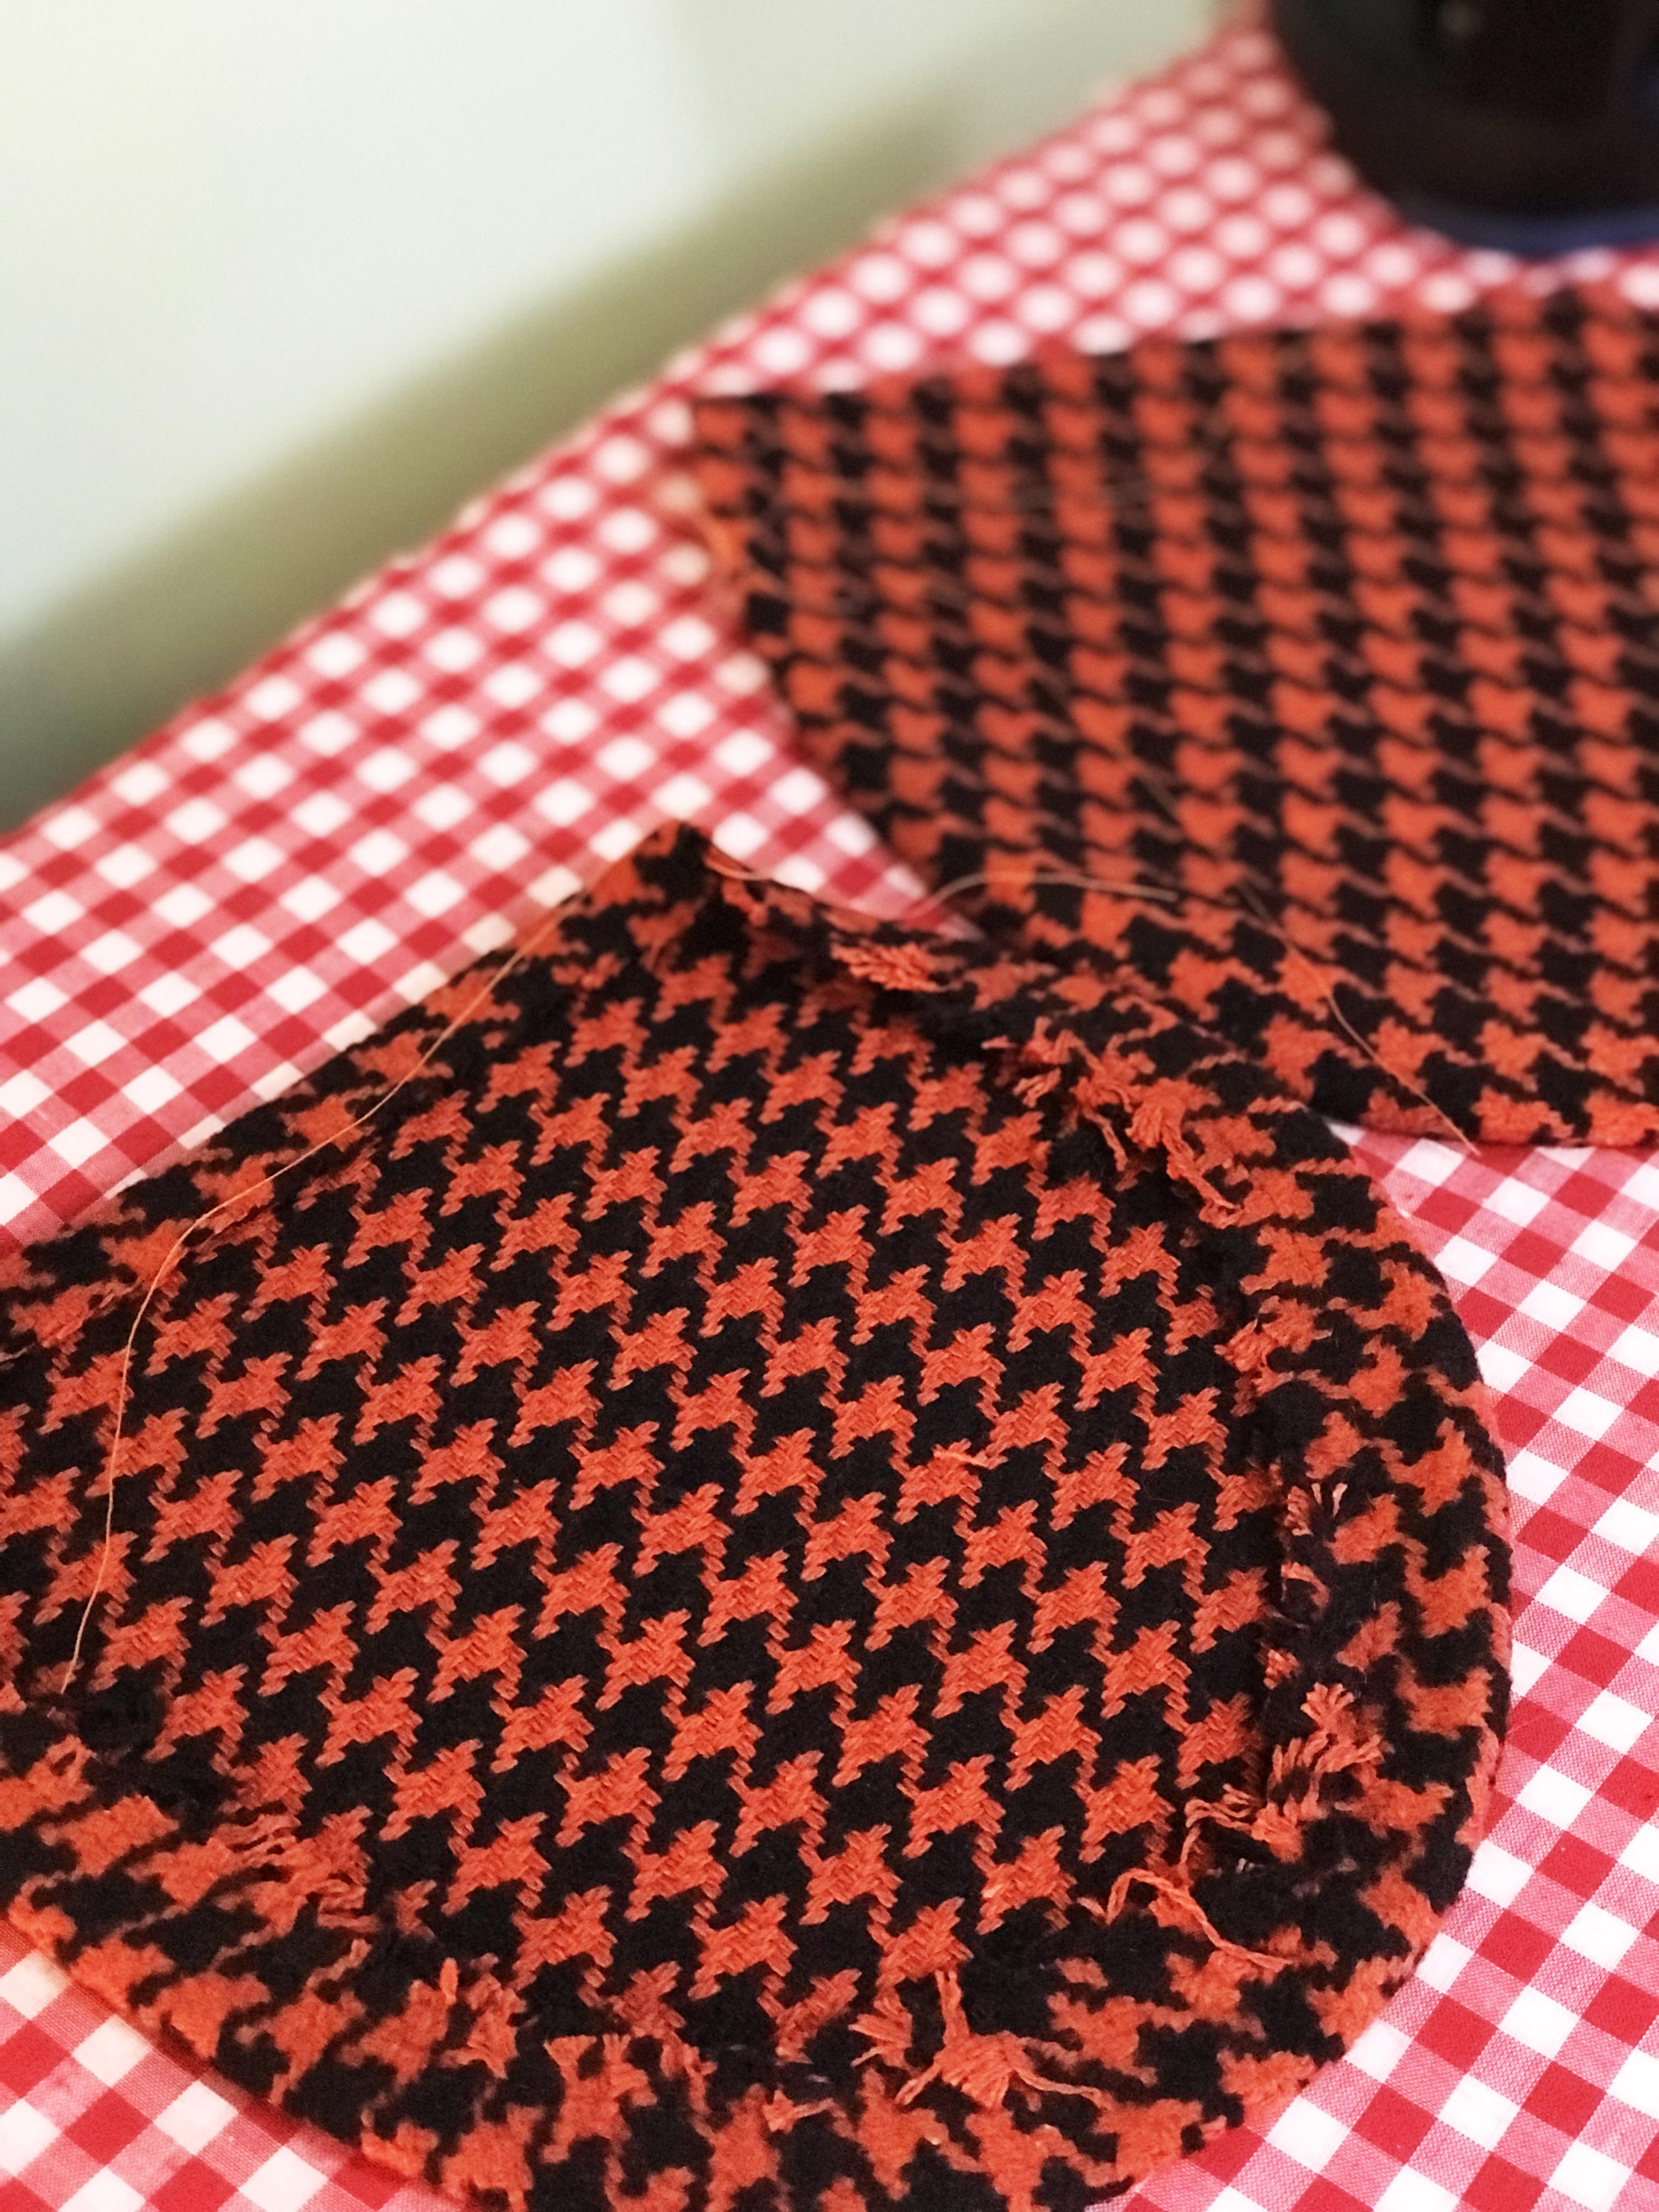
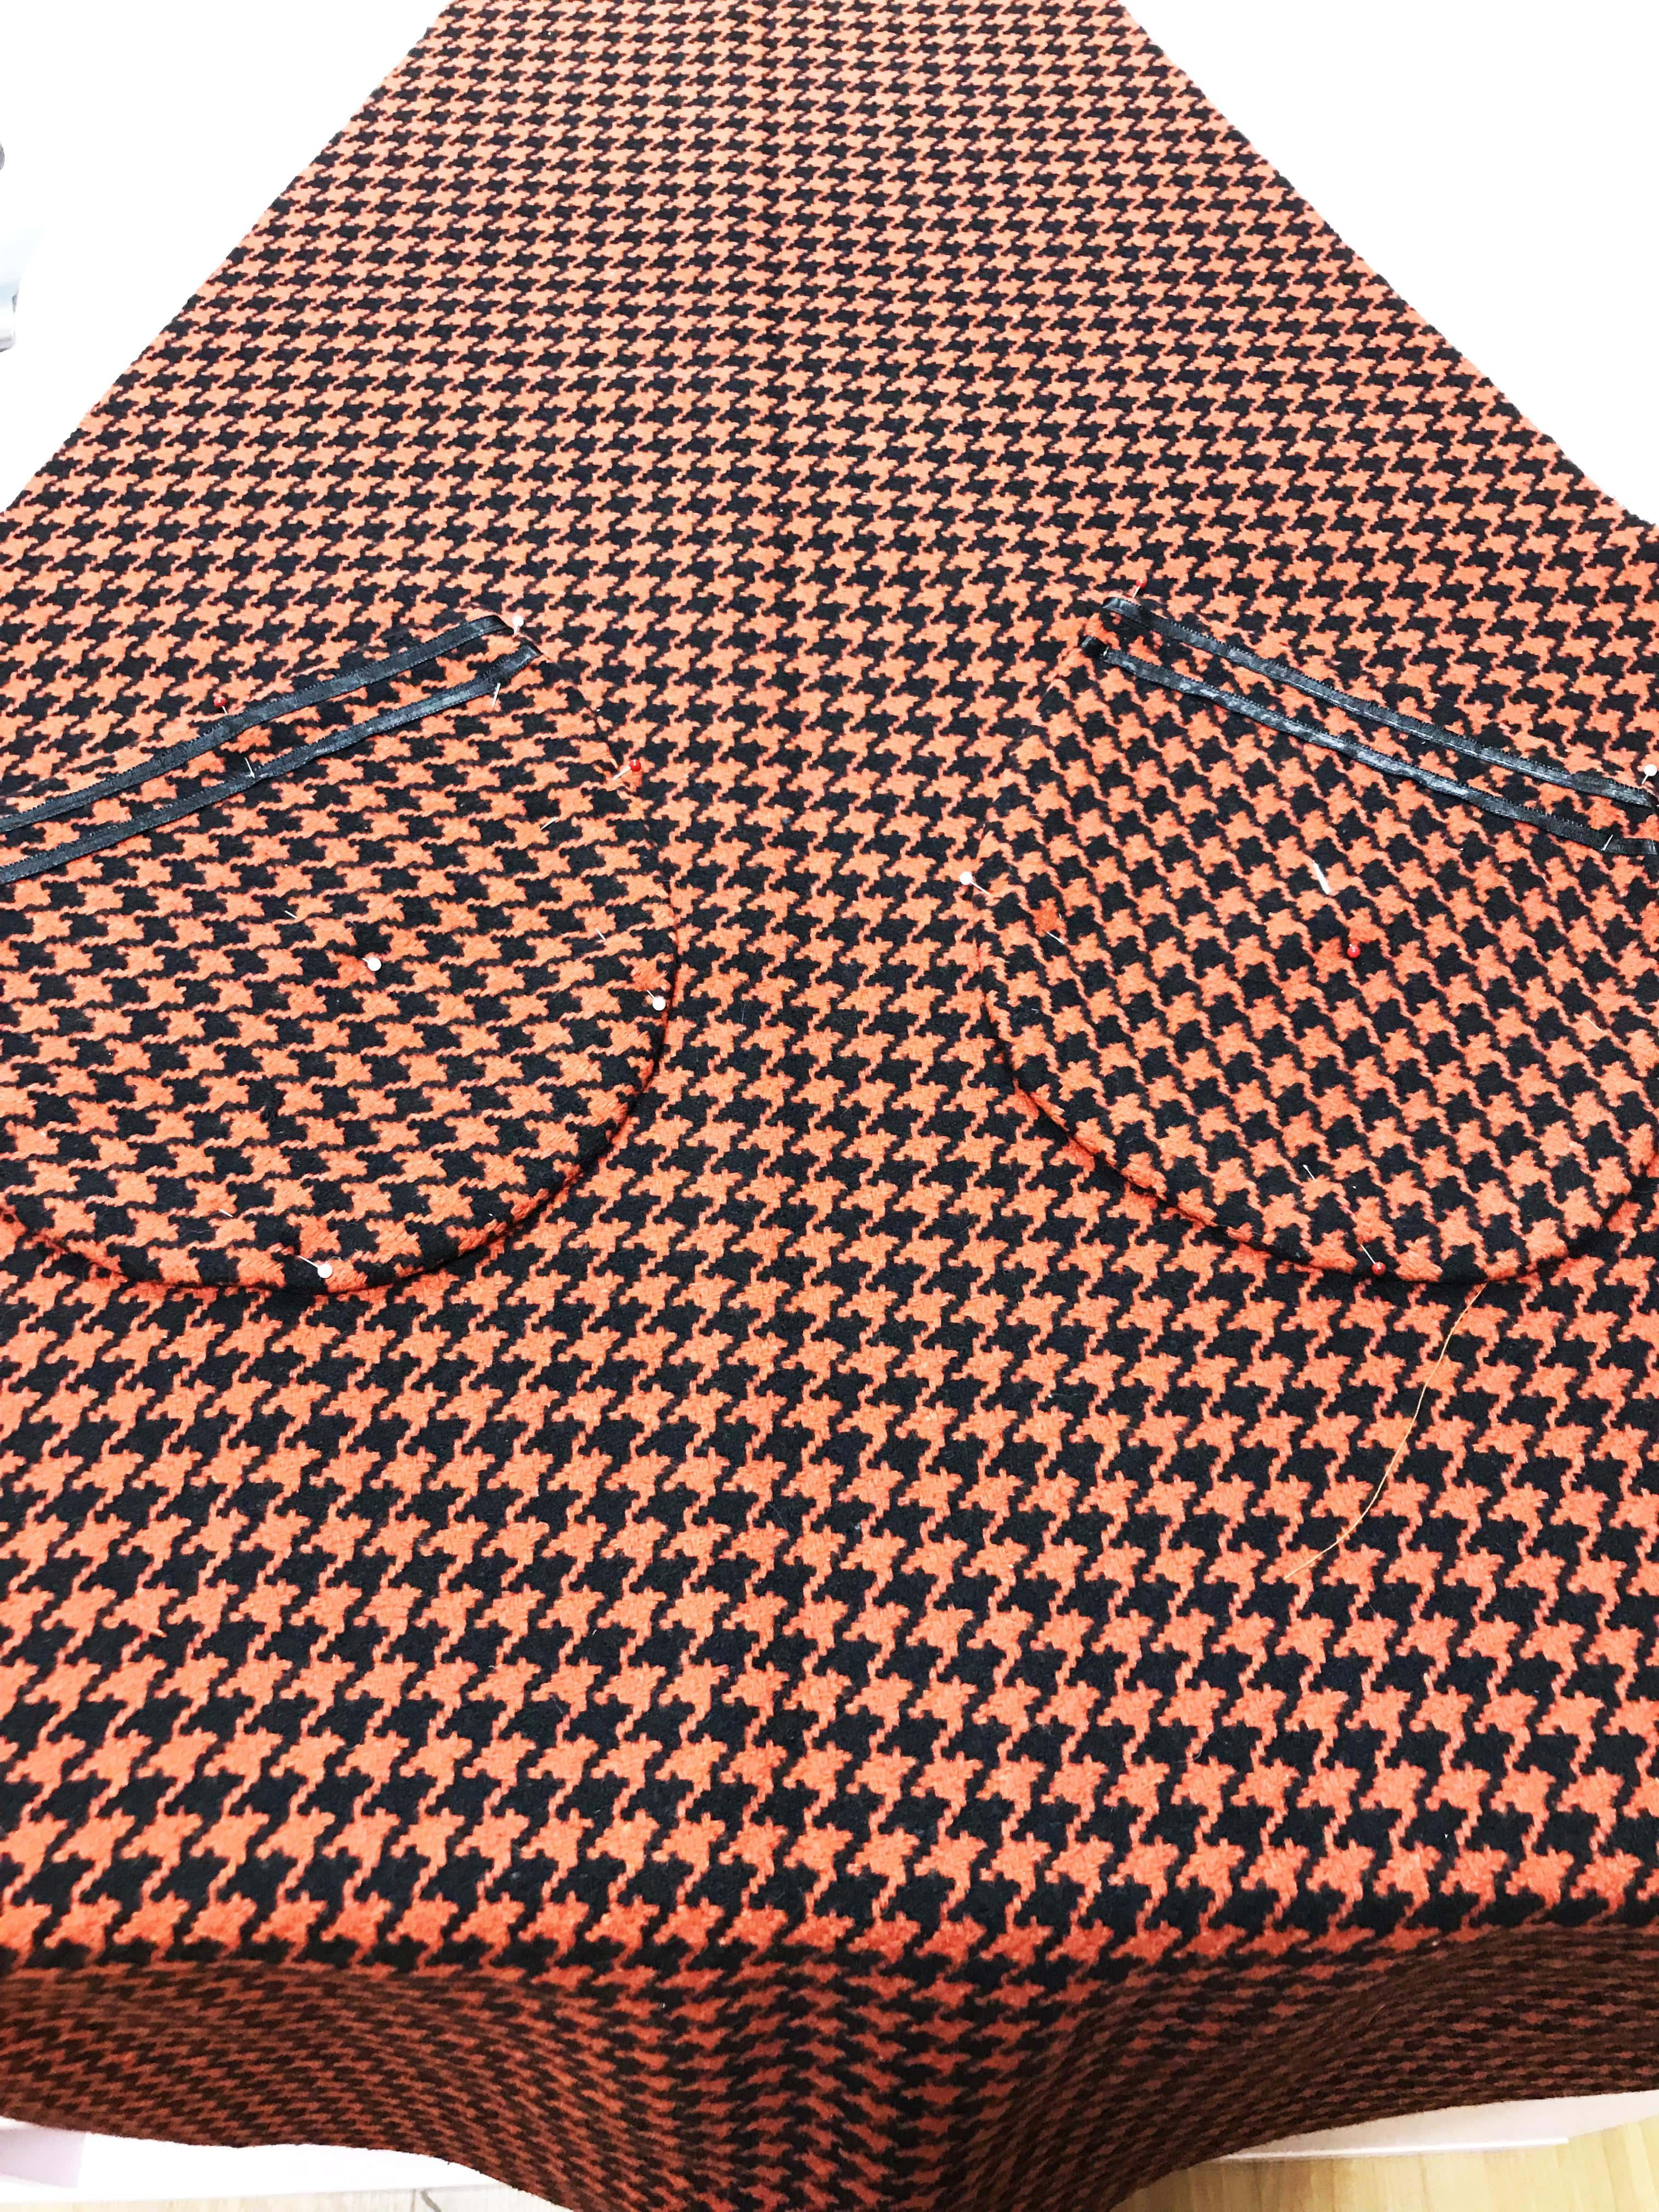
The most difficult part was the pocket topstitching, mainly because the front panel is such a large piece of fabric. It was challenging to keep the pockets under the foot and make a straight topstitch. Fortunately, I manage to attach them perfectly on the cloak’s front panel.
Now moving on to the lining’s front panel. Basically, I just cut the same piece for the lining as the fabric, then joining them wrong sides together as one piece. The collar and side facing allows a clean finish when closed and topstitched.
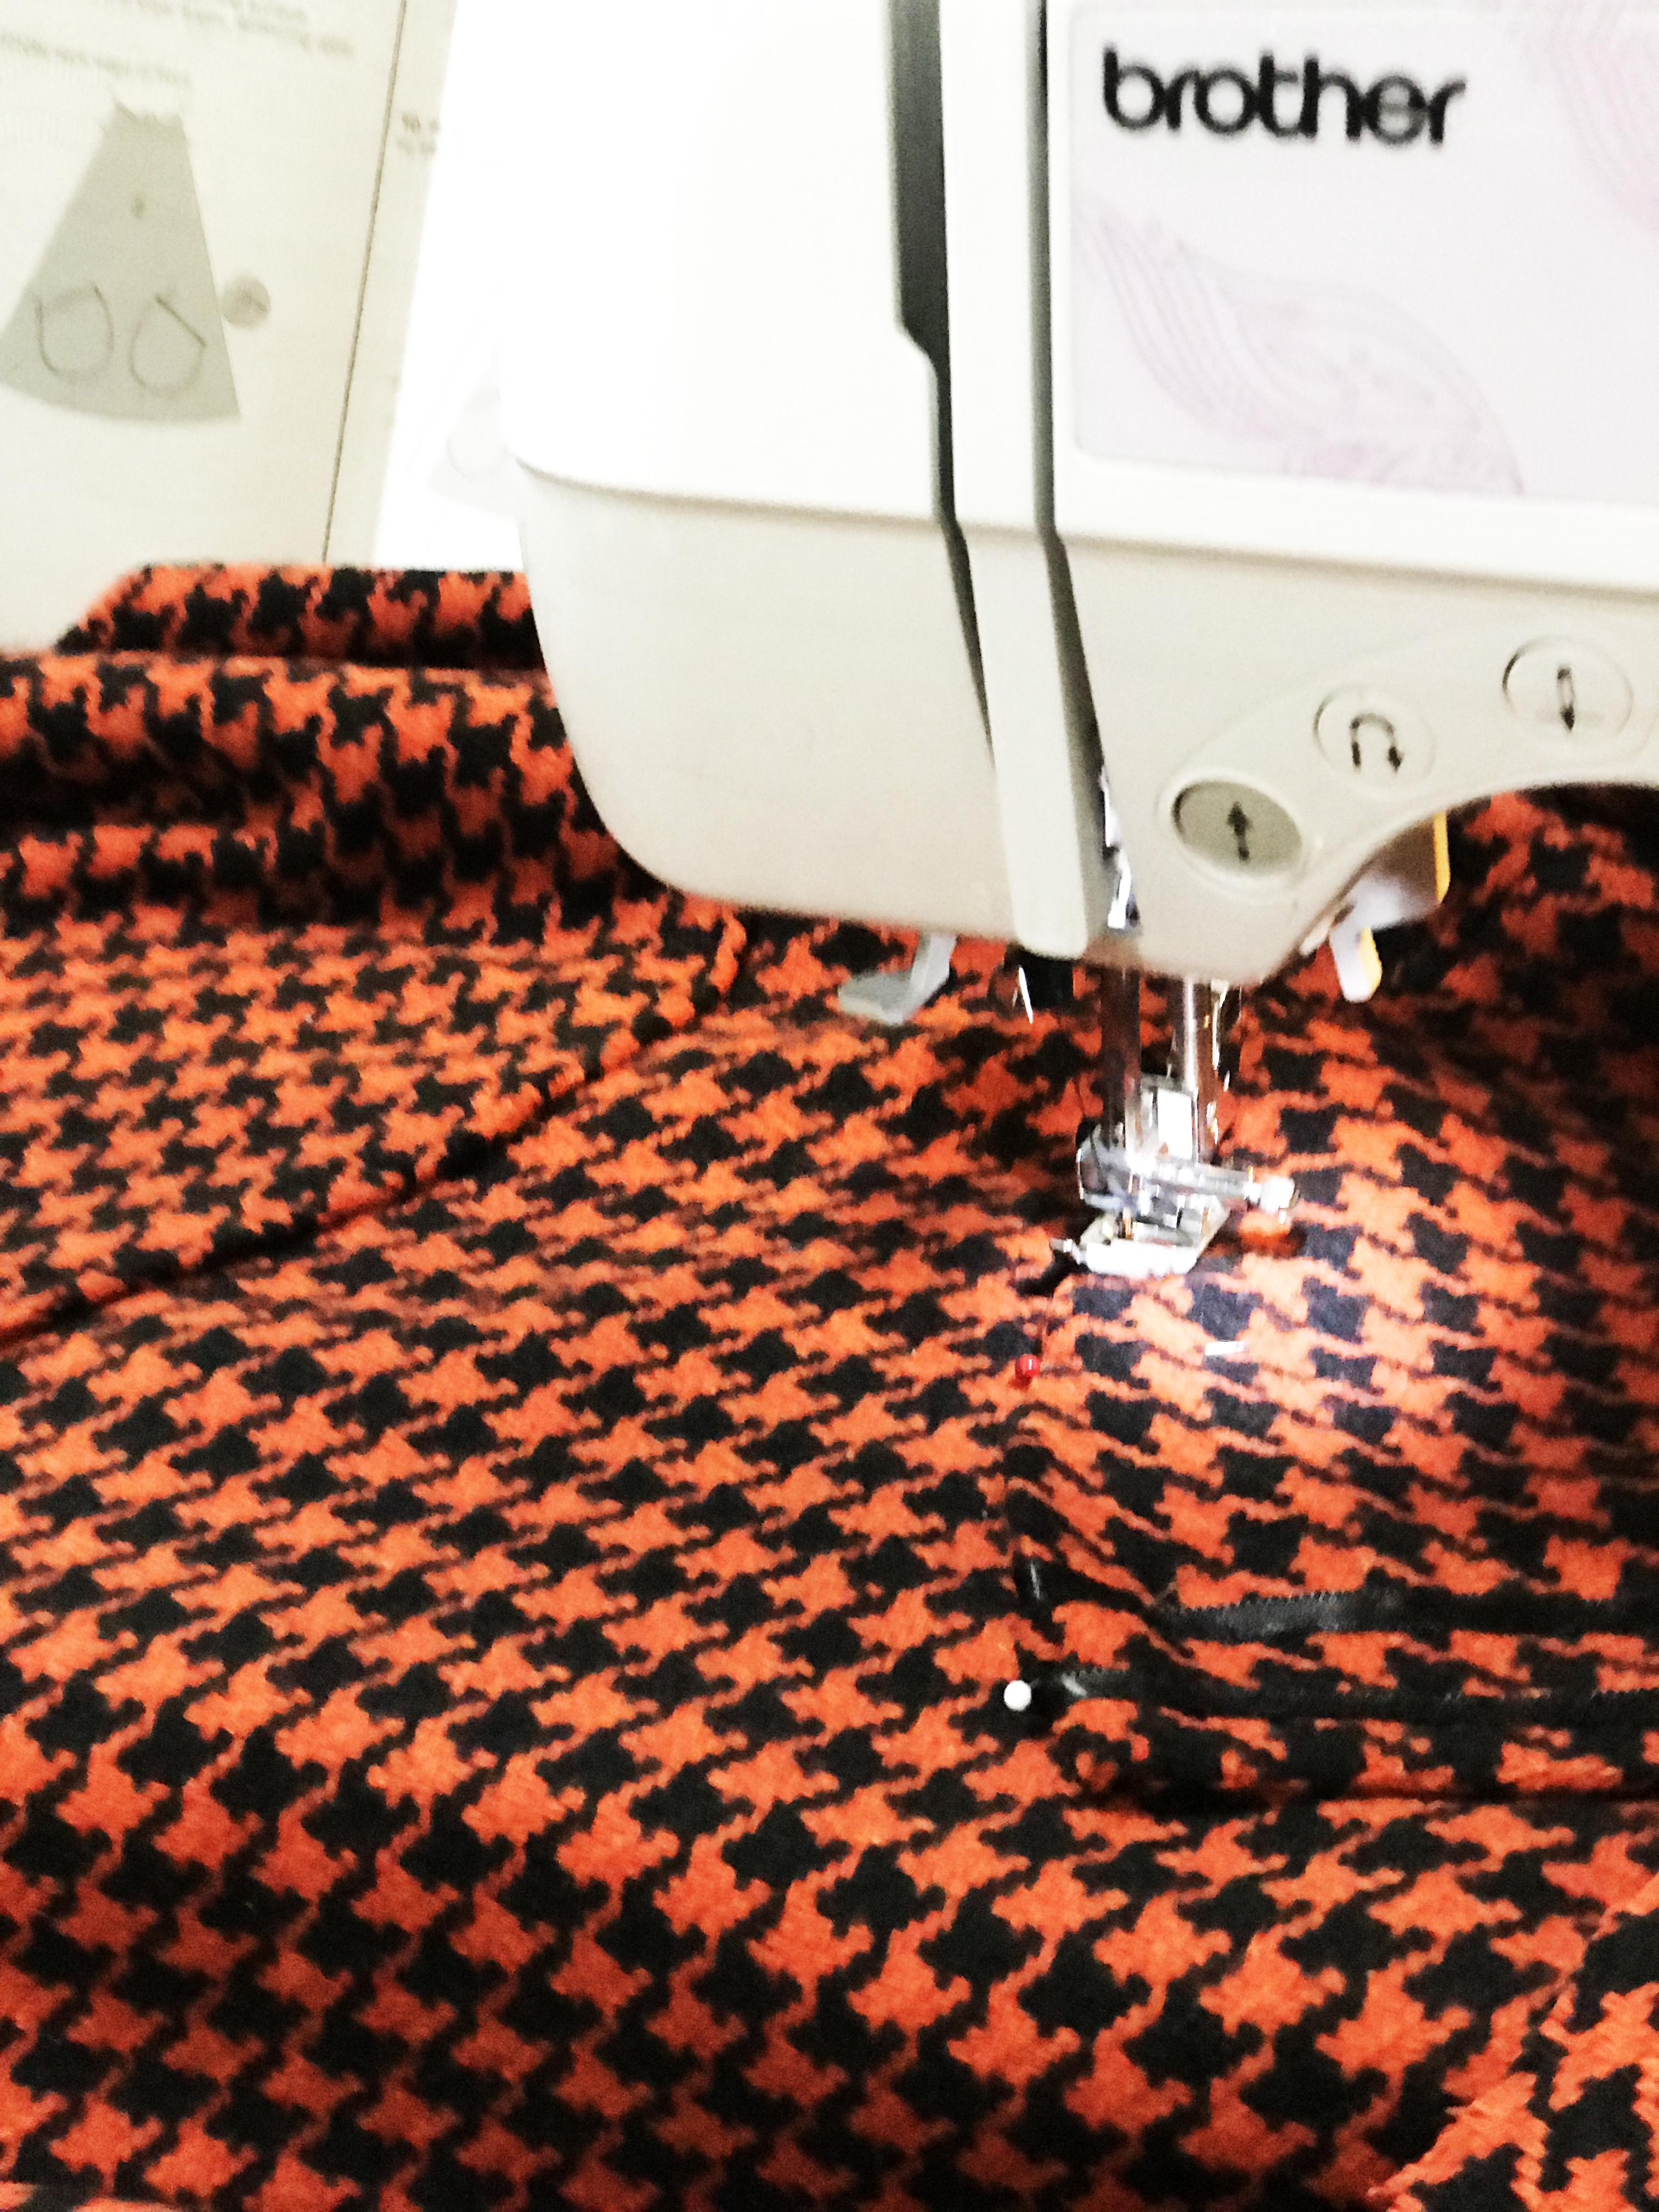
Sewing 10 large buttonholes in this very thick wool coating was very tricky, I had so much troubles feeding the fabric under the foot. All those layers were a little bit too heavy duty for my domestic sewing machine, but after and hour and a half…they were all done!
The rest of the cape coat was incredibly simple to assemble 2 hours and it was completed! There is only a couple of big pieces to put together.
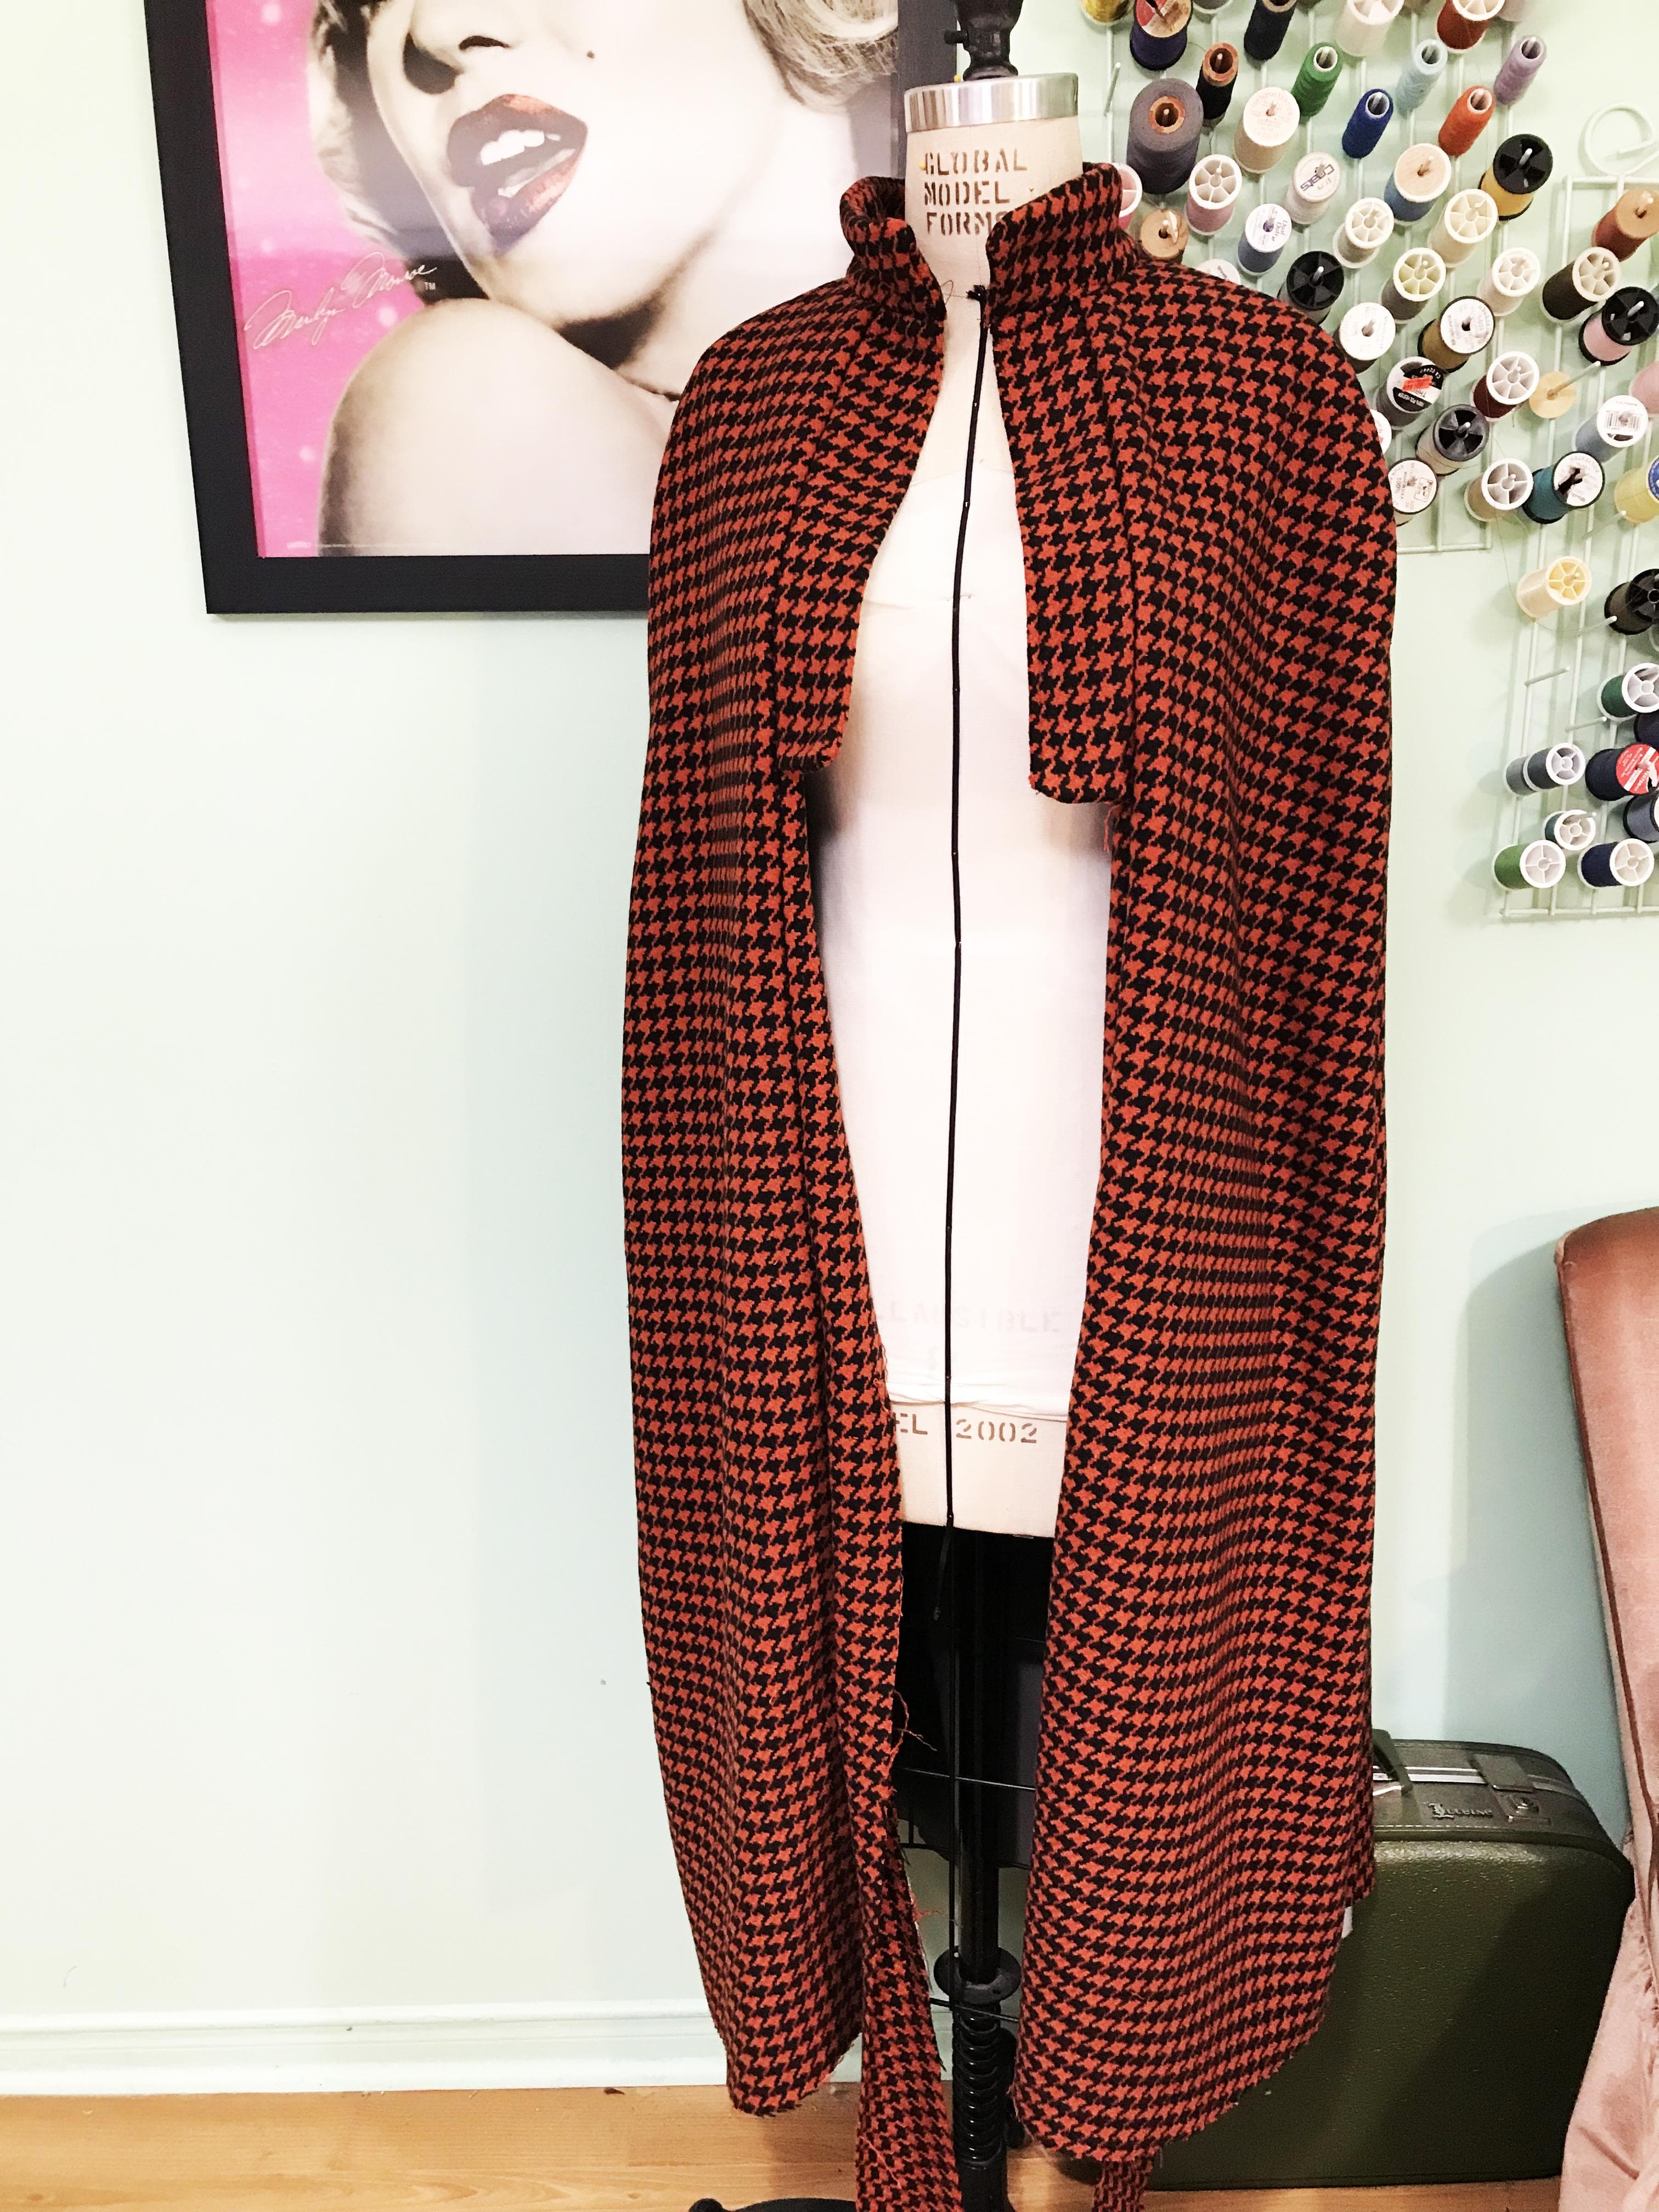

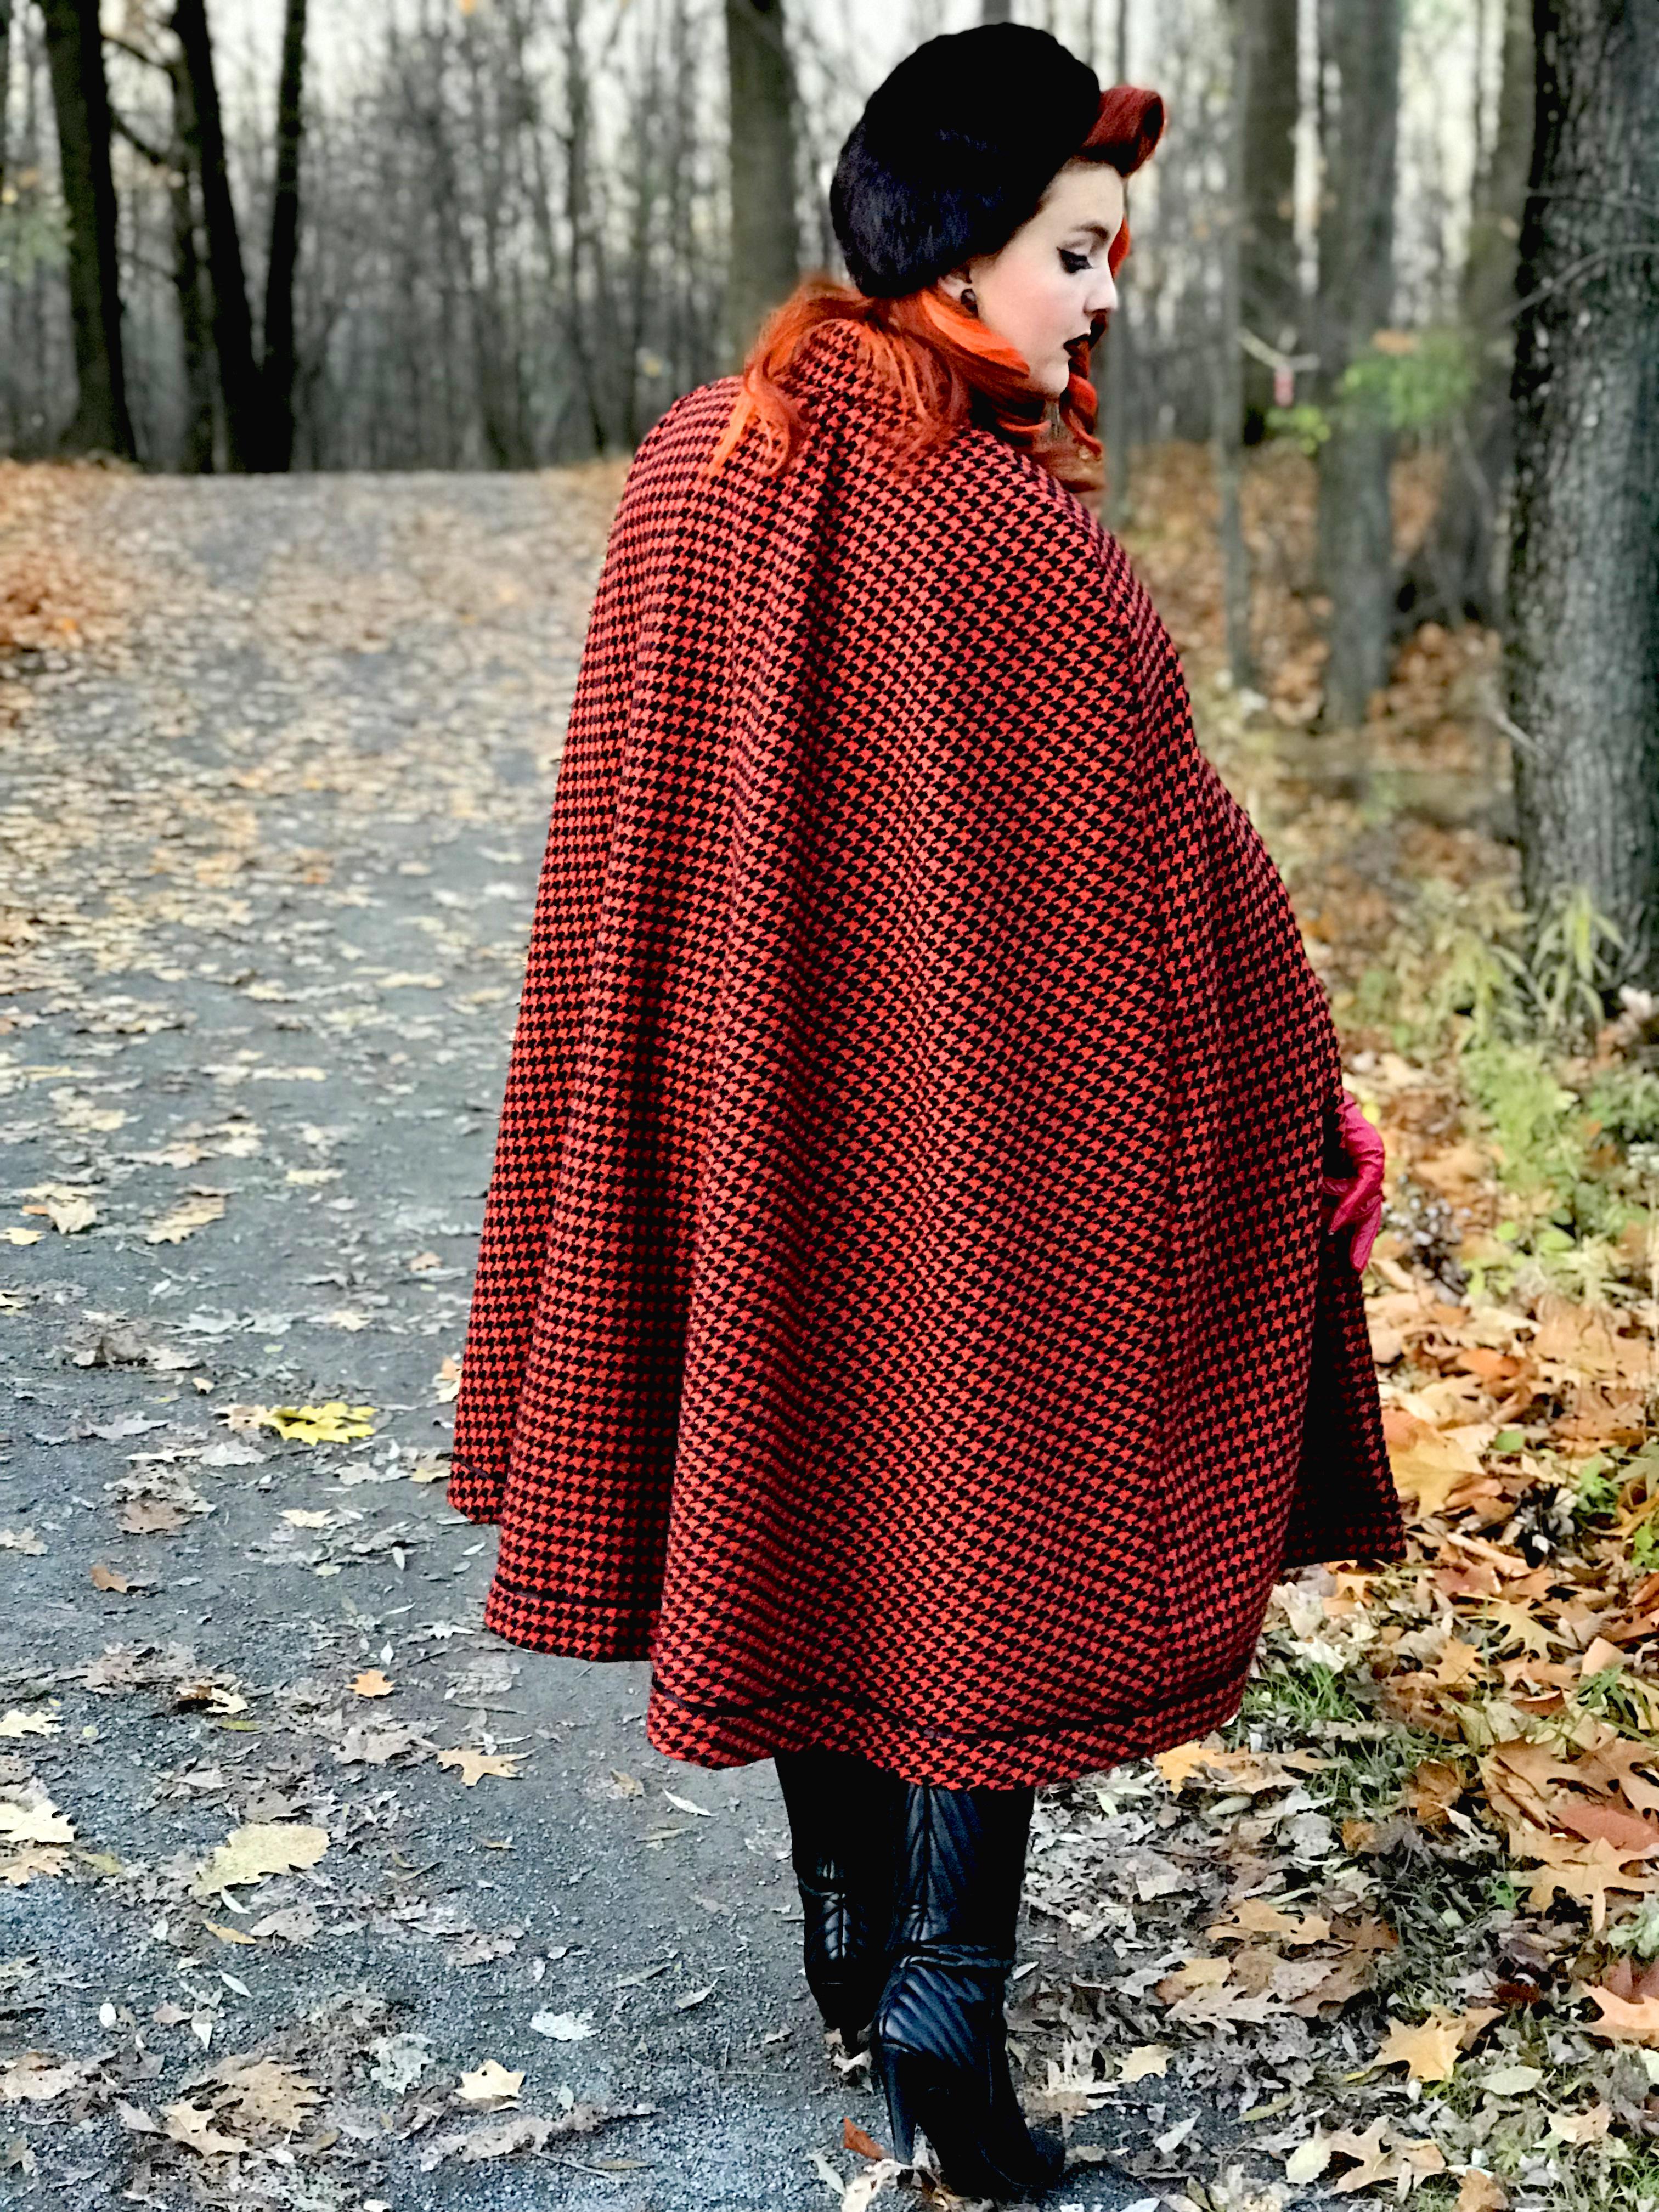
Finally, we have a cape!!!! It looks absolutely like I pictured it in my mind, It feels, heavy, warm, it looks professional, chic yet exquisite. I really feel like I own a vintage piece of garment. It is a real head turner, I had already, so much compliments while wearing for the photo shoot in the forest.
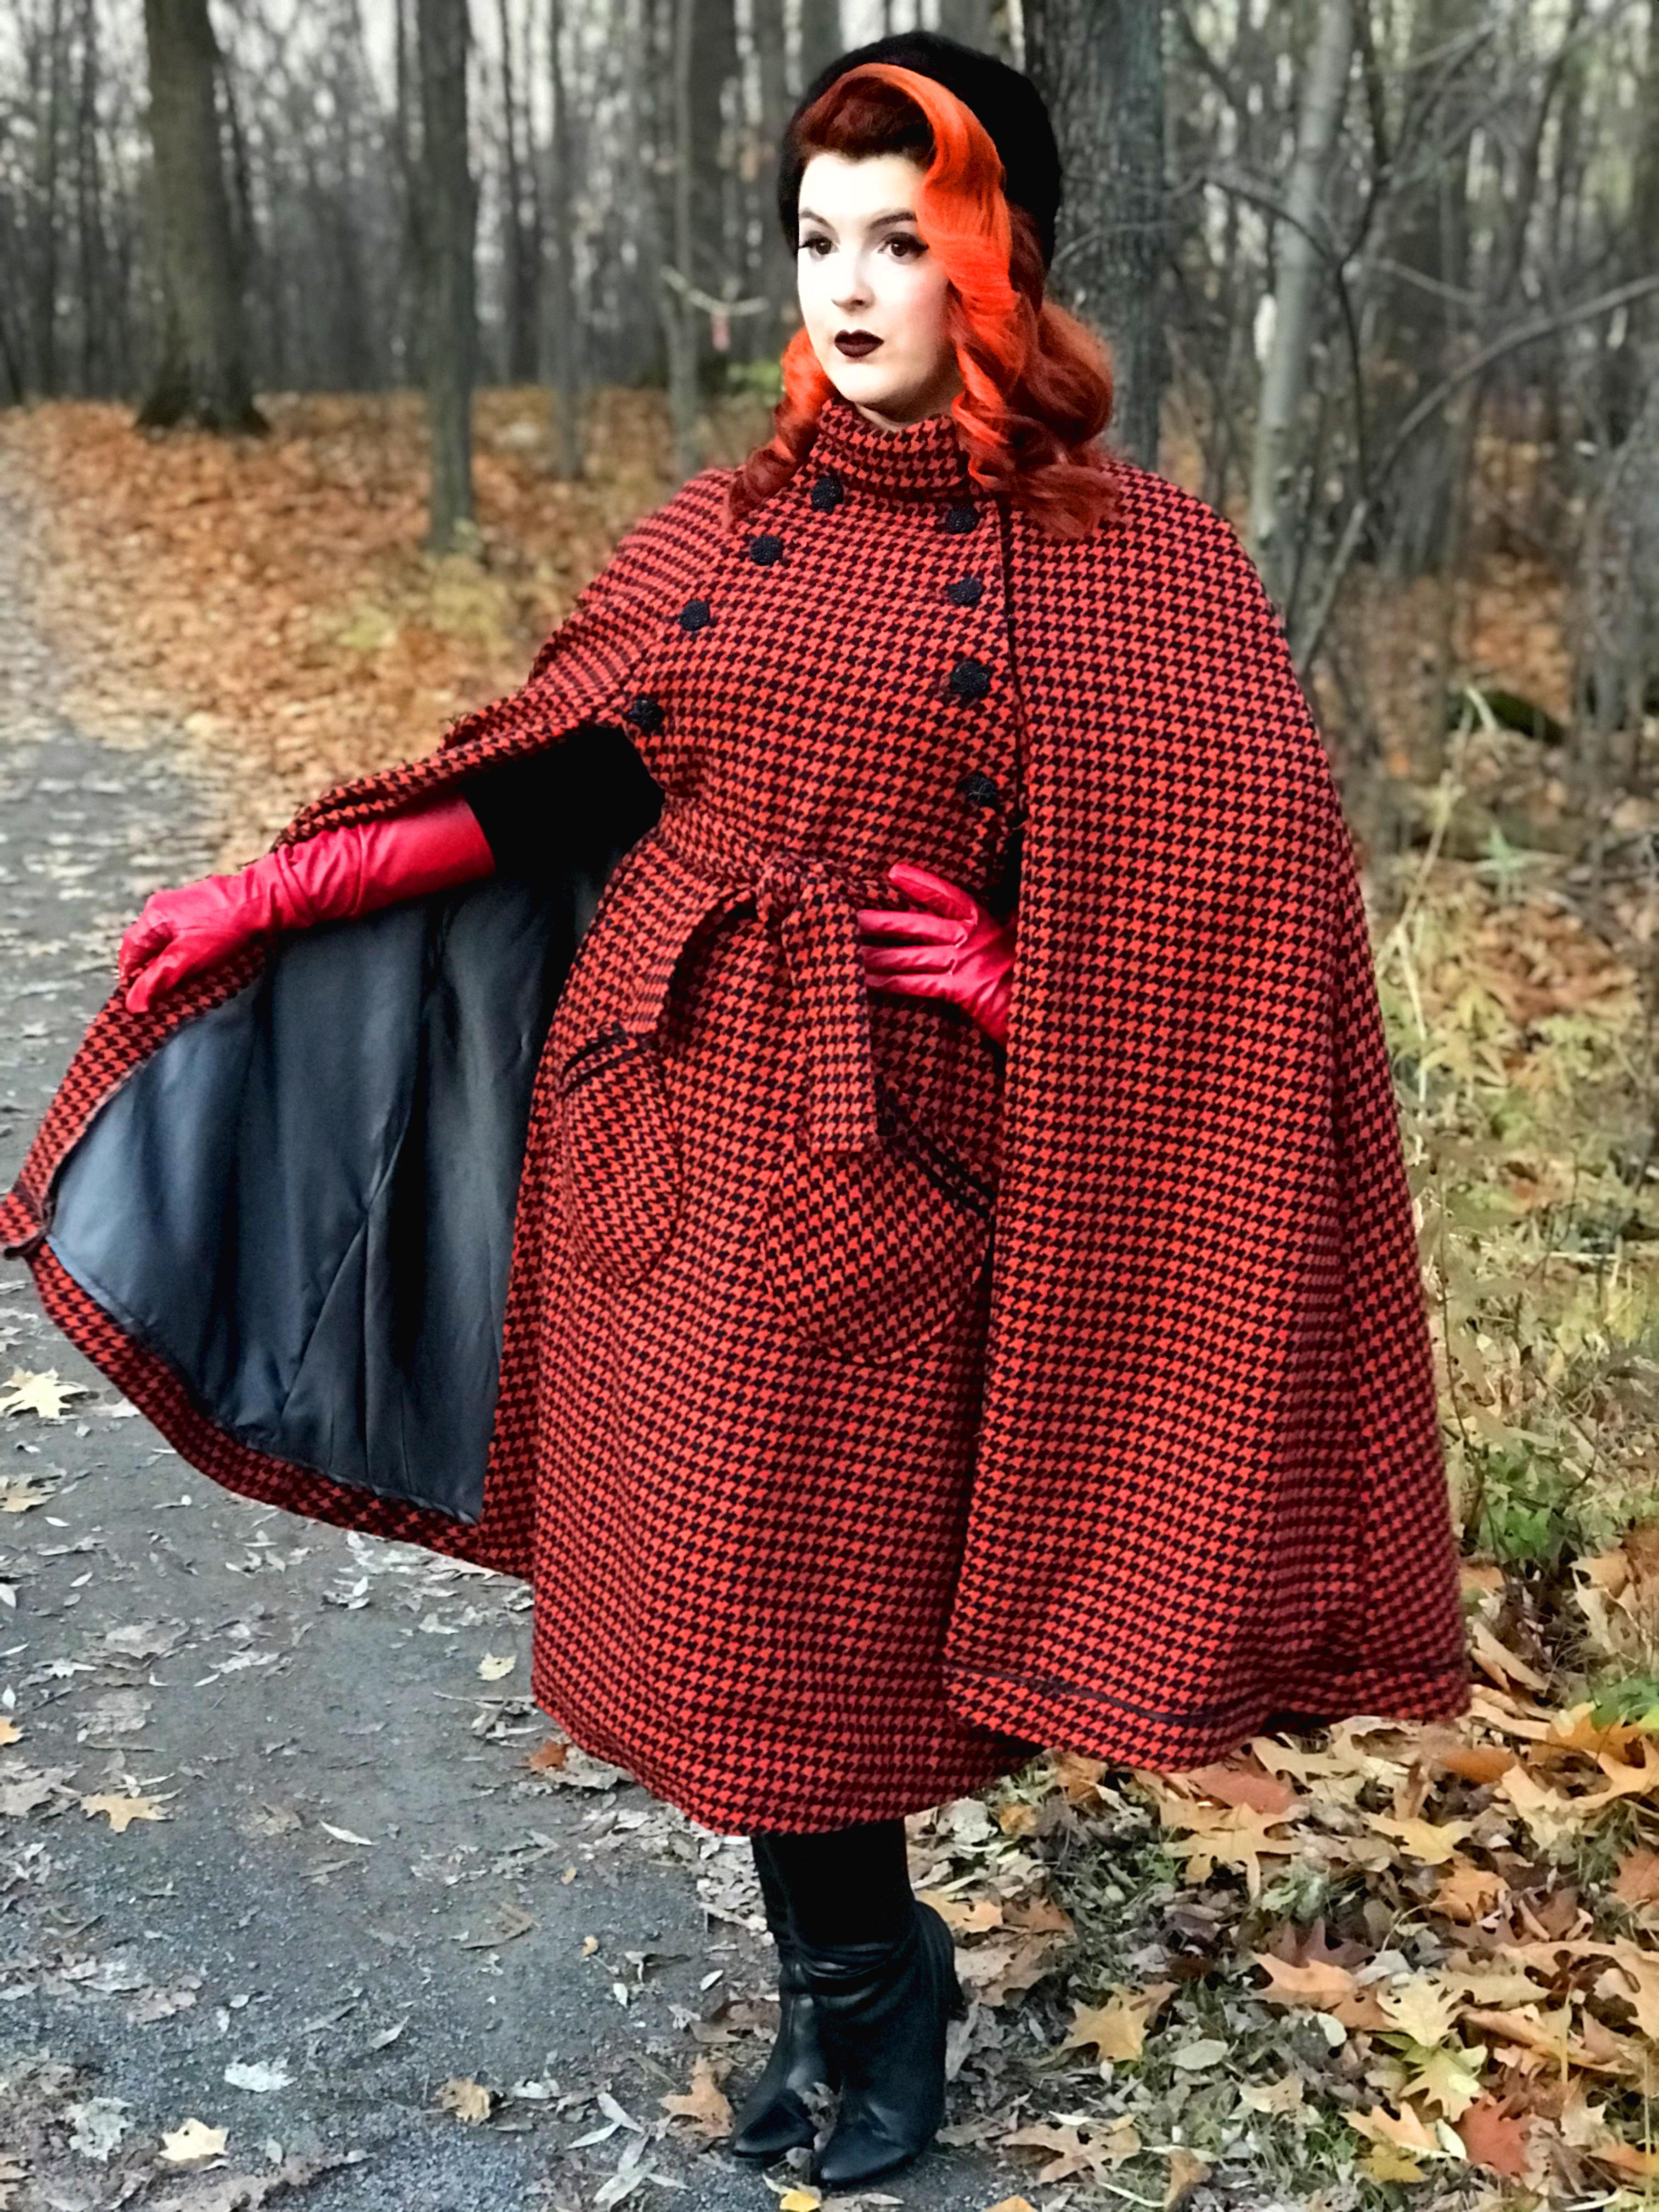


Vintage style cape coat 1950’s 1940’s
Pattern: Vogue V9288 Misses’ Cape with Stand Collar, Pockets, and Belt
Fabric: 4.5M of LINDSAY Jacketing – Houndstooth – red / black
4.5M of Satin lining, grey color
Notions: 10 large buttons
Sewing time: 5 hours, from cut to finish. I am a fast sewists and this pattern is pretty straight forward. The most time-consuming was really the buttonholes.
Modifications: I lengthen the cape and added a full satin lining.
Fit: Very good, as it is meant to be loosely fitted.
Difficulty: as the pattern envelope calls it, it is very easy, plus it is a quick make for a coat! I definitely recommend this pattern for anyone, who wants to experiment with sewing wool coating.
Watch out for: Making the buttonholes
Make again?: yes I would, but in another fabric, perhaps a plain fabric.
Voilà! I can’t express how happy I am about my new cape, I am very exited to make this pattern again, in another fabric.
Thanks Fabricville for giving me the opportunity to blog about my sewing and vintage fashion passion! For more Gorgeously Vintage creation, visit my Facebook & Instagram pages @gorgeouslyvintage
So Long Dearies!
Happy sewing!