Comfy lounging is a priority to me no matter what time of year. As soon as my work day ends, I can’t wait to put on the most comfortable clothing so I can chillax for the remainder of the day!
When I came across an amazing clearance of loungewear camis at a popular sleepwear store, I had a dilemma. There were no suitable bottoms to match, but I couldn’t pass up such a good price!

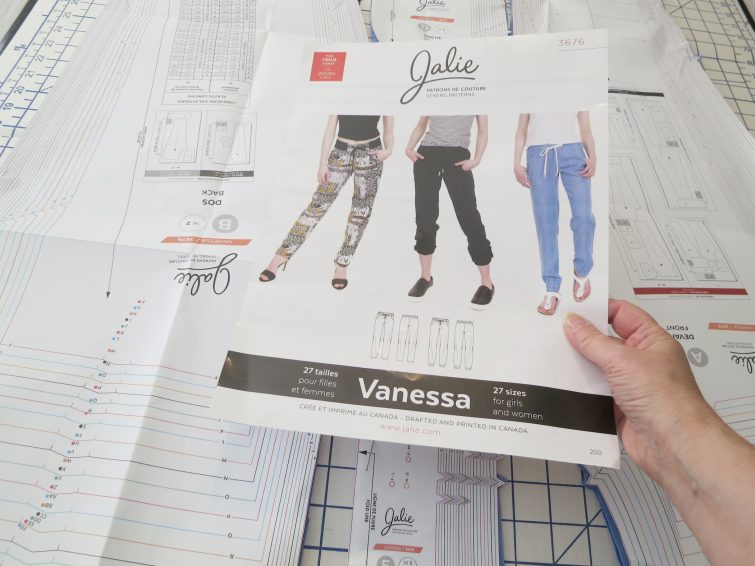
What’s a crafty blogger to do? Partner with Canada’s largest online fabric store to show you how easy it is to sew your own bottoms to coordinate! I’m Sara from Birdz of a Feather and I’m ‘sew’ excited to be sharing my first collaboration with Fabricville in this post! The pattern I chose can easily be sewn by a beginner. I’ve provided a video at the end of this post to encourage any first timers out there!


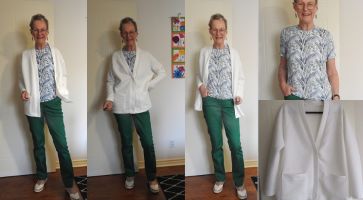
I accented the waist of the pants with a grey rib knit. Since I’ll be pairing my fabric selections with the grey camisole you saw above, the colour combo I selected will work perfectly!

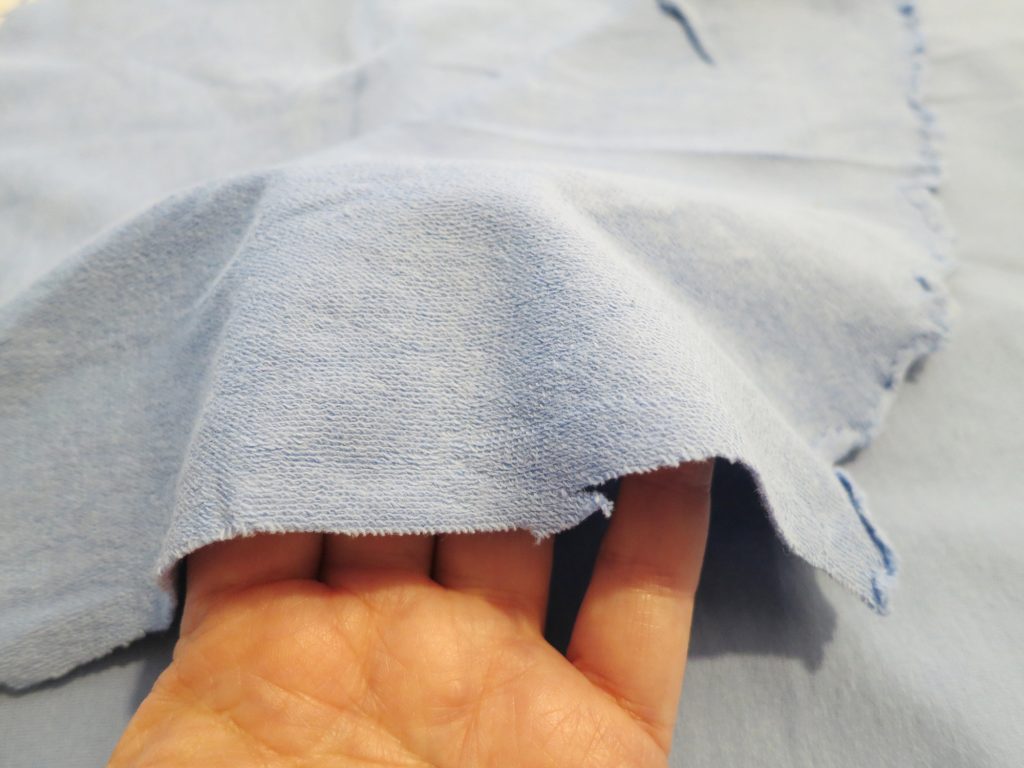
I’m a huge proponent of 100% cotton knit when it comes to lounge wear; it breathes and stretches. I especially love working with french terry so I chose this french terry fabric in denim. I wear french terry all year long – no matter what the season. Now that it’s summertime, it’s perfect to take the chill off of indoor air conditioning!
This is Jalie’s Vanessa Fluid Pants (pattern 3676). What I love about the style (besides the opportunity to use two different fabrics) is that you could easily use this pattern for sleepwear using a lighter weight knit! It is so rare to find sleepwear on the market that actually has pockets! Believe me, I know!

Why spend time looking for bottoms with pockets when you can whip up your own over the weekend?
A few things to note if you try this pattern: if you buy the pattern online, there is a typo on the back of the pattern envelope regarding the elastic for the waistband (there was however an updated sticker when I received the pattern as you see below. Until the misprint is adjusted online, keep that in mind). For all women’s sizes and the two largest girls sizes, you will need 2″ wide elastic, not 1 1/2″. I only realized the oversight when I came to sew the waistband.

If you run into the same situation as I did, you can either cut 1/2″ off both long edges of the waistband and use the 1 1/2″ elastic (you will need to adjust the topstitching lines and grommet placement accordingly), or buy new elastic. I chose to buy new elastic!
The pattern envelope also does not list a few other notions needed such as the yardage for the drawstring, interfacing and grommets for the waistband (if not doing buttonholes). While I was buying elastic, I found a flat twill to use for the drawstring (shown below). I bought 1.8 metres, which will be more than sufficient (you may need a bit extra, depending on your waist size).

Picking your size couldn’t be easier with a Jalie pattern; there are 27 sizes in this one! For pants, you only really need two measurements to get a perfect fit: your hip size and inseam. The pattern can easily be lengthened or shorted at the knee if necessary.

Once I figured out my size, it’s just a matter of cutting out the pattern on the coordinating colour coded line. What could be easier?
For a professional finish, I serge the raw edges as I finish each seam. I chose Fabricville serging thread in Captain’s Blue.

When working with knits, you need to switch out your regular sewing/serging needles with ball point needles. A regular sewing needle will typically cause the knit to form holes, causing the fabric to run. That’s the last thing you want to spoil all your hard work!
Jalie patterns allow 3/8″ seam allowance, so I put piece of green tape on the needle plate to help guide my stitching.

I found the Jalie instructions very easy to follow!
You could stitch button holes for the opening of the drawstring, but since I have an industrial machine that does not do zigzag, I did grommets instead. It’s always a good idea to test first on a scrap piece of fabric so you get the size of the hole just right and can also test out the grommet tool. I made three attempts before I was confident enough to move on to the ‘real’ waistband.
For the drawstring, I attach a safety pin on one end to feed the drawstring through the waistband. Check to make sure the head of the safety pin will fit through the grommet!

Once you have inserted the drawstring, you can tie a knot in the ends if you wish. This will help prevent it from slipping back into waistband when it’s laundered.
I hope you’ll give the Jalie Vanessa pattern a try! As for me, now I can relax in style and comfort!

Keep calm and relax on! If you’re a visual learner, I made this sped-up video that shows each step of the process :).
Up until now, I have only done home, garden and craft DIYs with my husband on our blog. But I had ‘sew’ much fun making these lounging pants that I may have to expand our repertoire ????. You’ll find us at birdzofafeather.ca.