This last year, strange year that it has been, I have fallen in love with bamboo fabrics. Maybe hard times increase the need for feeling something soft. Maybe it was time for me to focus on a new fiber and learn about it. I don’t know.
What I do know is that bamboo is as easy to sew as it is to wear but that it needs its special characteristics to be honoured and, if necessary, for sewing techniques to be adapted to suit it.
Here is what I have learned in my many bamboo sewing experiments about this fibre and this fabric.
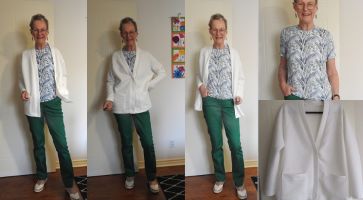
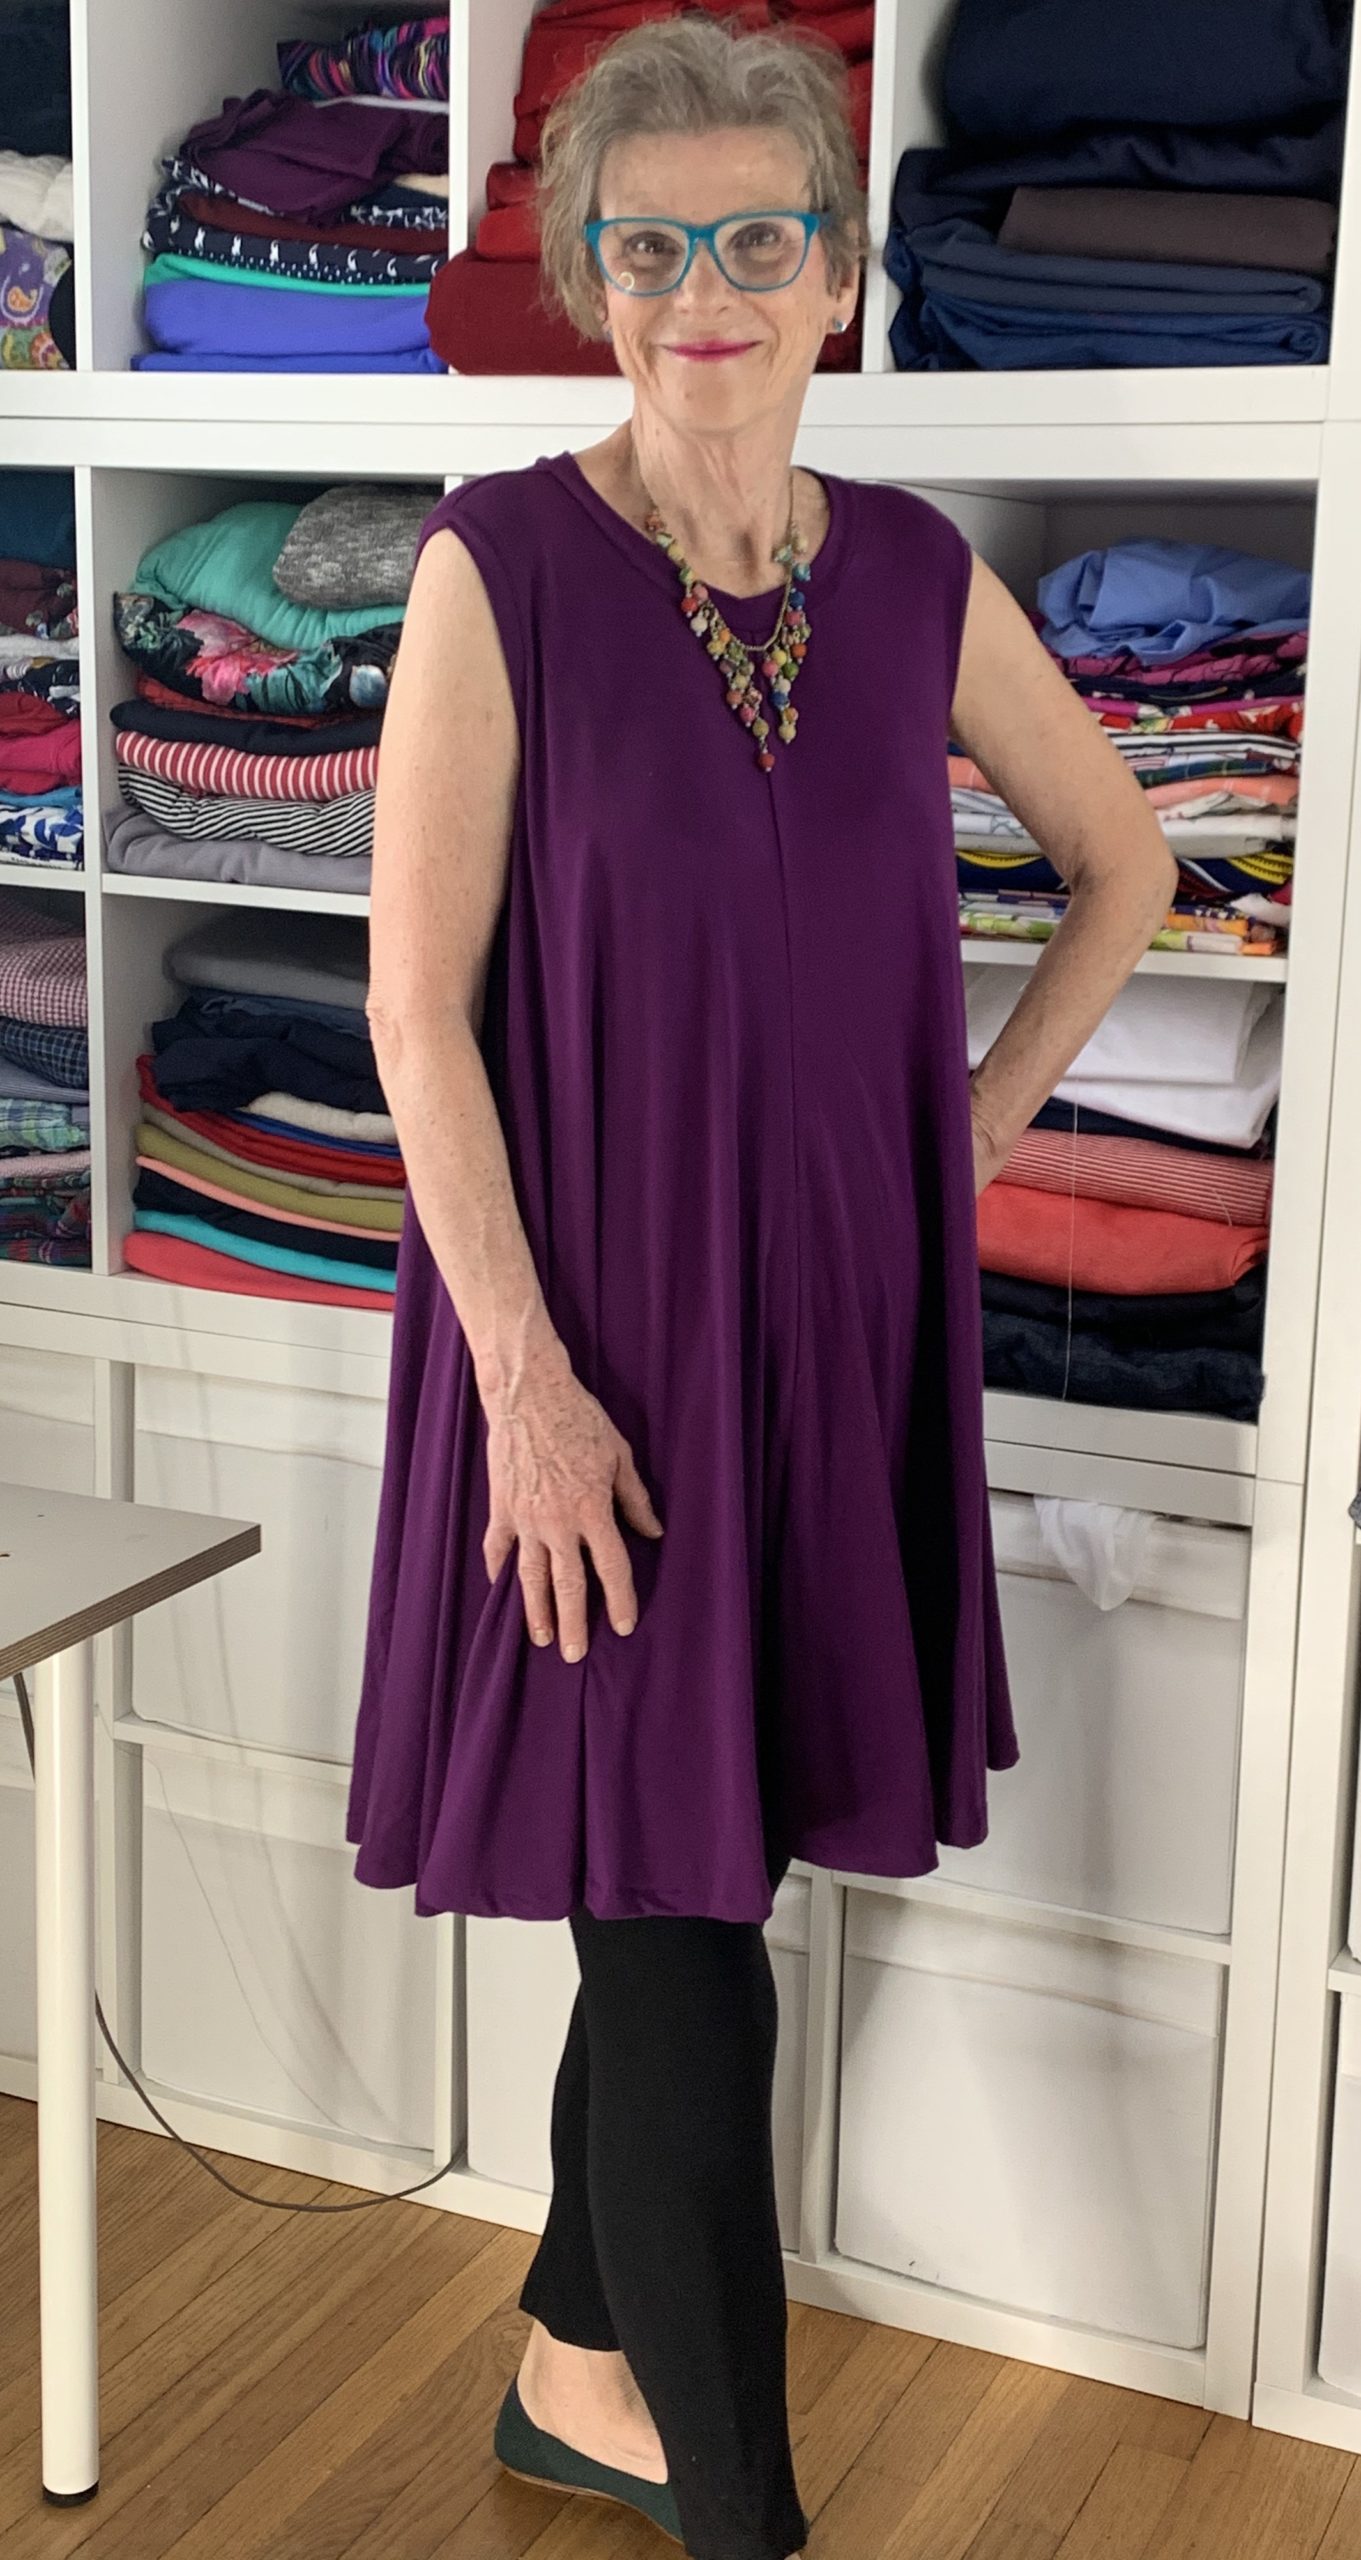
1. Bamboo jerseys, like the one I used here in this season’s project, are like water. They want to flow. These fabrics are born to drape, not to be structured. The #1 rule for these fabrics is Less is More. This means less pressing, fewer details – like interfacing, closures, pattern pieces and, most importantly, less handling. Bamboo is like pastry and can’t be treated like bread dough. For these reasons I choose a super simple pattern for my dress, the McCalls 7407, that made the most of drape. I also minimized the construction techniques – in most cases not using those suggested in the pattern instructions. Look at how much fabric is actually in this dress, and see how this fabric disappears into the folds, where you can’t see it but certainly can feel the comfy factor:

2. Bamboo, again jerseys like this one, is super stretchy and pulls down with its own weight. For this reason it is really important to stabilize all shoulder seams either by sewing a lightweight tape into the seam line or, as I did, ironing a strip of fusible knit interfacing. I cut the interfacing so the lengthwise and stable grain ran along the length of the strip, into the shoulder seam area before that seam was stitched.
3. Bamboo does better with light, or no pressing. Over pressing can distort the stretch and also can create press marks on the fabric. Press only when absolutely necessary. Consider the fact that the weight and the flow of the fabric itself will pull seams straight and flat on their own. Forget the feeling that you were taught to press as you sew and should do it everywhere, despite the circumstances. In the dress you see here the only place I pressed was very lightly, and from the wrong side, was along the hem fold. I didn’t press the seams or the binding at all. When worn everything looks smooth and “pressed” without me having risked marking or distorting the fabric with actual pressing.
Now on to adapting the pattern techniques to match what bamboo wants and needs to do.
This is a good pattern. The pieces are well designed and drafted. The neckband is the perfect proportions for the neck opening.
However, like many patterns from the big pattern companies, the instructions seem to be cut and pasted from some non current library. These instructions don’t, in my opinion, match the techniques best suited to sewing knits, fluid ones like this one in particular.
Here is what the pattern instructions said, and here is what I did instead.


4. I sewed a narrow ring of fabric to each armhole, using the same standard technique used to do the neckband. I trimmed away the seam allowance from the armholes before I did this. The pattern suggested that the raw edges of the armhole be turned over twice and topstitched down. Given how stretchy this fabric is all I saw in this suggestion was a potential for waviness. So reverting to the less is more rule I did the band treatment instead.

5. I turned and topstitched the hem with my straight stitch. The pattern suggested the hem be turned under twice before this was done. I had the same worries here about waviness due to over handling, particularly since the hem was across the maximum stretch of the fabric, so I didn’t do that. Given the volume of the hem I didn’t worry about popping stitches along this hem.
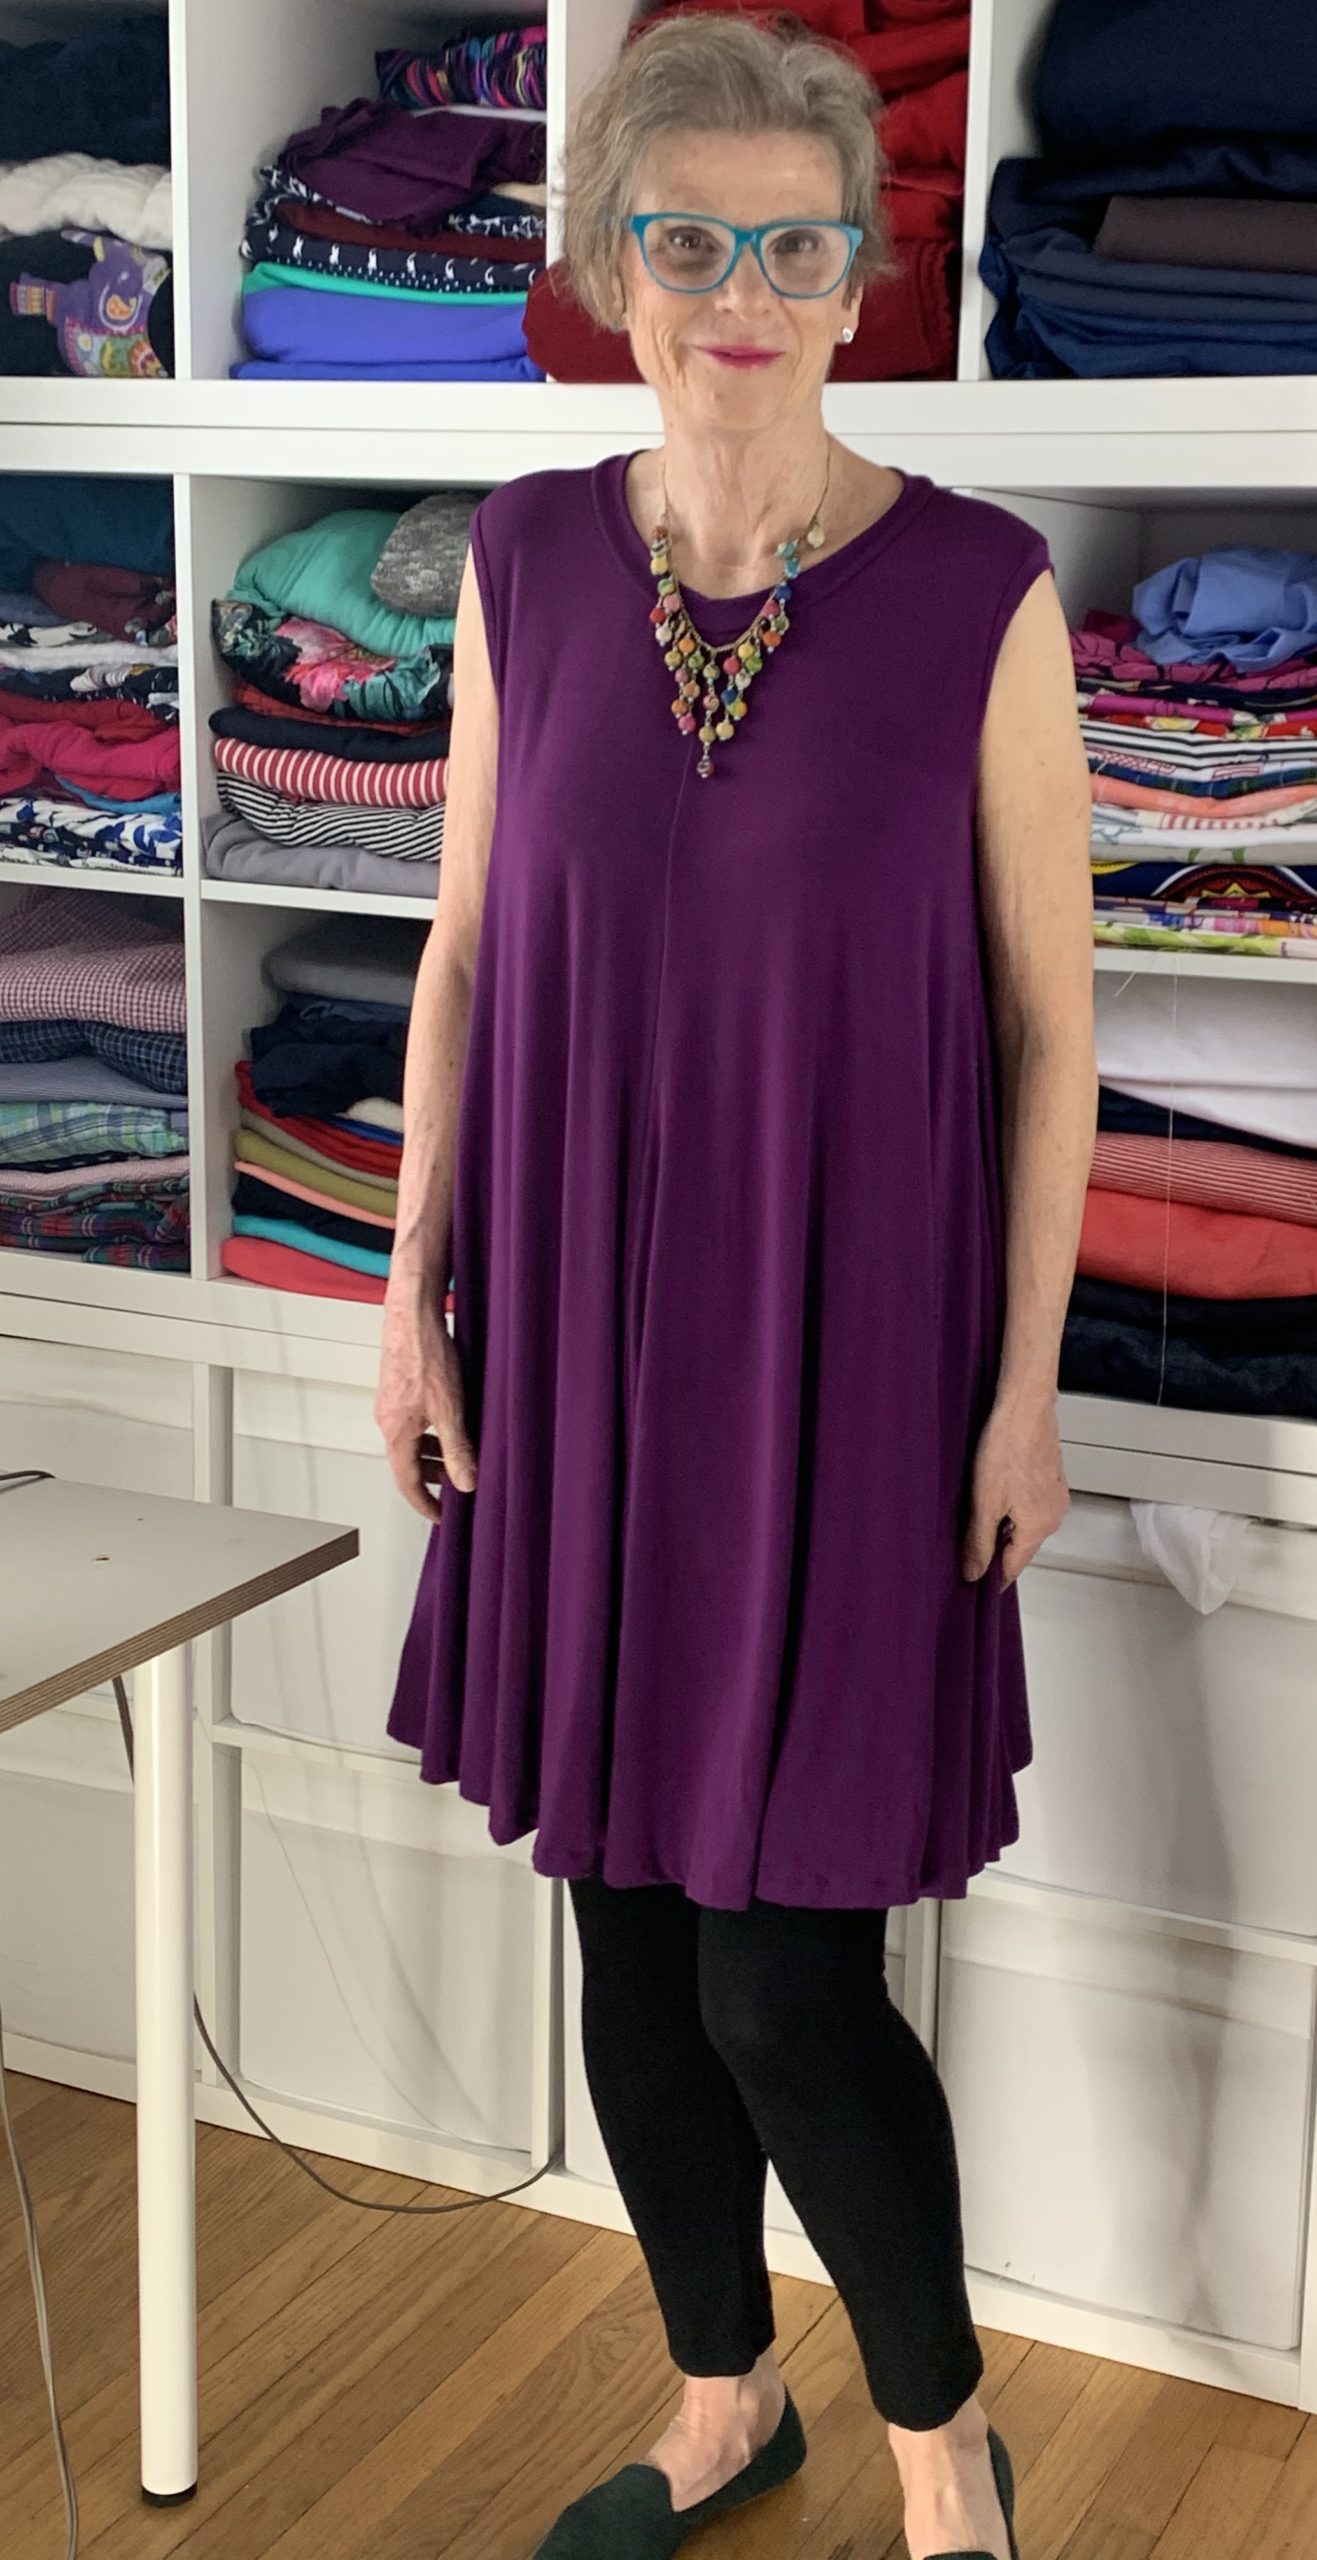
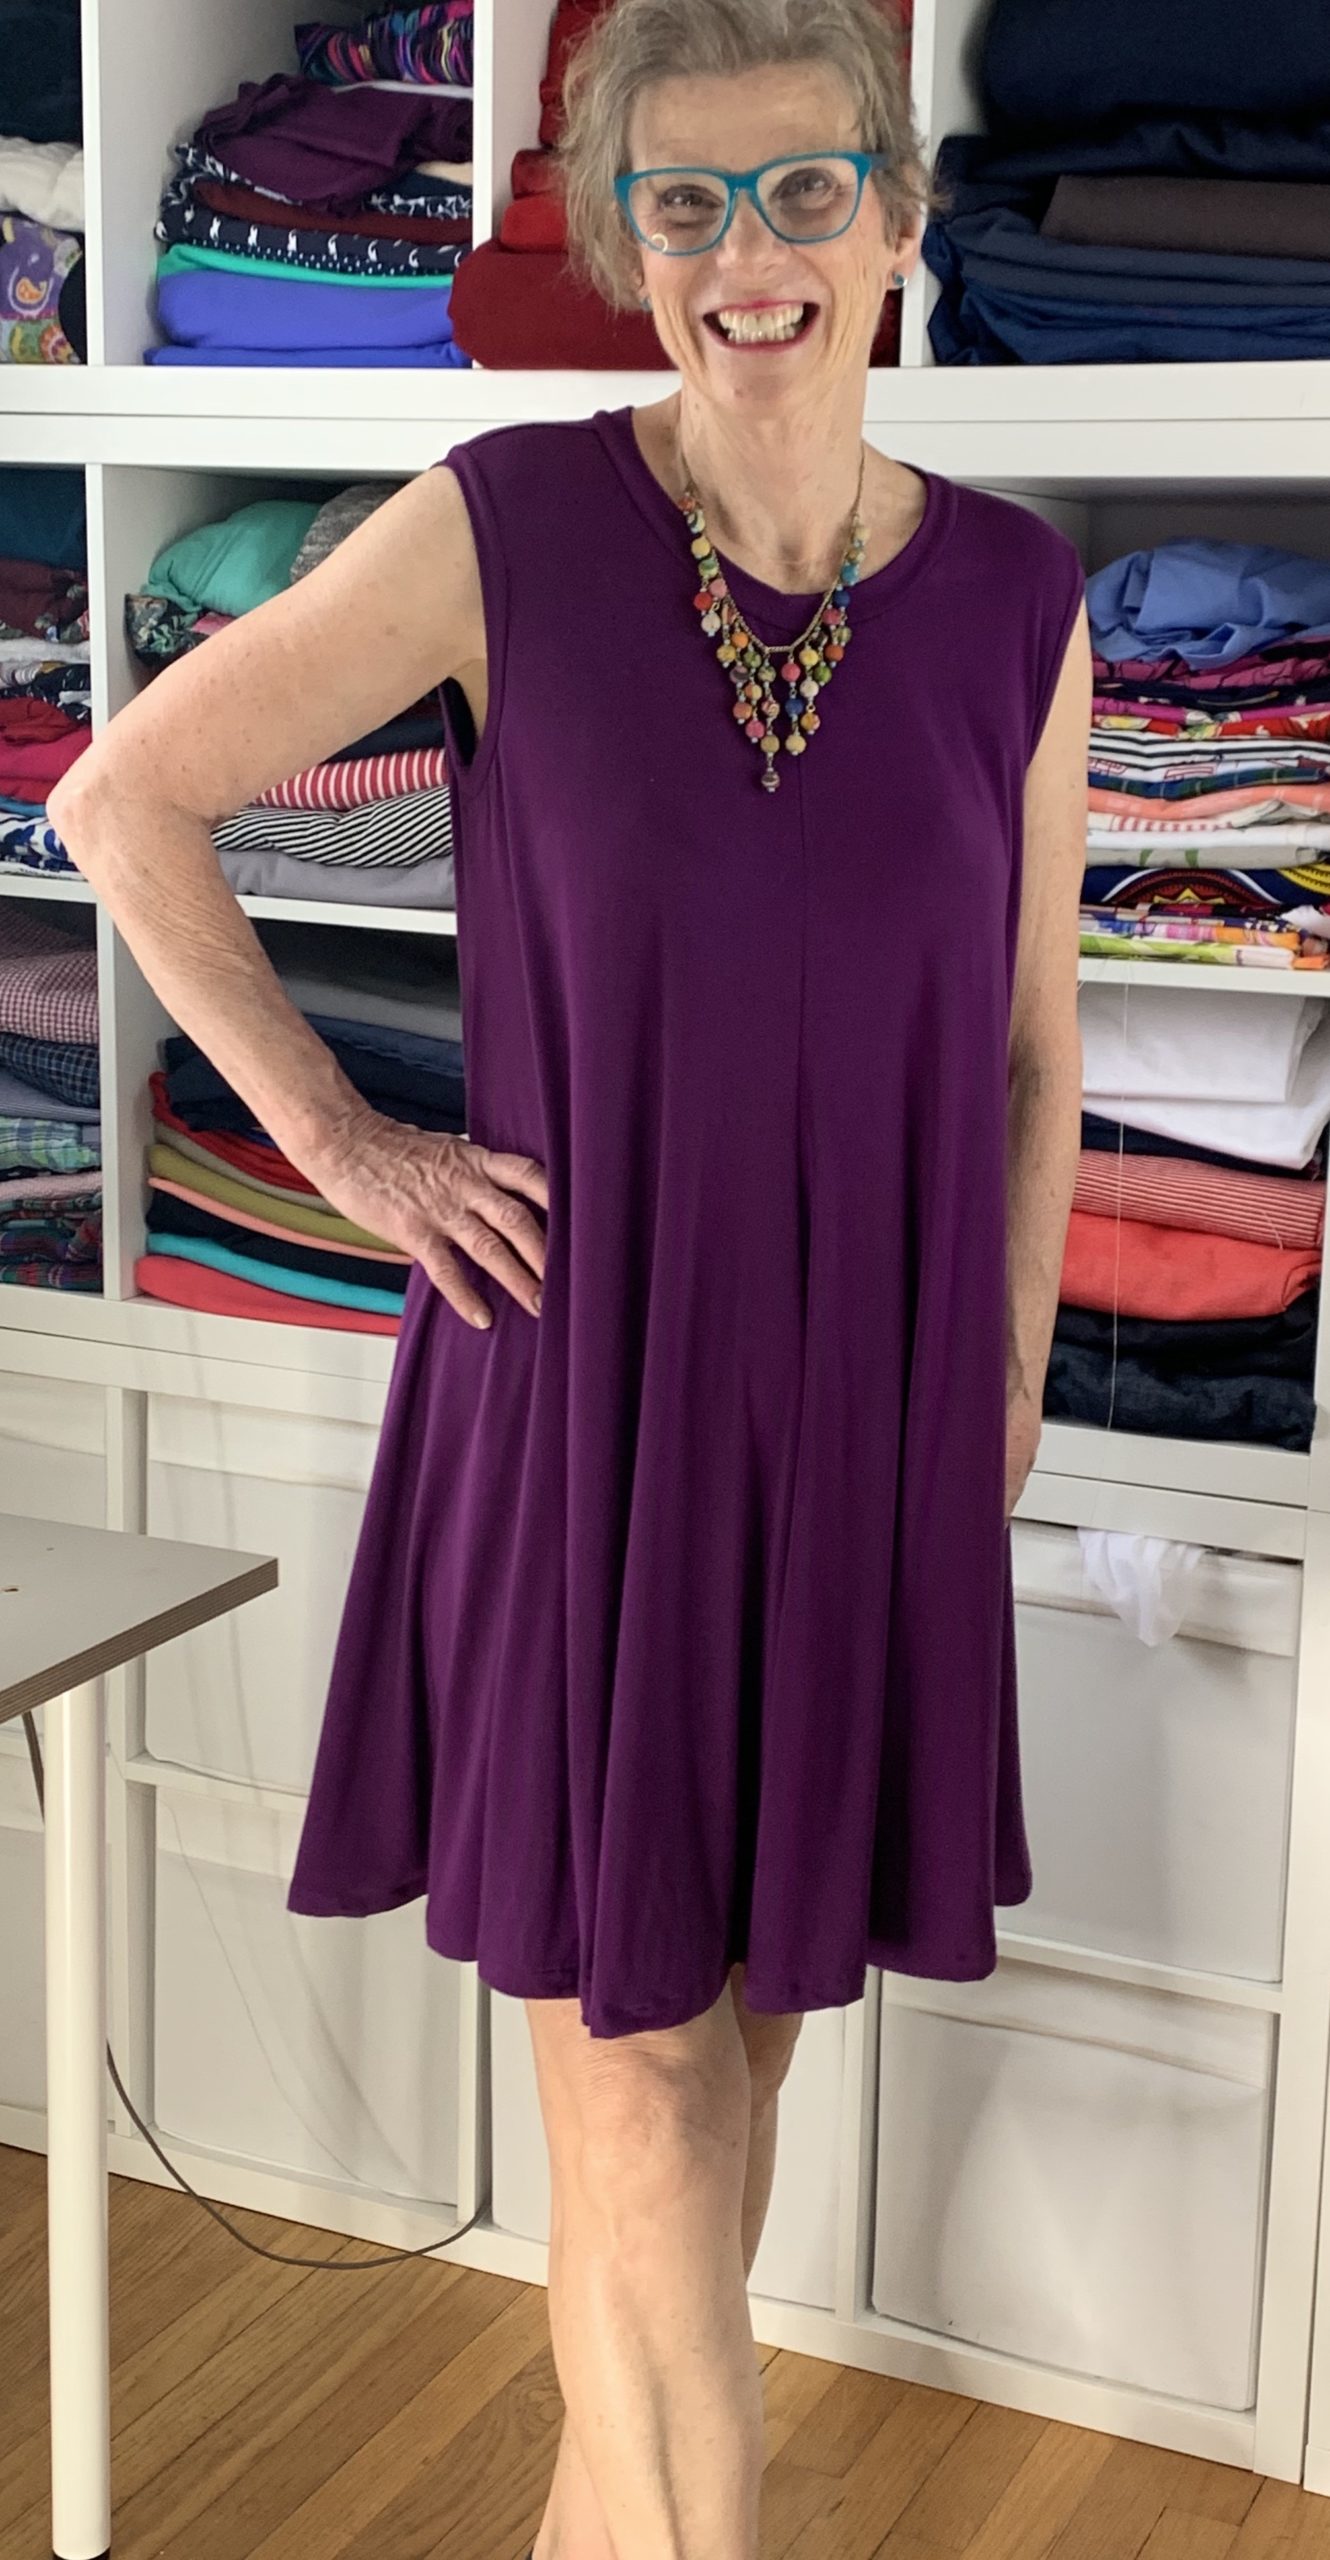
I am super happy with this dress. The style was a bit of a risk for me, not a style I would normally wear, but I really think it makes the most of the characteristics of this particular fabric. It’s also shorter than many of my dresses but that gives me the option to wear it comfortably with leggings or, in the warmer summer months, as a throw on and go dress to wear when I am doing poolside grandchildren patrol in the summer.
I also think this will be a versatile dress up and dress down piece when I travel. Surely one day we can travel again!