Burda red raincoat
Soft shell raincoat – Burda 6596
November 20, 2020
by Max Donos

Long, insulated, hooded and water repellent – that’s what we were looking for in a fall raincoat. Fabricville came to the rescue with an excellent proposition for fabric – pattern combination. It was dark red soft shell and Burda 6596, with red separating zipper. Other notions included Gutermann 420 dark red thread and Unique double fold bias 6mm tape in dark red. 

soft shell repels water coat pattern pieces cut out and stacked ready to be sewn 

conquered my fears 

started the project uncertain I could bring it to a successful completion. Why? Because I did not work with soft shell fabric before, I was not sure my sewing machine could handle the thickness of several layers of the fabric, and the changes I hoped to make to the hood pattern were intimidating.  

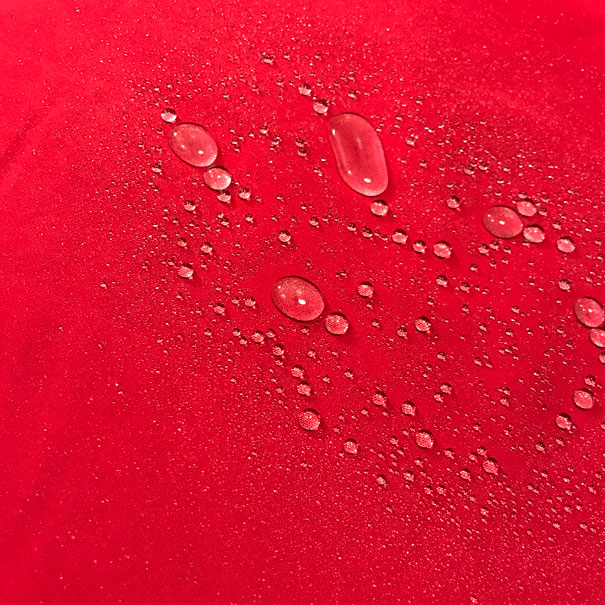
Alas, my fears were unsubstantiated! Soft shell is a dream to work with: it’s stable, does not fray and slides smoothly in the machine. I also found out that it can be pressed. The changes to the hood pattern were easy to introduce. I just trimmed about 3cm from the top of the hood and cut a 10cm (5cm x 2) band from the back. It created a sportier-looking hood. 

 Patternwork and bias tapes 

As for other pattern adjustments, I lengthened the body of the coat about 15cm and shortened the sleeves by 4cm. Other than that – just followed the pattern instructions. 

sewing bias binding to seam edgessewing down flat seam edgesmatching shoulder seamsinstalling zipperhem detail

Since I decided to make the coat without lining, I chose to finish the seams with a bias tape. Without a specialty presser foot, it is a bit of hassle to sew on cleanly. But the result is worth it, producing a cleverly finished unlined interior. 

The drawbacks of the project 

  1. Please pay attention to the pockets – they are minuscule! And without a zipper, they will not hold more than a Kleenex! 
  2. Soft shell does not crease (hurray!), but to flatten the seams, I had to sew every seam down, and together with the bias tape, every seam was sewn 5 times! 
  3. The pattern suggests to stop the zipper at the beginning of the collar. I chose to install it all the way up to the top of the hood opening, for those windy days. 
  4. Pay attention to the seam junctions. I had to trim heavily at the gorge-hood level to attach the body facing. Altogether, there were 12 layers!


The successes of the project 

  1. The fit is incredible! Firstly, the princess seams contour the body in all the right places without restricting the movements. Secondly, the armhole is quite high, but at the same time very comfortable. 
  2. The soft shell fabric is fantastic – warm, water repellent, and it is died a great red colour. 
  3. This jacket / coat is quick to sew, especially if you already have a tried and tested way to sew bias tape. Alternatively, you may opt for other ways to finish the seams, or install the lining.


COMMENTS